Tag Archives: apple pie recipe

Drunk ‘N Nutty Pie

2 Feb

Sometimes, inspiration comes from strange places.  After making a pork chop recipe in the slow cooker with wine, apples, and chestnuts, Mike and I realized that the toppings were SENSATIONAL and would probably make for a lovely pie.  How could you go wrong with slow cooked apples and chestnuts in wine?  And so… Drunk ‘N Nutty Pie was dreamed up.  (Name is still in the works… feel free to comment with suggestions).

First up… peeling the apples.  I just got this handy dandy new contraption (which obviously doubles as a torture device) from The Pampered Chef that peels, cores, and slices apples!  I would say it works as intended about 50% of the time…

AApple3

Delivering a perfect core.

AApple1

A (mostly) peeled and perfectly sliced apple rings.

AApple2

Which can then be cut in half to make perfectly sliced pie filling.

AApple4

Uniform thin size! How novel!

AApple5

The other 50% of the time… rough.  So I wound up slicing it (and leaving SOME peel on).

AApple6

Then the apples get thrown into the slow cooker with the wine and chestnuts.  For the pie, I added cranberries, brown and white sugars, and cinnamon.

AInside1

Put it on low for about 4 hours and v’oila! Slow cooked apples, cranberries, and chestnuts in wine.

AInside2

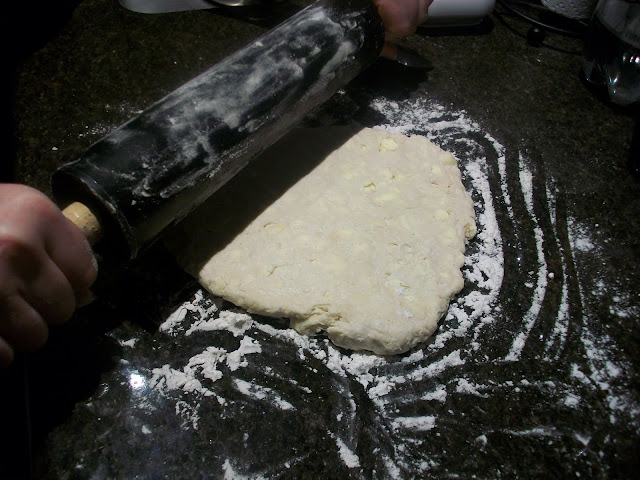
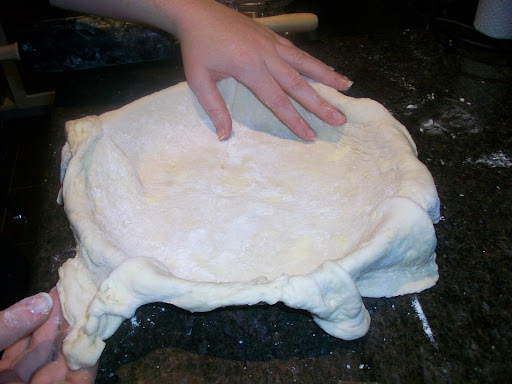
During the last 30 minutes of slow cooking time, I started on the crust.  First you take softened butter and cut it up into the bottom of a pie plate.  Then you pile flour, sugar, red wine vinegar, and milk on top.

FCrust1

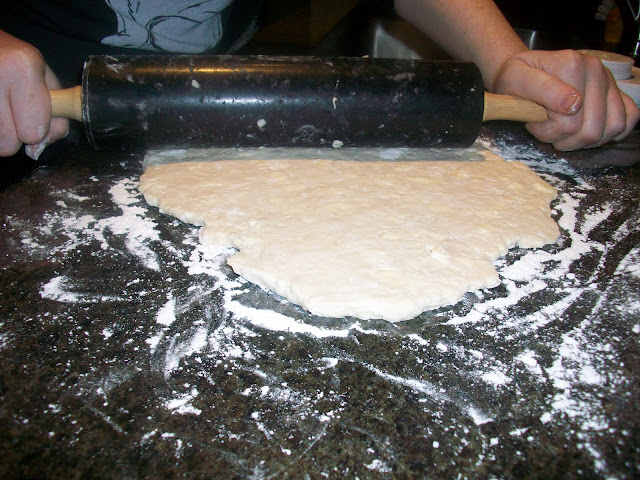
Try to combine it with a knife… give up and use your hands.

FCrust2

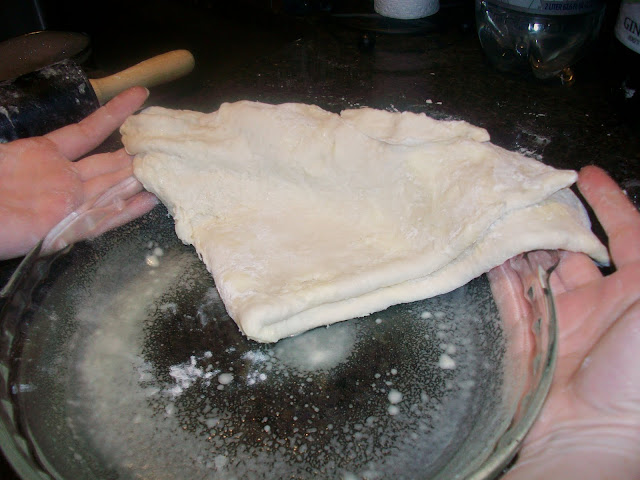
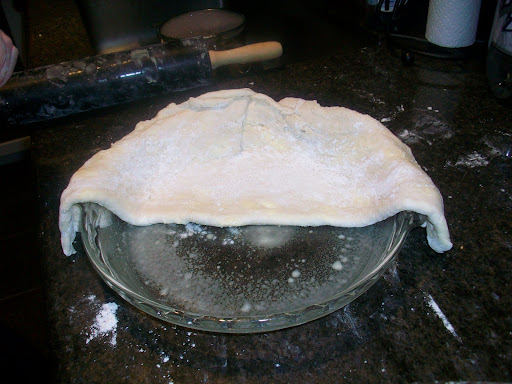
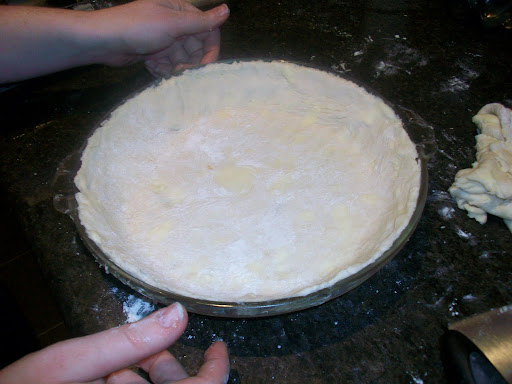
Then push it into the bottom of the plate so it’s nice and even on the bottom and sides.  Poke it with a fork to prevent catastrophe.

FCrust3

And then put them in the oven to cook until they are just barely brown and hardened.

FCrust4

If you don’t have a Pie Shield, I highly recommend them.  Sure you can use tinfoil to make sure the edges of the pie don’t get too brown, but why burn yourself construction a crazy tinfoil sculture when you can lay this cheap puppy on top and keep it all evenly cooked?

FCrust5

I even made some mini versions to see how individualized portions would turn out.  (You know I love my silicone cupcake cups!)

FMini1

While the pie is baking up, you can make the crumble top.  I put a bit extra lemon in mine to counteract the sweetness of the crust.

NCrumble1

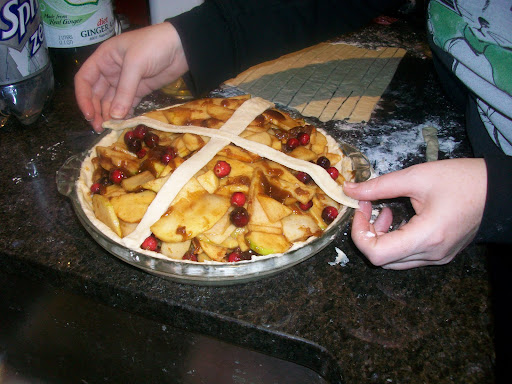
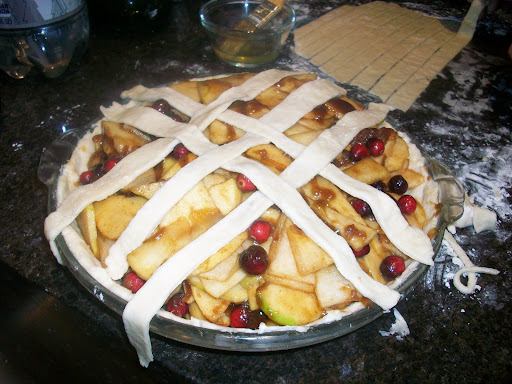
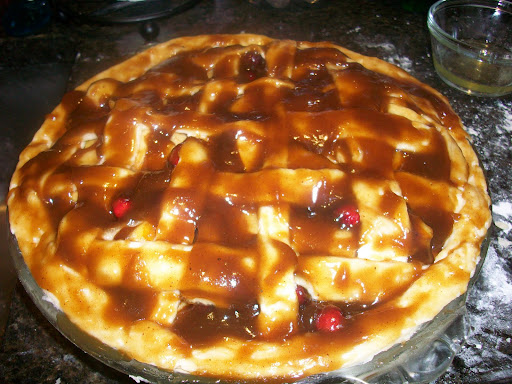
Once all the pieces are ready, you scoop out the delicious slow cooked chunks and put them into the pie. (HINT:  Save the wine left over and it is DELICIOUS as hot mulled wine)

PFilled1

Pack the filling up to the brim.

PFilled2

Take a moment to revel in how delicious it looks.

PFilled3

Try not to shove your face into the whole plate and eat it up.

PFilled4

Ok… maybe you can steal one chestnut from the top of the mini pie.  I won’t tell.
PMini2

Then start the crumbling.

QTopped1

Until only a little bit of fruity goodness is peaking through.

QTopped2

Sometimes I add even less… as I can now see through my alternate pie compared to the one above.

QTopped3

And don’t forget about the minis.

QToppedMini3

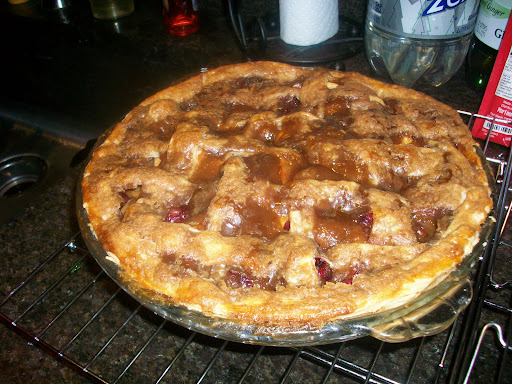
Sometimes you can even cover the entire thing in crumbs.  No judgments here!  But you will have to bake it until the crumbs start to turn golden on top.

RBaked1

And then slice it up and try not to eat the whole thing while your guests look on in jealousy.

RBaked9

Okay fine… eat the whole mini pie.

RBakedMini2

It’s just so damn cute and delicious afterall!

RBakedMini4

This was a HUGE crowd pleaser.  Really unique flavors and the sweet, buttery crust combined so well with the tart wine and cranberries and the slight sour in the crumble.  I think I will make this again and again and again and again and again…

Do not fear the pie

17 Feb

I guess I learned how to make a pie before I learned that it was something to fear. So many people I know say they don’t make pies because they are terrified of making crust. So below I’ve broken down the steps for how to make a pie crust.

Now while I don’t LOVE my crusts, it seems they are quite popular amongst my friends (I just don’t think they have enough flavor). Texture-wise it’s always pretty good… flaky without being too crumbly. But this recipe works well… so I don’t mess with it too much. If you want to make a pie with 2 crusts or a lattice crust, it’s always good to double it. Cut up 1 cup of butter (2 sticks) into small cubes and place in freezer for at least 15 minutes. Prepare about 1/2 cup of ice water and set aside. Combine 2 cups flour with 1 tsp. salt. Remove butter from freezer and combine with flour mixture (see tip below) until it looks like crumbles the size of small peas (don’t be too aggressive with this). Then stir in ice water in by the teaspoon and mix until dough forms. At first it will look like this will never happen, then suddenly: DOUGH! If you’ve doubled the recipe, divide into two dough balls and flatten into pancakes. Wrap dough in plastic wrap and refrigerate for at least 2 hours, 4 or overnight is better.

The secret to pies, as you’ll hear over and over again, is COLD. As far as I have learned, the cold butter stays more solid within the flour mixture and you need those pockets of butter to make flaky dough. If you look closely at the picture below, you can see the little pieces of butter in the dough.

I have heard many pieces of advice about keeping everything cold and it’s all rather daunting if you read it. Personally, I’ve always had success with cutting the butter into small cubes and putting it into the freezer before mixing everything together. A lot of people fear a food processor for the warmth of the blades and other people swear by them. I’ve never had one, so I just give it a quick spin in the Kitchenaid or pull out the pastry blender.

After the dough has been in the fridge, take out a dough pancake and place it on a floured countertop or smooth surface. Rolling out dough takes time and patience but I find it meditative. You want to start in the center and roll out a corner. Then pick it up and turn it 90 degrees and roll it again. Continue this, making sure the surface below is well floured so it doesn’t stick.

Once the dough is at the desired diameter, flour both sides lightly and then fold in half and then half again (you can also roll it on the rolling pin, however, I find the folding method easier).

Pick up the folded dough and lay into a quarter of the pie plate.

Unfold the half.

Then unfold again and gently push the dough into the corners of the pie plate.

You can leave the overhang and fold it over for a fluted edge (another pie post coming soon with that) or you can cut down the edges of the pie for a blunt edge (just rub your hand firmly against the rim and let the edge of the pie plate do the cutting for you).

If you are making a fruit pie, it’s good to add a top (I personally like lattice work).

After you roll out the 2nd sheet, cut it into strips (I use a pizza cutter).  I learned an easy way to make lattice but completely forgot it when I was making this one (d’oh!)  So don’t follow my directions below, follow these and lattice will be a piece of cake (errr… pie): http://smittenkitchen.com/2006/11/latticed-and-loony/

I started all wrong but it worked out in the end.


After weaving all the strips, I cut them down to the end of the pie pan.

Then I added a pie crust rim.

Then I drizzled the entire thing in the cinnamon/brown sugar mixture that went into the pie.

It baked up so lovely.  I will definitely be making this one again.

_________________________
RECIPE
_________________________

Ingredients

  • 1 recipe pastry for a 9 inch double crust pie (see above)
  • 1/2 cup unsalted butter
  • 3 tablespoons all-purpose flour
  • 1/4 cup water
  • 1/2 cup white sugar
  • 1/2 cup packed brown sugar
  • 8 Granny Smith apples – peeled, cored and sliced (this sounded like a LOT so I think I went with 3 apples, 1 pear, and cranberries)

Directions

  1. Preheat oven to 425 degrees F (220 degrees C). Melt the butter in a saucepan. Stir in flour to form a paste. Add water, white sugar and brown sugar, and bring to a boil. Reduce temperature and let simmer.
  2. Place the bottom crust in your pan. Fill with apples, mounded slightly. Cover with a lattice work of crust. Gently pour the sugar and butter liquid over the crust. Pour slowly so that it does not run off.
  3. Bake 15 minutes in the preheated oven. Reduce the temperature to 350 degrees F (175 degrees C). Continue baking for 35 to 45 minutes, until apples are soft.