I don’t know if you’ve noticed… but it’s the holiday season. I have added so many awesome fun foodie finds to my kitchen this year and I wanted to share them with all of you, just in time to give that special foodie in your life a gift… even if it’s you. I’m going to do a bit of digging for the best prices, however, they are only current as of December 8th, 2010. So act fast! (Links to buy the products are within the descriptions)
Part 1 includes some of my absolute essentials (most of which are, curiously, made from silicone… Who knew?!) And don’t miss the first ever NYC Nom Nom GIVEAWAY at the bottom!
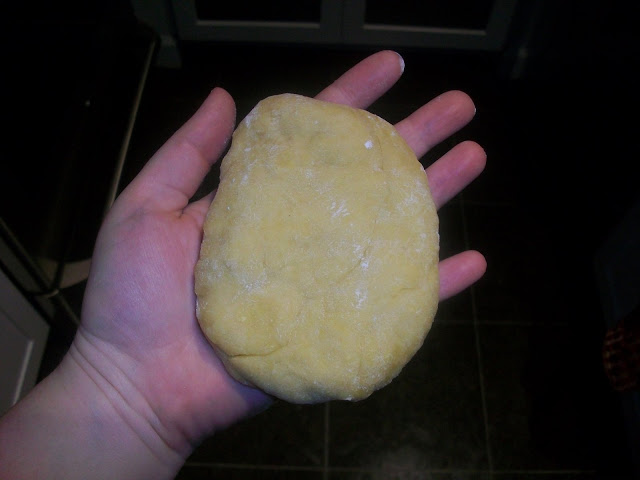
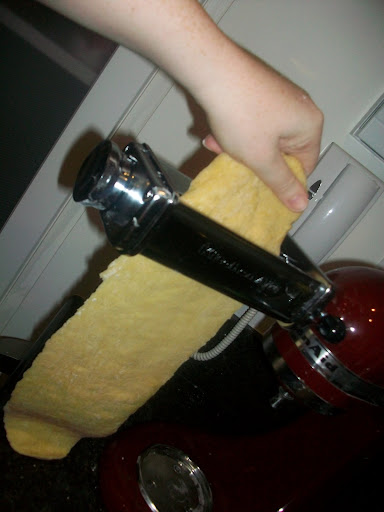
Just around this time last year, I received a gift that changed my baking life forever. Mike got me a KitchenAid mixer. Life has never been the same. I have had (and gone through) a few other light weight stand mixers and far too many hand mixers in the last few years. But the KitchenAid can take on PEANUT BUTTER! (Yes… that is a big deal.) Unfortunately, they aren’t cheap. But I look at it as a long-term purchase. It appears as though Amazon has it for less than $200. Mine is cinnamon colored (to match the rest of the kitchen highlights) with a stainless steel bowl and a bowl cover/feed (or “powdered sugar cloud preventer” as I like to call it).

Also in the picture above are silicone spatulas. I love these. They stand up to heat and scrape cookie batter and melted chocolate oh so well. I usually get them from William Sonoma (Set of 3 for $22.50. I highly recommend the “Spoonula” for $10) but there are many different brands and types according to Amazon.
And on the topic of silicone, I picked up these handy egg poachers and I love them (mostly).

I poach a lot of eggs, which is one of the healthiest ways to eat eggs and one of the best in my opinion… but also one of the hardest to master with the swirl in boiling water method. I can’t say I LOVE the ones I purchased, but they get the job done. They are a bit hard to get out of the boiling water (since they have no handle on top) and can sometimes spill out of the sides, but they are AWFULLY cute! All you have to do is bring about 2 inches of water to a boil, grease up the cups (I use pam), crack the egg in, place in the boiling water and cover for 4 minutes. Voila! Perfectly poached eggs. Since I can’t totally recommend mine, I found ones online that seem to fit the bill for you (just as cute but with a handle!) for just $5 each.
To further my obvious and newly recognized fondness for silicone kitchen products, we will move to what I think may be one of the best kitchen products EVER: The Silpat.

If you know a baker that doesn’t have one, you now have a perfect gift for them. And if you don’t have one, what are you waiting for? They come in many sizes and range from about $10-$20. You can use them basically any place that you would use parchment or wax paper. I bake all my cookies on them so the bottoms don’t burn nor stick nor spread too far and use them below all the candy I make. It is a life saver! And in case you don’t remember the side-by-side comparison of Silpat vs Non-Silpat from the Black & White Cookies, check out this link and this picture:

(Note: I have heard rumor that the cheaper versions of Silpat don’t work as well. I have not experimented myself, however, because why would I fix something that ain’t broke?)
Now onto my favorite purchase of 2010! I never realized how much I would use these amazing Betty Crocker Non-Stick Reusable Baking Cups when I first bought them at Bed, Bath, and Beyond ($9 for a set of 12). What’s funny is that I have used them for neither muffins nor cup cakes! They make excellent peanut butter cup molds and I have started making the meringue cake in miniature in these.

I have also made miniature versions of a pumpkin cheesecake and squash souffle.

What is great about them is that they just simply work. They do exactly what they are supposed to do. And they also make great little mise en place cups!

So now onto the fun… THE GIVEAWAY! I will be giving away a set of my favorite product of 2010, the Betty Crocker Baking Cups, to one lucky reader. It will also come with a printed copy of the Super Secret Axelrod Brownie recipe (which you can make in the cups!)
Here are the rules: Leave a comment below about which product from the NYC Nom Nom Official Gift Guide (there are three parts, all posted on Thursday, December 9th, including a special on wine products) you covet the most. Please be sure to leave me your name and an email address. (Limit: one comment entry per person… so no comment spamming!) If you would prefer to email me, you can feel free to do so at sara@nycnomnom.com.
You can earn additional entries by posting a link to this blog on Facebook, Twitter, your website or just emailing it to all your friends (one entry per post). Just send me a screenshot or link to NYC Nom Nom from the post/email (flex that “@” key!)
I’ll be taking entries through midnight, EST on Tuesday, December 14th and do the drawing on Wednesday, December 15th.
Happy Holiday Nomming!