Thanksgiving in my family is a pretty epic event. There are about 40 people every year, and we bring pretty much the same dishes ever year. I love the traditions and I love the food. We’re one of those few families that actually get along and it’s the day I look forward to most every year.
And even though we walk to the train station (through the Macy’s Thanksgiving Parade) and take a train, I still can’t resist baking up a storm. I last blogged about our Thanksgiving in 2009, but I realized that there are a few recipes that I consider classic to my repertoire that I haven’t yet blogged about. Also, 2012 was the year of the Brownie Battle.
Thanksgiving is also a time of experiment for me. While I bring a lot of the same things, in the weeks prior I try to refine them and make them better, and I try to bring something new each year.
My peanut butter cups are pretty much set in stone at this point, but I did have an accidental experiment when a drop of water splashed into my chocolate cups. They always warn you that water is melted chocolate’s worst enemy. But here I had some side-by-side proof. Check out the consistency of the one cup that got a single drop of water (center of the shot) versus the rest.

And Thanksgiving also happens to be a time when I am very thankful for my KitchenAid (Thanks again, Mikey! Best gift ever!) One of my favorite moments is when the chocolate hits the batter and makes perty swirls.

I have been making a family brownie recipe for years (from my Grandmother’s recipe folio) that was noted as being from my (totally awesome and inspiring) great Aunt Dinah (who is currently in her late 90s, but you would never believe it). I actually made the one’s from Grandma’s recipe when I was on the Wendy Williams show, and you can find that recipe on the Wendy site.
I always assumed that the recipes were the same, but my cousin (Dinah’s granddaughter) noticed some differences between our recipes. So… what else to do besides an epic Brownie Battle?

I put a sprinkle on Grandma’s recipe to differentiate, but turns out the color and texture were different enough to be able to tell.

Aunt Dinah’s was a bit fluffier and fudgier. And while I love Grandma’s recipe, Aunt Dinah’s recipe won hands down (recipe at the end of this post).

I also made my Drunk N’ Nutty Pie, but I have refined it a bit and replaced the chestnuts with pecans (for texture, added after the slow cook but before the crumb topping).

I could eat this filling with a spoon! Slow cooked apples and cranberries in red wine. SOOO good. And such a beautiful scarlet color.

I also changed out the crumb topping for a new blend and cooked it a bit longer (until the top browned, about an hour) at a lower temperature (350 degrees) to get it a little crisper. The new topping is simple to remember: 1 cup brown sugar, 1 cup all purpose flour, 1 stick unsalted butter cut into 4 or five chunks, and 1 cup pecan halves. Pulse a few times in the processor to make a coarse meal. I definitely liked this new topping even more!

And then there are the meringue kisses. I absolutely love these and they are a family favorite. My grandmother used to make them, and I took them over for Thanksgiving to make sure they would always be around. They sit in the oven overnight (which made for some fun times the next morning when I preheated the oven and forgot they were there… but luckily only lost one tray and not all!) This recipe also at the end of this post and I also posted about how NOT to make them and did a tutorial on making meringue in a vlog. The vlog is instructions how to make a meringue torte, but the same principles apply to the cookies, just with different ingredients and ratios.

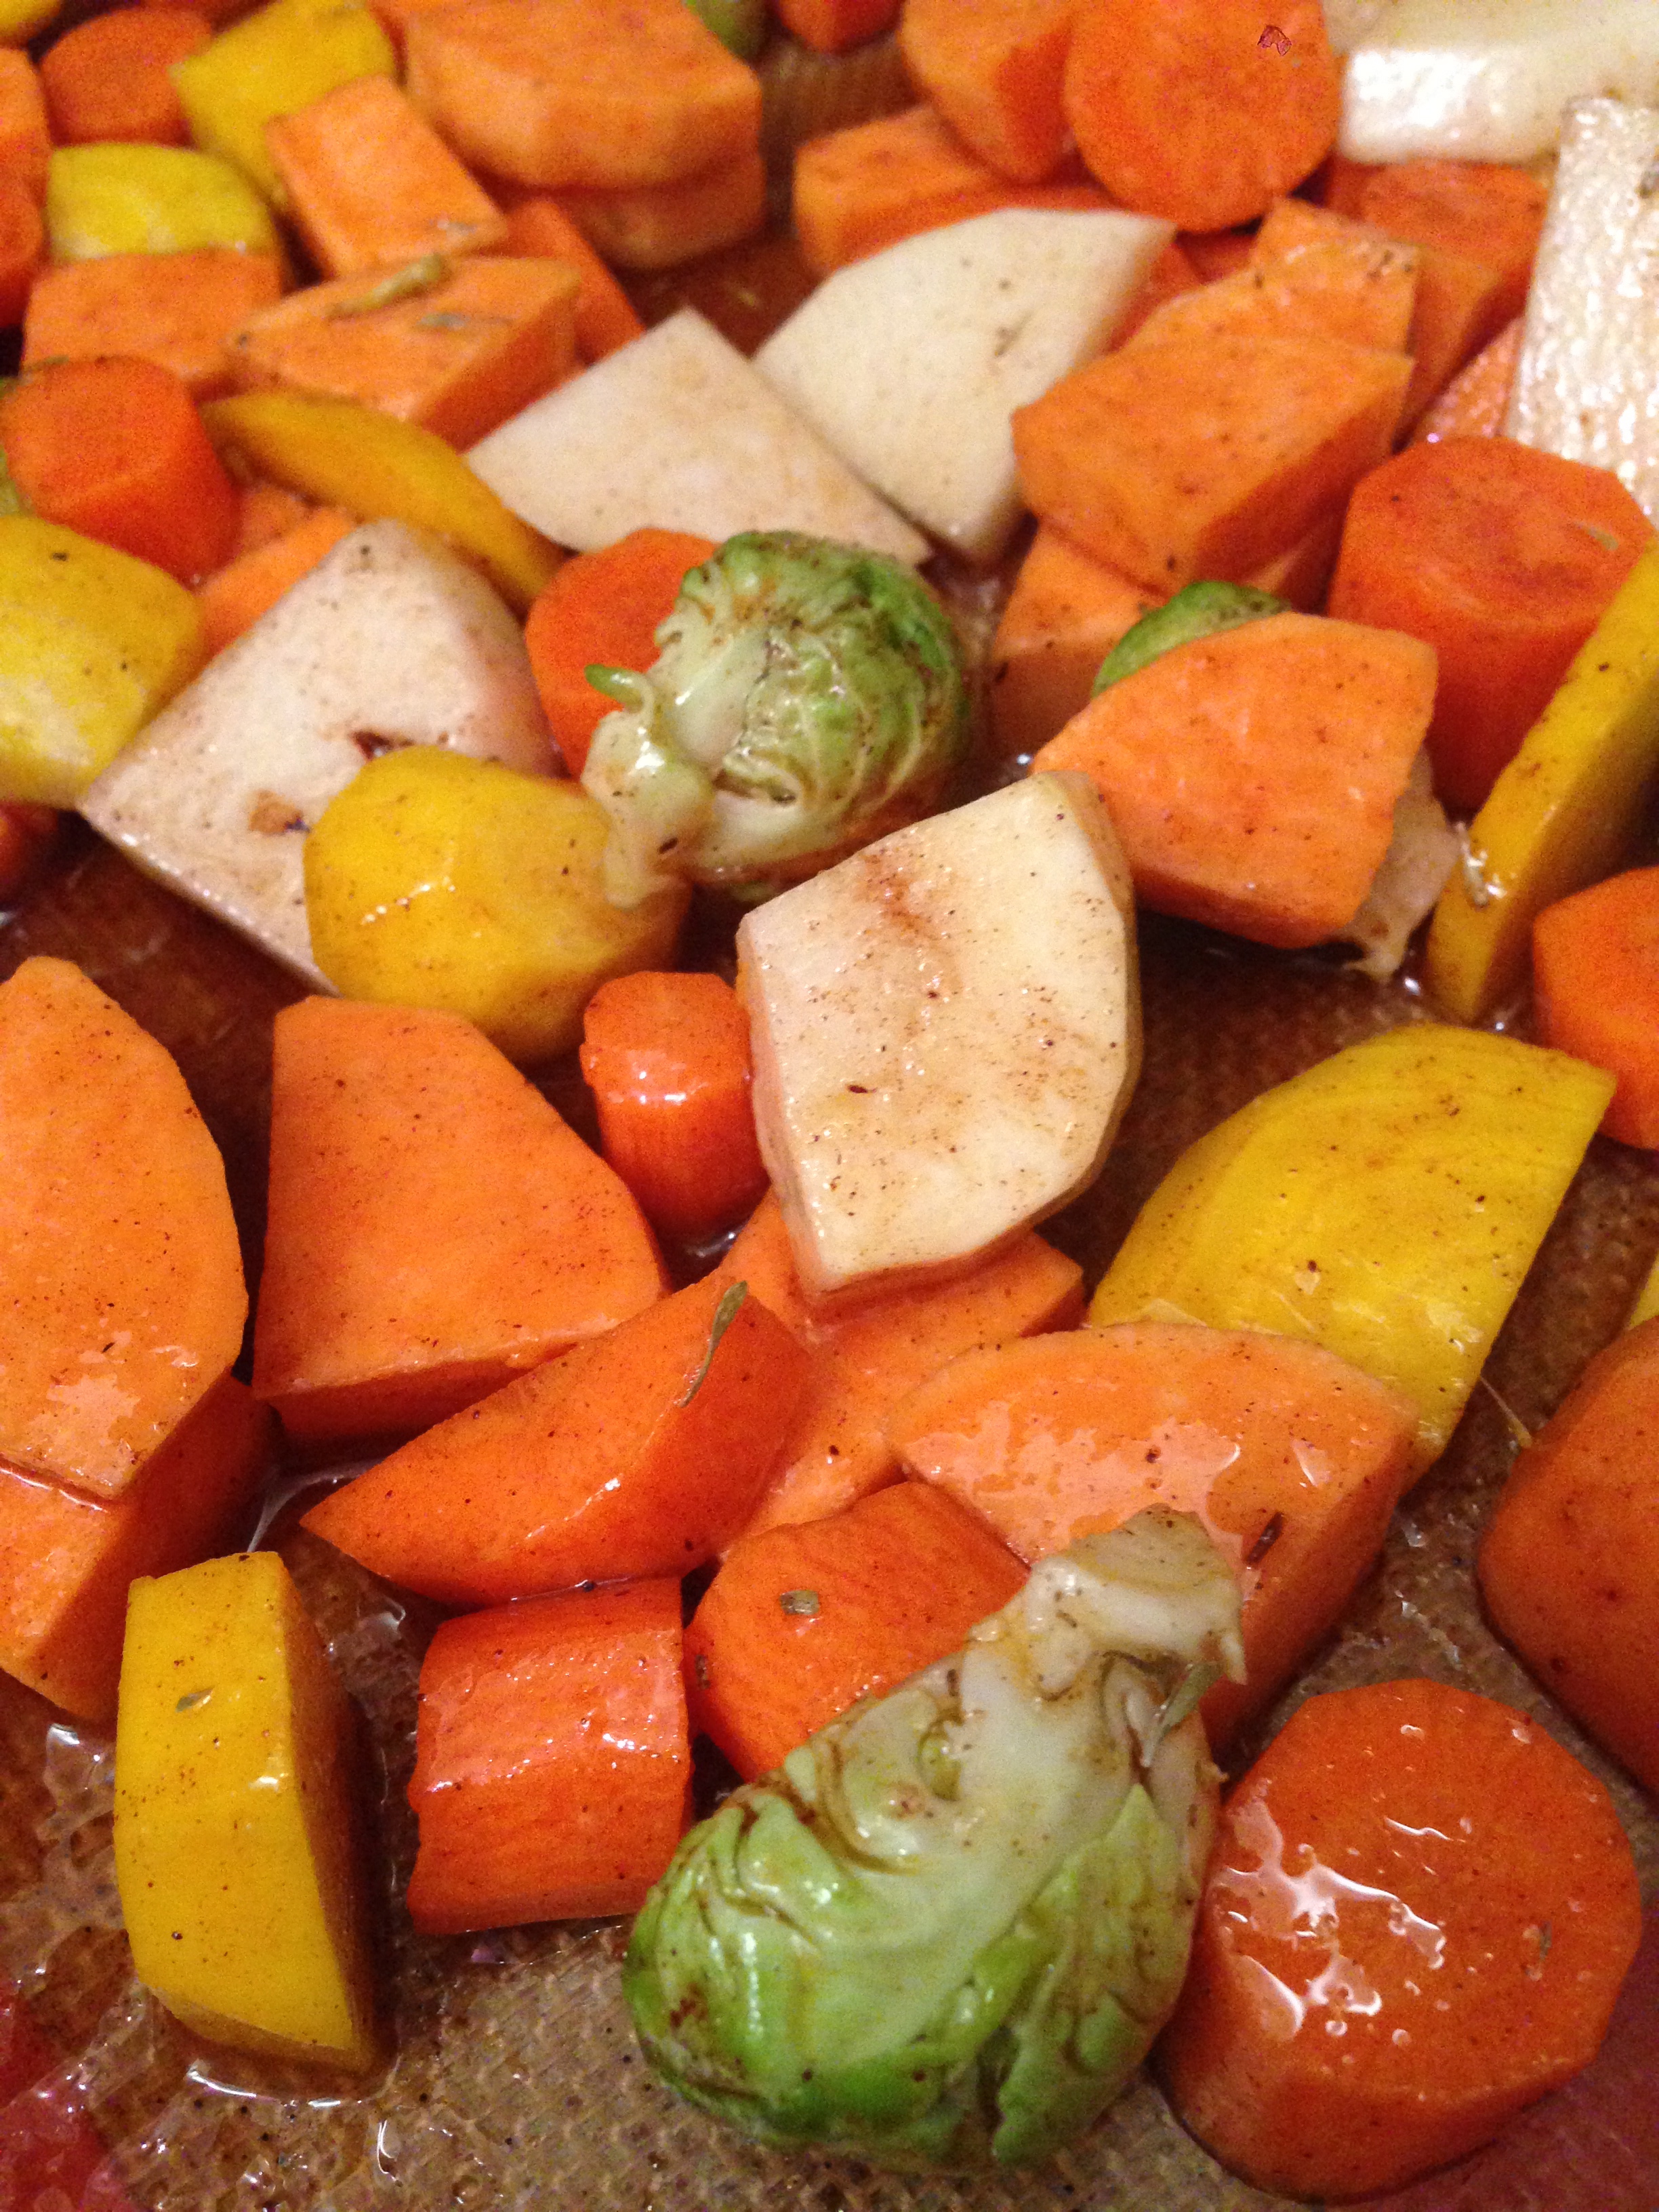
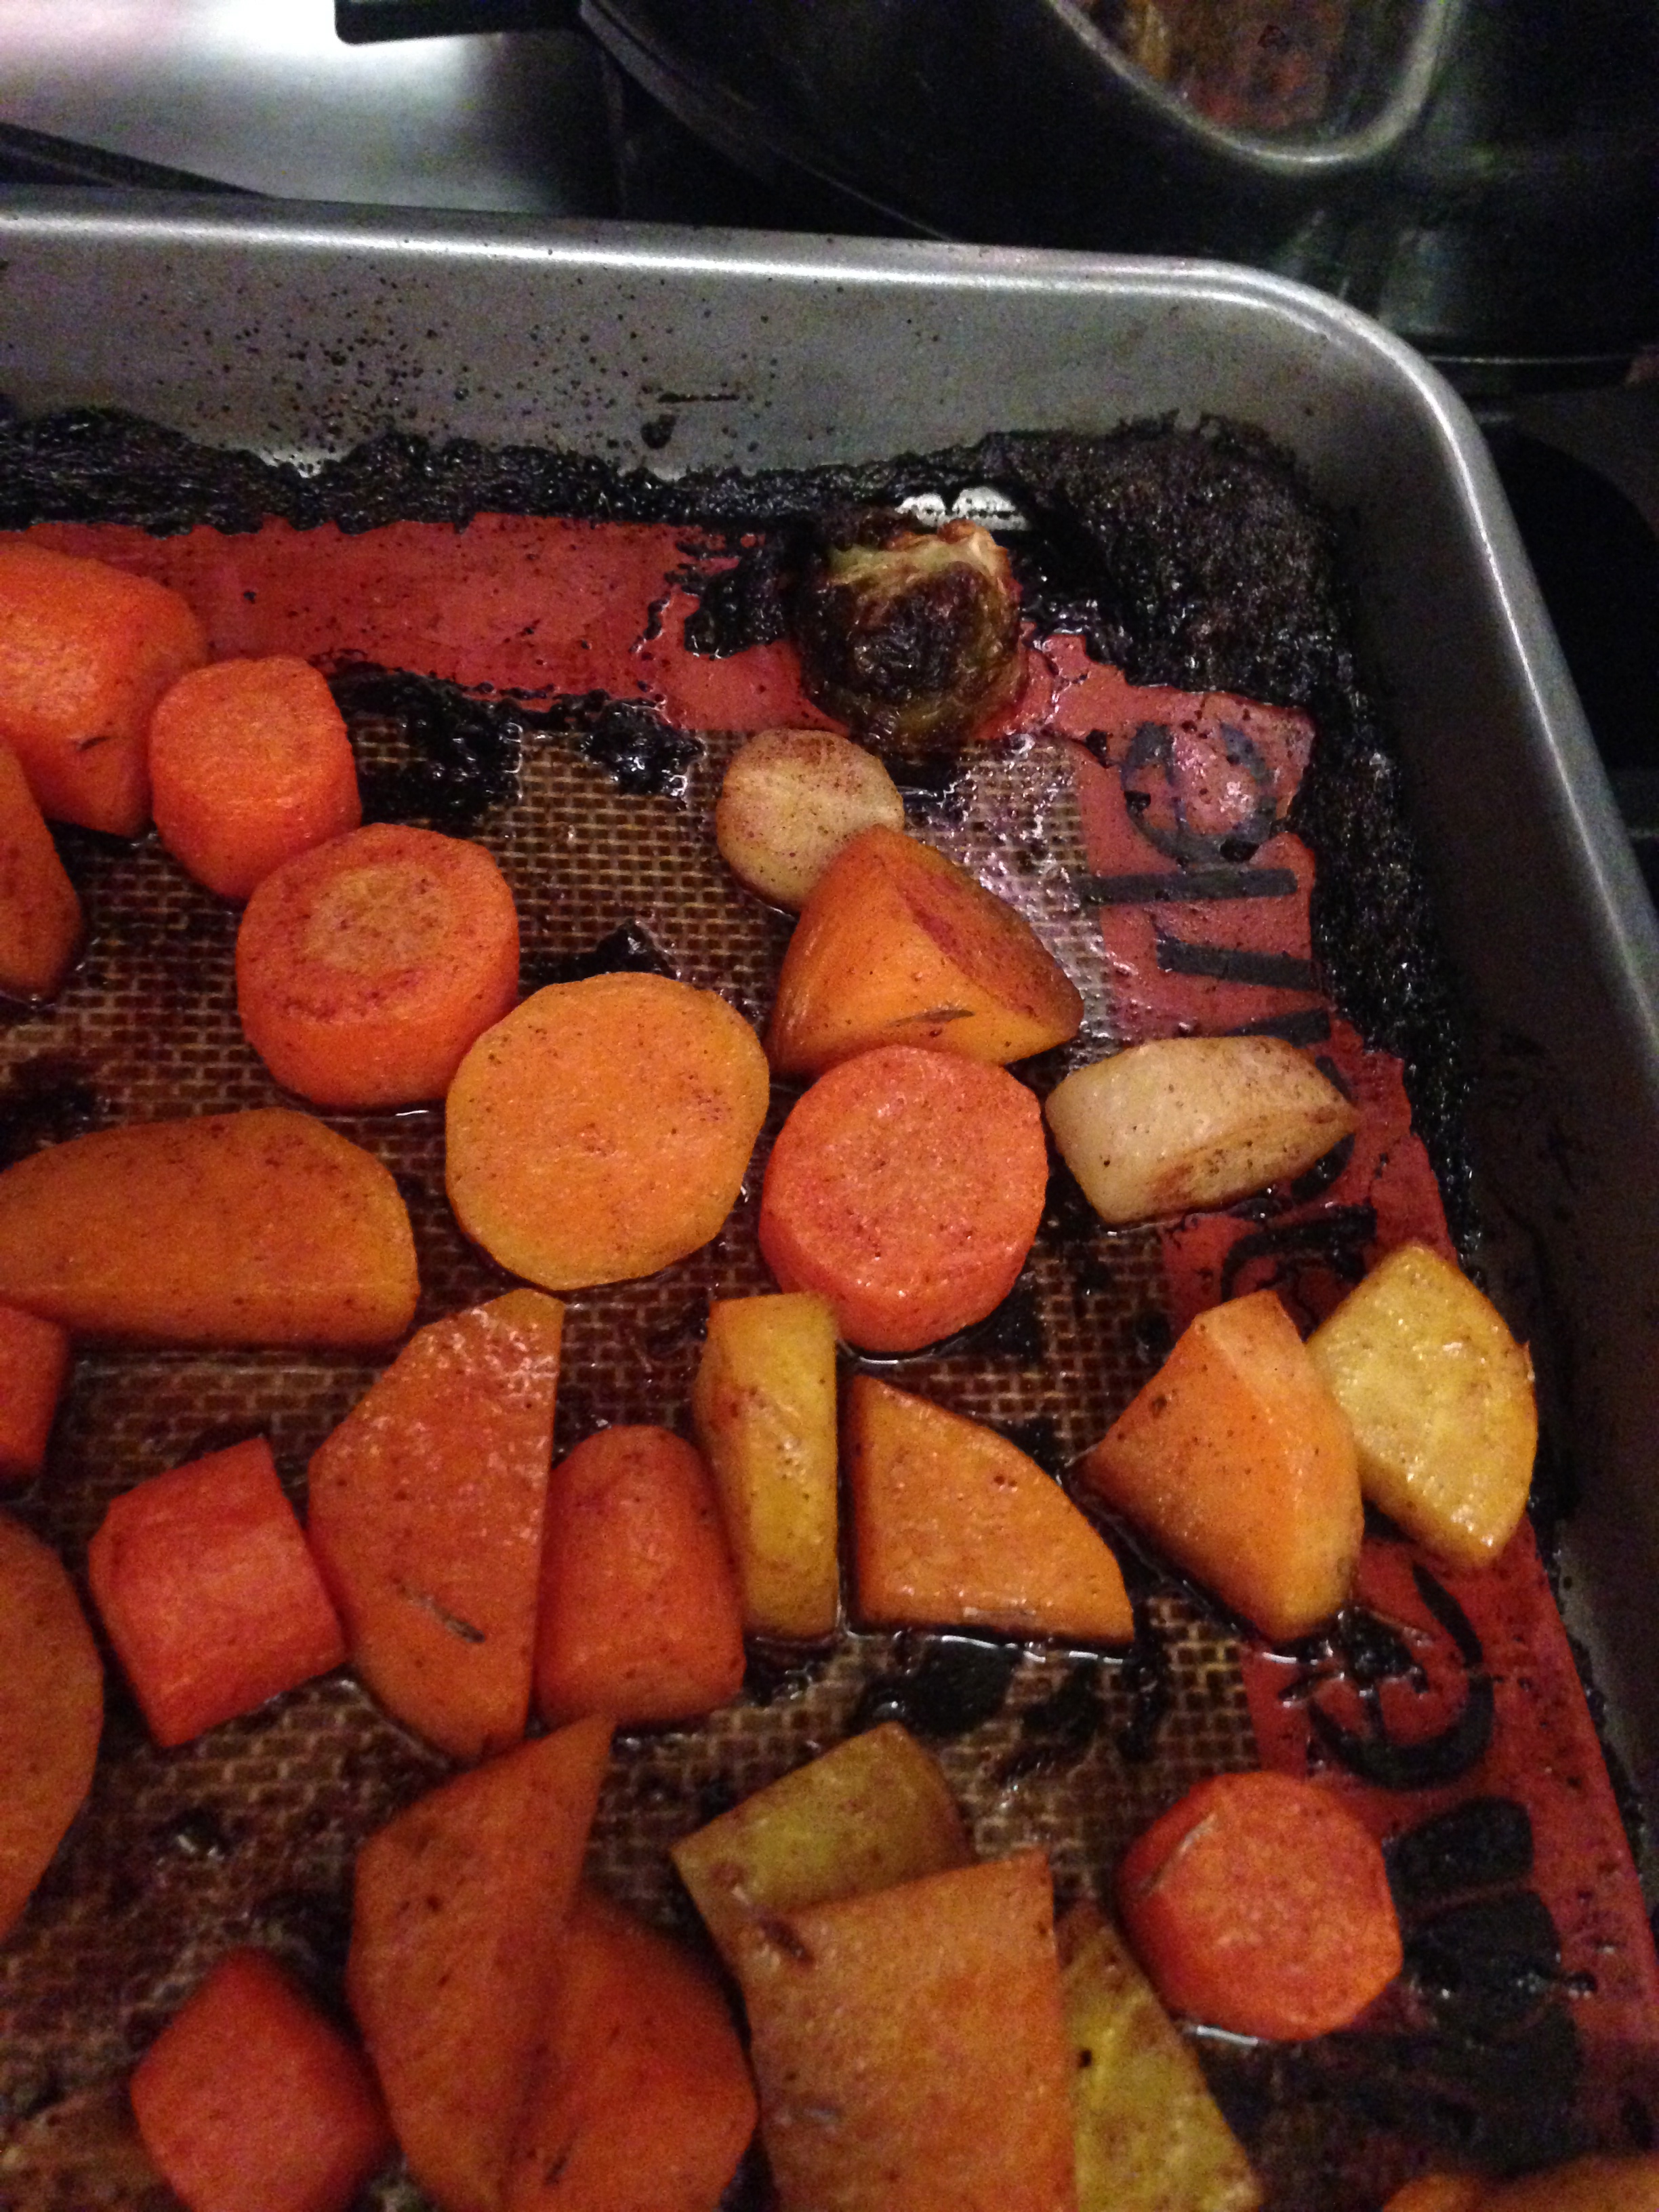
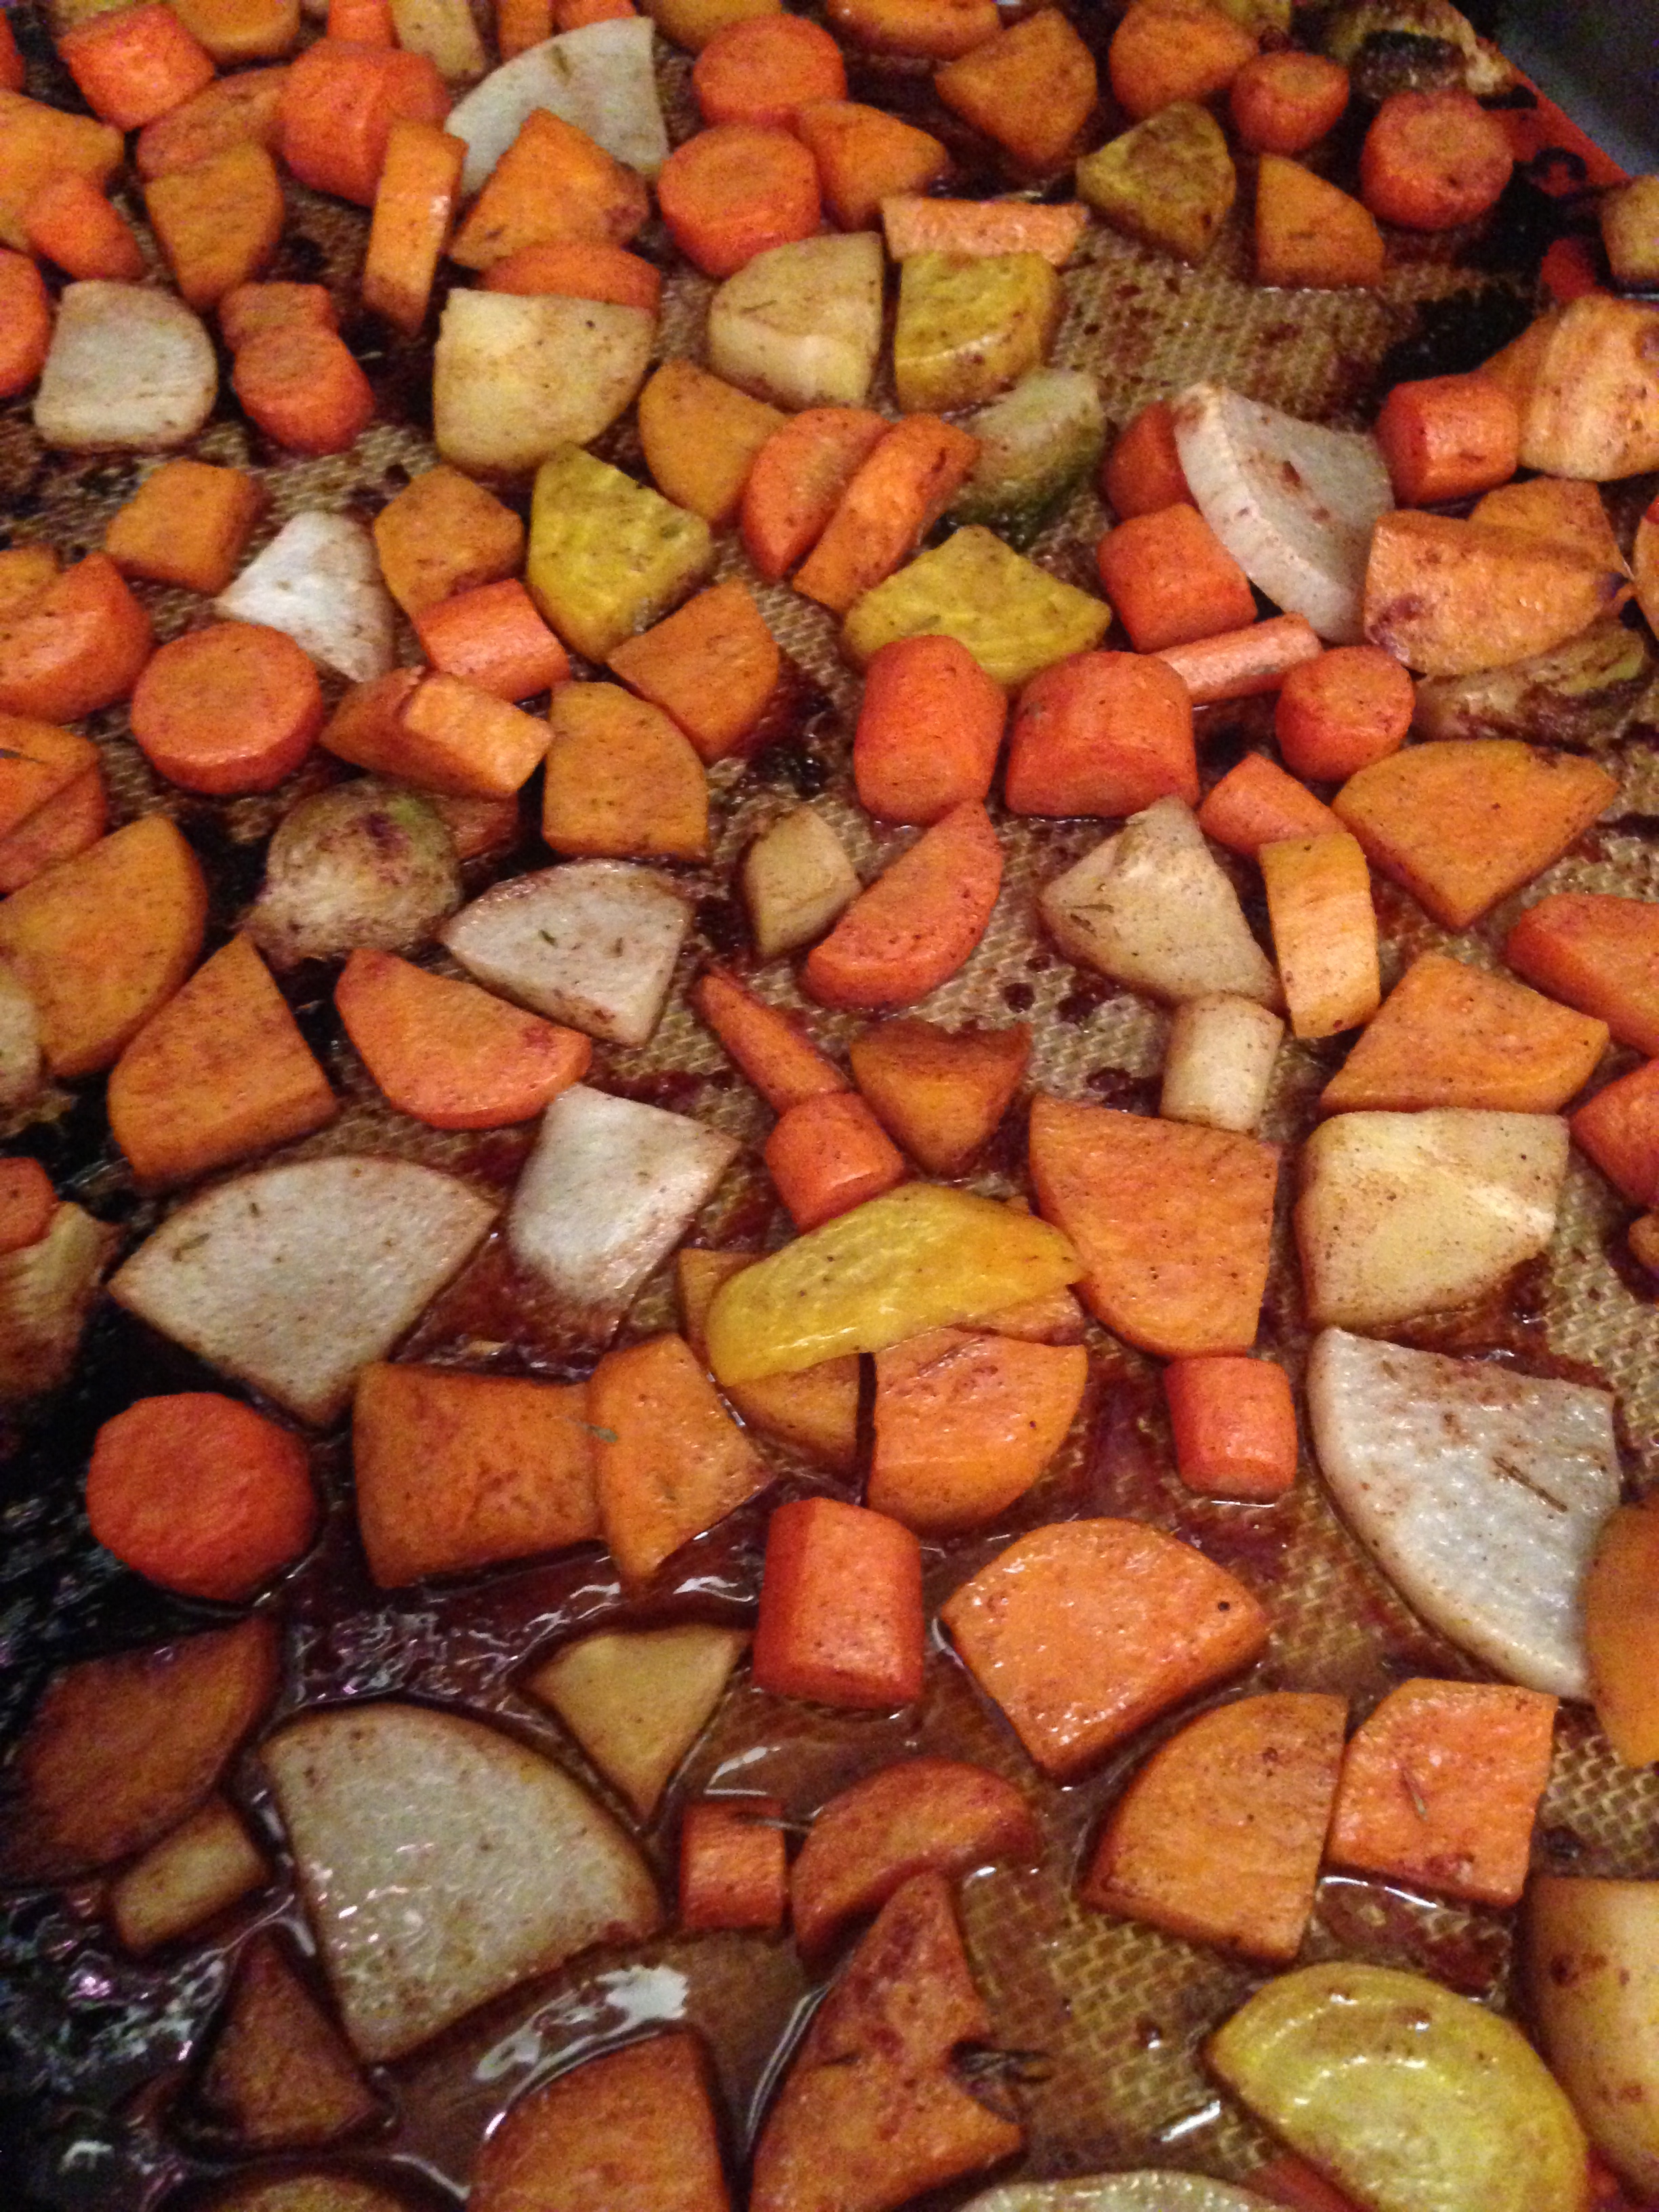
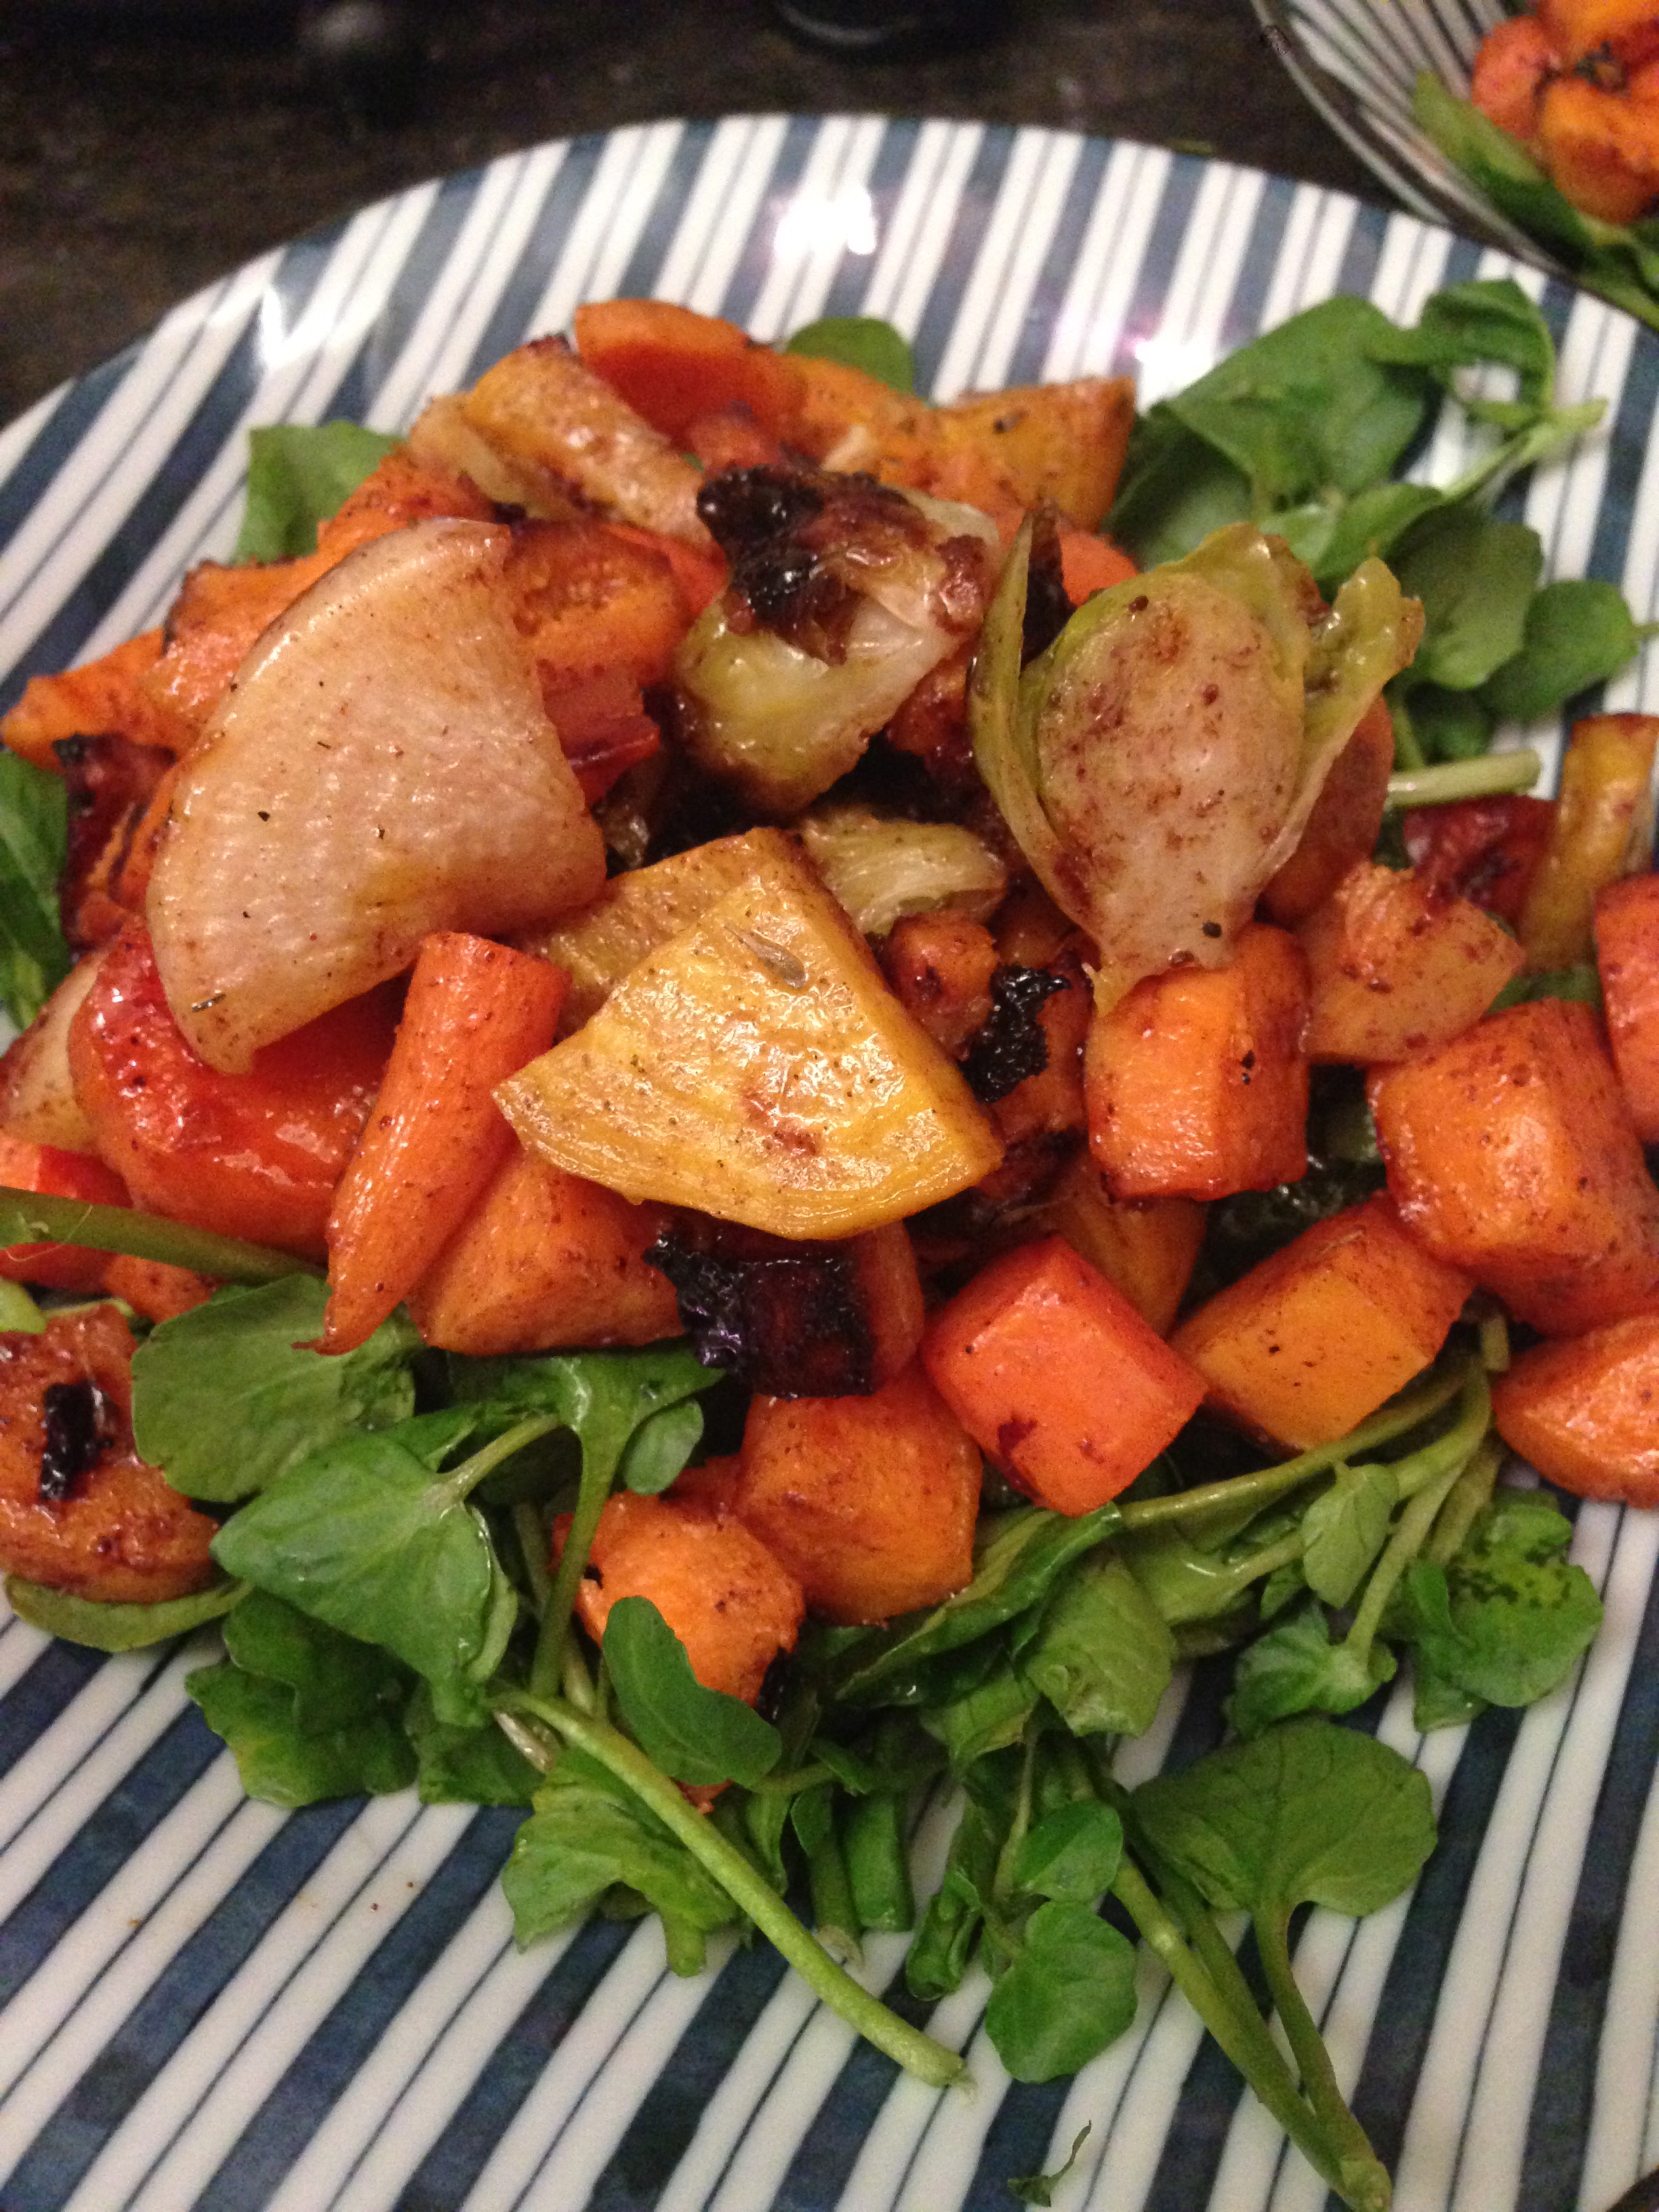
So we schlepped peanut butter cups, Drunk N Nutty pie, meringue kisses, two sets of brownies, apple cider salted caramels, and Mike’s famous butternut squash souffle up to White Plains.
My dad’s cousins host every year, and they always set a beautiful table and we all get name markers. The rule of Thanksgiving is that if you bring a date (which must be approved by Dinah, by the way), you get to sit with them during year 1, but after that, they’re on their own.

And my cousin Eric and Aunt Linda are our expert turkey carvers each year.

Mike was kind enough to go in early and grab a turkey leg for me. (Awww)

And the dessert table always just looks like something to dive into, mouth first.

Here is the final Drunk N’ Nutty pie:

And brownies.

And meringues with other brownies.

And the peanut butter cups.

With my cousin adding a sign to remind the family that these were famous peanut butter cups.

And the final apple cider salted caramels (with a spice cake behind that my aunt made). (IT”S JUST ALL SO GOOD!)

The day after Thanksgiving every year, we have a leftovers party at my dad’s house in New Jersey. We invite our friends and ask everyone to just bring some leftovers for everyone to share. It’s a great gathering and I look forward to this every year (almost as much as Thanksgiving itself). And every year I make a cider recipe that is an absolute crowd pleaser.

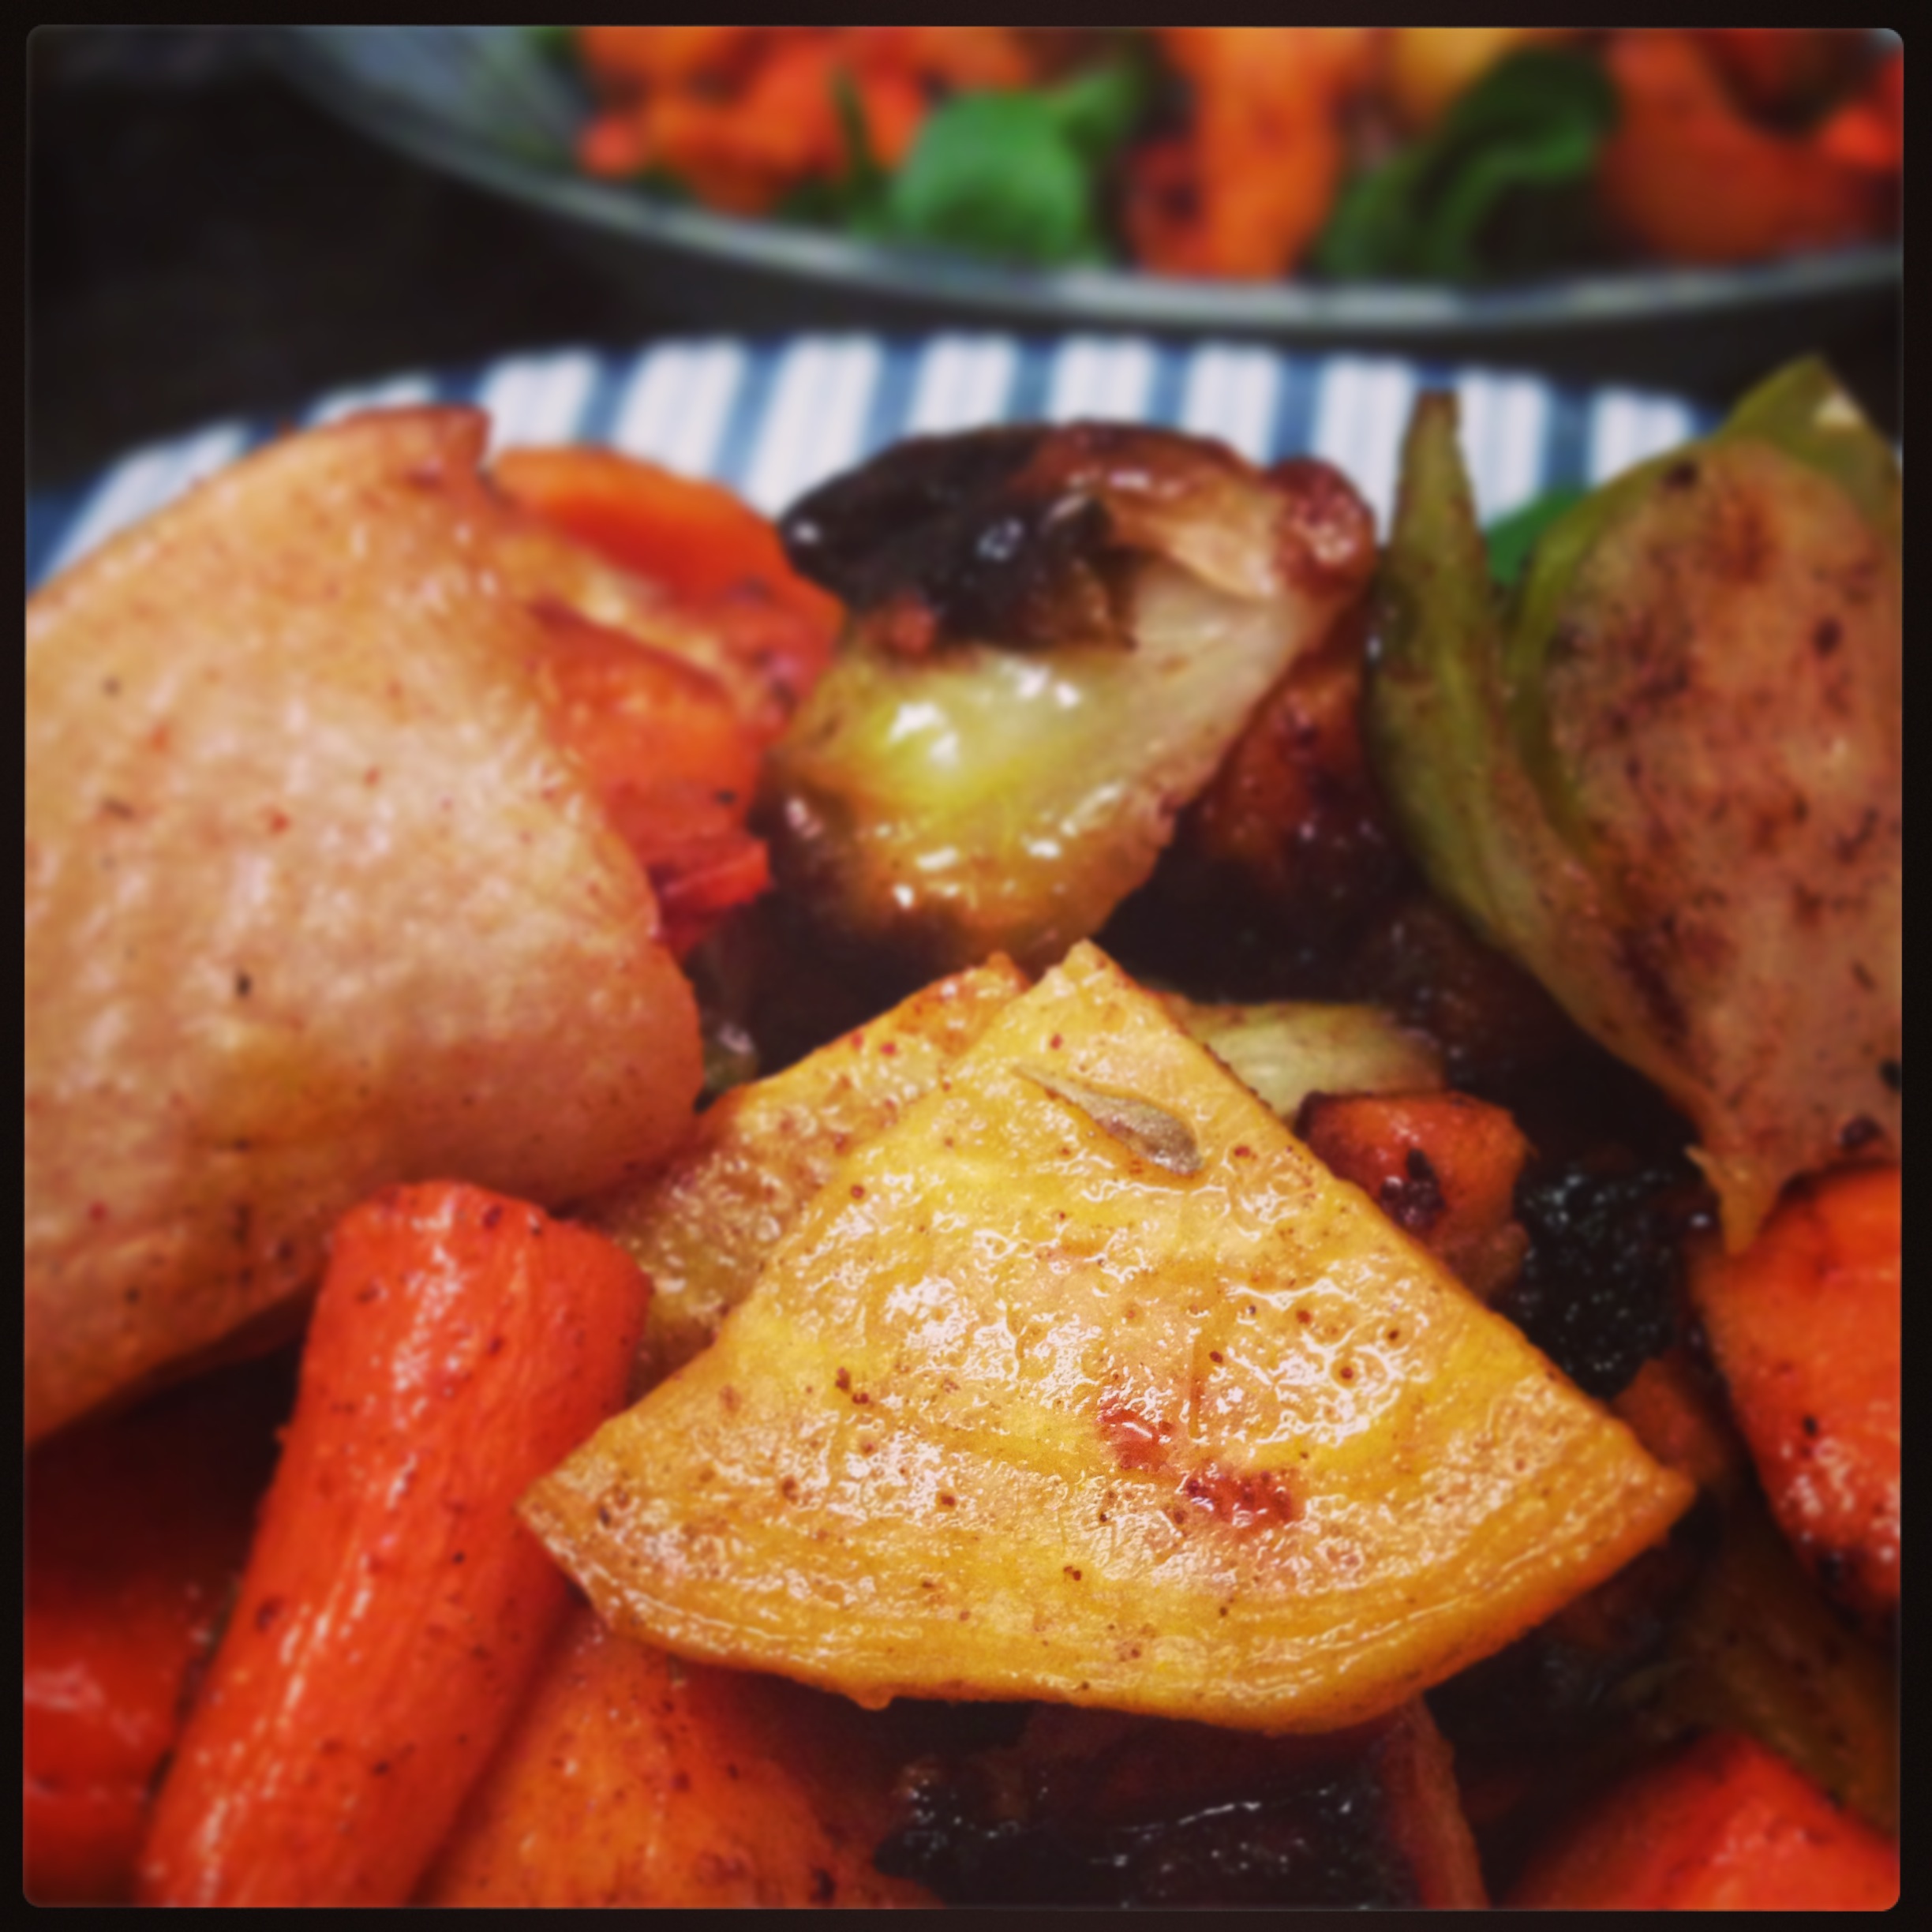
And my favorite breakfast the day after: leftover sweet potatoes with melted marshmallows on top!

Gosh I just love Thanksgiving!!!
______________________
RECIPES
______________________
Aunt Dinah’s Winning Brownie Recipe
Ingredients:
- 1 stick butter (softened)
- 1 stick margarine (softened)
- 1 3/4 cups sugar (it used to be 2 cups, but at some point in history it was changed)
- 4 ounces unsweetened or bitter Baker’s chocolate
- 4 eggs
- 1 cup bread flour
- a pinch of salt
- 3/4 to 1 cup chopped walnuts
Directions:
- Melt 4 ounces unsweetened or bitter Baker’s chocolate.
- Mix together 1 stick butter, 1 stick of margarine, 1 3/4 cups sugar.
- Add 4 eggs, one at a time, beat well after each egg.
- Slowly pour the melted chocolate into the sugar/butter/egg mixture.
- Add 1 cup four, 1/4 cup at a time.
- Add a pinch of salt.
- Add 3/4 cup (or 1 cup) of walnuts.
- Bake at 350 degrees. (The recipe says for 18-20 minutes, but it took me 25-30 each time, so just bake it until a toothpick comes out clean)
~~~~~~~~~~~~~~~~~~~~~~~~~~~~~~~~~~~~~~~~~~~~
THE Peanut Butter Cups
Ingredients:
- Good quality chocolate (I like Ghiradelli and frequently make milk, semi-sweet, and white chocolate versions to please everyone’s pallettes)
- Creamy Peanut butter – 1/2 cup
- Salted butter- 1 stick melted
- Confectioners Sugar- 1 & 1/3 cups
- Graham Cracker Crumbs – 1 cup
Directions:
- Prepare either mini candy cup molds (these are my favorite and I use them for all sorts of things) or cupcake liners (full size, cut down in about half)
- Melt chocolate and pour half into prepared molds (you can use your finger to spiral it up the sides of the cups so it makes a mini dish)
- Put these in the fridge until hardened
- Combine the peanut butter, butter, confectioners sugar, and graham cracker crumbs in a mixer until blended
- Put peanut butter mixture into the chocolate cups (Only put in enough peanut butter mixture so they are below the top level. You can smooth out the top of the chocolate with a bench scraper or knife)
- Top cups with the other half of the melted chocolate and put into refrigerator until set
- Pop out and try not to each all of them in one sitting (but I will totally understand if you do)
~~~~~~~~~~~~~~~~~~~~~~~~~~~~~~~~~~~~~~~~~~~~
Meringue Kisses
Ingredients:
- 2 egg whites (room temperature)
- pinch of cream of tarter
- pinch of salt
- 1 cup granulated sugar
- 6 oz. chocolate chips
- 1 tsp vanilla
Directions:
- Preheat to 350
- Beat egg whites until frothy
- Add pinch of cream of tarter and salt and beat until stiff
- Add sugar 1 tsp at a time
- Fold in chocolate chips
- Slowly add vanilla
- Put cookies on silpat
- Turn off oven and leave off over night
Tags: apple cider salted caramels, axelrod brownies, brownie battle, brownies, cider, dessert, drunk n nutty pie, family dinner, family recipes, levy brownies, melted chocolate and water, meringue kisses, peanut butter cups, recipe, recipes, thanksgiving 2012, turkey leg