Tag Archives: baking

Dexter Themed Cupcakes: A Gig

5 Feb

Friends come to me with various food questions quite regularly. This project started in much the same way. One friend wanted Dexter themed cupcakes for a friend of hers that is a huge Dexter fan.  Her inspiration was from a picture of cupcakes that were made for Magnolia Bakery for the show’s premier.   I gave her some names of local bakeries I knew of that did custom and theme cupcakes, but as she called around, it became obvious that no bakeries would make it. One offered to make it without the “glass,” but that just took the drama out of it.

I looked at the picture, looked around for sugar glass recipes, and concluded that I could absolutely make these cupcakes.

And so my first “paid gig” for baking began.

Since this was my first “professional” assignment, I decided it was absolutely necessary to make a test batch first.  The cupcake recipient actually was not a fan of chocolate, so my red velvet idea went quickly out the window.

First, I found a Martha Stewart recipe for the sugar glass, but I long ago realized that Martha’s kitchen staff makes everything look a whole lot better than I could ever get out of my kitchen. So I went on a quest for a “normal person” recipes and once again, AllRecipes.com came to the rescue.

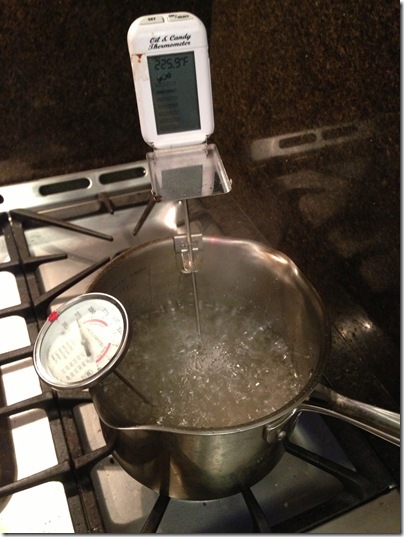
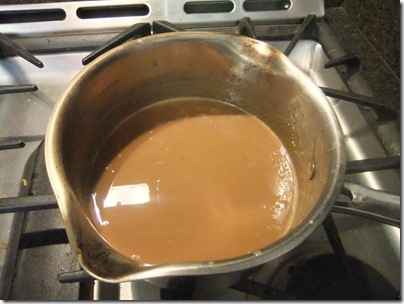
I combined them both (and the use of 2 different thermometers to check on the temperature) and made my attempt at sugar glass.

Import December 2012 iPhone 543

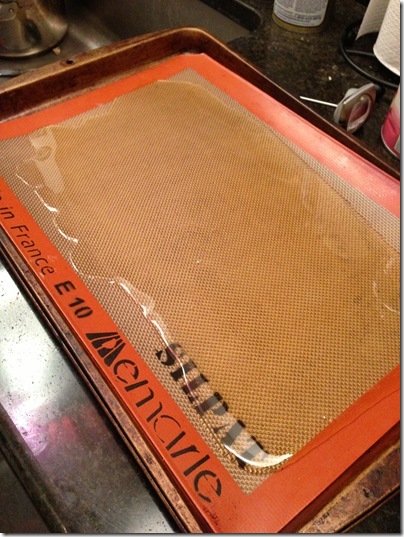
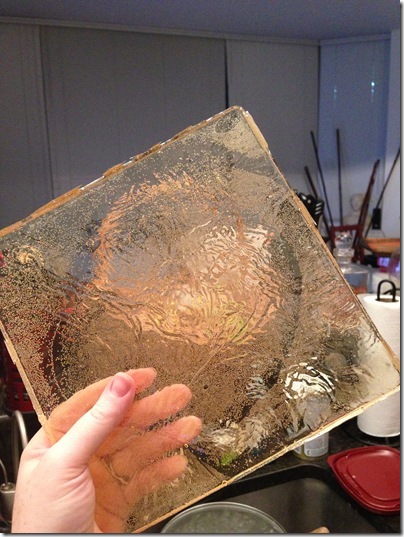
I was really excited when it actually worked! It was ever so slightly yellow tinged, which was disappointing, but I deemed it good enough to work.

Import December 2012 iPhone 545

And made a few batches of varying thickness.

Import December 2012 iPhone 546

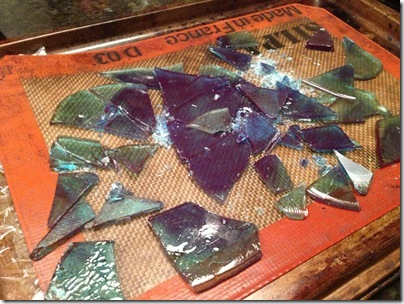
And just for fun, I dyed some blue and made some Breaking Bad Blue Sky (and put it all chopped up into a baggy for the friend who made the order, knowing she is a huge Breaking Bad fan.)

Import December 2012 iPhone 547

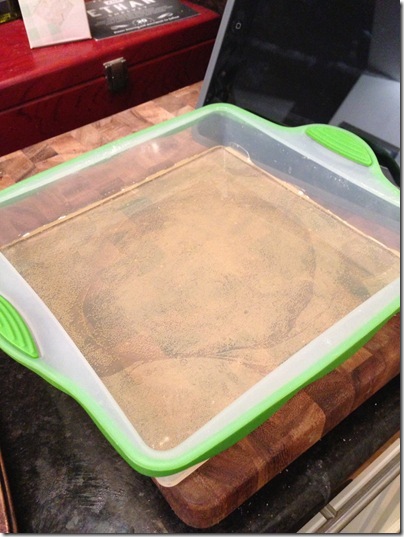
It was a bit rippled when I made the thick one.

Import December 2012 iPhone 548

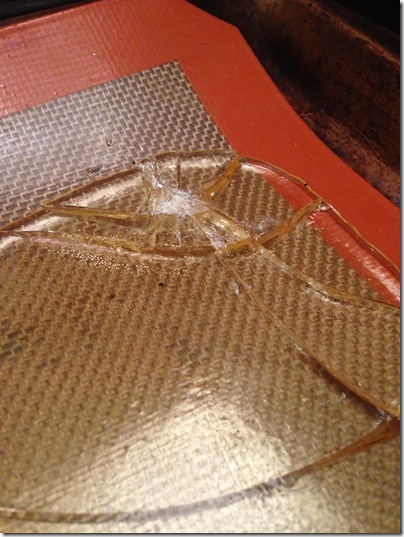
But the thinner one was very clear and shattered just like glass.

Import December 2012 iPhone 549

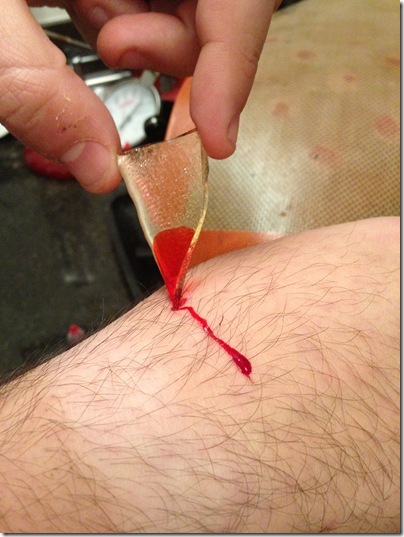
And cut like it!

Import December 2012 iPhone 552

(Just kidding! Sort of…) It was definitely sharp, but it made for some great gag glass with just a bit of red food coloring.

For the cupcake itself, I decided to go with a very basic cupcake that I added some spices to (ginger, cinnamon, allspice, and nutmeg) and then used the Bailey’s frosting that everyone loves.

Then it came time to figure out how to fill these bad boys. I wanted them to be filled with a blood colored jam of some kind that when cut into, would look like it was oozing blood.

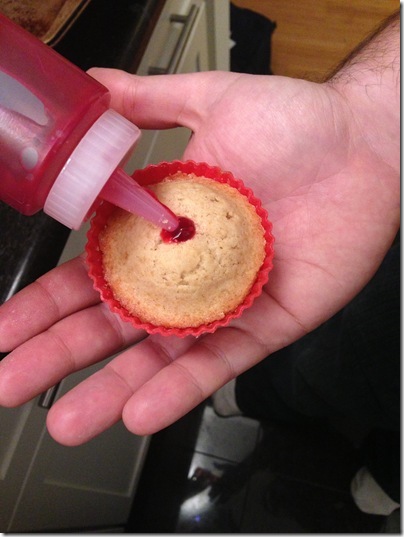
First I tried a cherry pie filling (without the solids) in a squirt bottle.

Import December 2012 iPhone 553

And while it looked a bit like it, the narrow amount just didn’t have the impact I wanted and it absorbed into the cake in a few minutes, so it didn’t really ooze all that well.

Import December 2012 iPhone 555

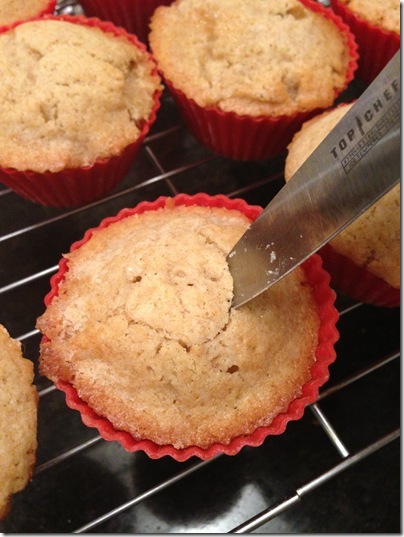
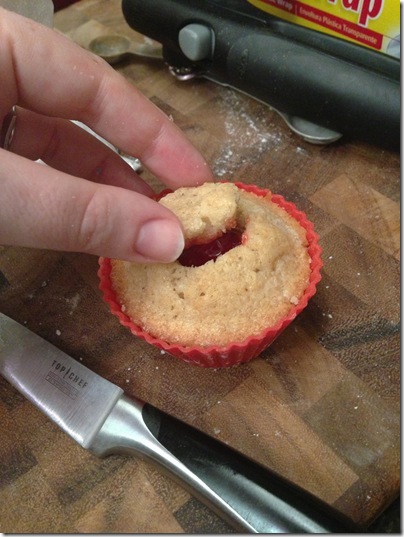
So next I tried the “cone” method where you cut a cone out of the cupcake…

Import December 2012 iPhone 556

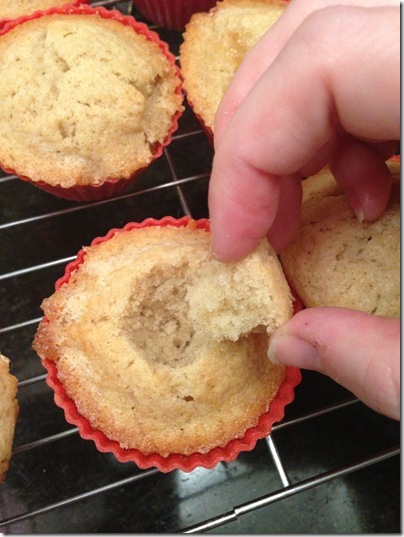
… then remove the section…

Import December 2012 iPhone 557

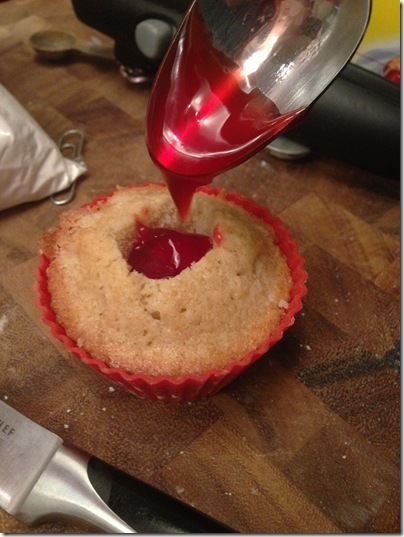
… fill the hollow with the filling…

Import December 2012 iPhone 558

… then replace the very top of the circle to fill the hole. This proved to be a pretty good method and I declared the trial a success. (The hole also let me drop a cherry into each, which I hoped would add to the flavor a bit).

Import December 2012 iPhone 559

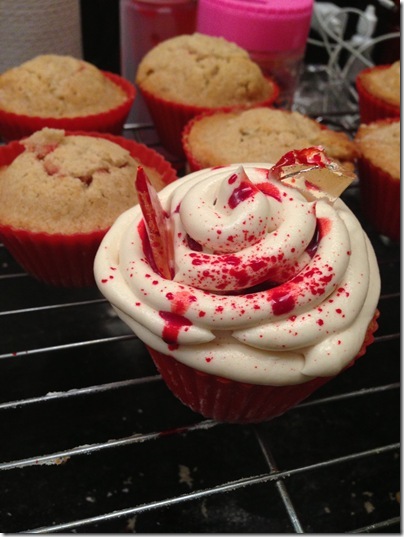
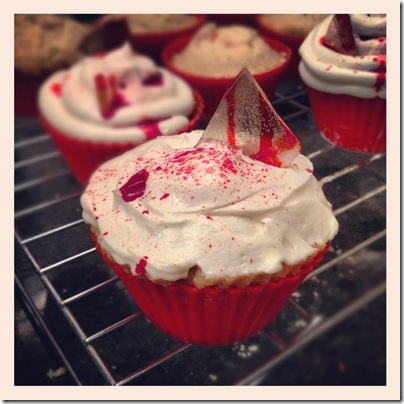
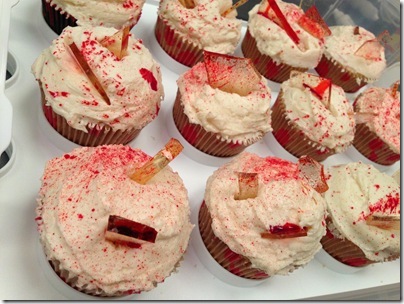
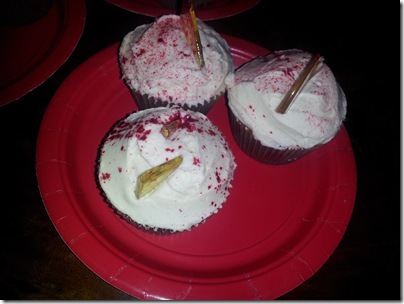
And then it came time to assemble.  I used a pastry bag to pipe the frosting on, stuck the sugar glass on it, then splattered the top with red food coloring.  And then… we had a Dexter cupcake.

Import December 2012 iPhone 560

We tried a few different “splatters.”  Red food coloring, red gel icing, cherry filling, jam… But the good ol’ red food coloring was really the best.

Import December 2012 iPhone 564

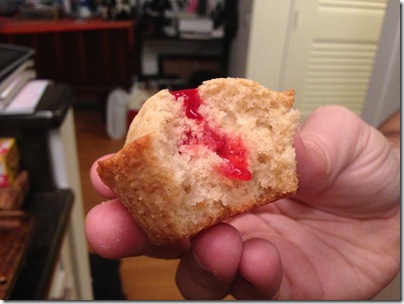
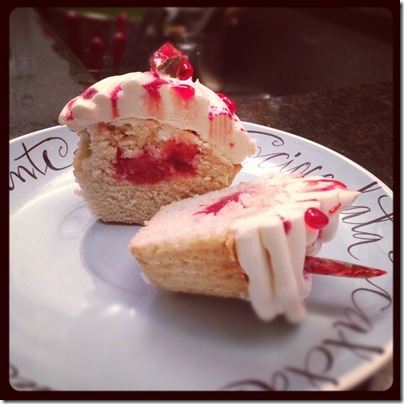
And cutting into the inside wasn’t as oozy as I wanted, but the cherry inside was a really nice addition.

Import December 2012 iPhone 567

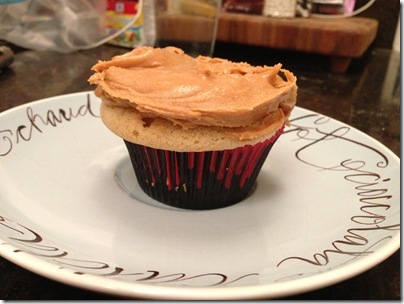
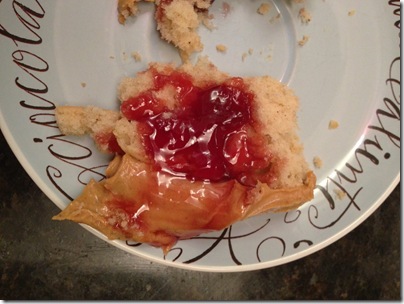
And since I had a few extras from the trial, I filled a few with jam and topped them with peanut butter instead of frosting.

Import December 2012 iPhone 609

Have I mentioned that I am a sucker for all things peanut butter and jelly?

Import December 2012 iPhone 610

So then came the day of the actual party.  I had ordered some specialty accessories including blood spatter cupcake liners, bone sprinkles, and bloody cleaver toothpicks.  (More on those later)

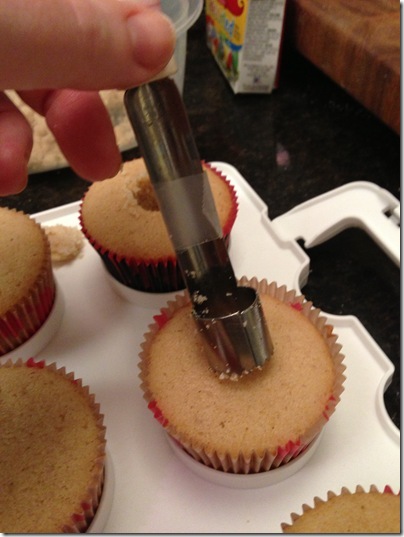
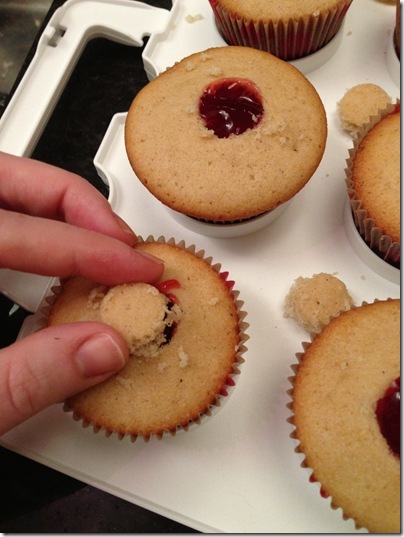
While the cone cutting was working, I decided to look through my stock of random kitchen accessories to see if I had something better. Sure enough, an old fashioned apple corer was perfect.

Import December 2012 iPhone 617

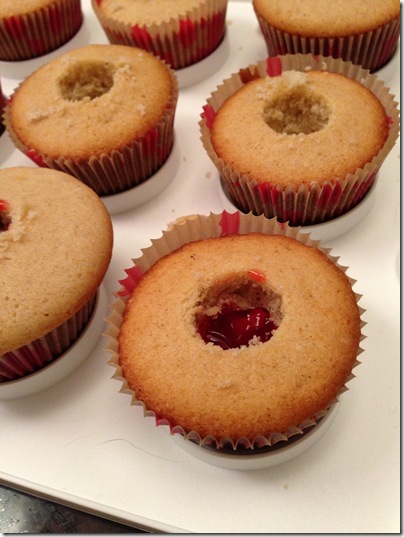
It pulled out a good well to add the cherry and cherry pie filling.

Import December 2012 iPhone 613

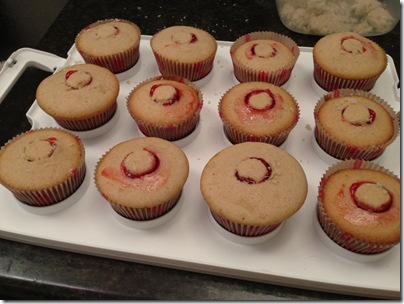
And left the top circle intact for replacing on the top.

Import December 2012 iPhone 615

All ready for frosting!

Import December 2012 iPhone 616

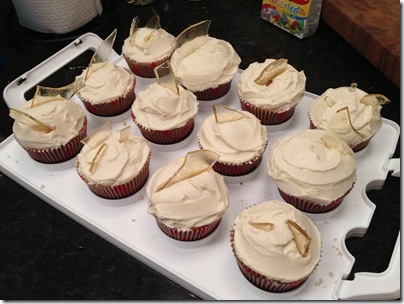
We decided to go with a spread frosting instead of a piped frosting, and then put the shards of sugar glass in them.

Import December 2012 iPhone 618

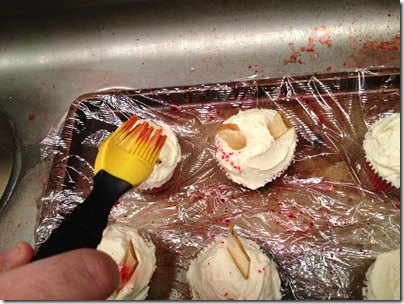
Then set up an elaborate blood spatter lab where we coated everything in saran warp, dropped the cap into the sink, and used pastry brushes to splatter the food coloring blood.

Import December 2012 iPhone 624

Then put them into the cupcake holder (which is never stable enough… why don’t they make the sides of those things just a bit higher?)

Ready for delivery!

Import December 2012 iPhone 625

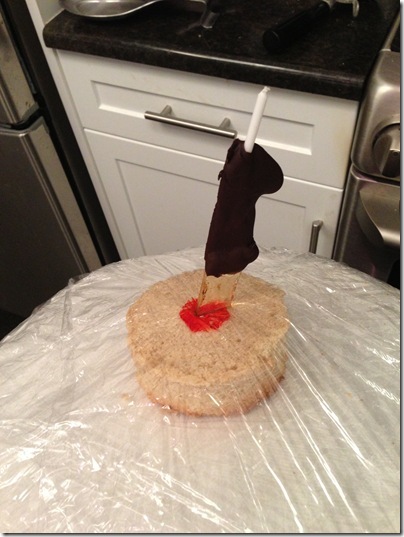
But I figured I could get even more creative.  So I took a piece of sugar glass that looked like a knife, molded a chocolate handle, inserted a birthday candle and made an edible knife/candle holder.

Then I took a “naked” cupcake, strapped it down under plastic wrap, and stabbed it with the knife.  I hope Dexter fans will appreciate.

Import December 2012 iPhone 627

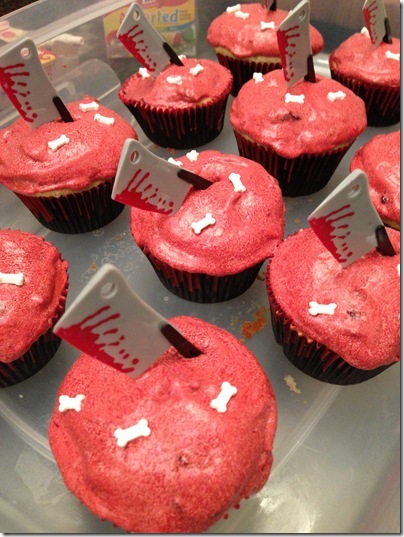
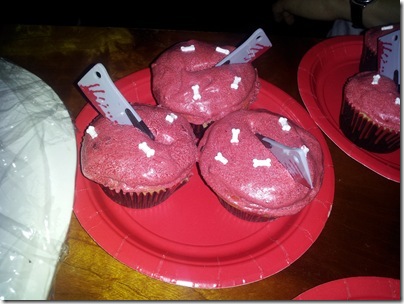
I also wanted to create some different kinda of decoration, so I decided to use the meat cleavers and bones in red topped cupcakes.

This is where I caution you… it is just about impossible to make RED frosting. I wound up with a whole lot of very pink frosting.  I then proceeded to dump every red colored thing in my cabinet into this (which included just about every fruit jam in history) and yet… it was still pink.  So Mike popped out to the store and got an industrial sized bottle of red food coloring and I dumped it in. I was concerned that the high concentration of red food coloring would change the flavor, but as it turns out there was so much fruit in there from all the jams that you couldn’t taste it (though no promises it wouldn’t dye your teeth red!)

Import December 2012 iPhone 629

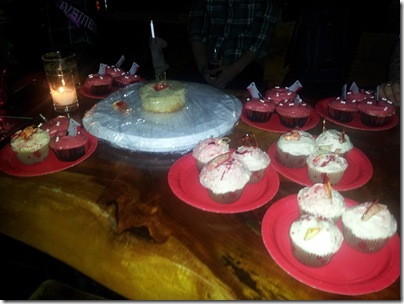
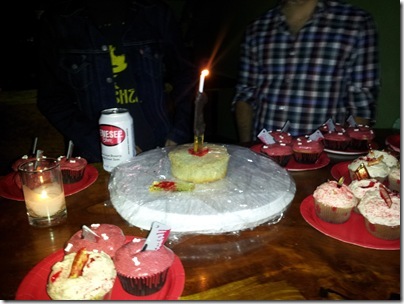
The bar where they set up was dark, but I was told that they were the hit of the party.

z2012-12-08 21.07.12

z2012-12-08 21.08.02

z2012-12-08 21.08.13

And I’m very glad to have done such a fun project and make a Dexter fan happy.

z2012-12-08 22.04.39

Chocolate Chip Cookie Dough Cups

18 Sep

I am a huge fan of Pinterest.  I have posted my favorite recipes and restaurants, as well as recipes I want to try. And don’t even get me started on how much of my wedding I have been pinning!
One recipe I stumbled on was Chocolate Chip Cookie Dough Peanut Butter Cups.  My homemade peanut butter cups are pretty well known and the idea of making cookie dough cups seemed pretty awesome.
You start by heating butter until milted and then stir in brown sugar, then remove from heat and whisk in the peanut butter.

DSCF9046

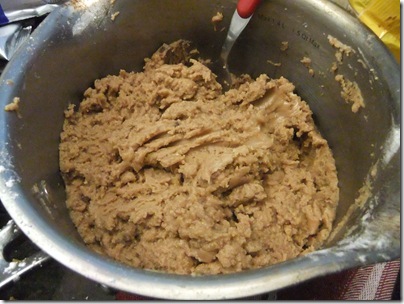
I whisked in the vanilla and it looked pretty liquidy.

DSCF9051

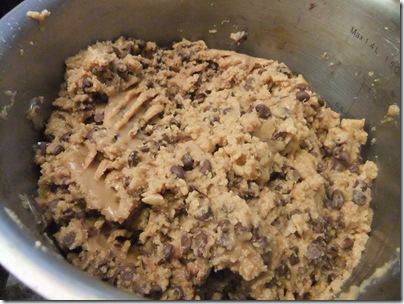
But after the 20 minutes of cooling, it firmed up nicely, just like dough.  And I added the chocolate chips (mini chips would be best for this).

DSCF9052

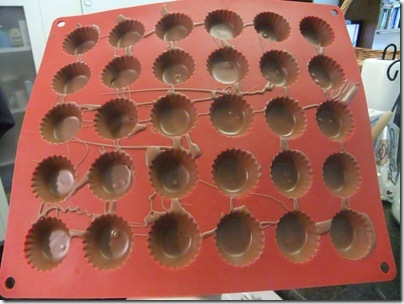
While it cooled, I lined my most favoritist cup molds with chocolate.  I have found an even faster way to do this by putting just the right amount of chocolate chips (6 small or 4 big) into each cup and then putting that in the microwave until it just melts. Then using my finger to spread it around and up the sides. SO simple!

DSCF9048

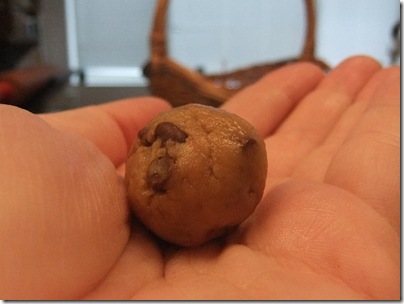
Once the dough was cool, I rolled it up into little balls.

DSCF9055

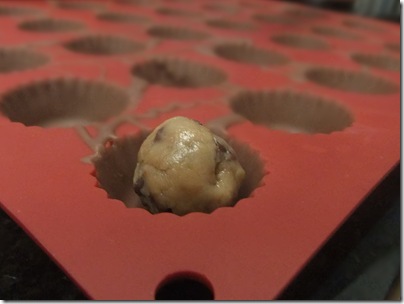
And placed each ball into a cup.

DSCF9057

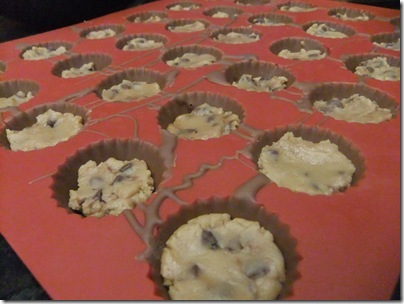
The pushed each ball down so it was flat and just below the top.

DSCF9059

At this point I melted more chocolate, placed a dollop on top of each cup, and then tamped it down so it created the top of the cup.  When you bought into it, you could see a perfect dough filled chocolate cup.  I am explaining this to you because I was too busy eating these suckers to take a picture. WHOOPS!

I really liked these, but they were just too close to the peanut butter cups (and not quite as good) to make it into the usual repertoire.  I made these again the following week and did it without the peanut butter.  I kept adjusting the recipe until it tasted more like cookie dough (including adding flour to get the consistency right) and it was DAMN good.  That version may make it… we’ll see.

Here is the recipe that connects from Pinterest.

Cream Puffs

30 Aug

I really love when Mike comes home and says “You know… my coworker says they really love ______.”  And then suddenly I find myself searching for recipes and Mike finds himself lugging lots of tupperware into his office.  I love a good baking challenge.  So when a love for cream puffs was mentioned, I began scratching my head.

Aren’t cream puffs really hard to bake?

As it turns out… NO… Not even a little bit!

I scoured AllRecipes.com and eventually landed on this recipe. I was skeptical how vanilla instant pudding would work out, and while it felt a bit like cheating, the rave reviews about it made me try it out.

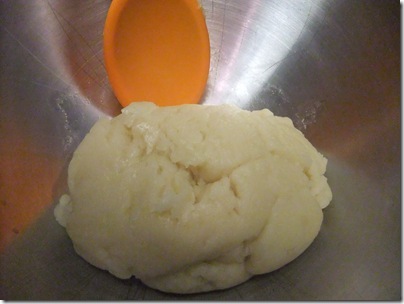
The dough is actually started in a pot on the stove. Water, butter, flour, salt. 

DSCF9084

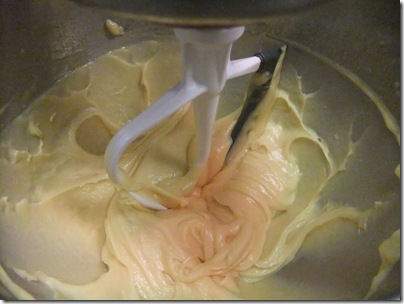
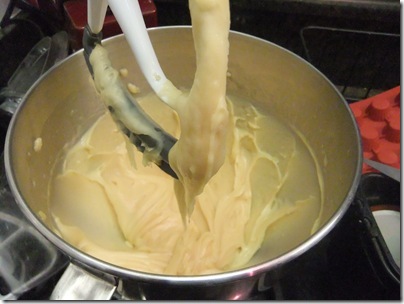
And then put into a mixer and beat in the eggs.

DSCF9087

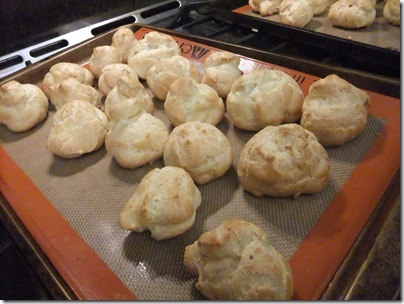
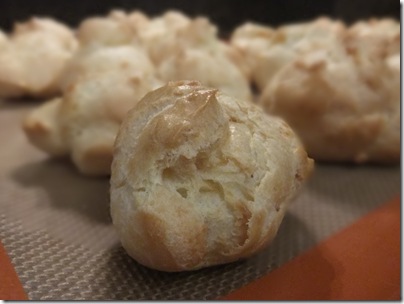
It made a perfectly thick dough, which I then dropped by the spoonful onto a silpat and baked.

DSCF9088

I was so excited when I opened up the oven and there were perfect little puffs.

DSCF9089

The recipe says to slice the tops off, put the filling in the middle, and then put the sliced top back on.  But I wanted to fill these little beautiful puffs.

DSCF9091

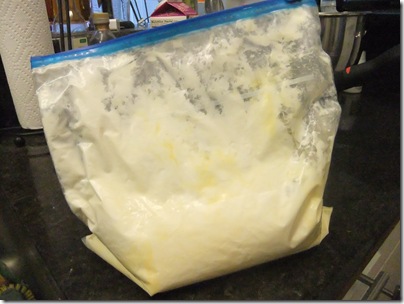
I first tried the old “Put it in a ziplock and cut off the corner” piping method, but the bag was just too soft to get into the cream puff in any sane way.

DSCF9083

So I began to look around the apartment for something to make it easier (and also allow Mike to take it into the work and do it there, so it didn’t get soggy).

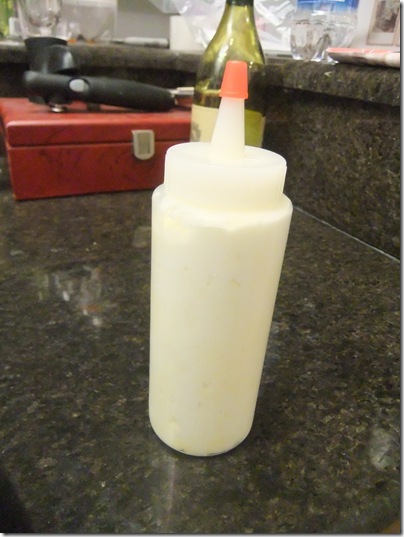
Then I remembered my trusty little squeeze bottles.  I don’t know what I ever did before these babies!

DSCF9093

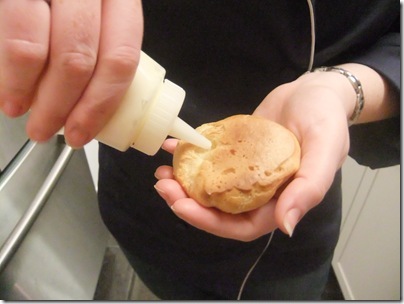
So all you do is flip it over, put the spout into the bottom of the puff, and squeeze until full. There is a hollow space in the puff and it works like a charm.

DSCF9095

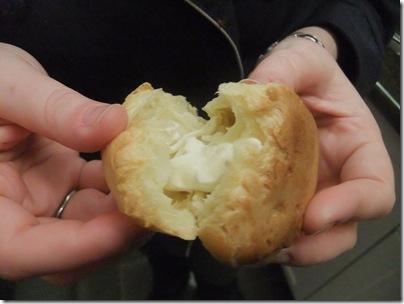
And when you popped them open, they were flaky yet doughy and tender puffs with a crispy shell and great filling.  It was a really awesome recipe.

DSCF9097

These were so easy to make, that I would easily do these for any dinner party. They are impressive without being time consuming. And I was impressed that they lasted overnight and that Mike could fill them the following day.

_______________
RECIPE
_______________

Ingredients

  • 2 (3.5 ounce) packages instant vanilla pudding mix
  • 2 cups heavy cream
  • 1 cup milk
  •  
  • 1/2 cup butter
  • 1 cup water
  • 1/4 teaspoon salt
  • 1 cup all-purpose flour
  • 4 eggs

Directions

  1. Mix together vanilla instant pudding mix, cream and milk. Cover and refrigerate to set.
  2. Preheat oven to 425 degrees F (220 degrees C).
  3. In a large pot, bring water and butter to a rolling boil. Stir in flour and salt until the mixture forms a ball. Transfer the dough to a large mixing bowl. Using a wooden spoon or stand mixer, beat in the eggs one at a time, mixing well after each. Drop by tablespoonfuls onto an ungreased baking sheet.
  4. Bake for 20 to 25 minutes in the preheated oven, until golden brown. Centers should be dry.
  5. When the shells are cool, either split and fill them with the pudding mixture, or use a pastry bag to pipe the pudding into the shells.

http://allrecipes.com/recipe/cream-puffs/detail.aspx