Archive | Baking RSS feed for this section

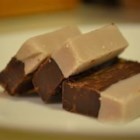
Sludge Fudge

22 Mar

For my coworkers birthdays, I have sent surveys to ask for their favorite desserts.  My one coworker said “anything with raspberries and chocolate” so I went about trying to find a fun recipe that included both.  I was surfing through allrecipes.com and came upon a beautiful looking chocolate and raspberry layered fudge recipe

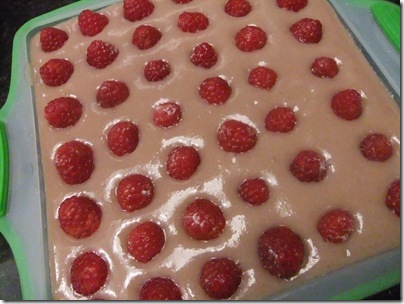
It started out pretty good… made some easy chocolate fudge and layered it on the bottom… then made some of the raspberry fudge and layered it on top, then topped it with raspberries. 

DSCF7524

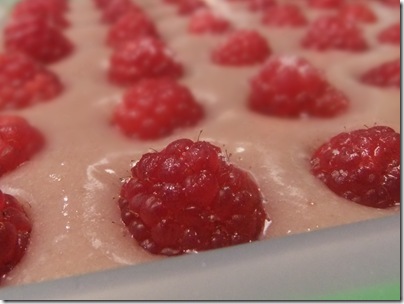
It sure looked pretty.

DSCF7527

That is… until I tried to get it out.

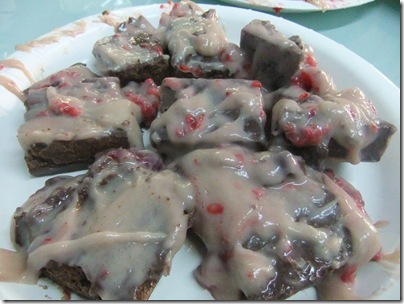
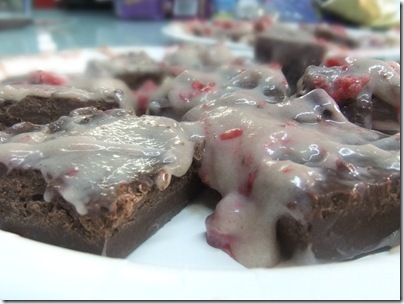
Turns out, the top layer didn’t actually set up.  It was basically raspberry mush… and it caused what can only be defined as “goop” to spread all over the fudge below as soon as I cut into it.

DSCF7528

Don’t get me wrong, it still tasted DEElicious, but it was a sloppy, gooey, sticky mess.

DSCF7529

The notes on the recipe said that a lot of people had this issue, and I should have listened.  Only a few people had issues, so I figured they screwed up and if I followed the recipe pretty closely, I’d be fine.  Wrong.  It didn’t seem that the ratios between the chocolate fudge and the raspberry fudge were that different, but white chocolate does act very differently.  I would make this again, but with more white chocolate and no cream, and perhaps some gelatin.


________________________
RECIPE
________________________


Raspberry Truffle Fudge

 
recipe image
Rated: rating
Submitted By: Leeza
Photo By: littlemisscook
Prep Time: 10 Minutes
Cook Time: 10 Minutes
Ready In: 1 Hour 20 Minutes
Servings: 40
“A unforgettable double-layer confection that’s absolutely perfect for your true love!”
Ingredients:
3 cups semi-sweet chocolate chips
1 (14 ounce) can sweetened condensed
milk
1 1/2 teaspoons vanilla extract
salt to taste
 
1/4 cup heavy cream
1/4 cup raspberry flavored liqueur
2 cups semi-sweet chocolate chips (substitite white chocolate to get the top layer to be pink)
Directions:
1. Spray a 9×9 inch pan with non-stick cooking spray, and line with wax paper.
2. In a microwave-safe bowl, combine 3 cups chocolate chips and sweetened condensed milk. Heat in microwave until chocolate melts, stirring occasionally. Be careful not to let it scorch. Stir in the vanilla and salt. Spread into pan, and cool to room temperature.
3. In a microwave-safe bowl, combine cream, liqueur, and 2 cups chocolate chips. Heat in microwave until the chocolate melts; stir until smooth. Cool to lukewarm, then pour over the fudge layer. Refrigerate until both layers are completely set, about 1 hour. Cut into 1 inch pieces.
ALL RIGHTS RESERVED © 2012 Allrecipes.com Copied from Allrecipes.com 3/18/2012

I made bread!

24 Jan

Two years ago, I epically failed at making bread. I went into it with such gusto… but it was so traumatic that it took a full 2 years for me to pull up the courage to try again.

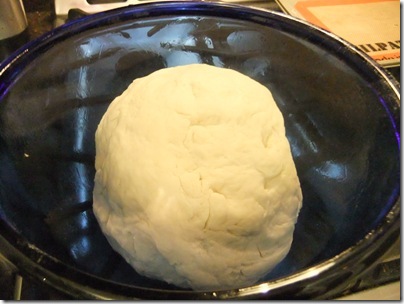
I received a recipe that my friend Lillian had been using for years.  By the time I put all the dough together and kneaded, I wound up with a perfect ball of dough.  A much better state than the one from 2 years ago at this point.

DSCF7386

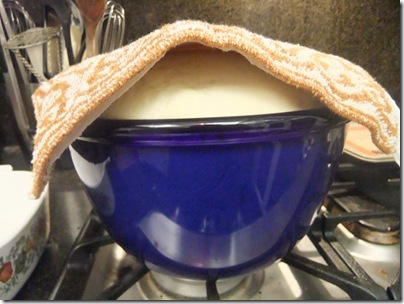
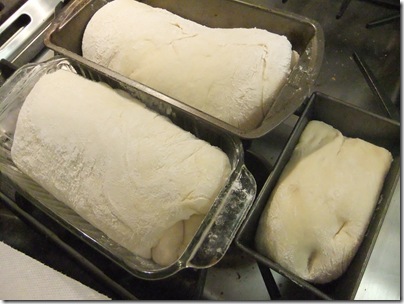
And then I left for a bit and came back the requested 1 hour later and was overjoyed to see my dough had risen SO MUCH that it was playing pic-a-boo under my dish towel.

DSCF7387

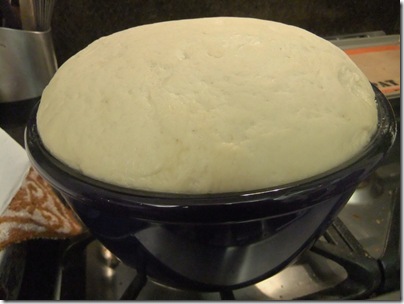
Now that was SOME rise!

DSCF7390

I pulled it out and took out some aggression by punching it in the face. (And while you’re there… LIKE NYC Nom Nom on Facebook!)

I then split it into 2 loaf pans and one mini loaf pan.

DSCF7393

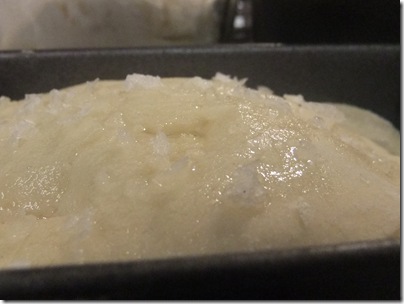
And since I just can’t 100% follow a recipe without adding something to it… I painted the top of olive oil and then added flake salt to the top of the mini loaf.

DSCF7394

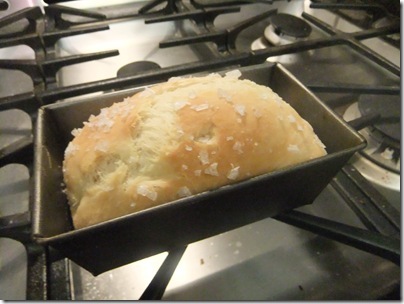
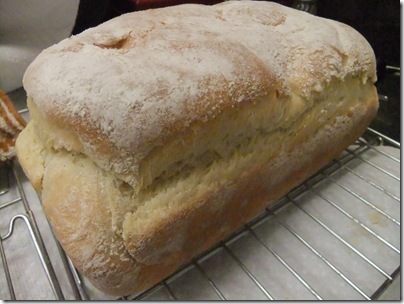
And when it came out of the oven, I was ecstatic.  Not only did it LOOK like bread… it SMELLED like bread!

DSCF7395

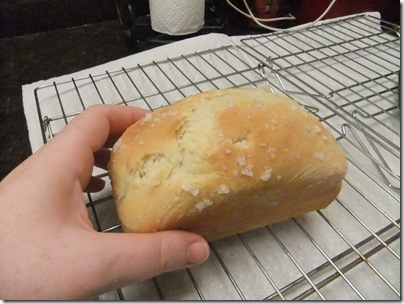
And it’s hard to resist a wee loaf.

DSCF7397

The bigger loafs also… amazingly… both LOOKED and SMELLED like bread.  It was so satisfying! (So satisfying, in fact, that I debated not cutting into it just in case I screwed something up)

DSCF7416

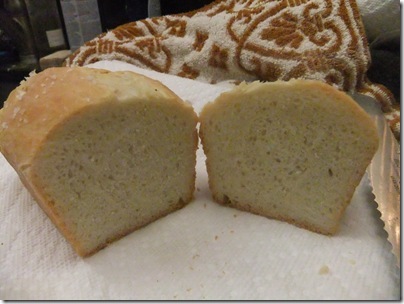
But cut into it we did and it sliced up perfectly.

DSCF7418

And then we ate it with homemade jam…

And it was good.

Damn good.

It was BREAD! Real bread!

And I made it.

_______________________
RECIPE
_______________________

Homemade White Bread from Lillian (original source unknown)

INGREDIENTS:
7 1/4 to 7 3/4 cups bread flour
1 tablespoon nonfat dry-milk powder (they sell this in big packets in big boxes)
2 packages active dry yeast
2 2/3 cups water
1/3 cups shortening
3 tablespoons sugar
2 teaspoons salt

DIRECTIONS:

  • In a large mixing bowl, combine 3 cups of the bread flour, the nonfat milk powder and yeast; set aside.
  • In a medium saucepan, heat and stir water, shortening, sugar and salt until just warm and shortening almost melts (I actually got nervous because I know temperature is important for yeast, so I looked it up and found this handy dandy chart. I realized my water was WAY too hot already, so I pulled it and let it cool down to below 130°)
  • Add water mixture to the dry mixture. Beat with an electric mixer on low speed for 30 seconds, scraping the sides of the bowl constantly.
  • Beat on high speed for 3 minutes.
  • Stir in as much of the remaining flour as you can with a wooden spoon.
  • Turn the dough onto a lightly floured surface.
  • Knead in enough of the remaining flour to make a moderately stiff dough that’s smooth and elastic (8-9 minutes total). Shape the dough into a ball.
  • Place in a lightly greased bowl, turning once to grease the surface of the dough. Cover and let dough rise in a warm place until doubled in size. (45-60 minutes)
  • Punch dough down.
  • Turn out again onto a lightly floured surface. Divide into 2 or 3 equal portions.
  • Cover; let rest for 10 minutes.
  • Meanwhile, lightly grease two 9x5x3 inch loaf pans or three 8x4x2 inch loaf pans.
  • Shape each portion of dough into a loaf by rolling on a lightly floured surface into a 12×8 inch rectangle. Roll up, jelly-roll style, starting from the short side. Seal with fingertips as you roll.
  • Place into prepared loaf pans.
  • Cover and let rise in a warm place until almost doubled (20-30 minutes).  (Mine didn’t really rise MUCH more, I guess because it rose SO much in the first round, but it turned out just fine)
  • Bake in a 375 degree oven for 30-40 minutes or until bread sounds hollow when you tap the top with your finger. (My mini loaf took about 20 minutes total)
  • Immediately remove bread from pans and cool on wire racks.

YIELD: 2 or 3 loaves

Not all experiments work…

12 Jan

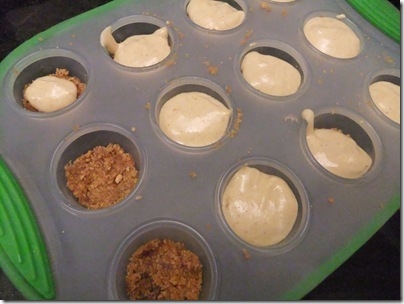
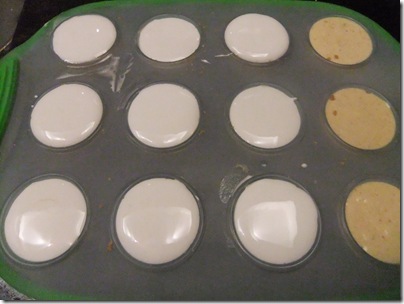
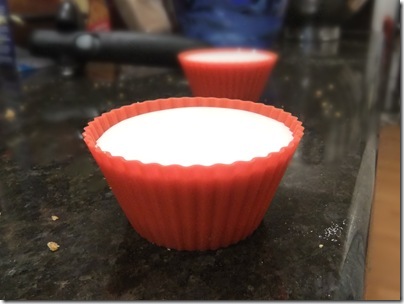
I had some extra pumpkin cheesecake batter and an egg white.  So inspiration set in.  Can I bake a mini cheesecake with a meringue top?

DSCF7042

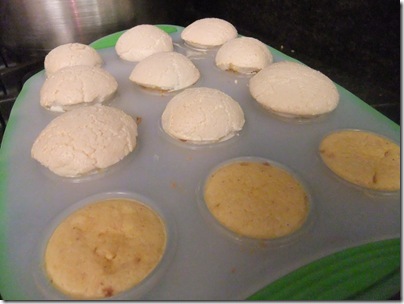
Would the cheesecake set without burning the meringue?

DSCF7043

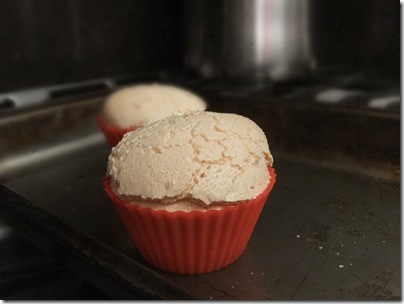
Would it all stick together to make one ultimate dessert of 2 of my favorite things?

DSCF7045

Would this be my claim to baking fame?

DSCF7047

Could it be? Could it work?

DSCF7049

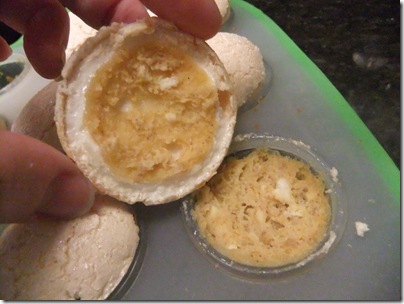
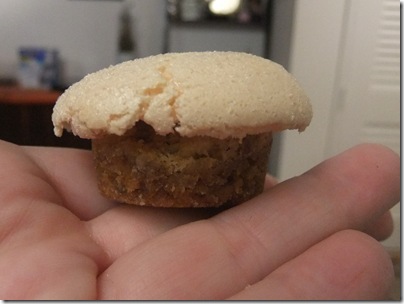
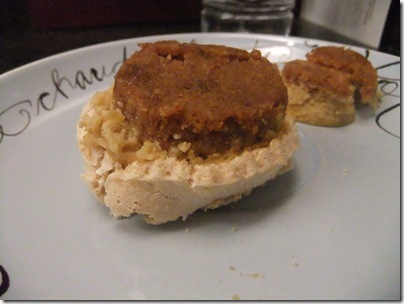
As it turns out… the answer was no.  The light meringue crisp didn’t work with the dense cheesecake, and the tops just popped right off.

DSCF7051

Sure… they could be reassembled into little toadstools.

DSCF7053

But the only real way to eat it was upside down in a mess of a recipe that just didn’t work…

DSCF7050

But even experiments that don’t taste as you intended can be delicious in their own way 🙂