My friend Jeff started the #Fegguary Challenge a few years ago, and this year he upped the ante to an Eggstra Special Challenge (inspired by the Ice Bucket Challenge, I’m sure, but with a focus on health rather than donations). I was on his first list of challengees (and now I have to challenge 3 people… stay tuned on Facebook for my official challenges).
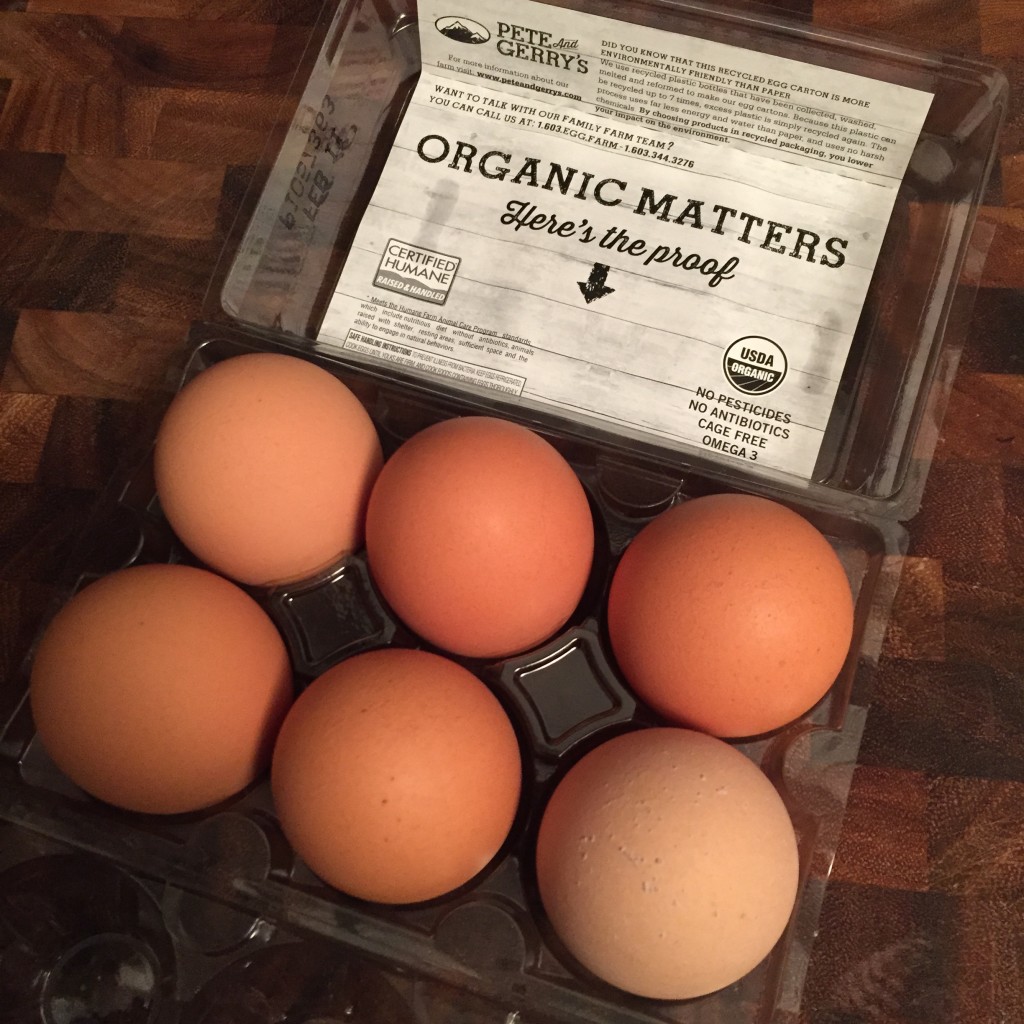
Luckily, I am always stocked with eggs (because I love them!) and Pete & Gerry’s Organic Eggs are my favorite (it helps that they are also my favorite clients).
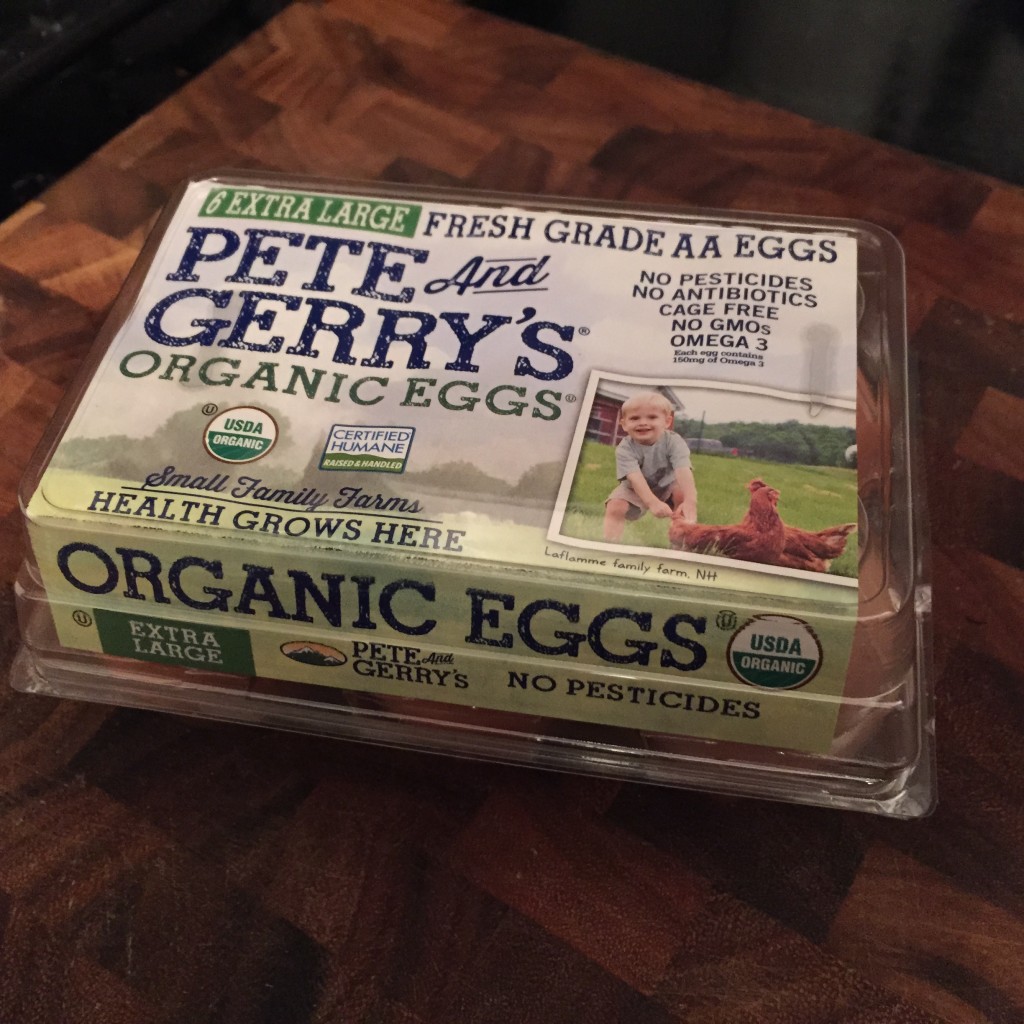
What is not to love about small family farms, a great set of people, and delicious healthy eggs?
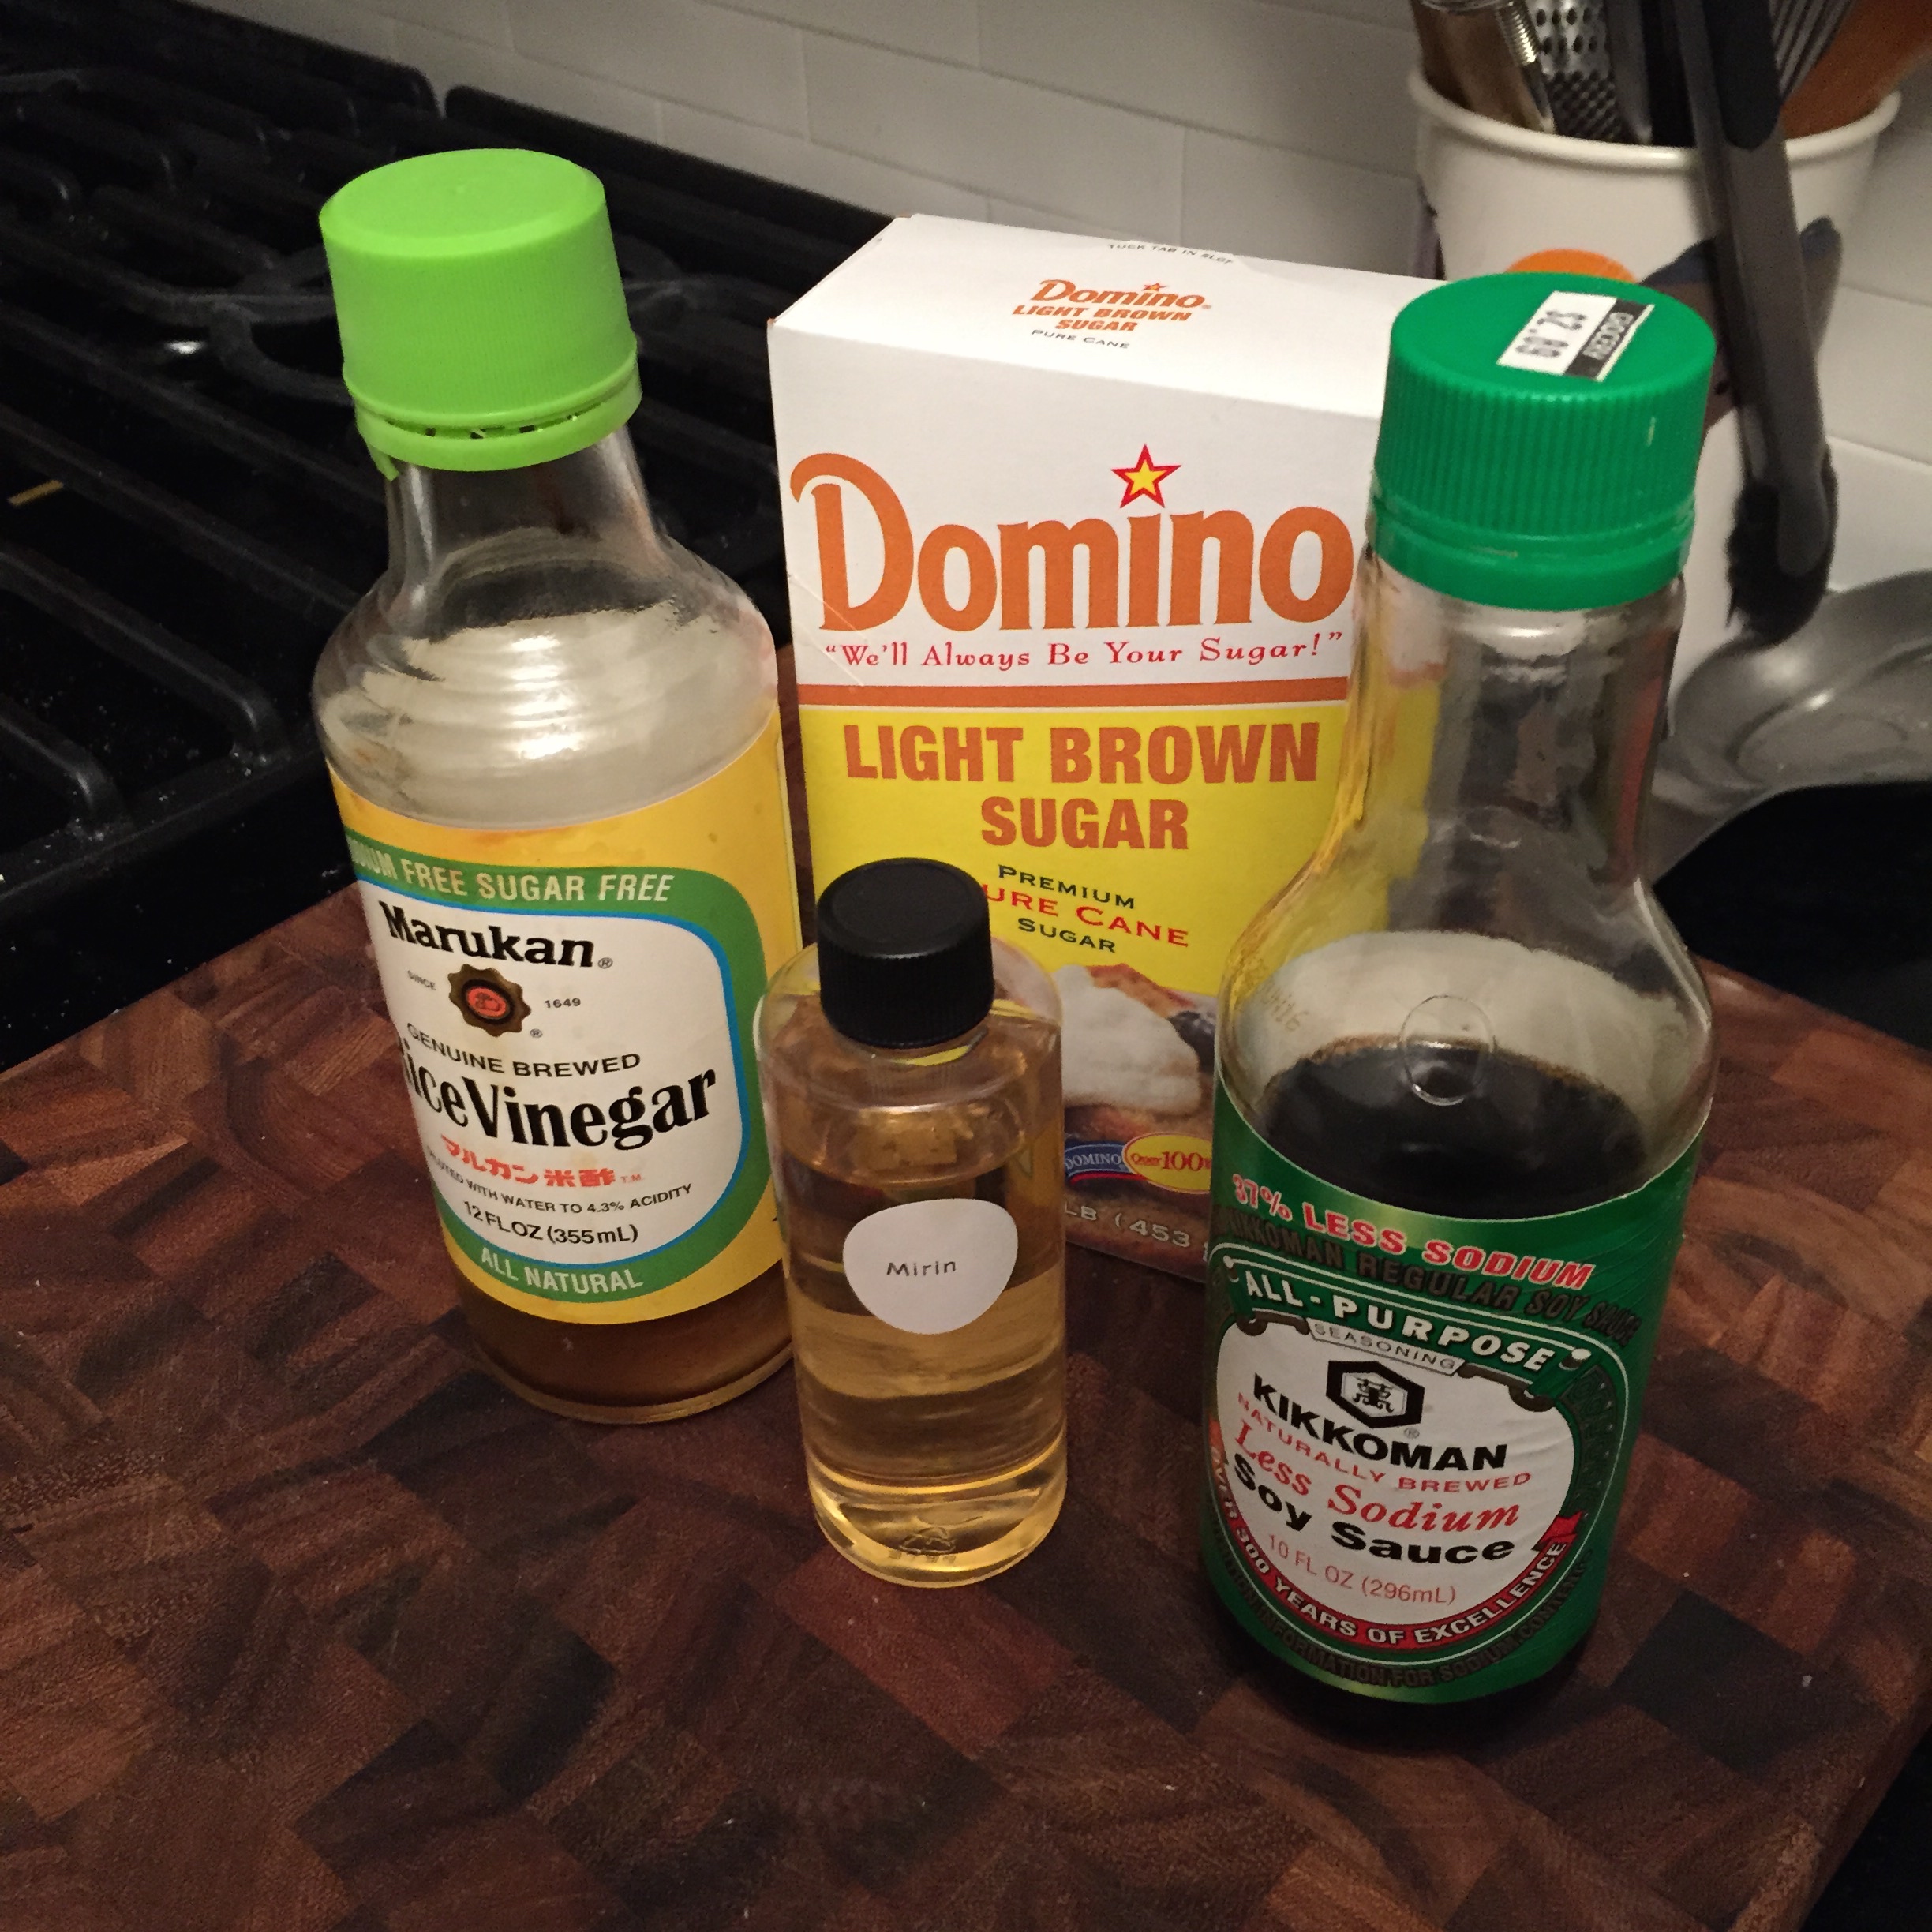
So for my Fegguary challenge, I decided to try to make an egg dish I have always loved but never made. The eggs that are in ramen soup are one of my favorite things on earth. Also called Ajitsuke Tamago, I turned to Serious Eats for a quick “how to.” Sadly, I didn’t have sake, so I decided to use rice wine vinegar instead. This made sense in my head. I also replaced the sugar with brown sugar because I saw that in another recipe and thought it would be a good change.
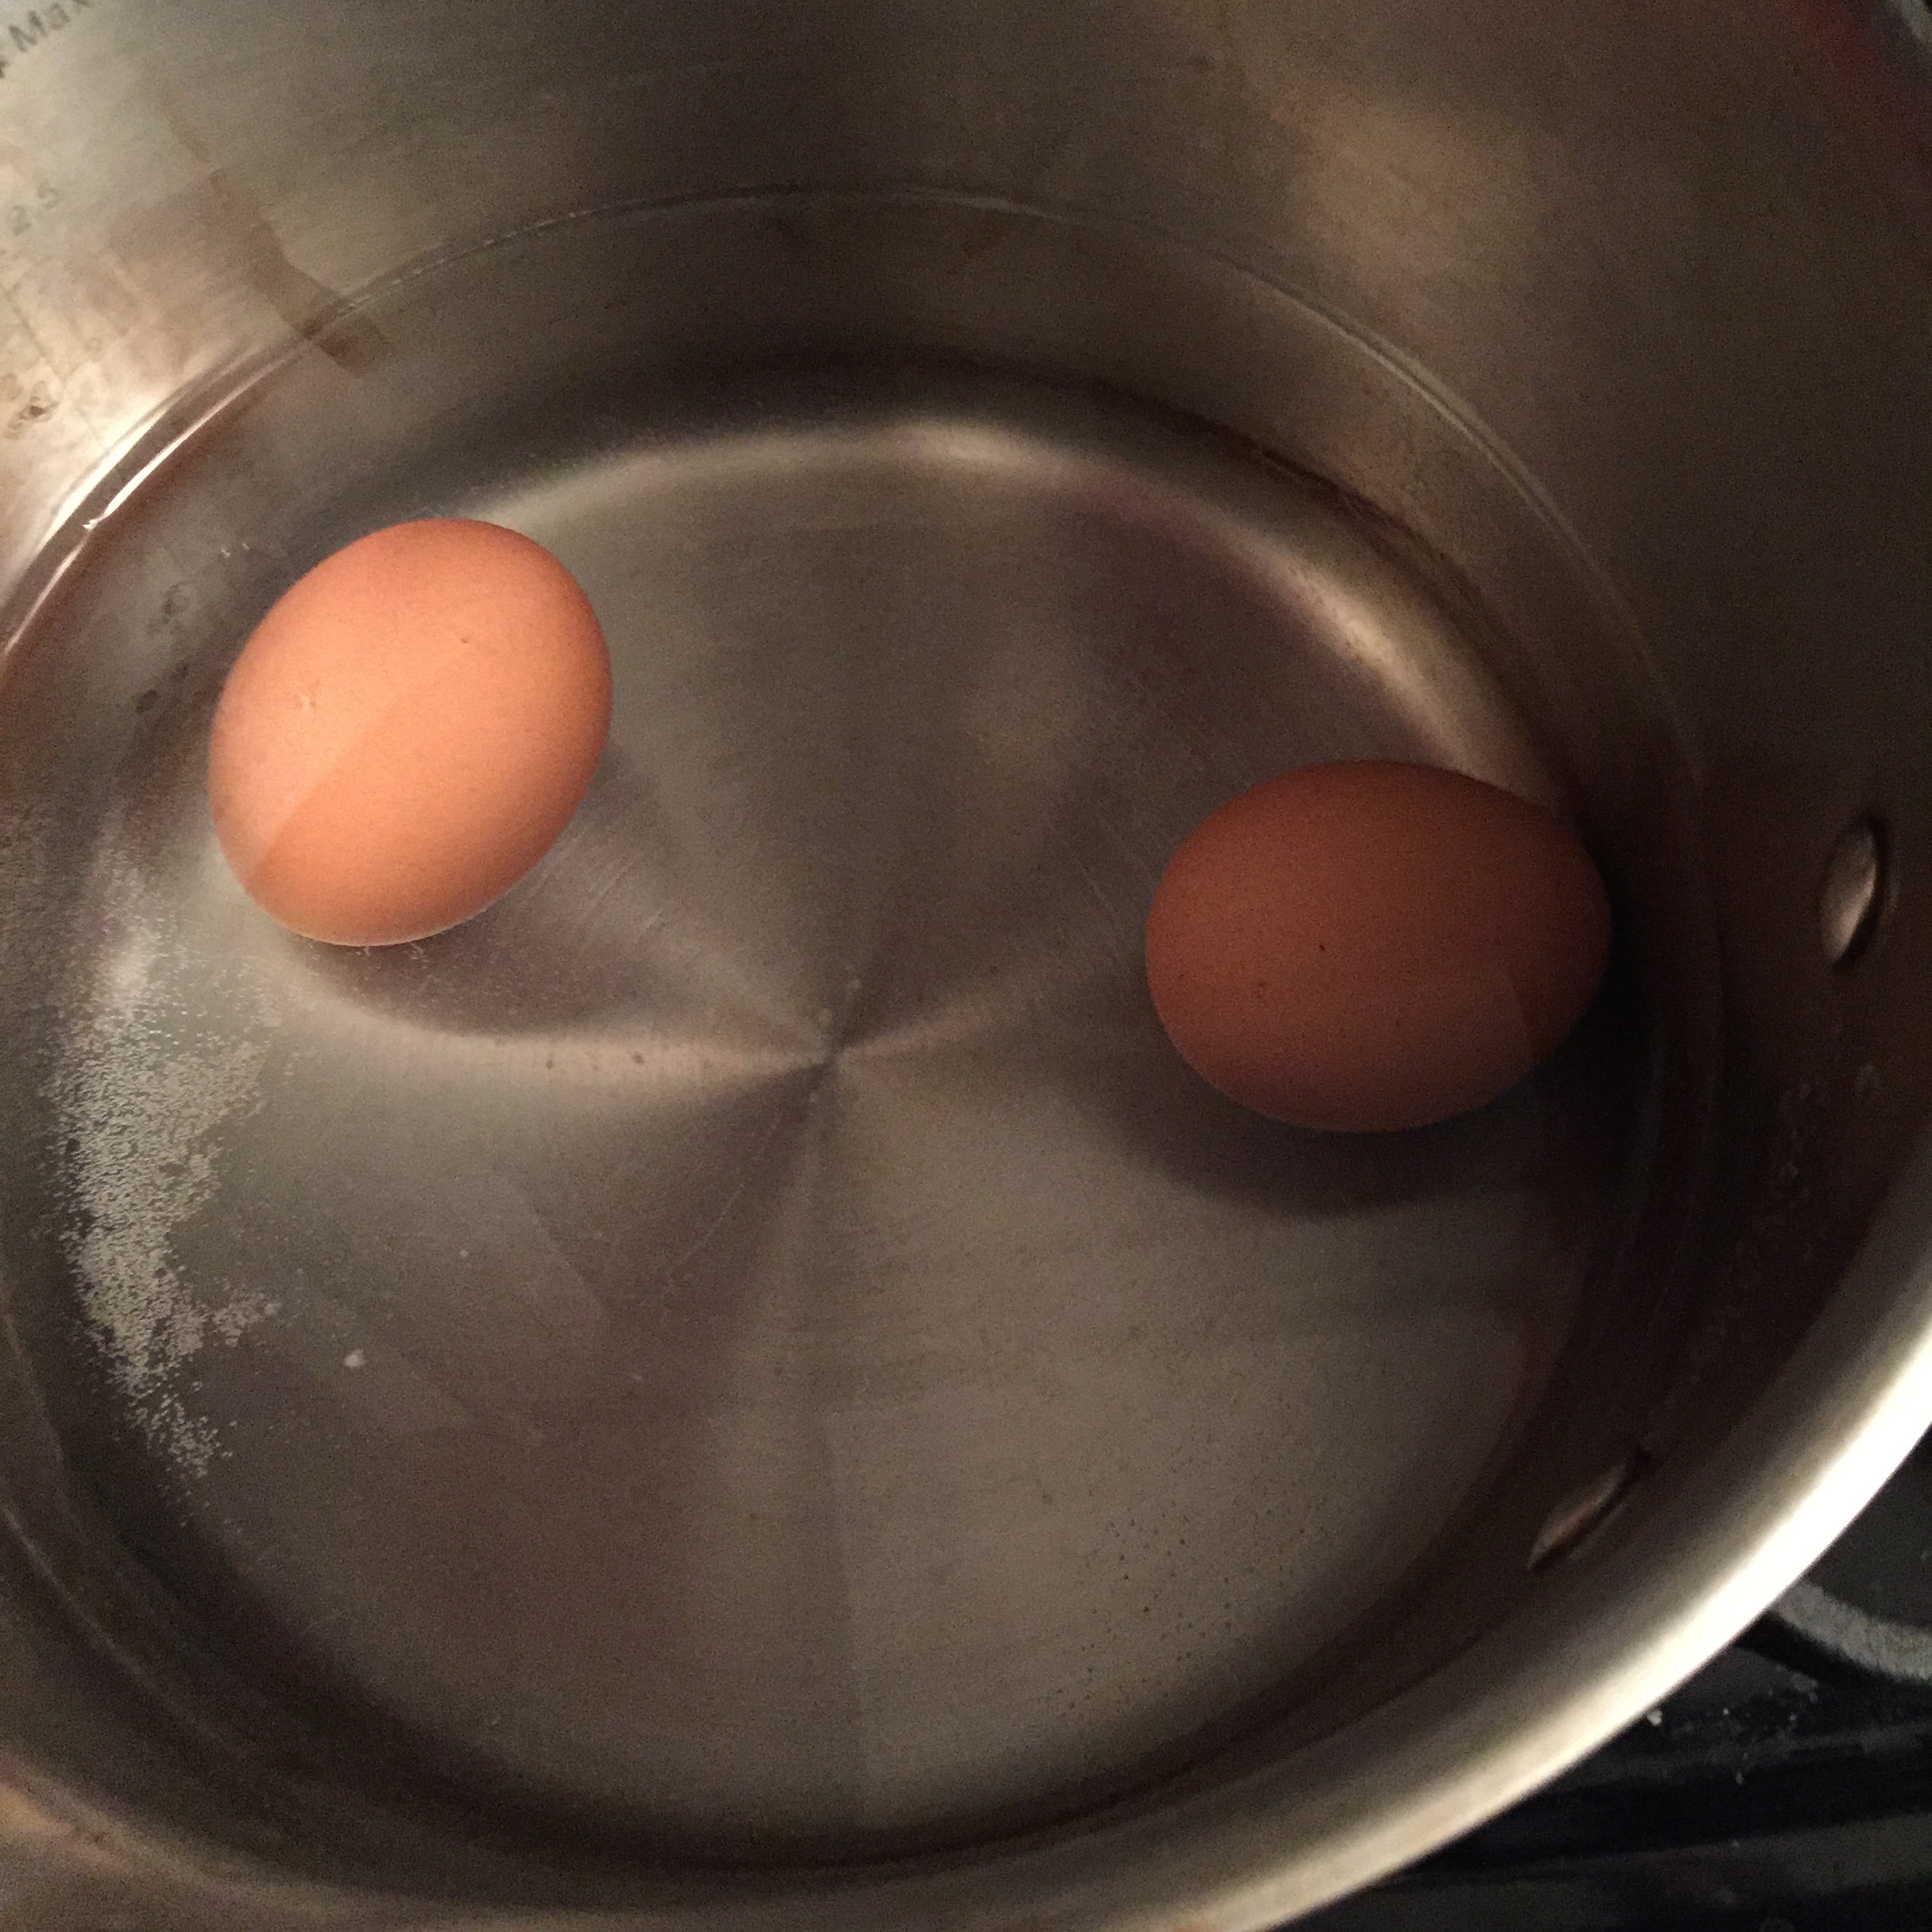
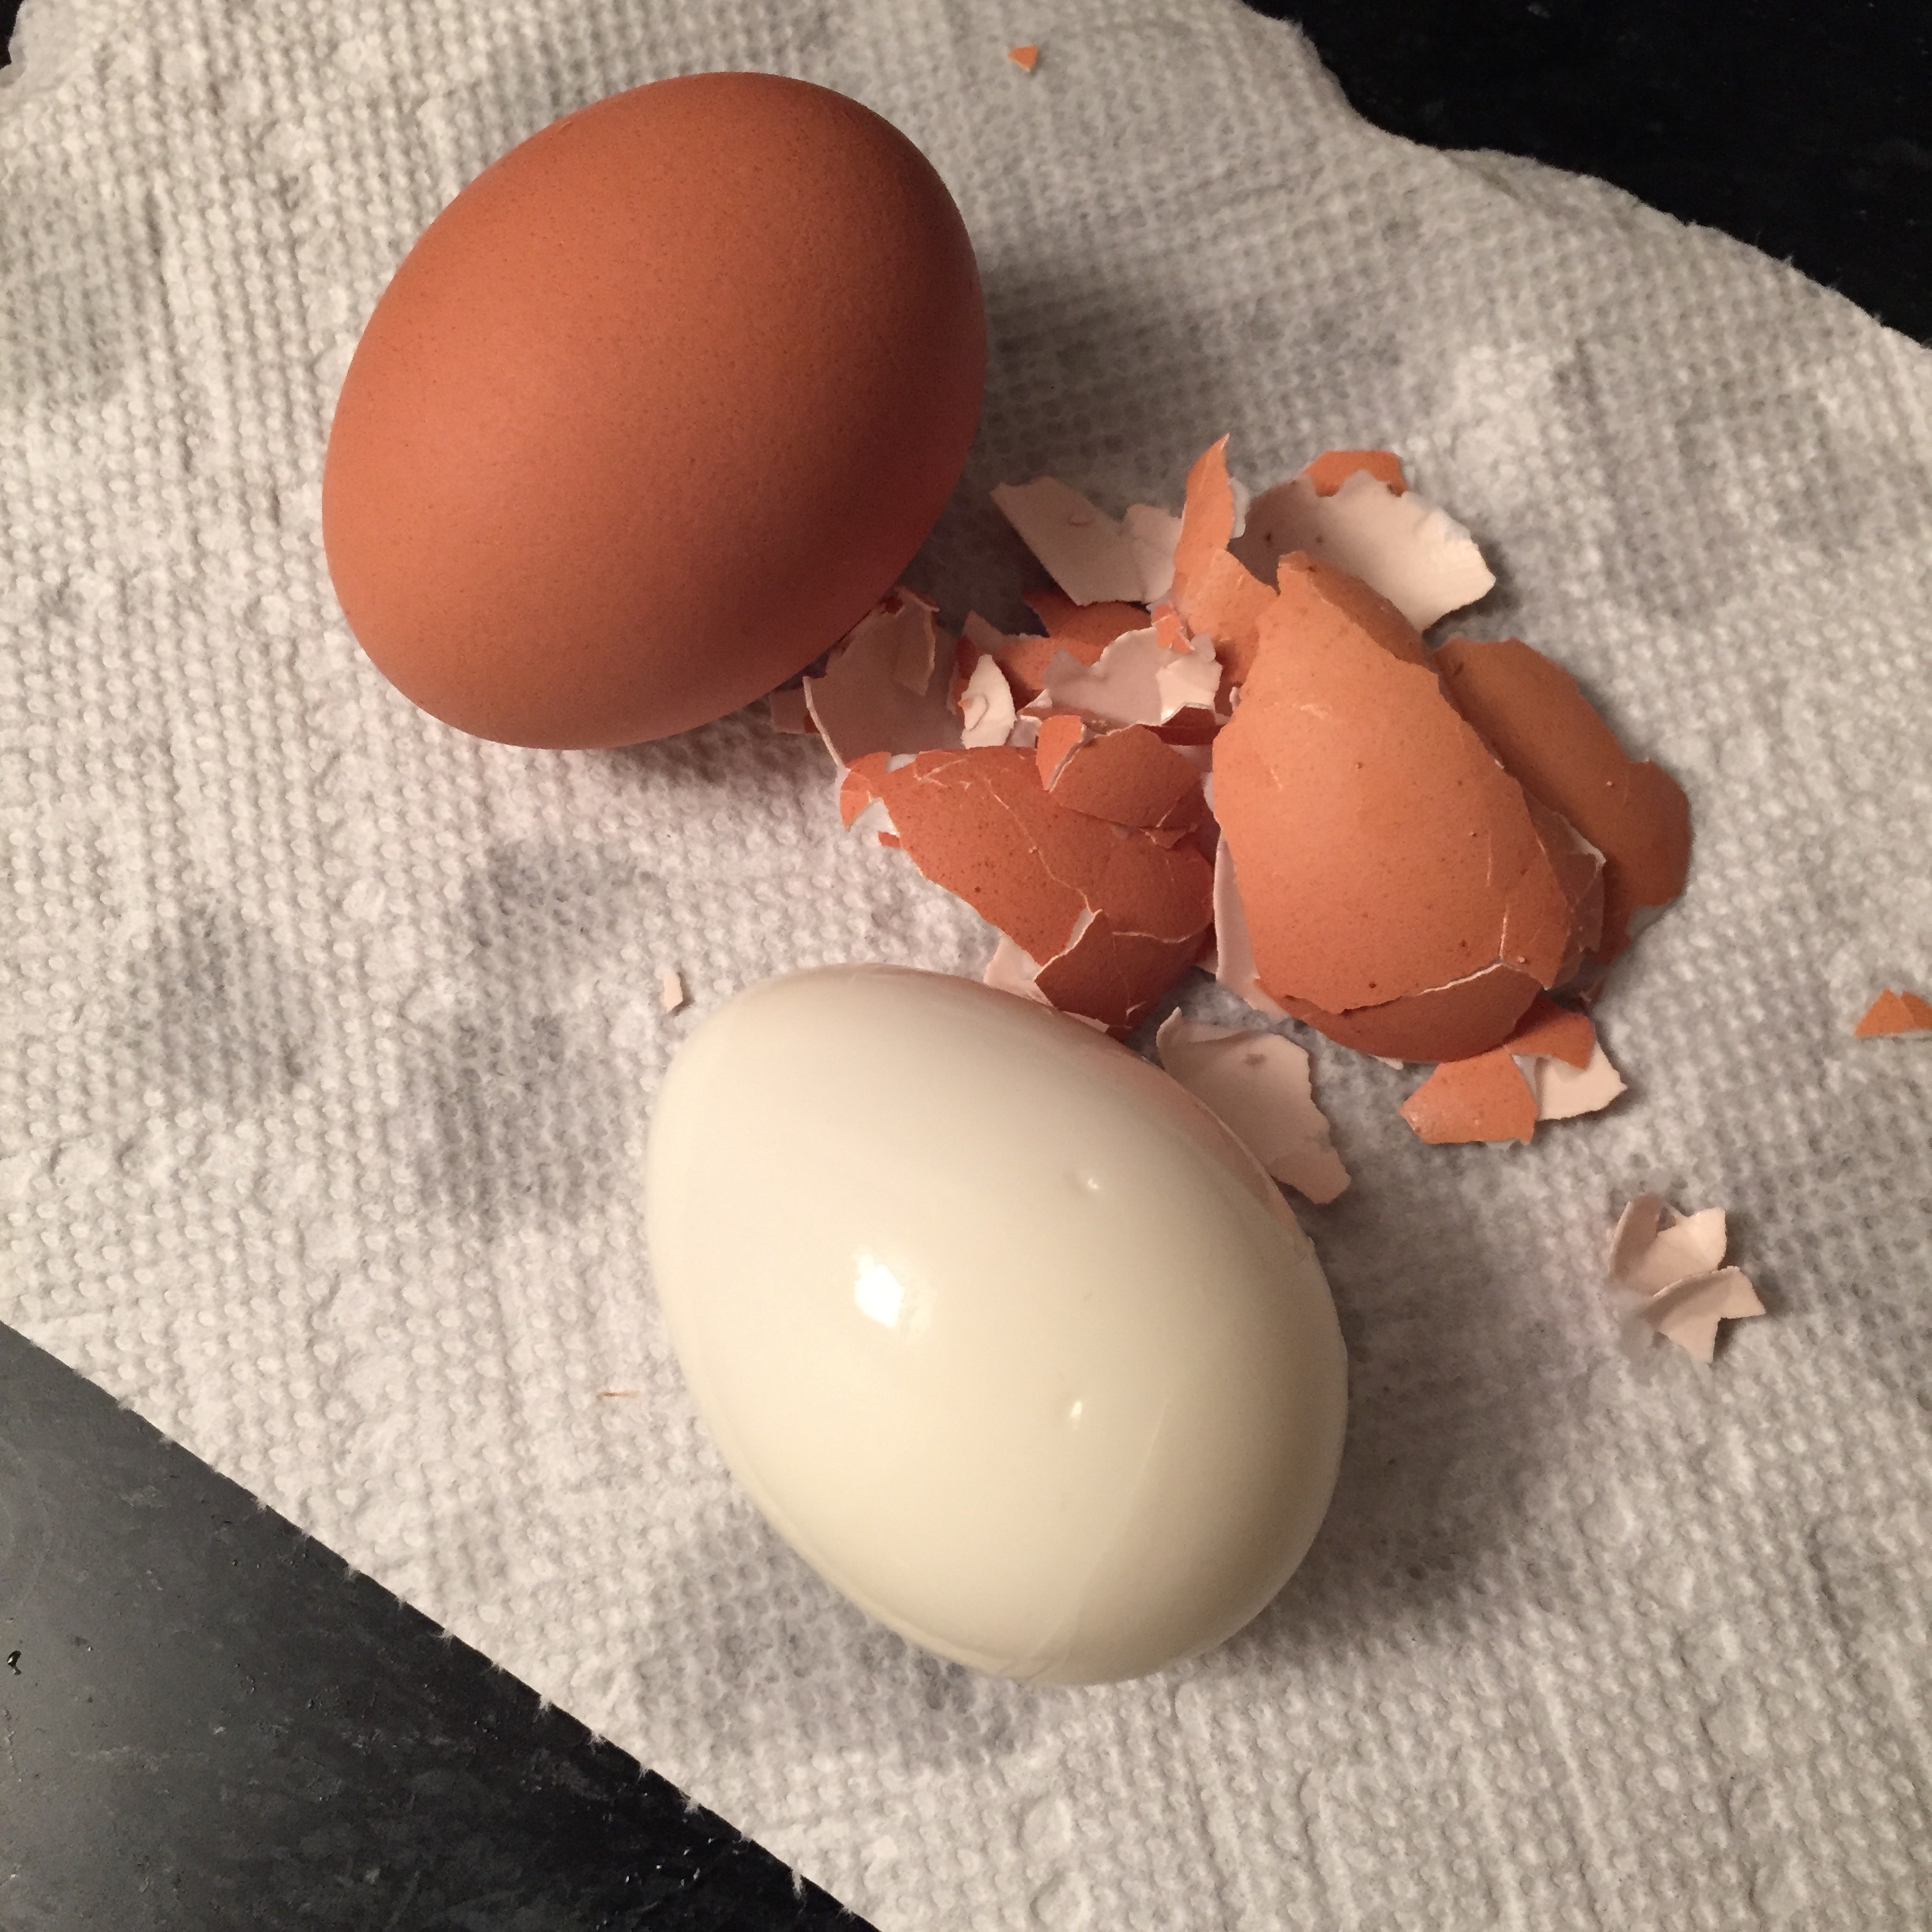
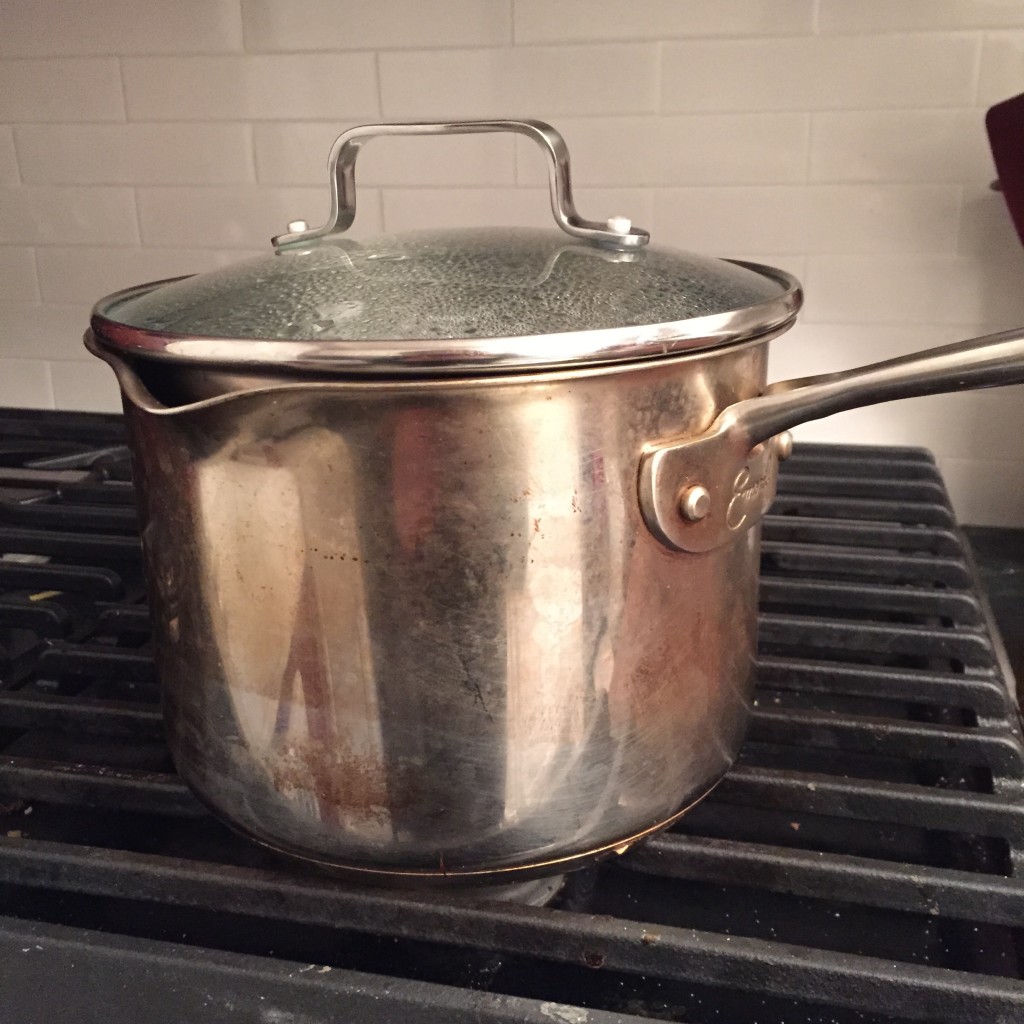
First step, boil eggs (since I’m pregnant, I went with hard boiled… which I also turned to Serious Eats for the real story on how to get them perfect… a bit creamy but not raw).
Put eggs covered in cold water.

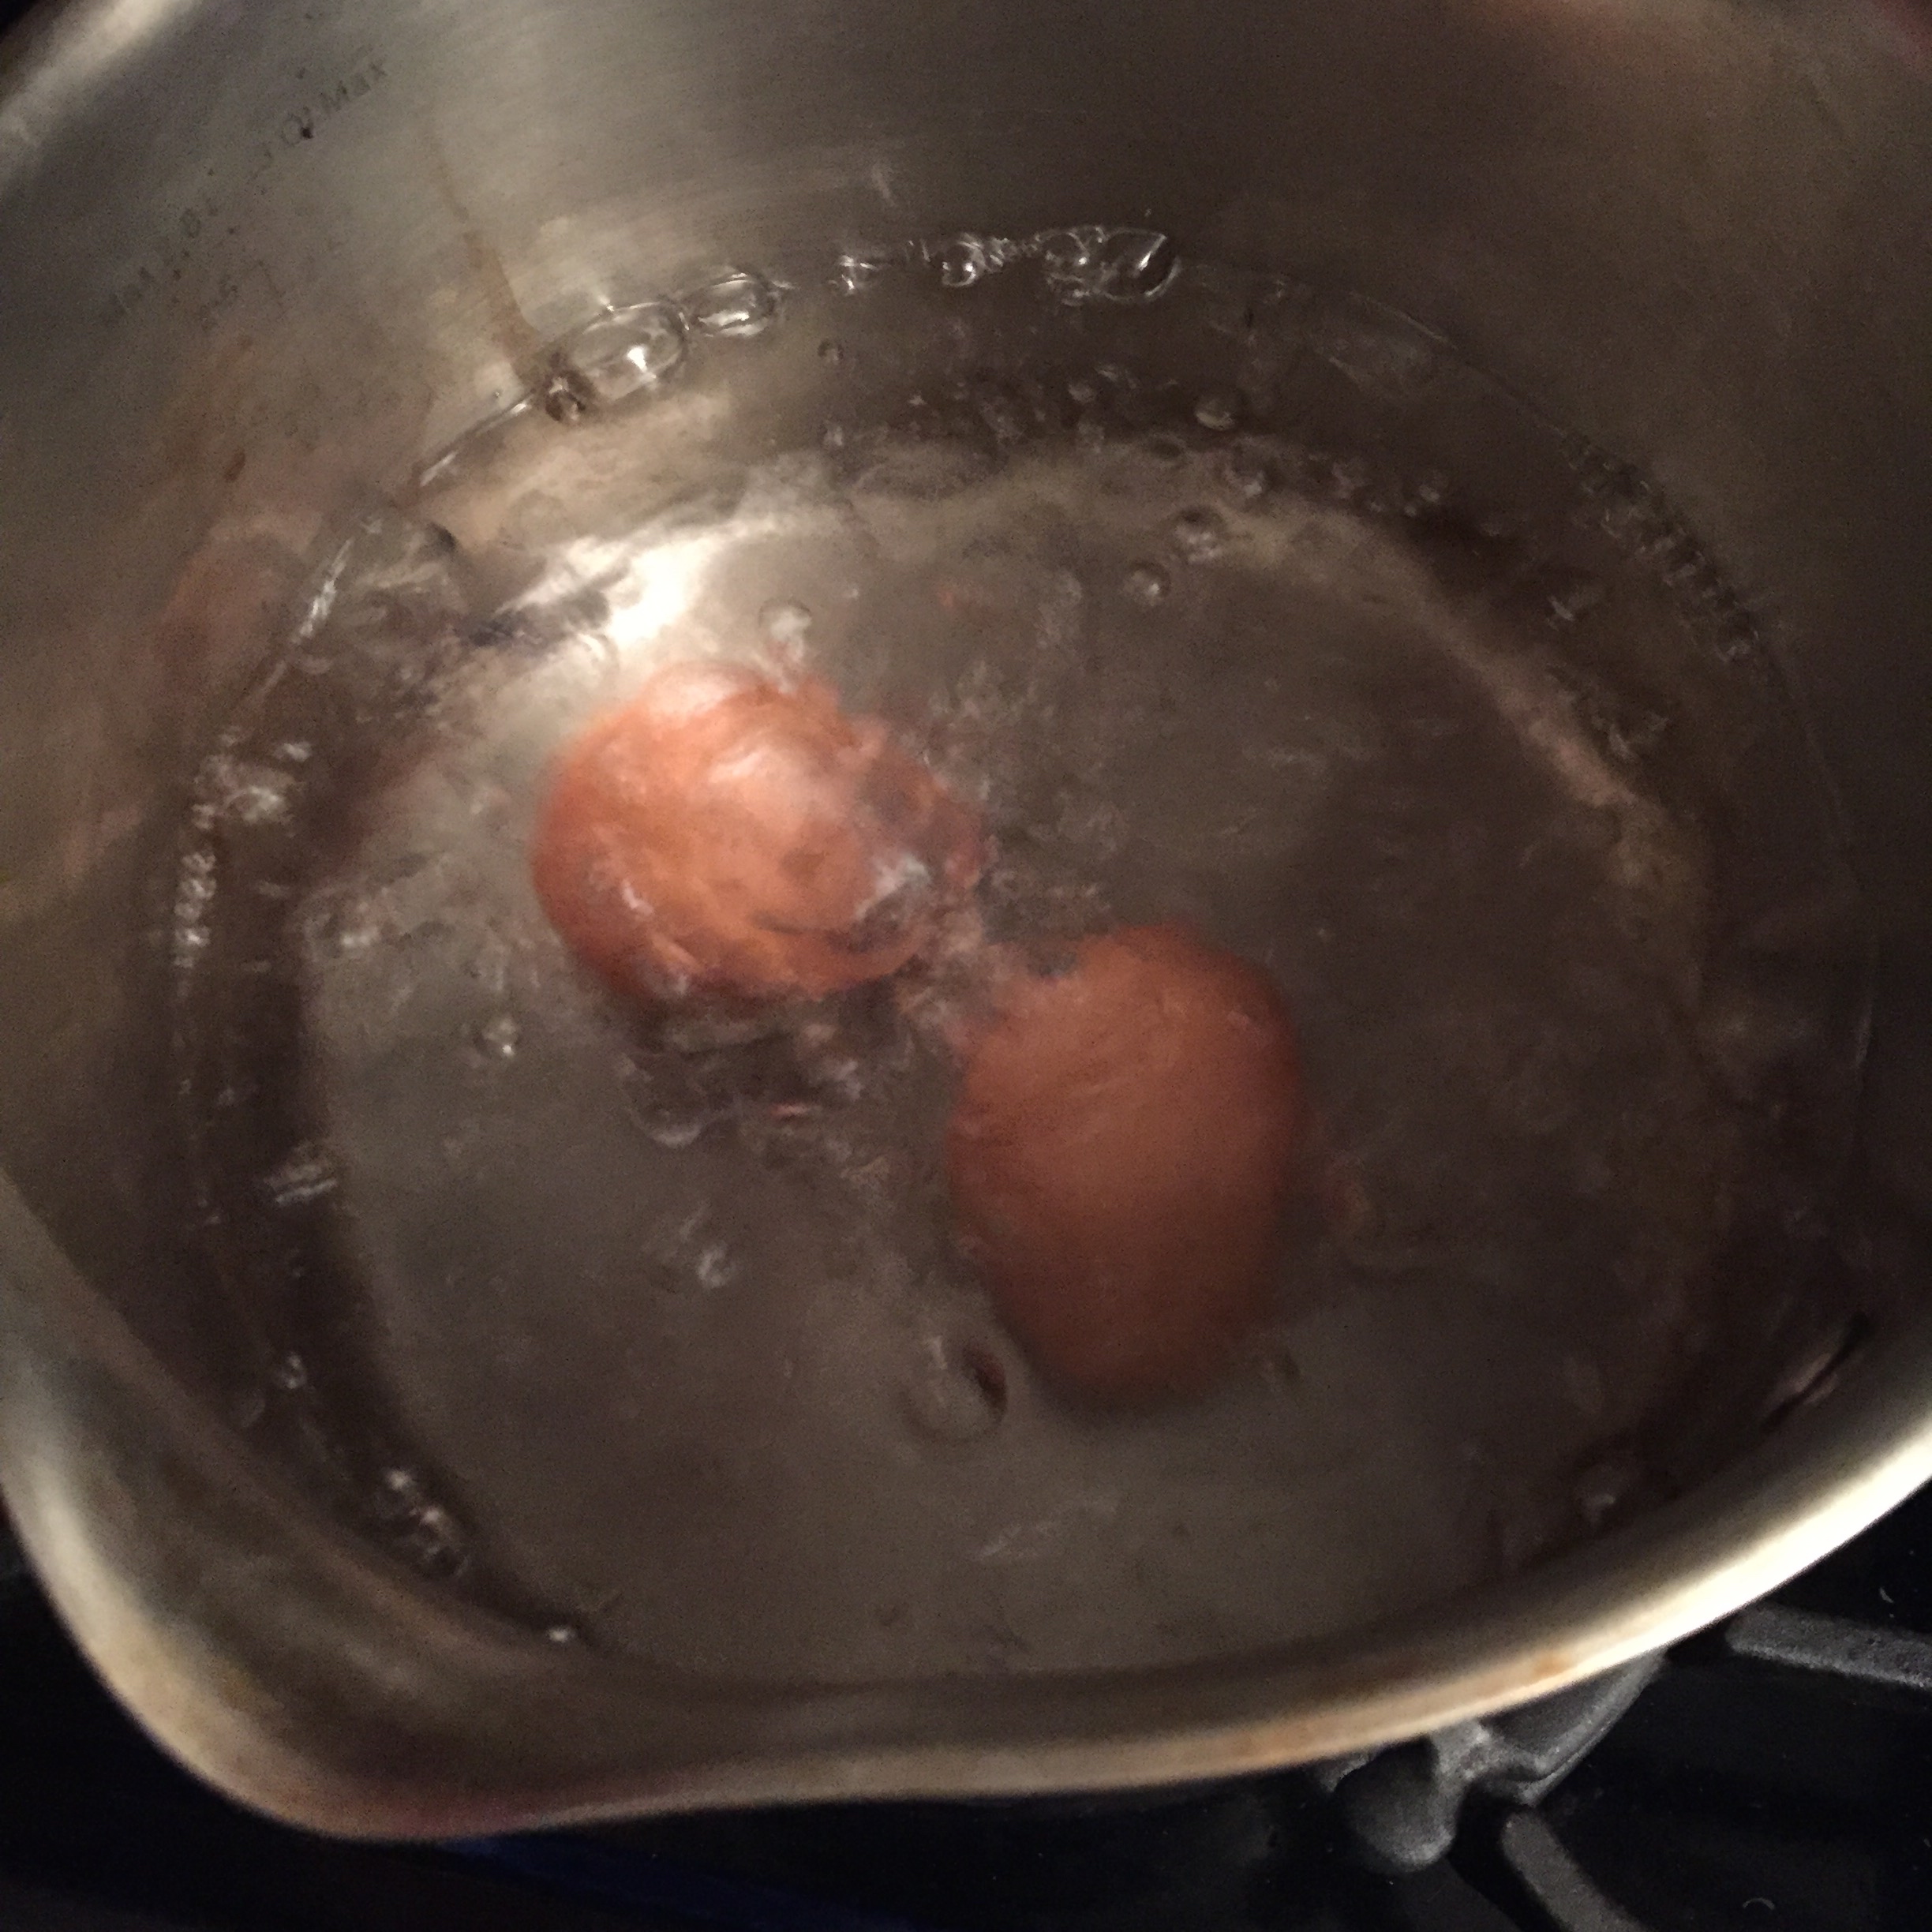
Bring to boil.

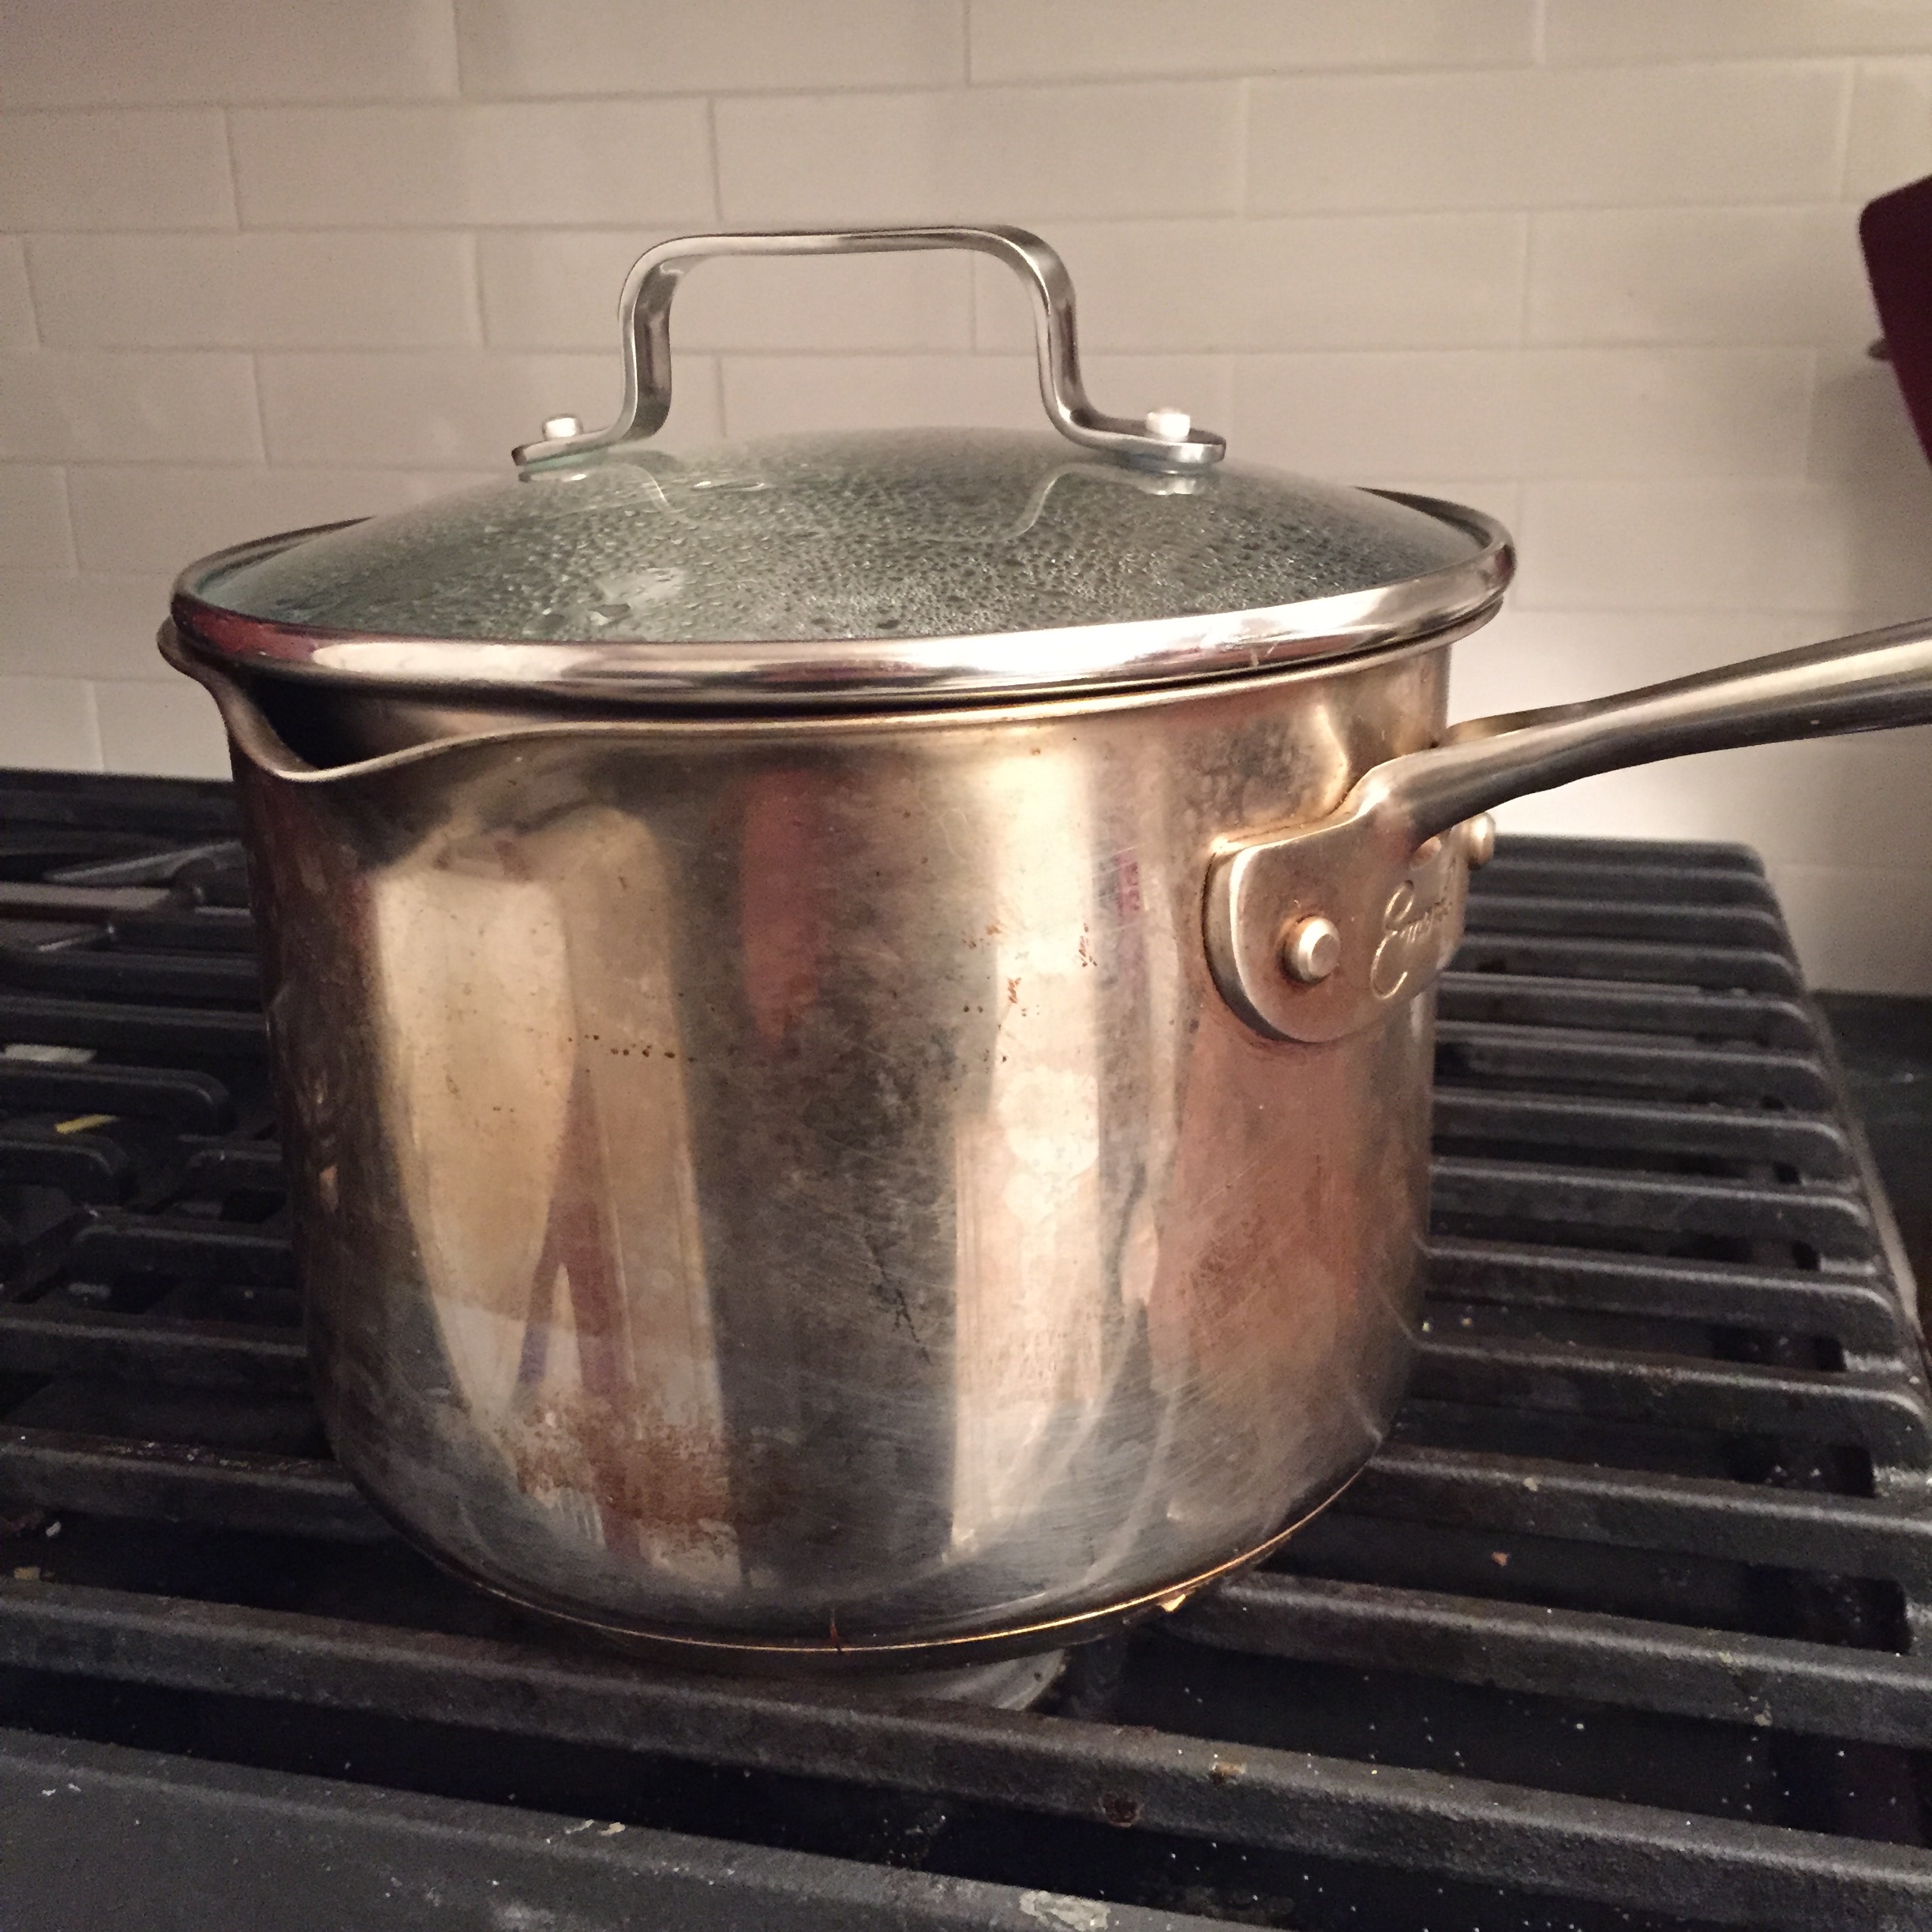
Take off heat and cover for selected time (I went 8-9 minutes).
As the eggs were cooking, I assembled my ingredients and mixed up the marinade per the recipe. (Though I just realized I didn’t add the water… so I guess I had a more concentrated marinade than I was supposed to!)

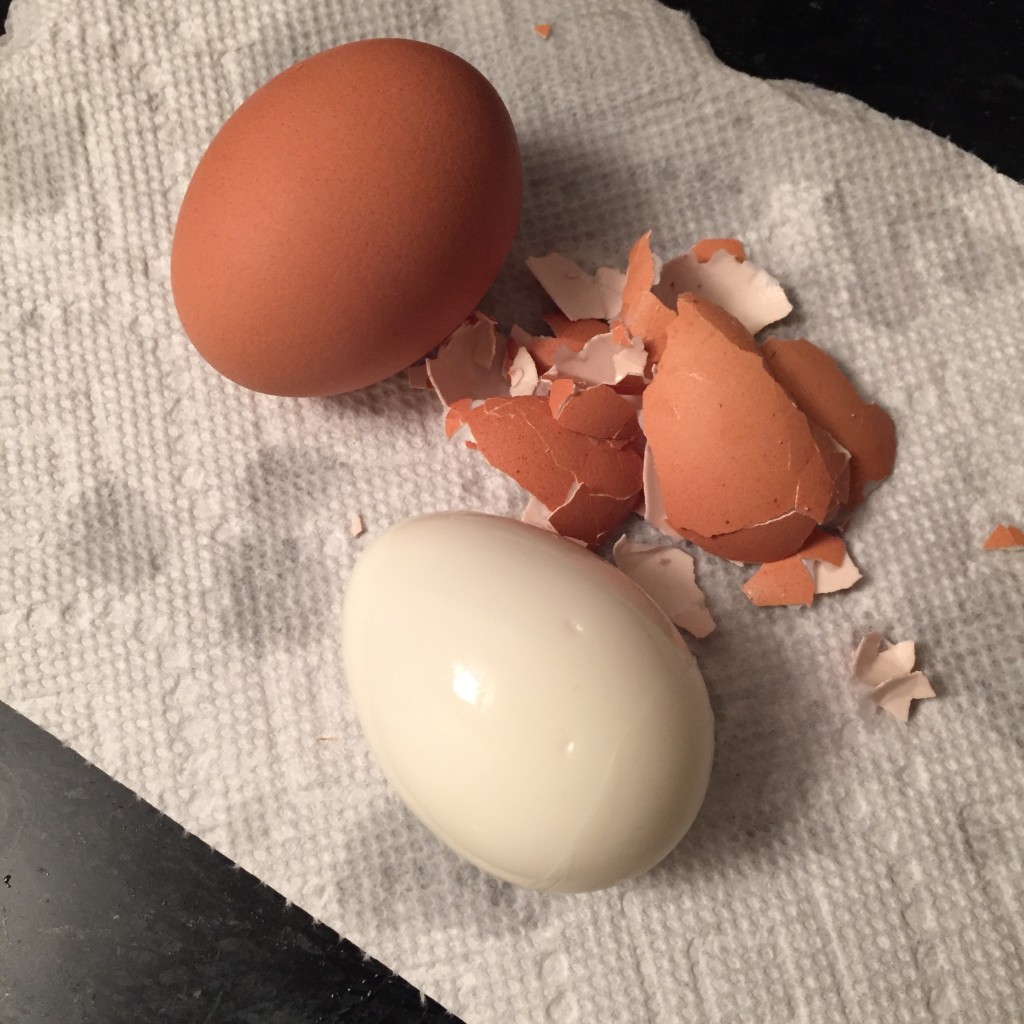
Then I peeled the eggs (and these peeled pretty well… because they were a few weeks old. I found out the hard way a few weeks ago that freshies actually don’t peel well when I got all excited about hard boiling some eggs fresh from the farm. Whoops.)
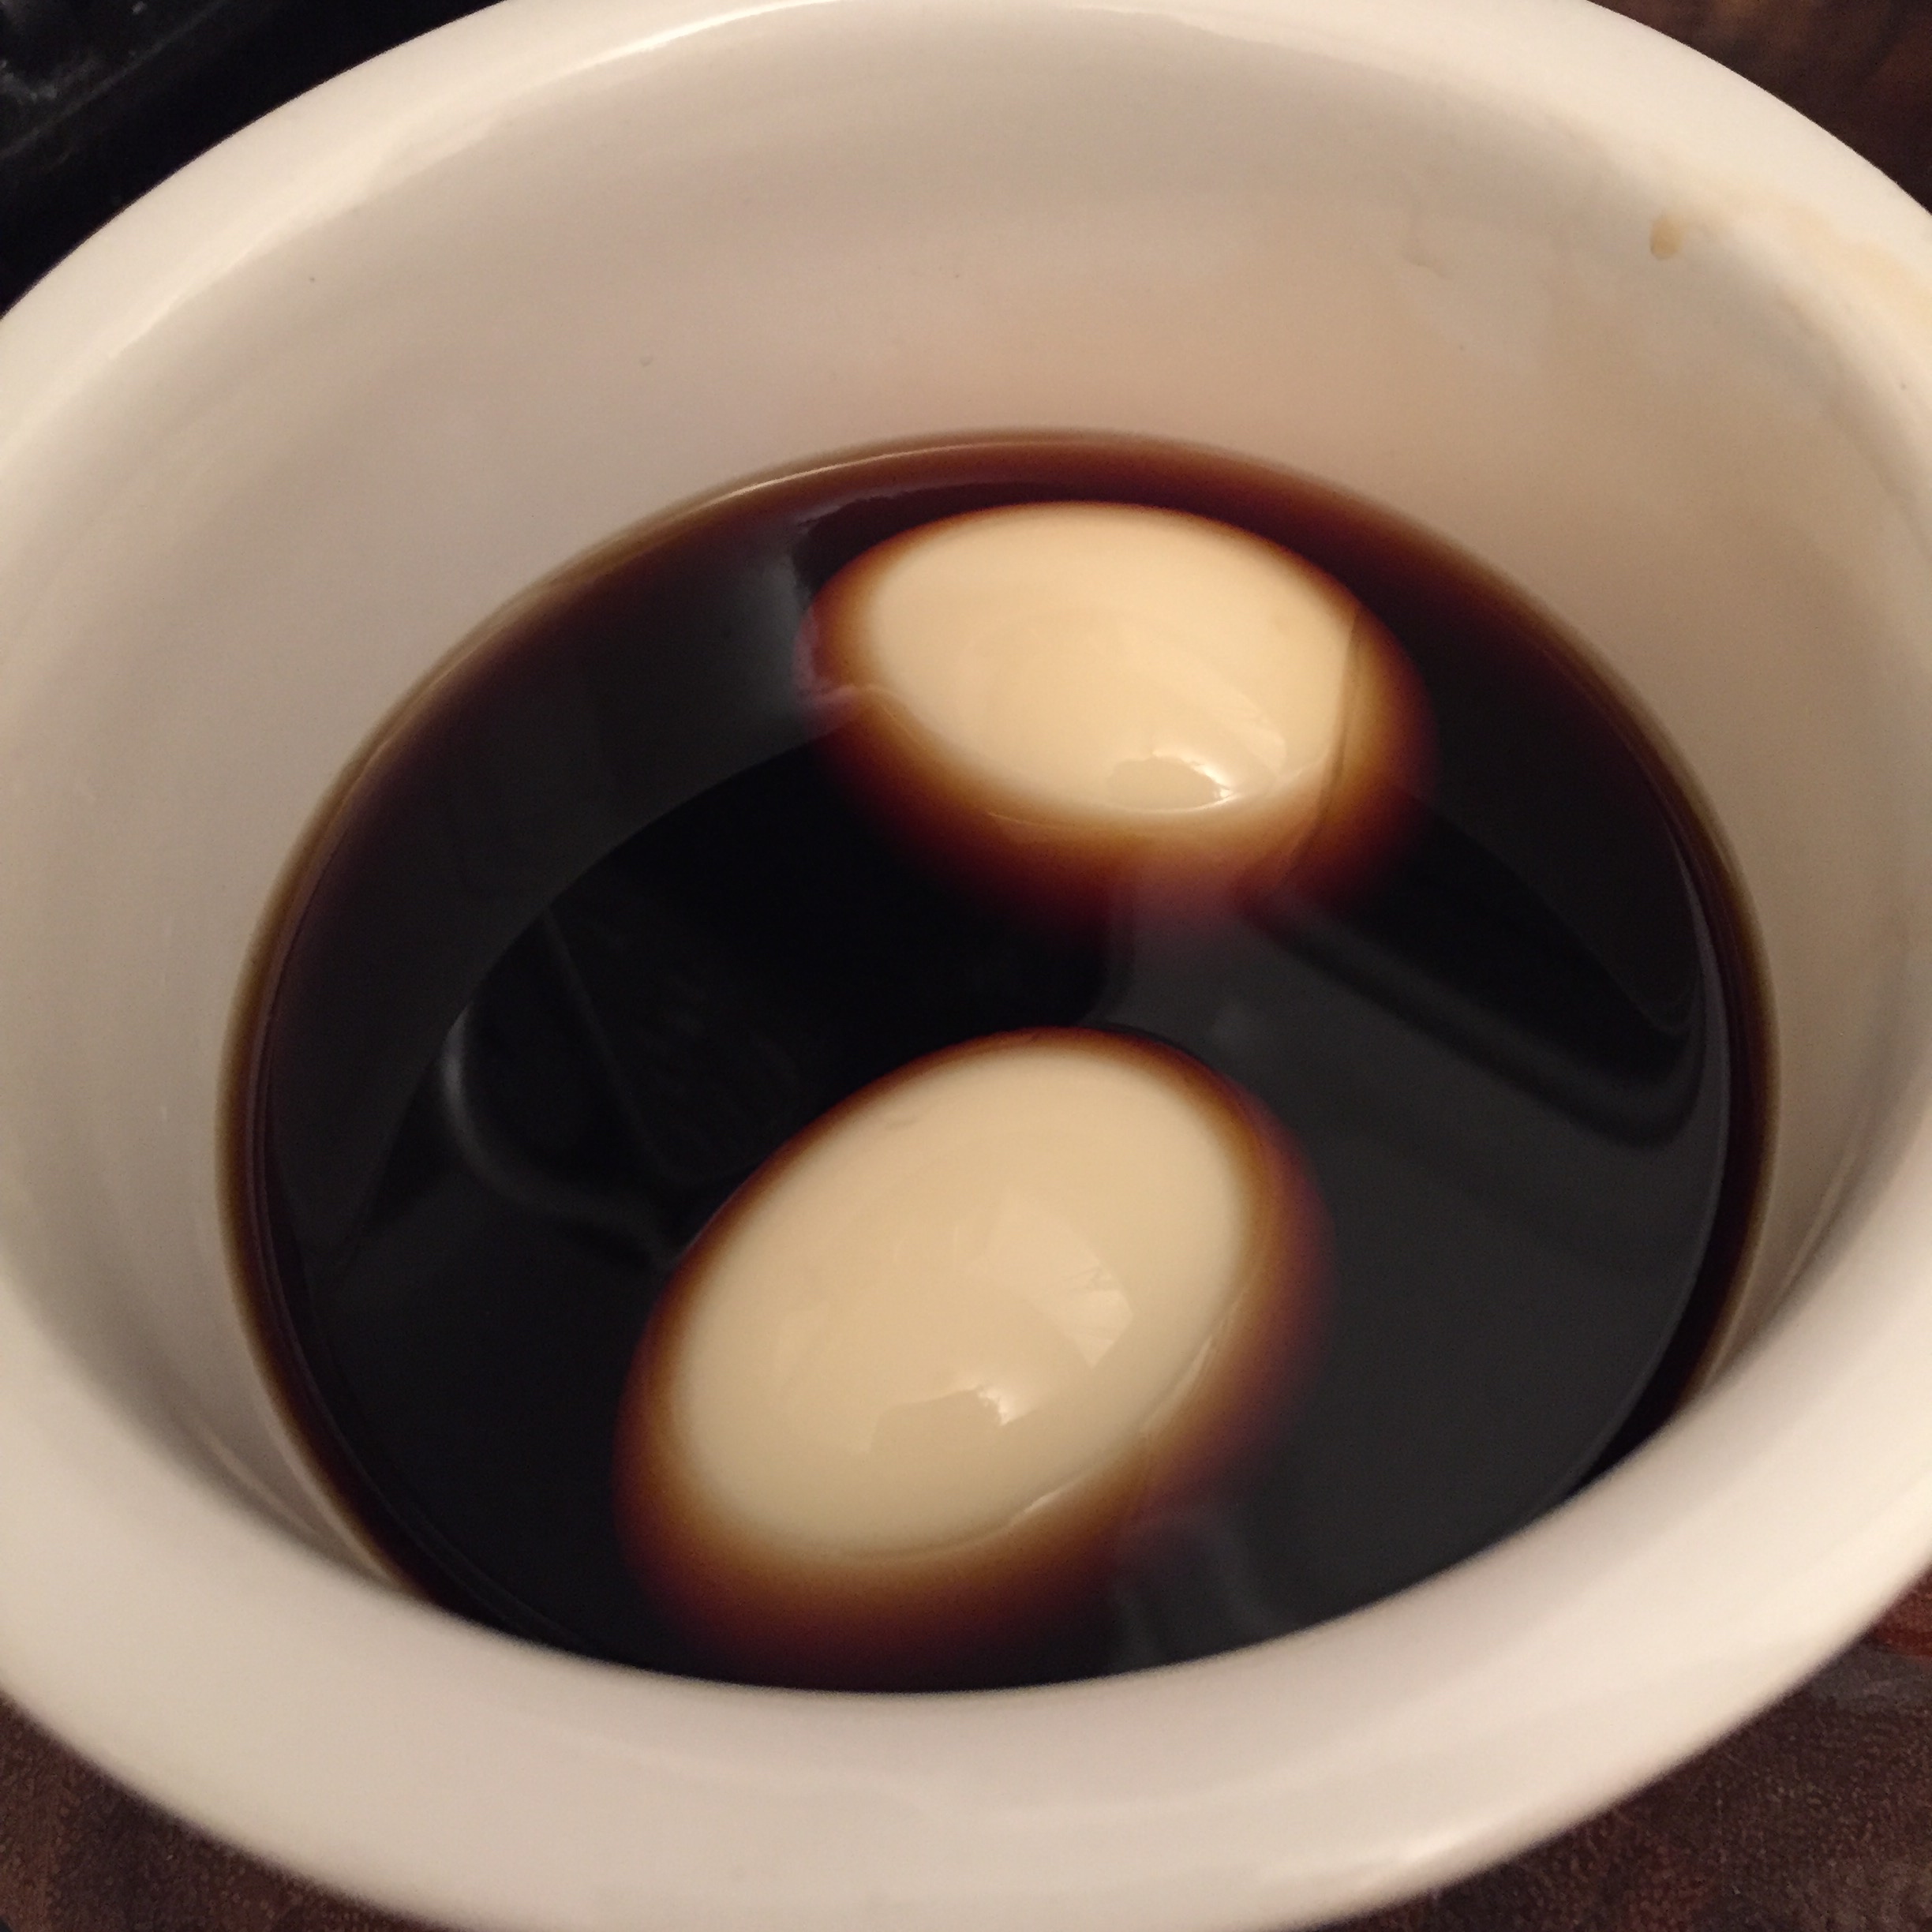
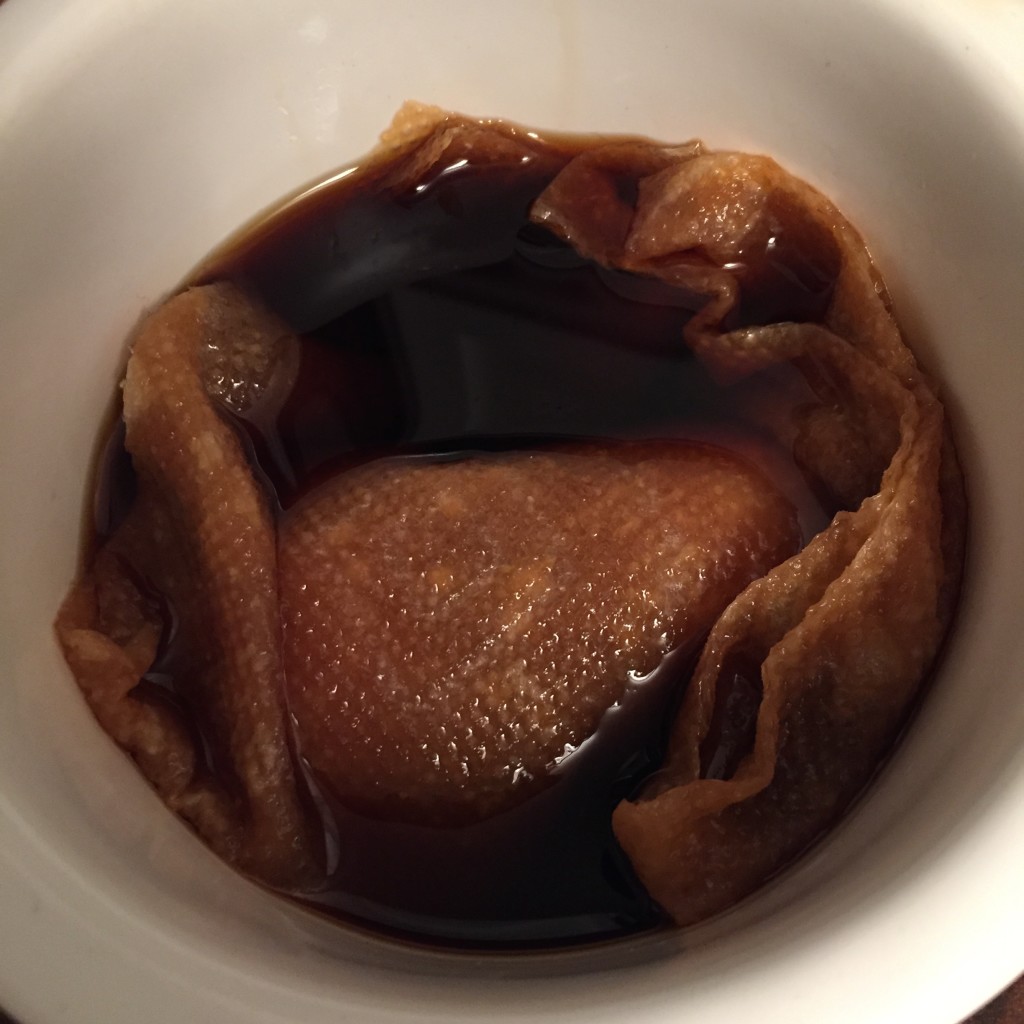
And set the eggs in the marinade.

Then covered them with a paper towel to keep them submerged.
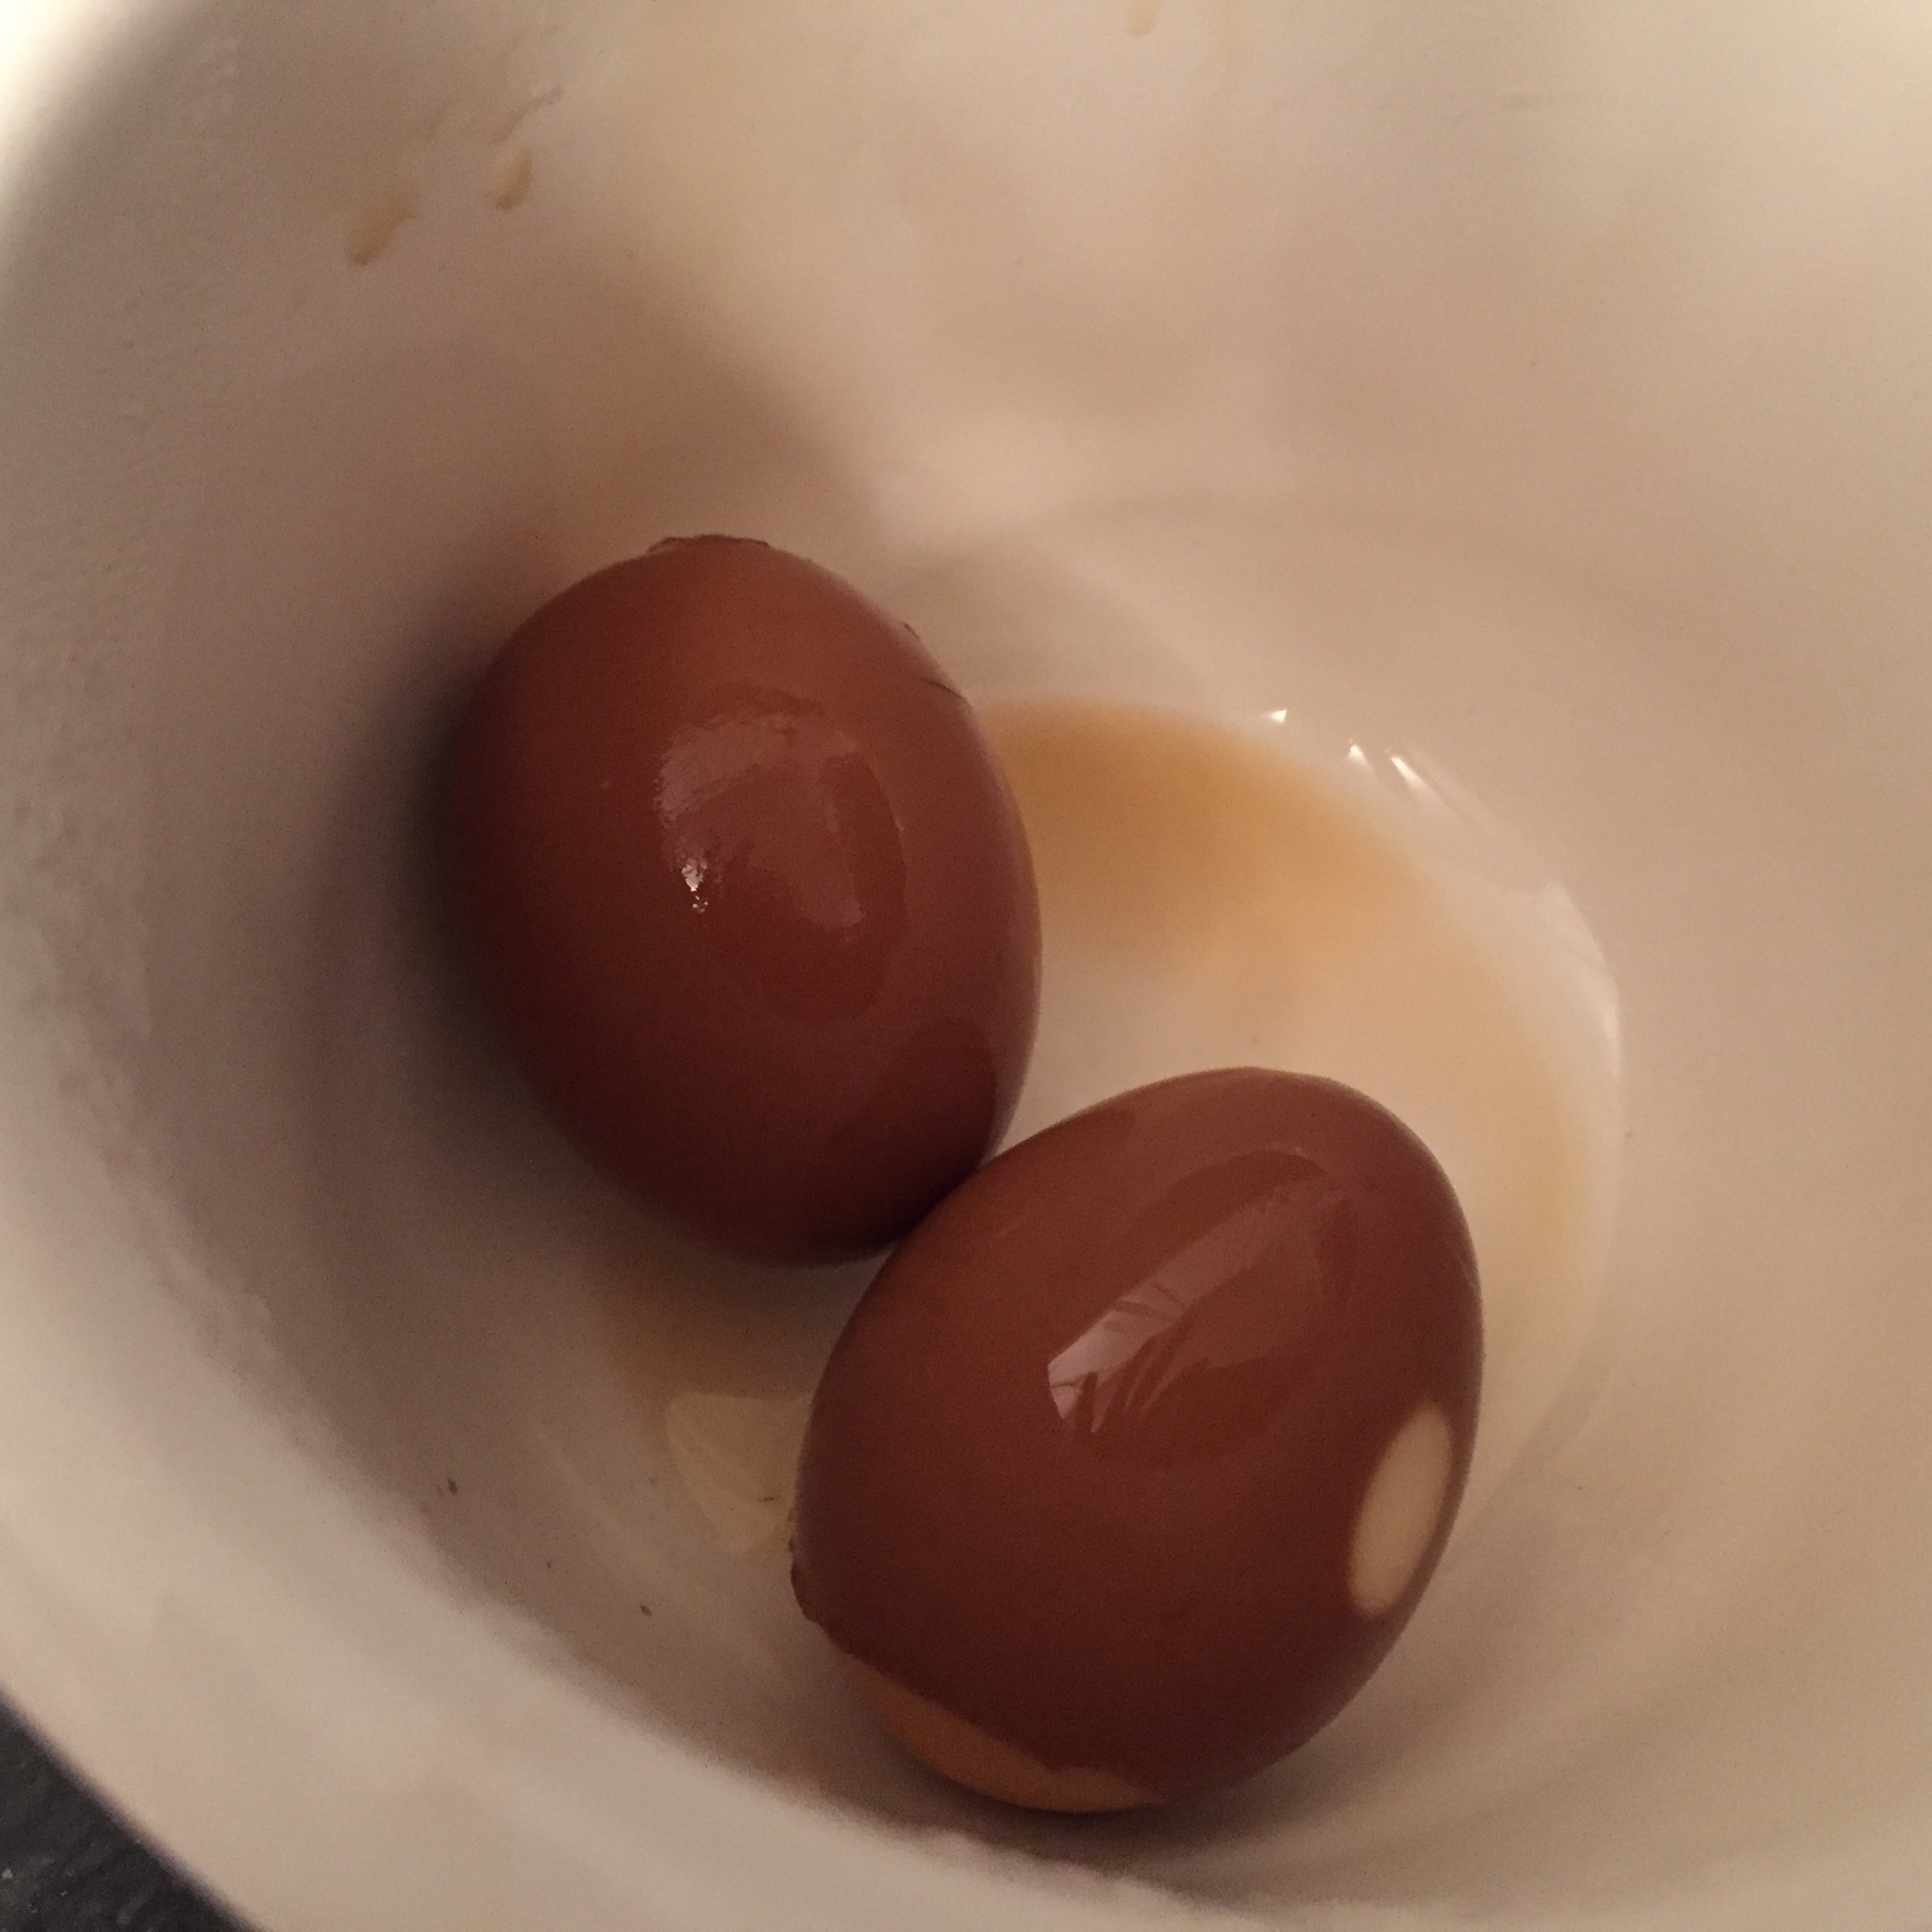
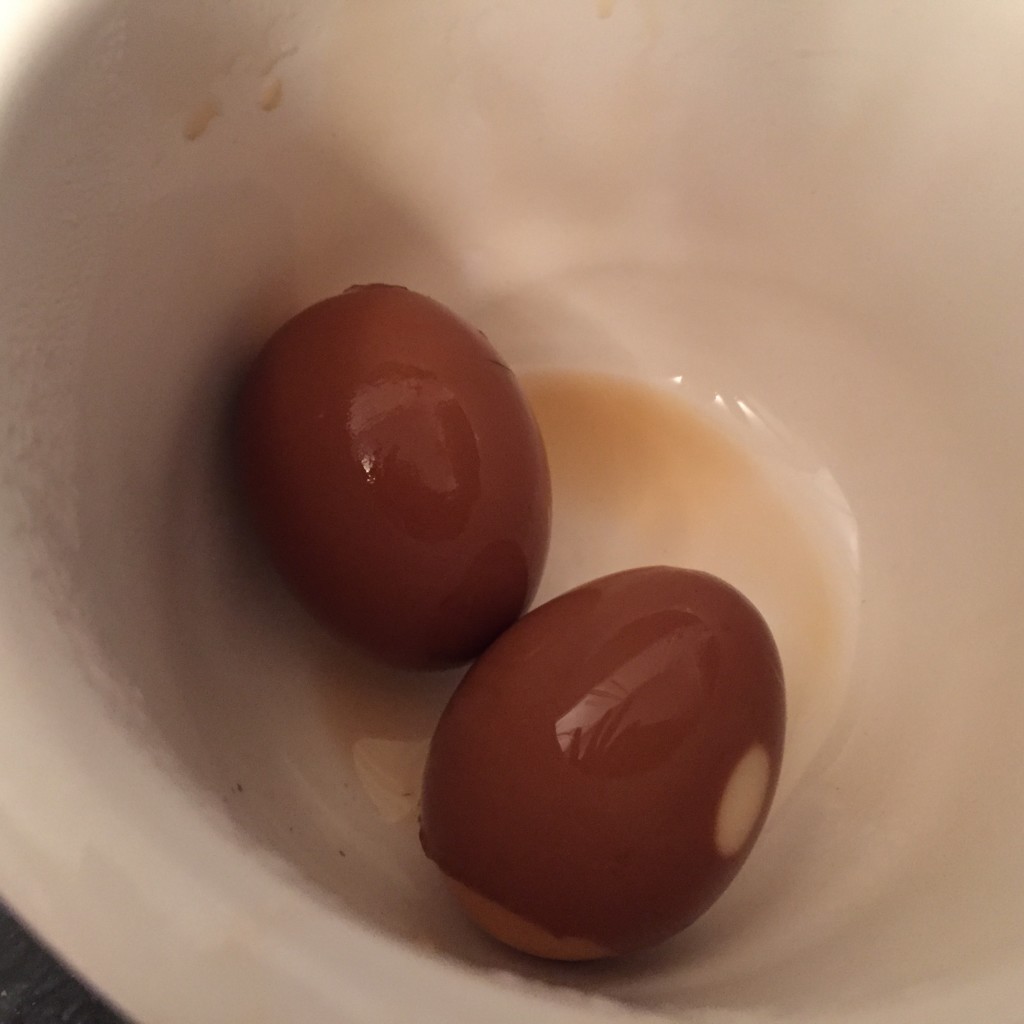
About 11 hours later, I drained off the marinade and stored them in the fridge for another 2 days (only because we weren’t ready to eat them yet).
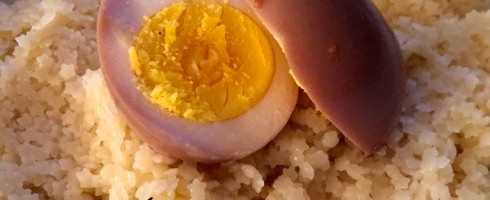
And then we had them over pastina. While, sadly, not ramen, the egg added a bit of protein and flavor to a simple pasta.
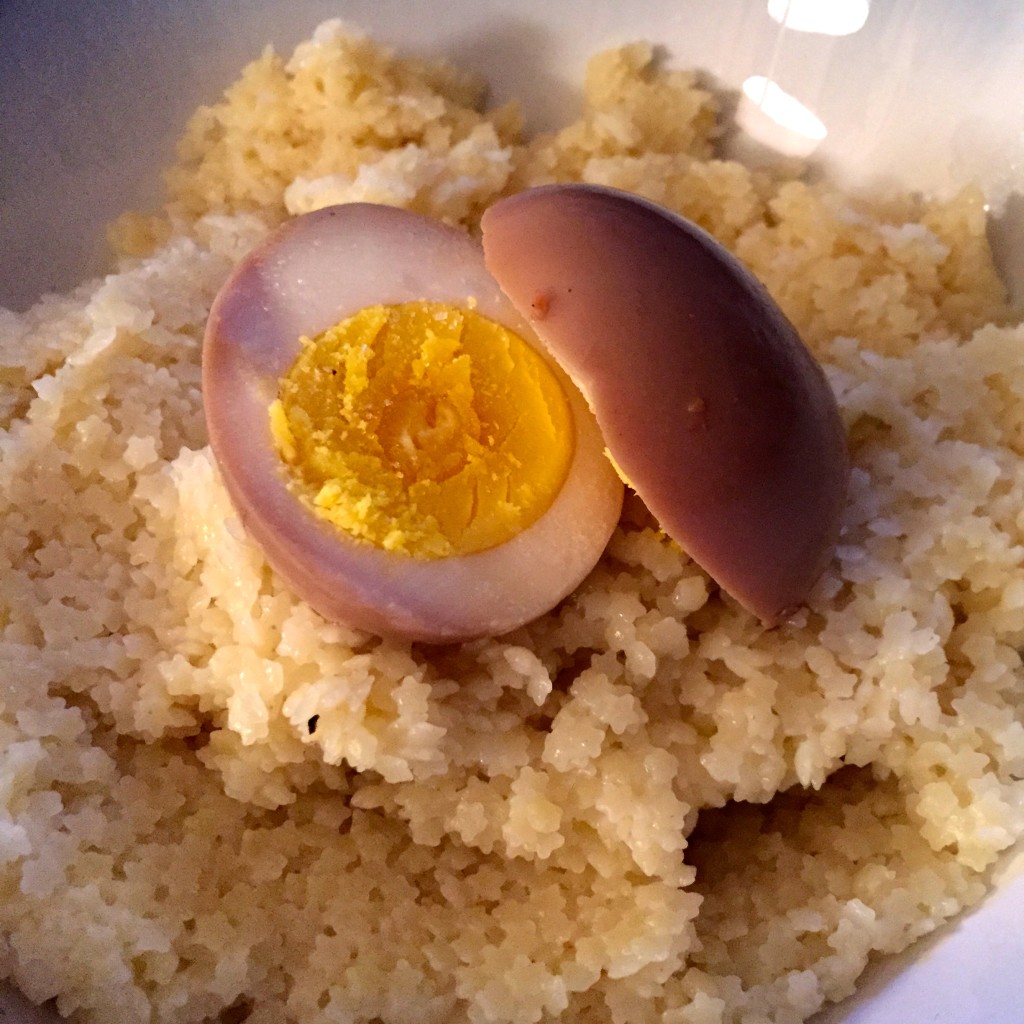
They were “dyed” a really pretty color which went a few millimeters into the whites when cut open. The touch of sweetness form the marinade was exactly what I was hoping for and it tasted a lot like the ramen eggs I have come to love. Great flavor.
Thanks for the #Fegguary Challenge, Jeff. You inspired me out of my eggy comfort zone to hatch a plan for an eggceptional project.
And now I challenge YOU, dear readers. Tag me if you take the #fegguary challenge!
Tags: Ajitsuke Tamago, egg recipes, fegguary, fegguary challenge, japanese egg, organic eggs, pastina, pete & gerry's, pete & gerry's organic eggs, pete and gerry's eggs, ramen egg, recipes, Serious Eats


 Pie Variation #1 (Apple, with detailed instructions on making pie crust)
 Pie Variation #2 (Cranberry Apple Pie- Prepared Crust)