Fairway now has me on their PR distribution list after we enjoyed a great lamb demo there a few weeks ago, which I certainly appreciate and enjoy.
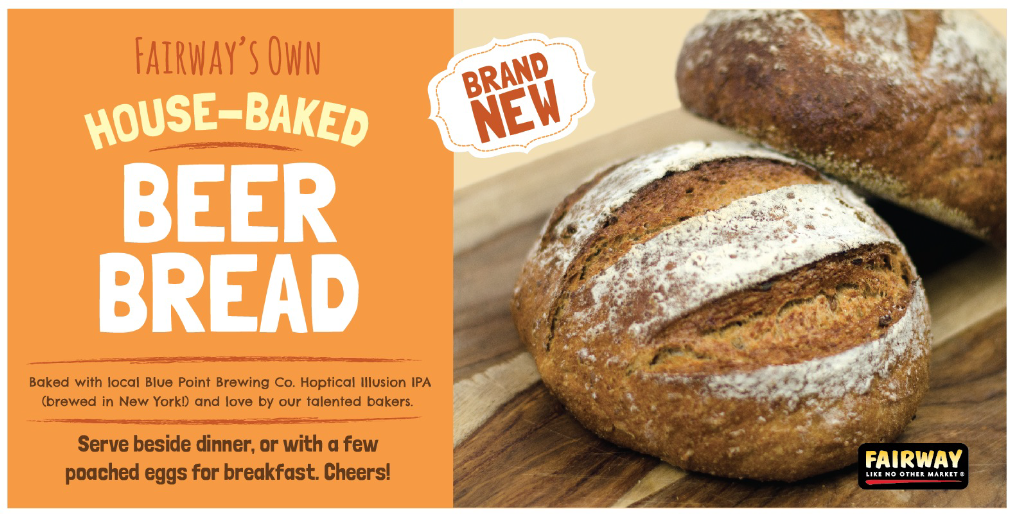
This past week I received an email offering me the opportunity to try a loaf of their new Beer Bread, which is baked with Blue Point Brewing Co. Hoptical Illusion IPA.
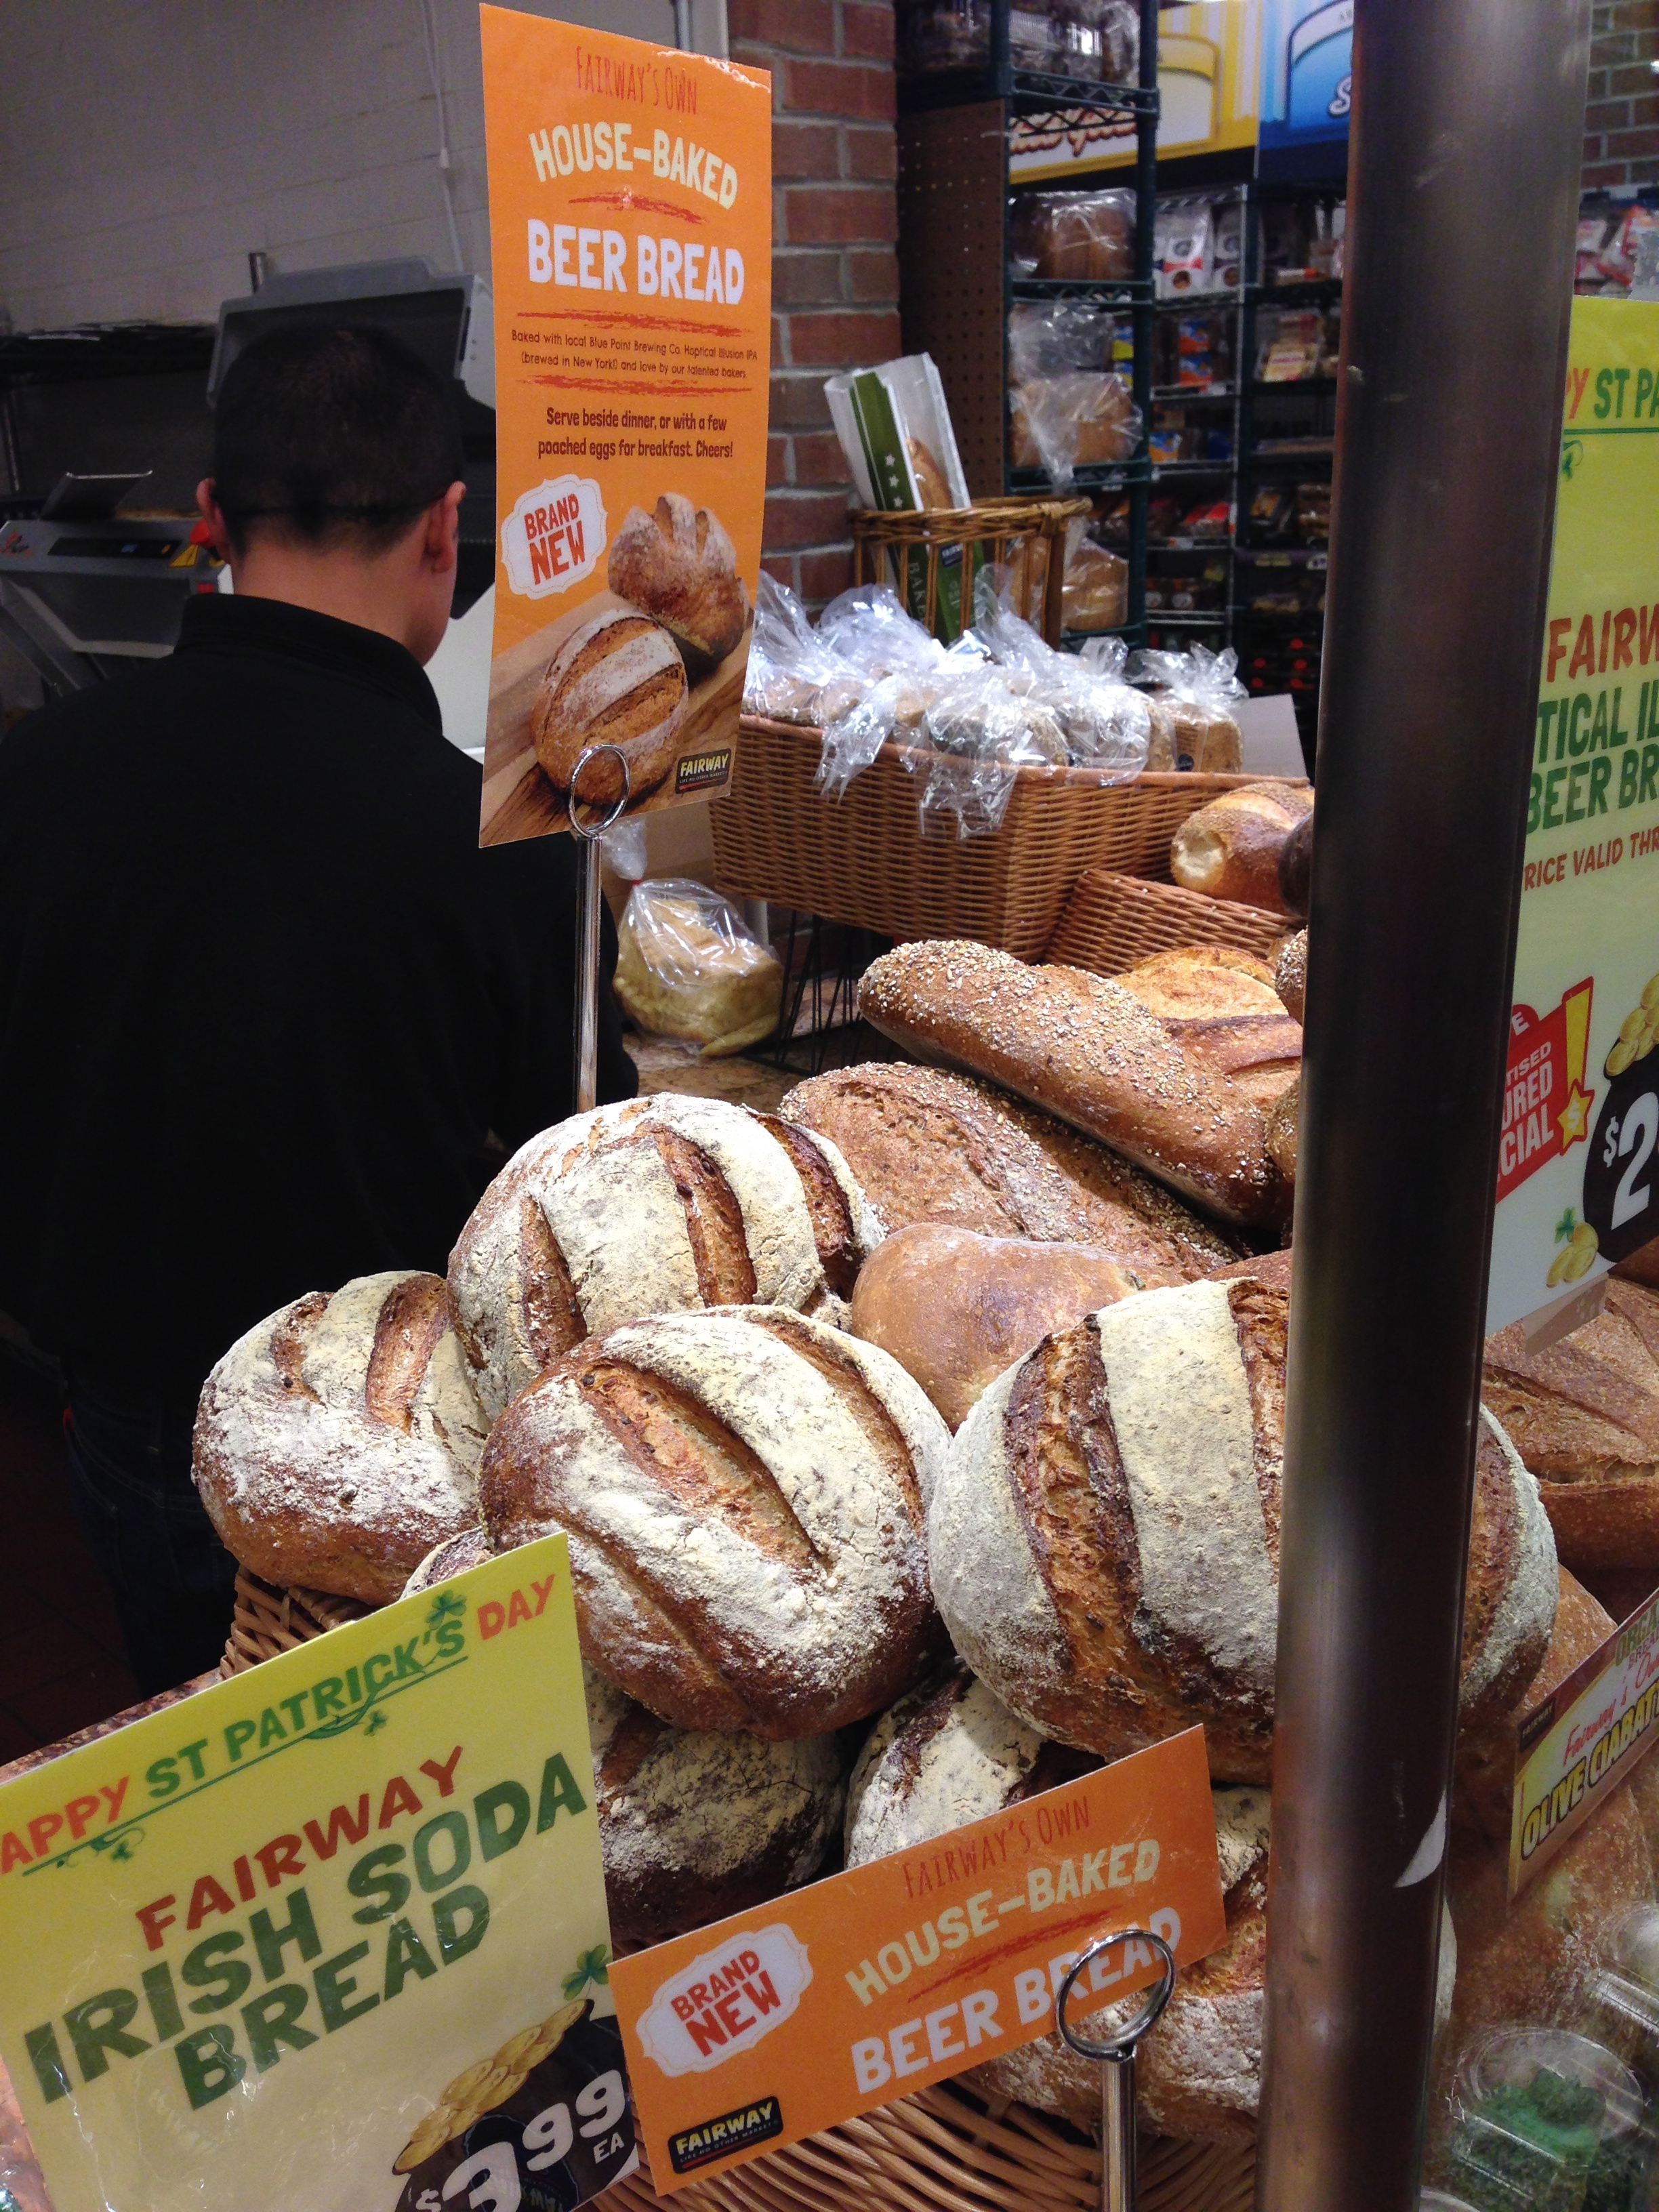
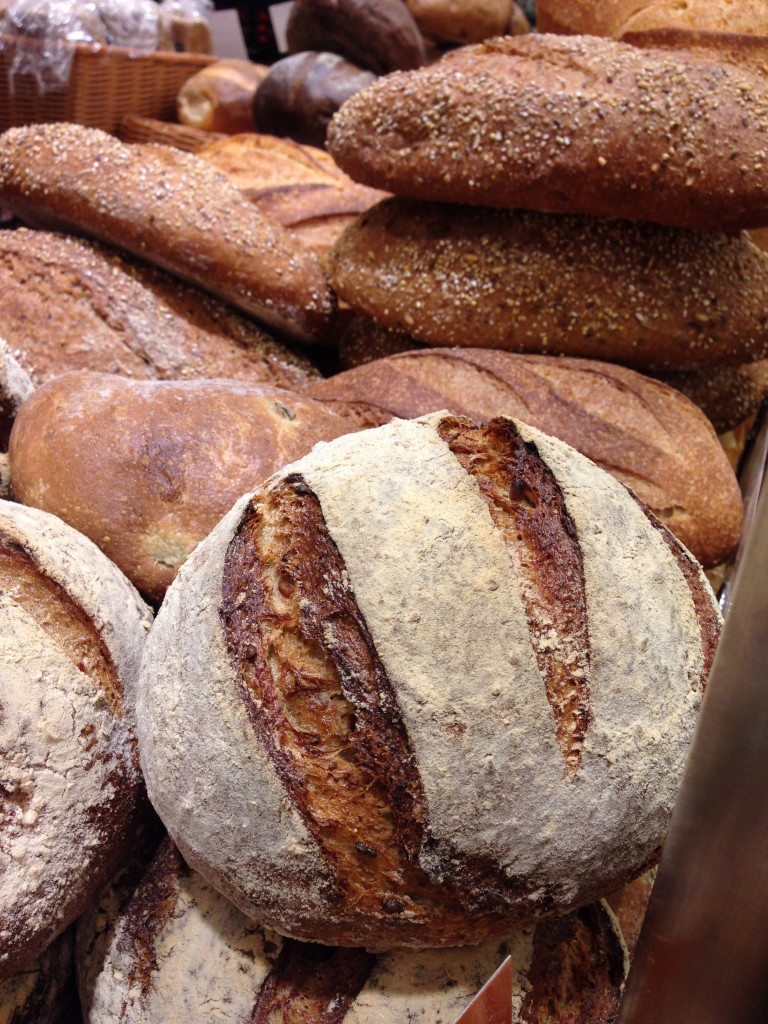
I swung by to pick up my loaf at the Chelsea location and they had a very nice selection of delicious smelling bread.

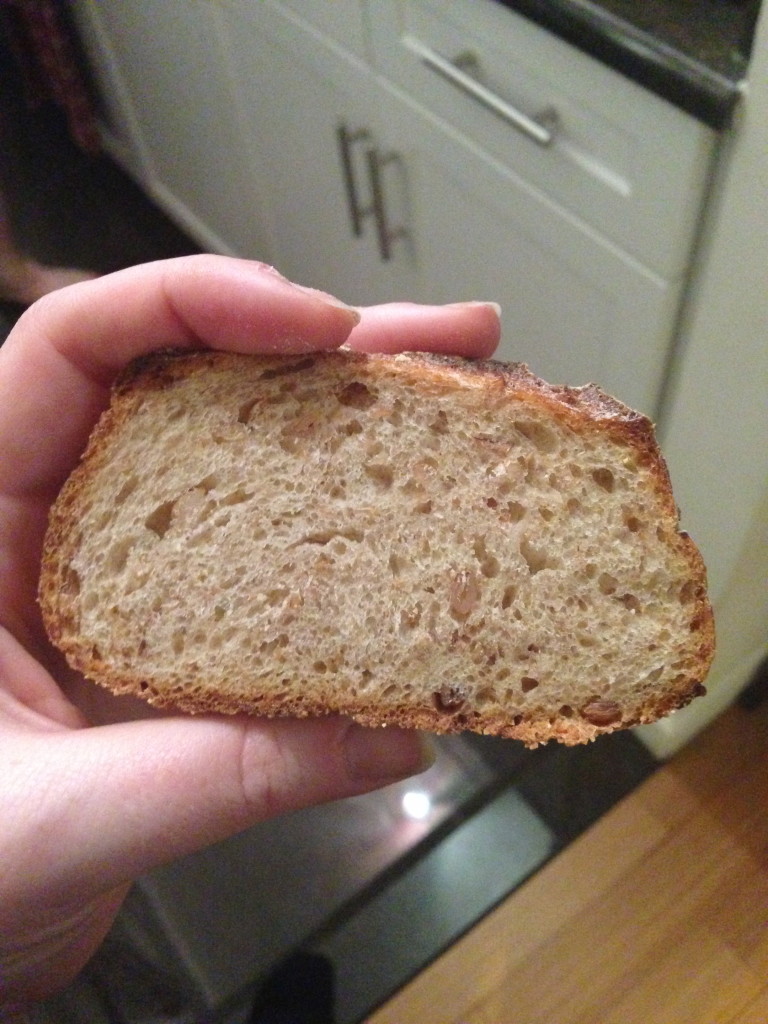
The loaf was about the size of a cantaloupe.
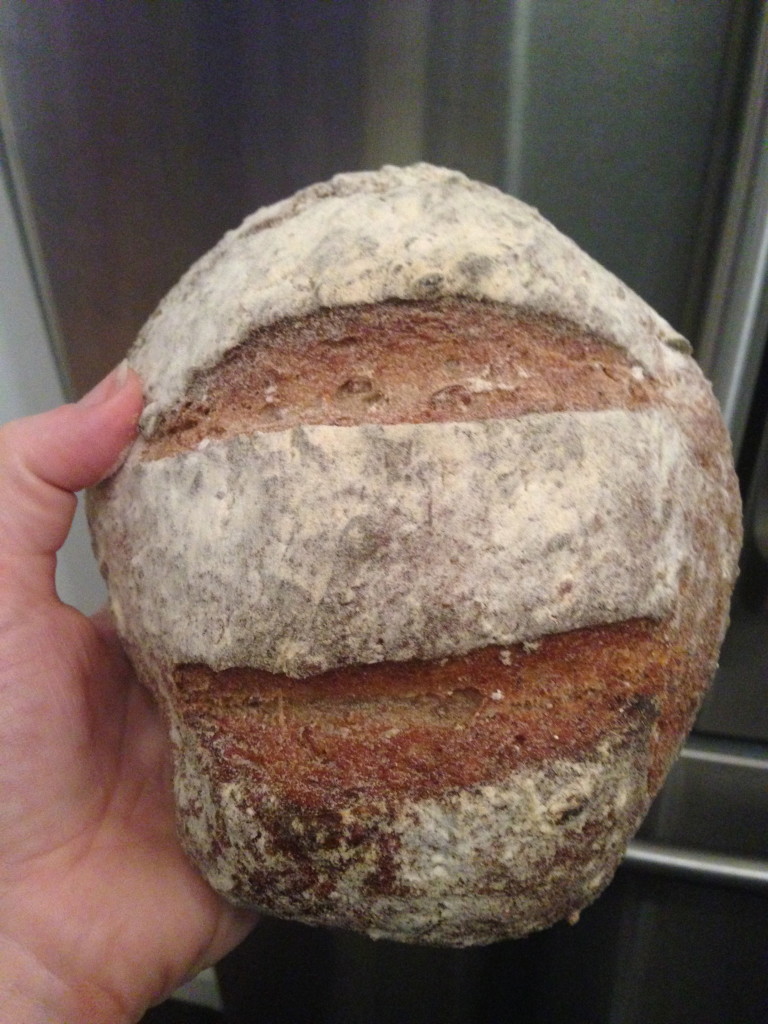
And it was quite dense, but with nice airy pockets and a satisfying crust.
I first just took a slice and nibbled away. It tasted decidedly like beer in bread. A great combo.
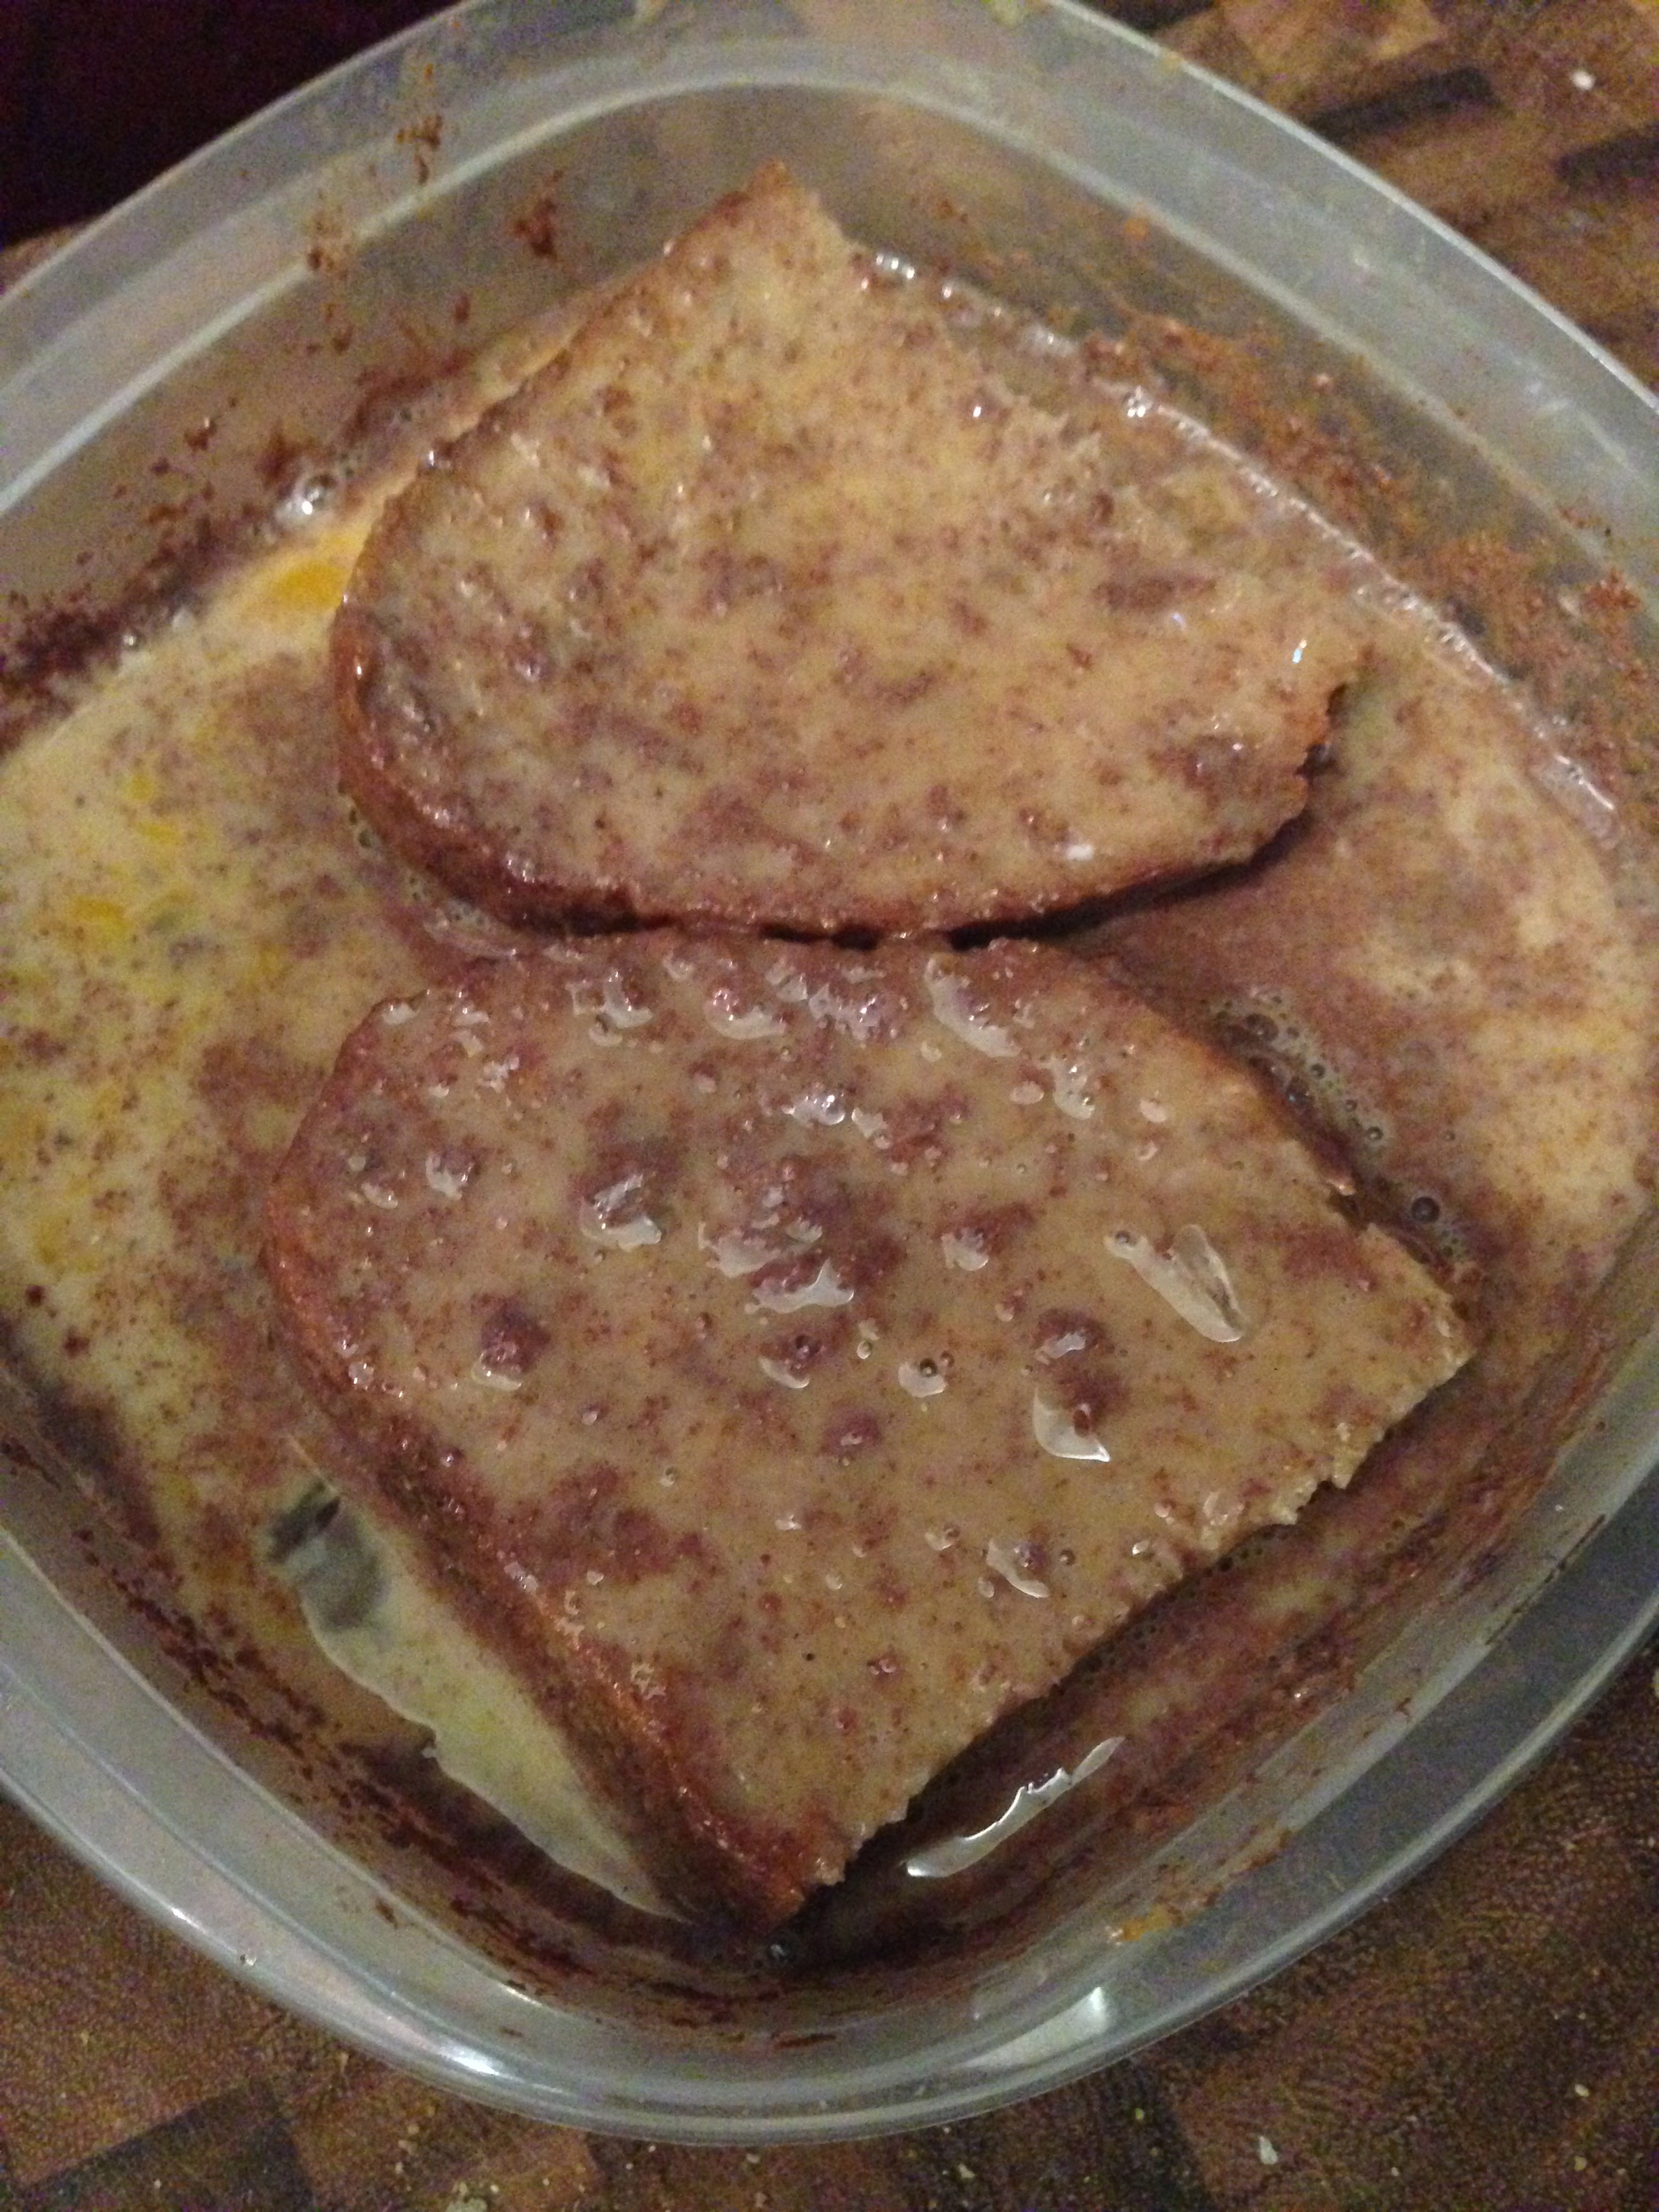
I decided it would make for great French Toast, so I went with it. It was actually so dense that I should have cut it thinner to soak all the way through, but even after a full 30 minute soak, it was still totally in tact and nicely held up to the eggy mixture with almond milk.

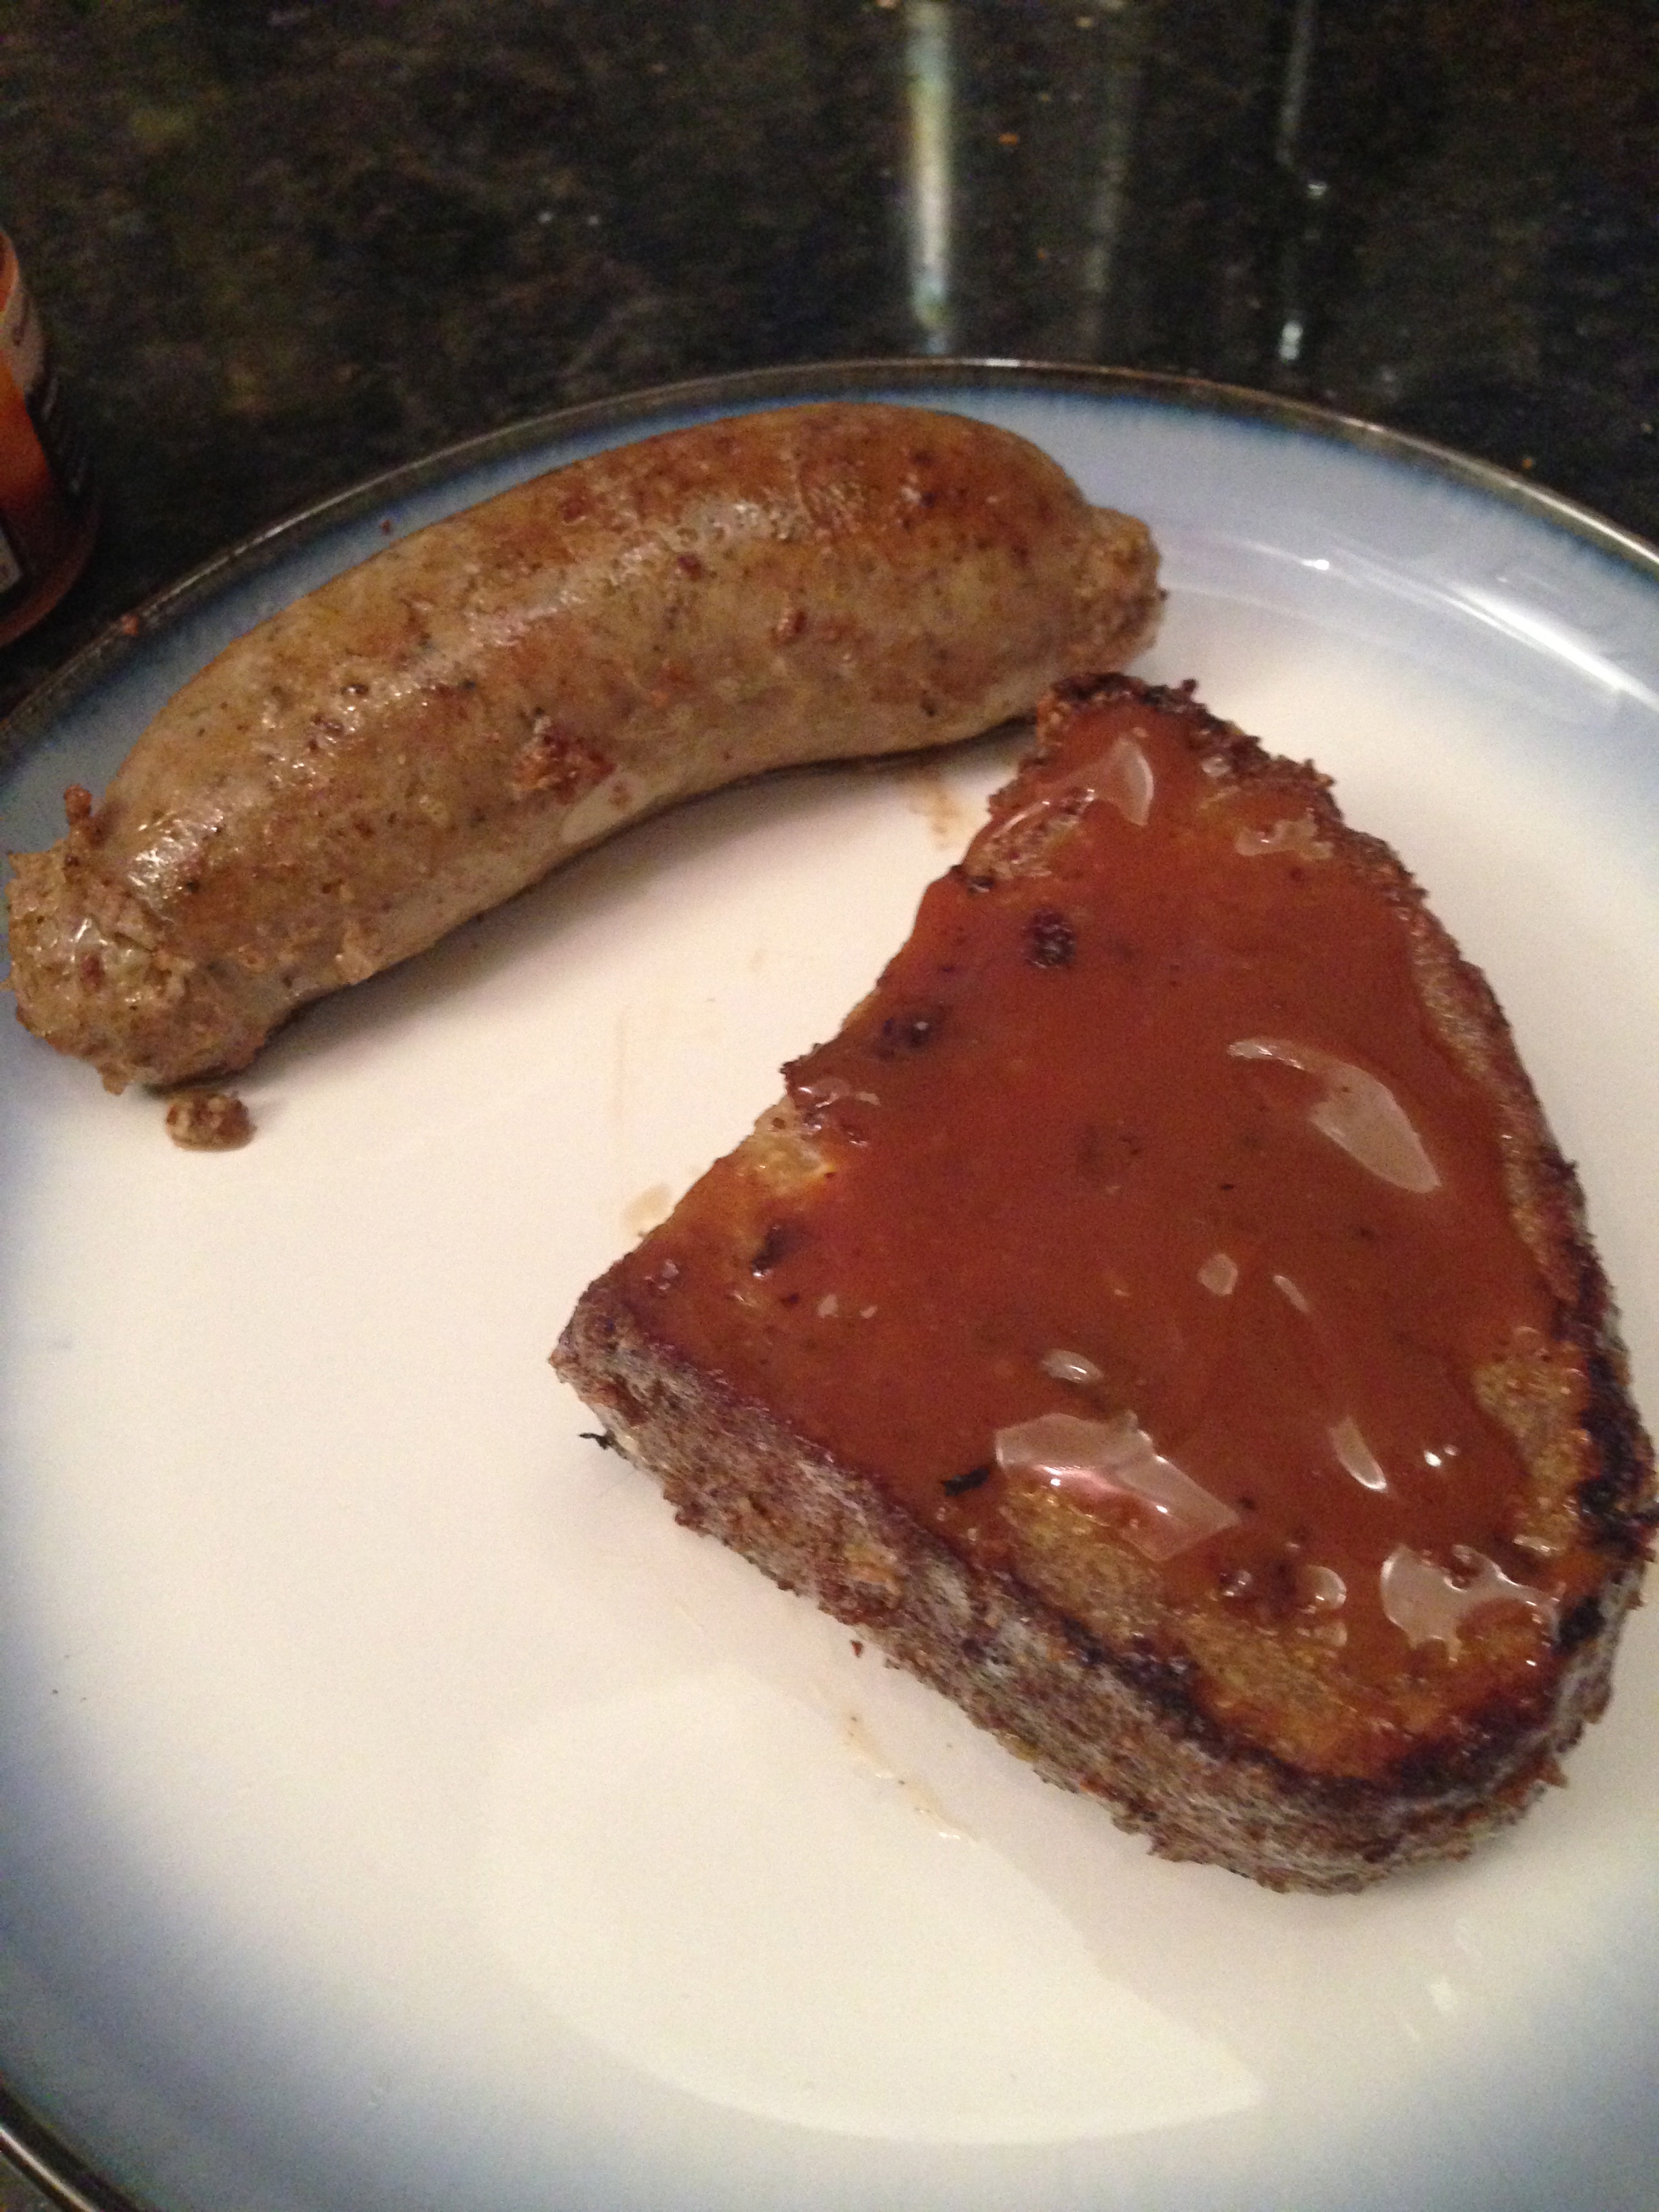
So I toasted it up with a side of sage sausage….
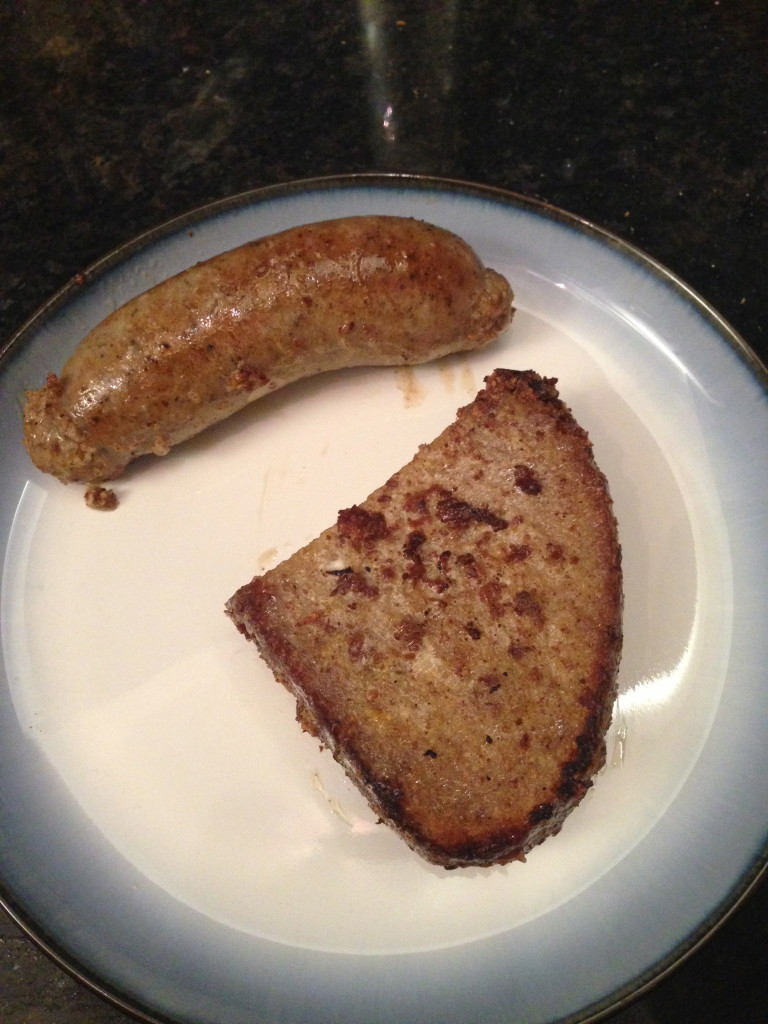
Then realized we were completely out of maple syrup, so I went for the next best thing… bourbon salted caramel. It was absolutely scrumptious.

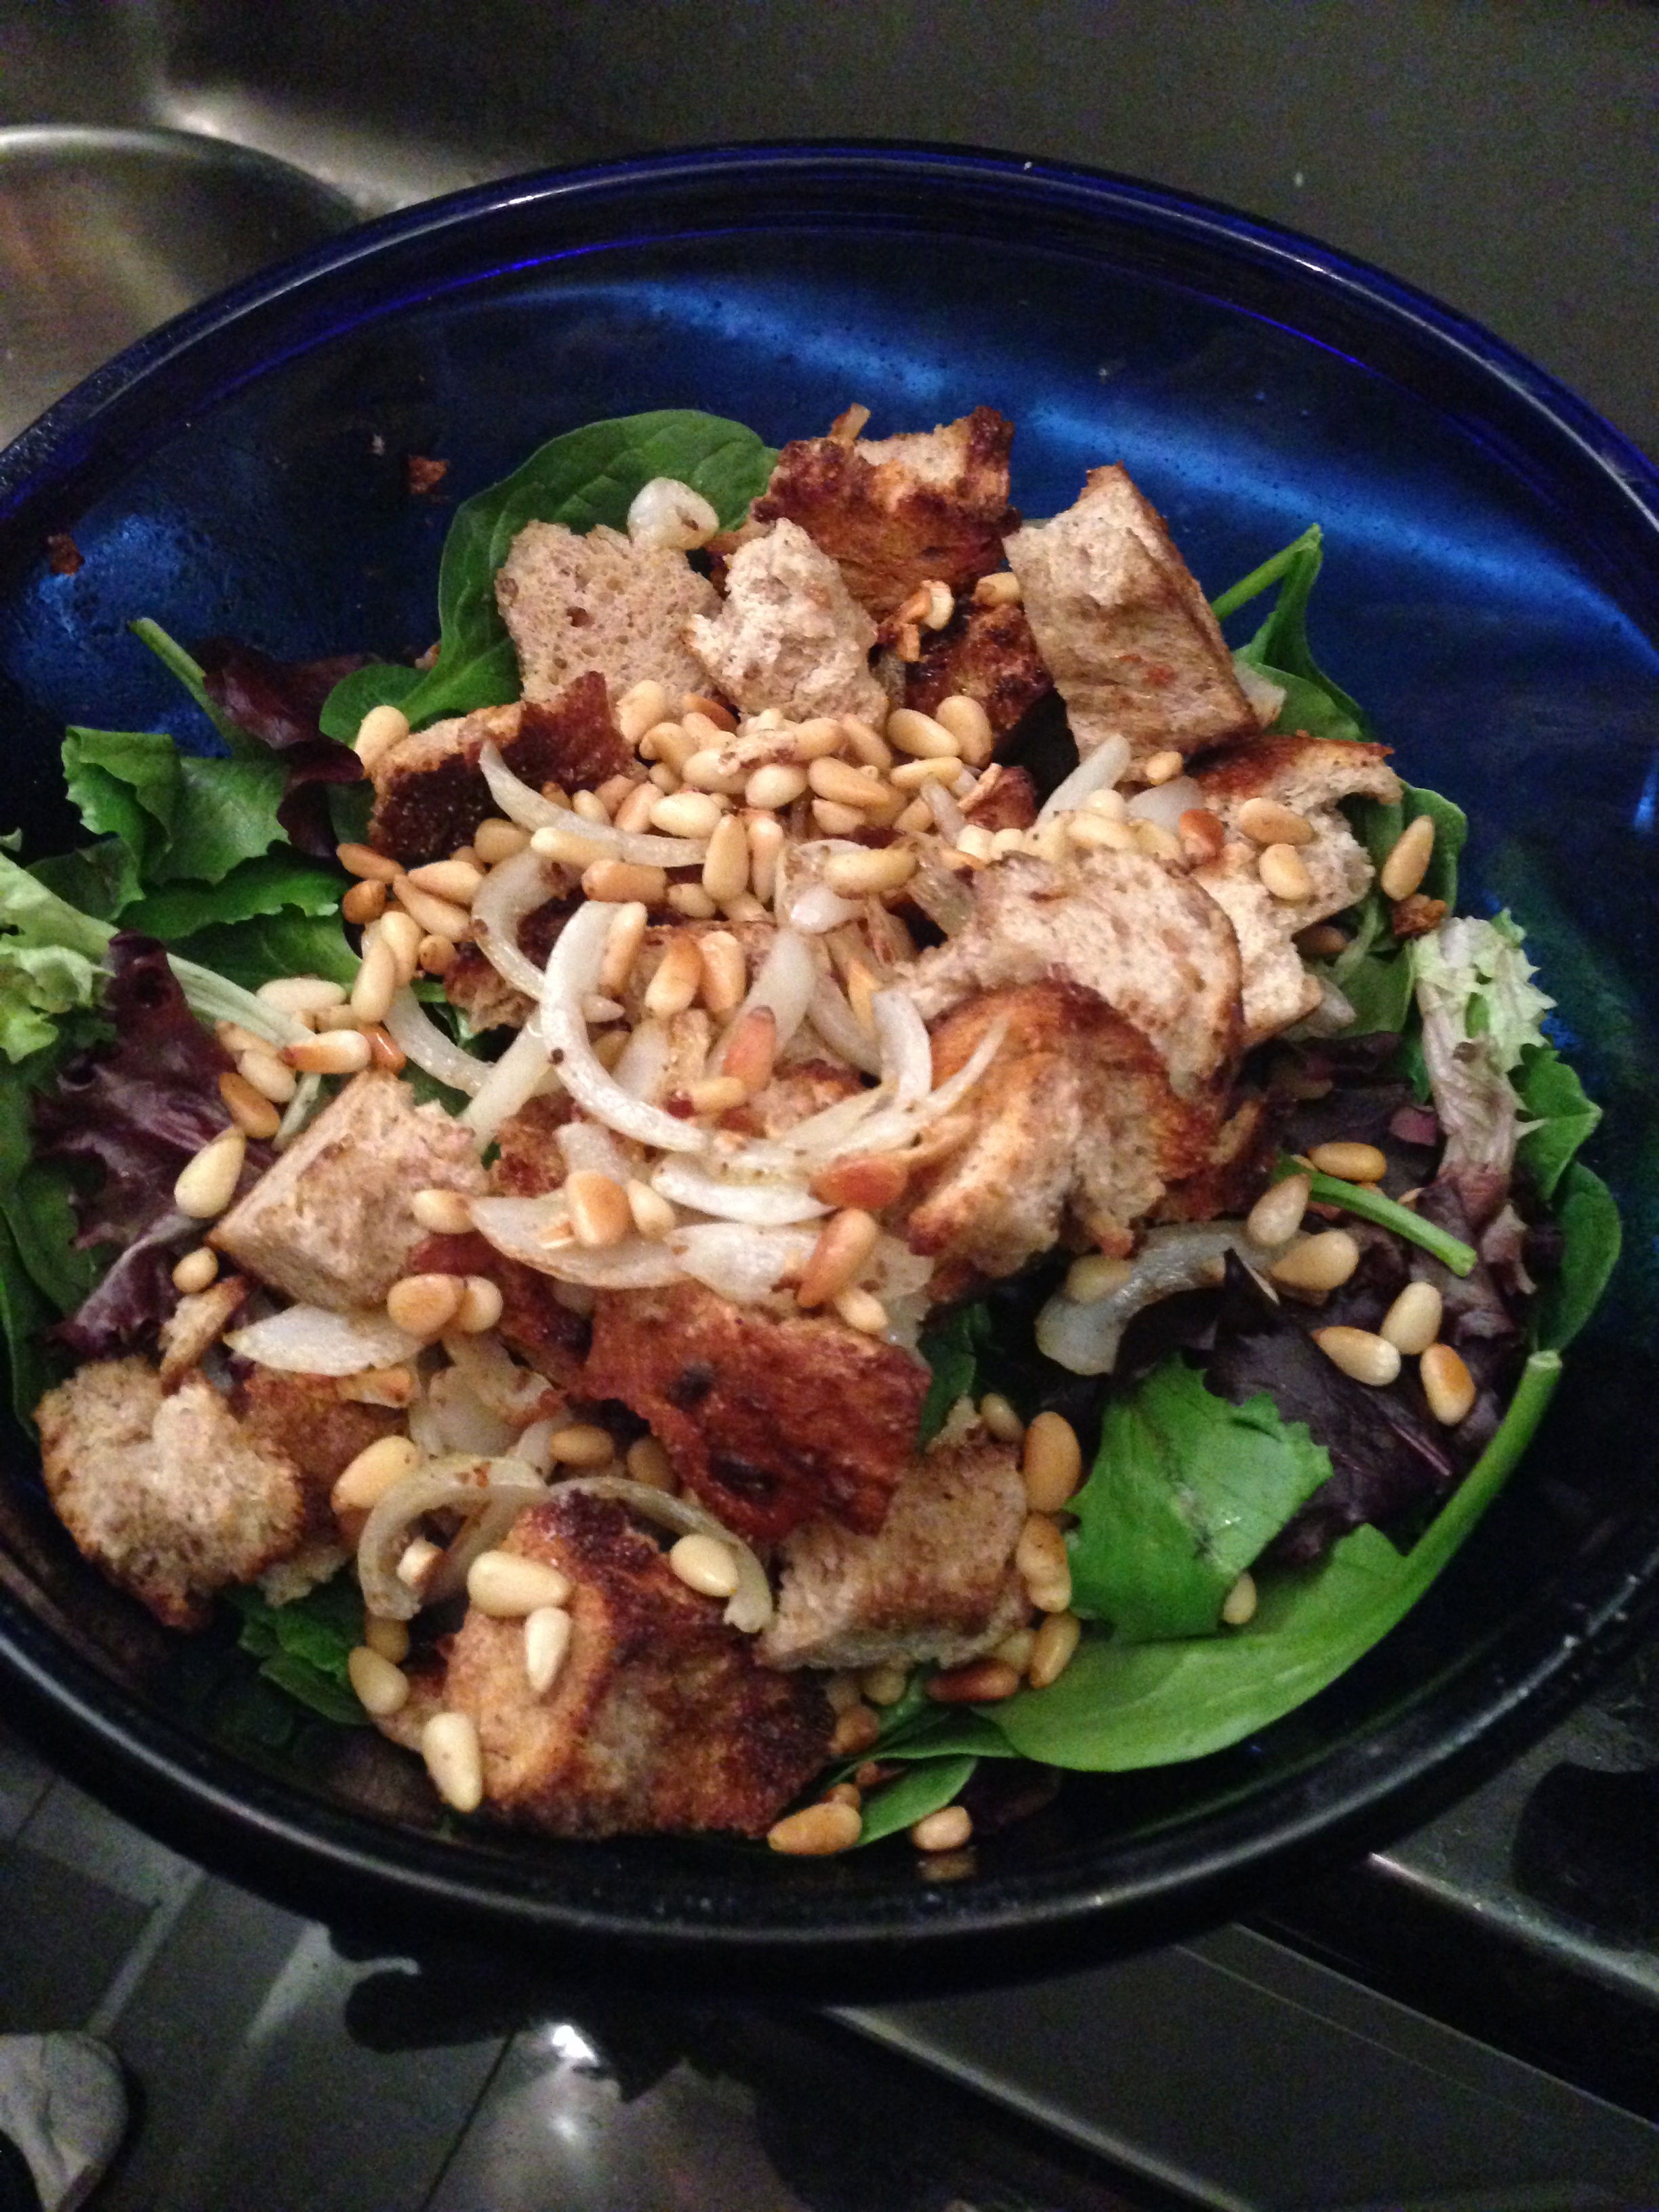
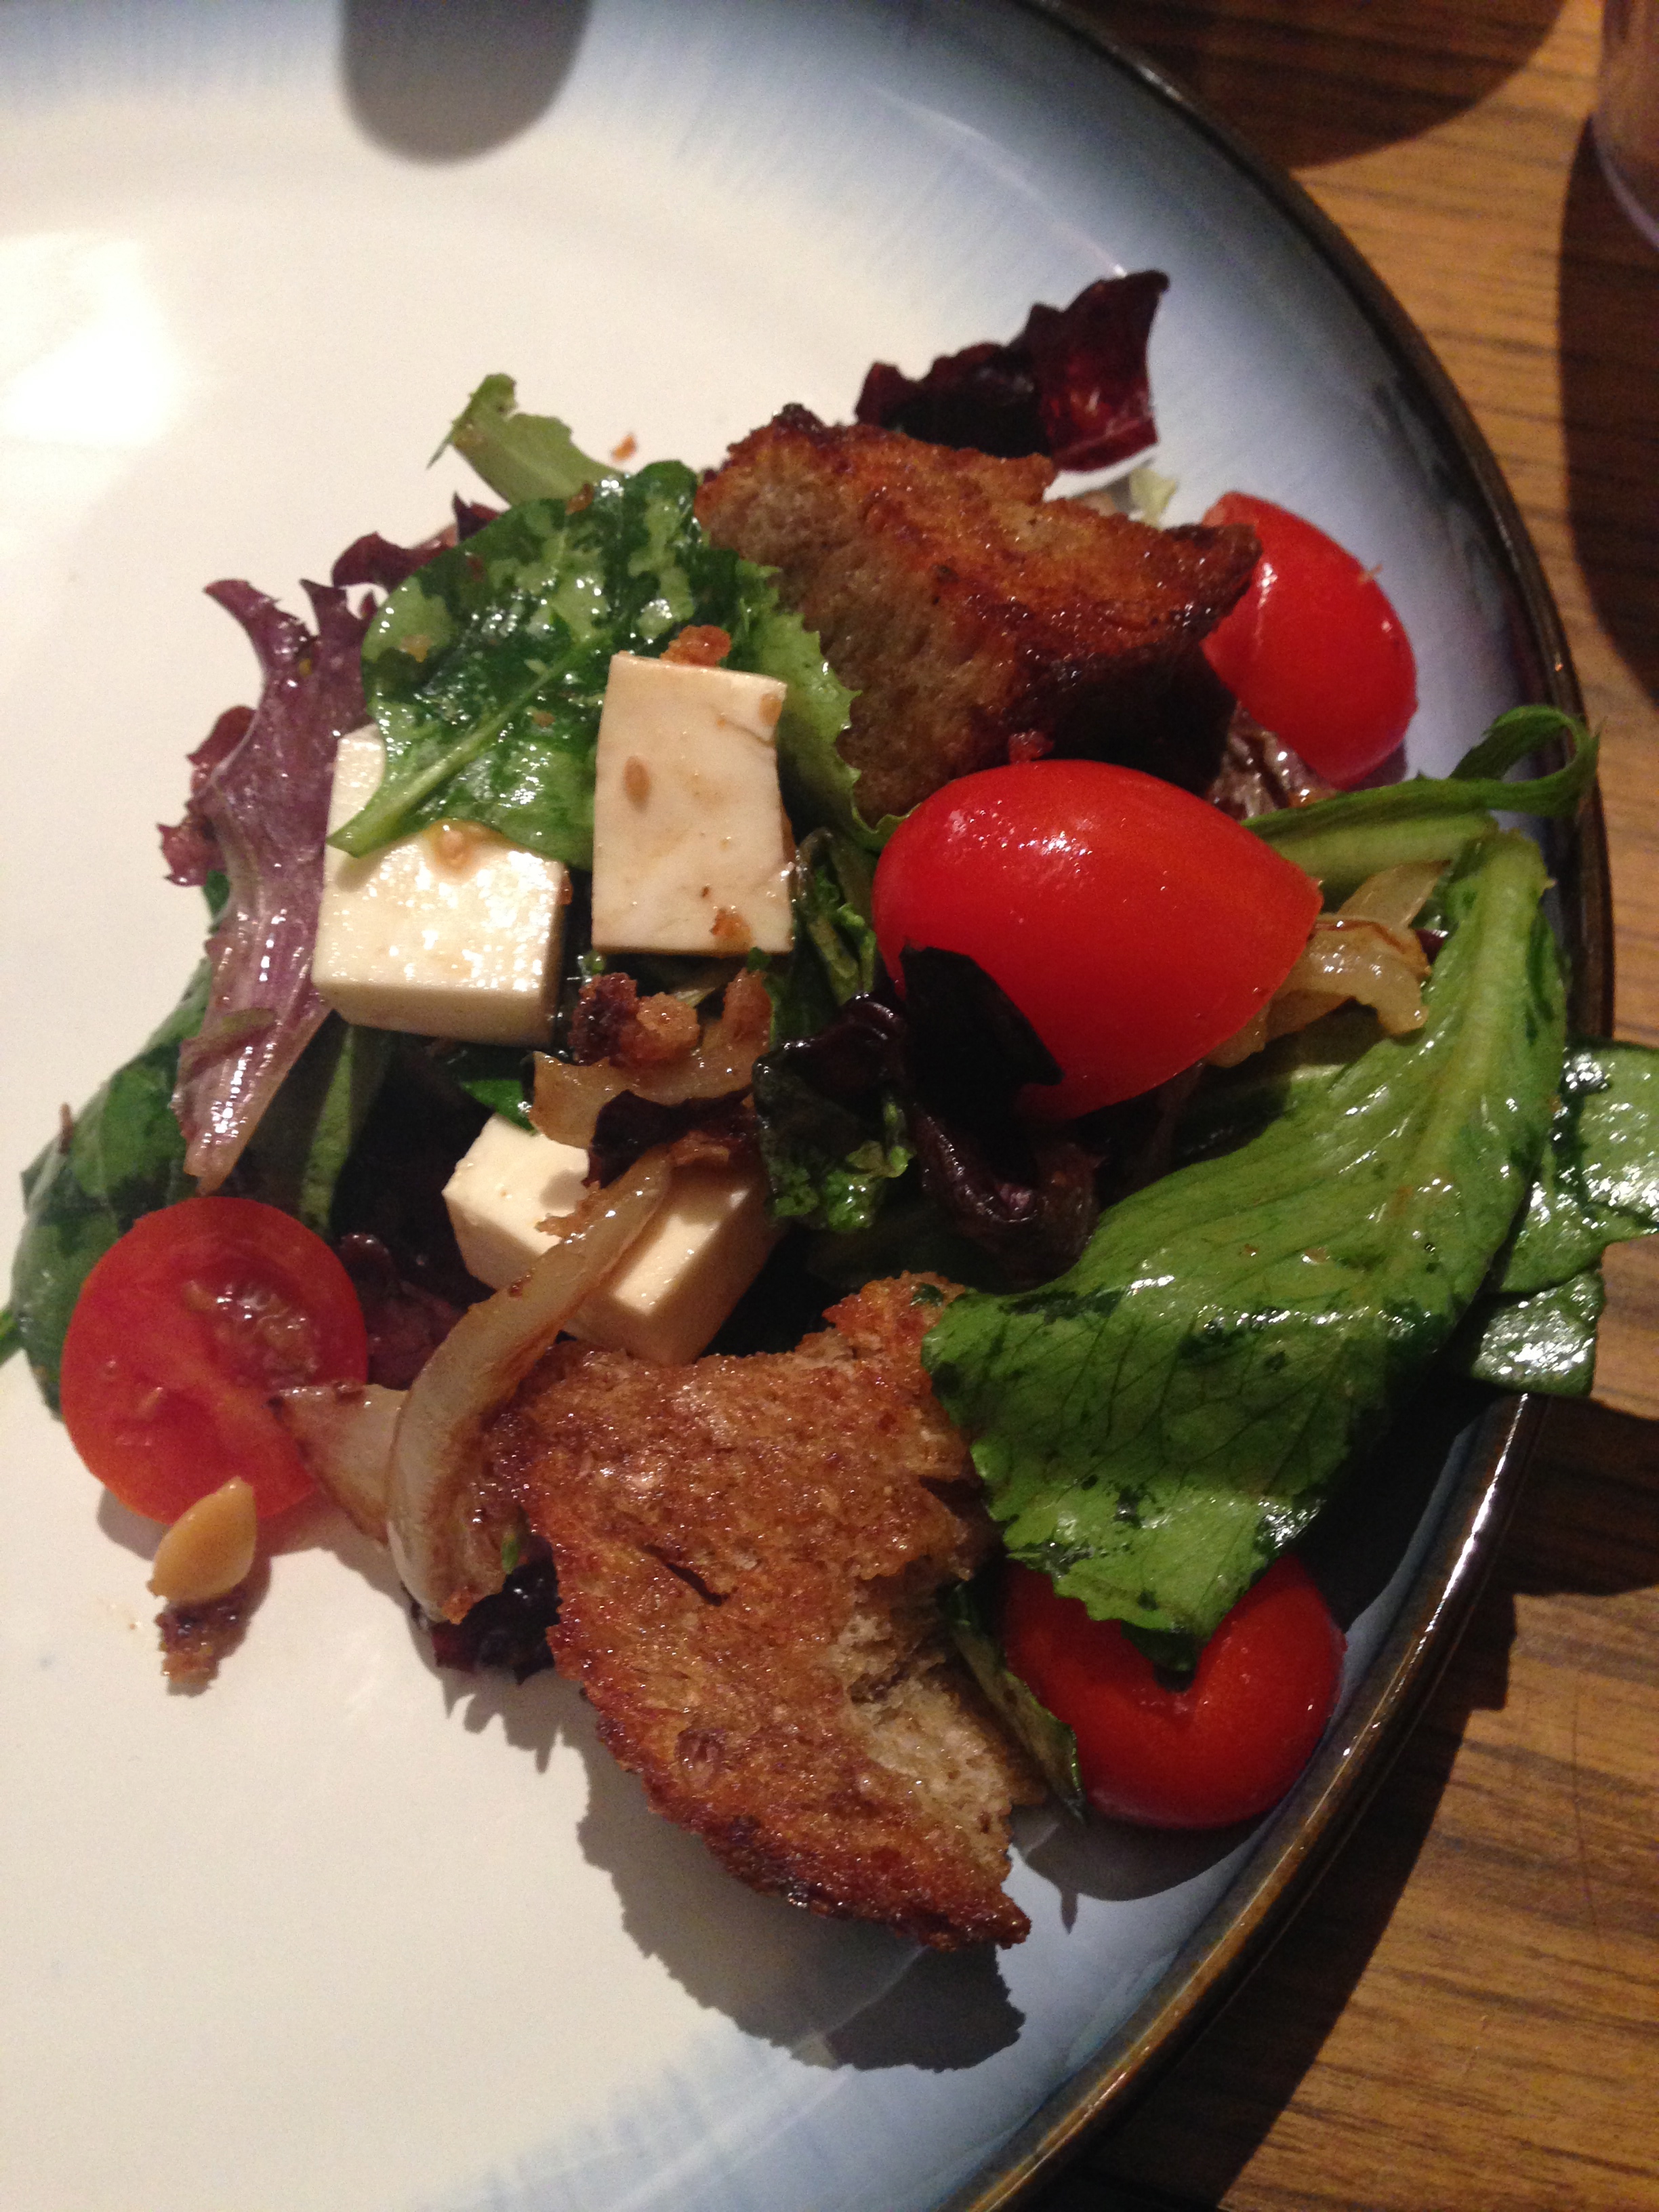
But I had to leave enough for us to make a delicious bread salad (the Zuni recipe) to go with our roast chicken (also Zuni recipe) on Sunday. It toasted up perfectly.

I absolutely love bread salad (also called panzanella salad), though I’ve only ever had this version (in the restaurant and then the many iterations we’ve made since then).

The bread toasted up perfectly and held up nicely to the dressing and salad. The beer taste got a bit washed in the salad, but it was a really great flavor overall and the best texture of bread for the job.

Fairway Beer Bread gets an A+ in my book.
Note: While I was given this loaf for free, I was not required to nor even encouraged to write about it. But I really enjoyed it. Here was their write up:
Fairway introduces House Baked Beer Bread Just in Time for St. Patrick’s Day
Introducing Fairway’s own house-baked Beer Bread made with local Blue Point Brewing Co. Hoptical Illusion IPA and love from Fairway’s talented bakers. Fairway’s Beer Bread is a combination of wheat, rye and sourdough with the strong essence and smell of hops and can be included in any type of meal of the day including with a few poached eggs for breakfast, as the base of a pastrami sandwich for lunch or served besides any plate for dinner! Will go great with Corned Beef and Cabbage, stew and just perfect for dipping or enjoying with cheese.
Fairway’s newest product is sold $3.99 a loaf at all Fairway Market locations.
Tags: baking, beer bread, blue point, blue point beer, bread, bread salad, fairway, fairway market, french toast, hoptical illusion, ipa, ipa bread, loaf, st. patrick's day


 Pie Variation #1 (Apple, with detailed instructions on making pie crust)
 Pie Variation #2 (Cranberry Apple Pie- Prepared Crust)