Archive | Baking RSS feed for this section

Strawberry Shortcake

21 Sep


I was on a mission to make a great strawberry shortcake.  In my mind, the shortcake should always be more biscuit like. It has become fashion to make a strawberry shortcake with something that resembled angle food cake rather than the shortcake I know and love.  I went through AllRecipes.com and read a lot of reviews and comments and eventually decided on the one that had the most people complaining about how this didn’t taste like commercially bought shortcake.  Perfect!

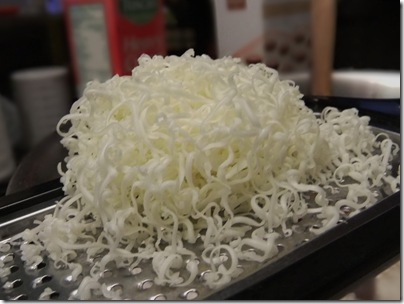
I also picked up an awesome tip when reading the reviews.  It is always a difficult task to keep the butter cold (an important part of flaky crust) while also getting it small enough to blend into a crust.  So someone recommended to freeze it and then use a cheese grater to make little butter ribbons.  Wouldn’t you know? Worked like a charm!  I will be doing this for all future baking.

DSCF4443


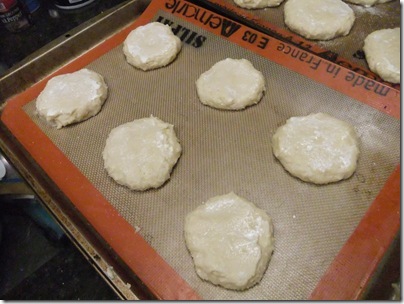
I wanted to make smaller short cakes, so I opted to make the dough into smaller balls and then press them down to create smaller shortcakes (rather than 2 large ones that I would layer). I also tried another version where I put them in mini tart pans, and that worked well also.

DSCF4444


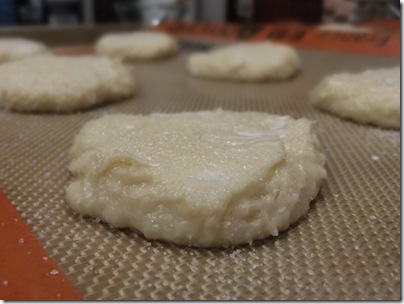
The dough was a bit sticky, but as long as you’re not too worried about getting your hands dirty, easy to work with. I also added in almond and vanilla extracts to add a bit of flavor.  It was a good move.

DSCF4445


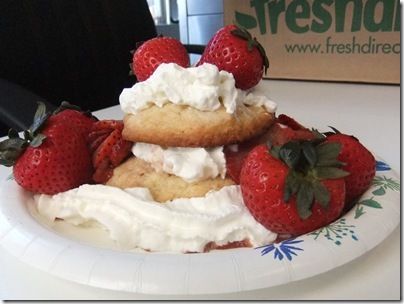
You are supposed to layer it with sugar coated strawberries, but I am a fan of adding balsamic vinegar to the mixture to add a little punch to the flavor.  I then made some home made whipped cream, layered, and adorned with fresh strawberries.  It was delicious!!

DSCF4450


___________
RECIPE
___________

Old Fashioned Strawberry Shortcake
(Original Credit to AllRecipes.com)

Ingredients

  • 1 quart strawberries, sliced
  • 1 cup sugar
  • 2 cups all-purpose flour (I wound up needing a bit more since it was a humid day and my dough was a bit sticky)
  • 4 teaspoons baking powder
  • 1/4 teaspoon salt
  • 1 dash ground nutmeg
  • 1/2 tsp vanilla extract (I added this)
  • 1/2 tsp almond extract (I added this too)
  • 1/2 cup butter
  • 1/2 cup milk
  • 2 eggs, separated
  • 2 cups sweetened whipped cream
  • Balsamic Vinegar (enough to coat the sugared strawberries)

Directions

  1. In a bowl, gently stir strawberries and 1/2 cup sugar; coat with balsamic vinegar, chill.
  2. Meanwhile, in another bowl, combine flour, 1/4 cup sugar, baking powder, salt and nutmeg; cut in butter until crumbly. (refer to tip above about grating butter)
  3. Combine milk and egg yolks; mix well.
  4. Add vanilla and almond extracts.
  5. Add to crumb mixture, stirring just until moistened.
  6. Divide and pat into two greased 9-in. round cake pans. (Or into 8 4-5 inch tart pans, or divide into 8 balls and flatten onto a greased or Silpat cookie sheet)
  7. In a small mixing bowl, beat egg whites until stiff peaks form; spread over dough.
  8. Sprinkle with remaining sugar.
  9. Bake at 300 degrees F for 40-45 minutes or until golden.
  10. Cool 10 minutes before removing from pan to a wire rack. (Layer may be thin.)
  11. Cool completely.
  12. Place one cake layer on a large serving plate; spread with half of the whipped cream.
  13. Spoon half of the strawberries over cream. Repeat layers. Garnish with mint if desired.


Confetti Cupcakes with Bailey’s Frosting

12 Sep

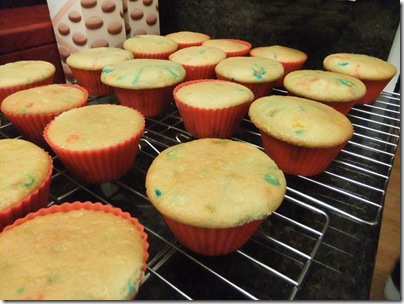
I have a tradition in my office where I bake my coworker’s favorite desserts for them on their birthday.  One coworker said she loved confetti cake.  Hmmm… I was stuck.  That’s out of a box.  But… I said ok. I went to the store and looked for a box of confetti cake.  To my dismay, they had none.  I wasn’t sure if confetti cake could actually be made (weren’t those sprinkles inside magic so they got soft and didn’t bleed into the cake?) but a short google later, I found out that any regular sprinkles will do.  Good to know!

DSCF4441

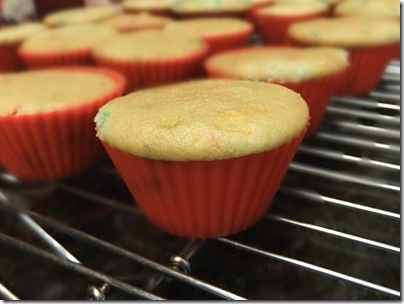
So I whipped up a simple vanilla cake recipe (recipe here) and added in some sprinkles.  Worked like a charm!

DSCF4442

But I had to get a little more original with the frosting.  Lori had blogged about a Bailey’s frosting a few months back, and that seemed like a great idea to spice up these cupcakes. She originally got the recipe from Smitten Kitchen.

DSCF4446

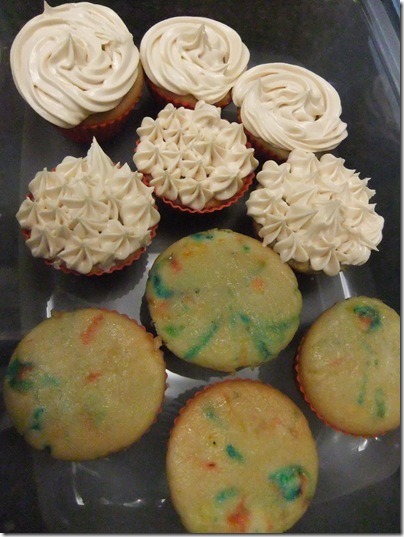
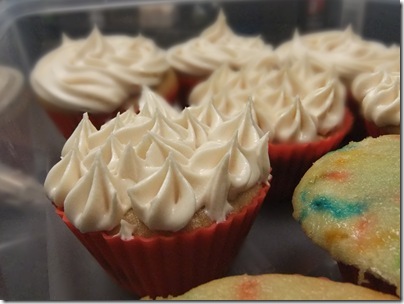
I also bought a new cupcake piping set, and it made for some LOVELY looking cupcakes.

DSCF4447

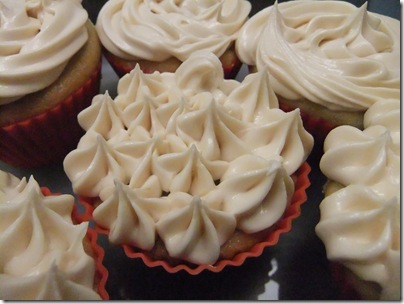
So lovely in fact, that I couldn’t stop taking pictures.

DSCF4448

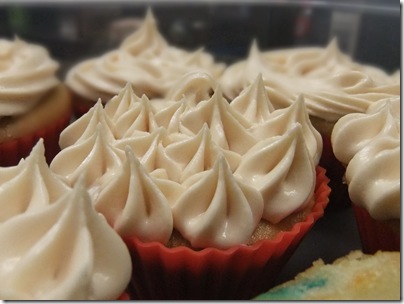
And this picture was definitely my favorite.

DSCF4449

If you want to make Bailey’s frosting at home, I recommend staying very close to the following recipe.  I added a bit of extra powdered sugar to make sure the peaks kept their shape after I piped them and brought this to the office.  It was perfect.

___________________
RECIPE
___________________

Bailey’s Frosting
(from Smitten Kitchen)

Ingredients:
3 to 4 cups confections sugar
1 stick (1/2 cup or 4 ounces) unsalted butter, at room temperature
3 to 4 tablespoons Baileys (or milk, or heavy cream, or a combination thereof)

Directions:

1. Whip the butter in the bowl of an electric mixer, or with a hand mixer, for several minutes. You want to get it very light and fluffy. Slowly add the powdered sugar, a few tablespoons at a time.  NOTE FROM SMITTTEN KITCHEN THAT REALLY HELPED: “This is a fantastic trick I picked up while working on the cupcakes article for Martha Stewart Living; the test kitchen chefs had found that when they added the sugar slowly, quick buttercream frostings got less grainy, and tended to require less sugar to thicken them up.”

2. When the frosting looks thick enough to spread, drizzle in the Baileys (or milk) and whip it until combined. If this has made the frosting too thin (it shouldn’t, but just in case) beat in another spoonful or two of powdered sugar.

Homemade Salted Caramels

5 Aug


The day Lori (of Stuff I Ate) came to my house with homemade salted caramels, I knew my life had changed.  These were just SO fantastic. I can’t believe it took me nearly 6 months to make them for myself.  But make them I did!  (Her post about it is here, and the recipe is here)

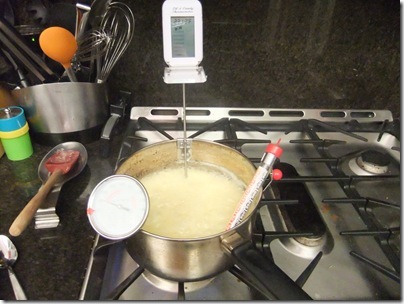
Though not without some, as usual, thermometer troubles.  I tried my new one, but it stopped moving after a bit, so I added the other 2 (which have shown various levels of accuracy) figuring that I would hopefully find 2 numbers that matched.

DSCF4999


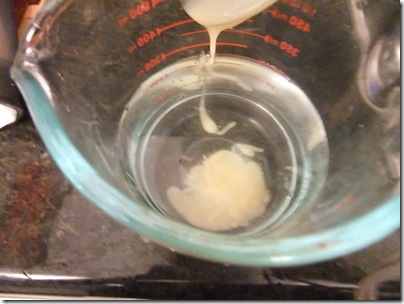
Since I didn’t have temperature to rely on, I used the method of cold water drop for caramel.  In this method, you drop a bit of the caramel into cold water to see if it’s done.

DSCF5002


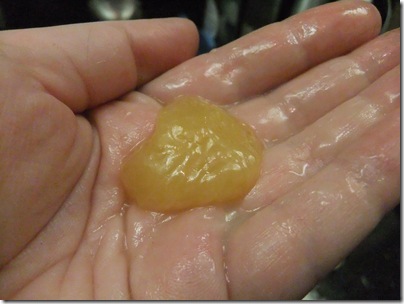
You can then scoop it up and test for texture.  I stopped the cooking when it was forming balls that didn’t spread out once formed and tasted delicious (ok… to be honest… I tasted many iterations along the way and they were all delicious).  They definitely hardened quite a bit from here, but the texture was great.

DSCF5003


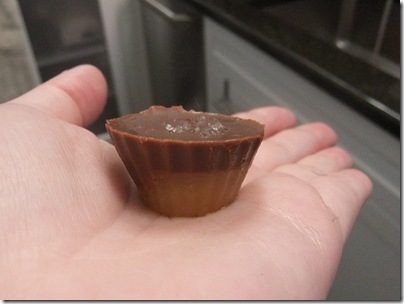
The first thing I did was fill my peanut butter cup molds up about halfway with the caramel, then top it with chocolate, and sprinkle on some sea salt.  This was DELICIOUS!

DSCF5005


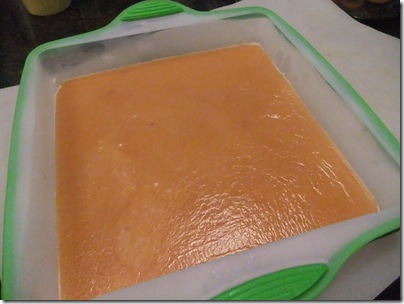
I then took the rest and put it into a silicon baking mold.  

DSCF5006


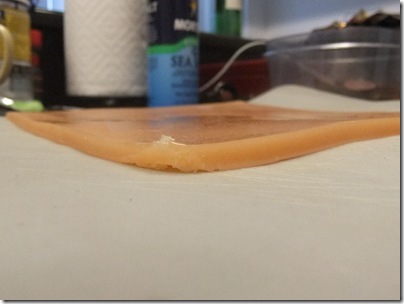
I should have put it into a smaller one, since it got quite thin, but it still tasted great.

DSCF5009


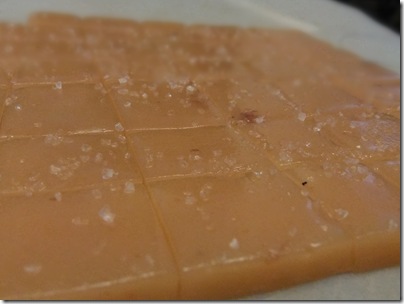
And then I topped it with sea salt.

DSCF5010


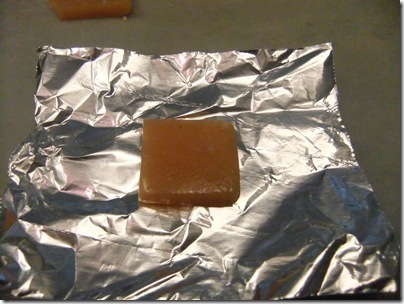
And then cut it into pieces and, not having wax paper at the time, wrapped it in foil

DSCF5012


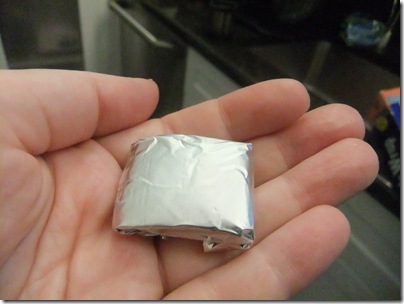
They made cute little caramel pillows.

DSCF5013

This recipe was delicious, but I do not recommend making them in the dead of a 100 degree heat wave.  Half of them melted together before I even got them out of the mold.  I definitely had to keep them in the fridge and each one MUST be individually wrapped or else it melts into one big (delicious) ball of salted caramel.  

I would say go make them NOW, but the heat wave is upon us again… so give it a few weeks and then GO! Make them!