Archive | Baking RSS feed for this section

Fudged Fudge

23 Mar

I have heard horror stories about fudge.  And I have also heard that you can make it in the microwave and no one will notice.  When looking for recipes one day, I decided to try the latter one and see how it turned out. 

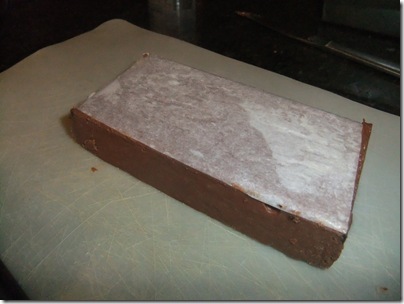
I only had deep pans, and I was concerned about getting the fudge out.  So I greased up the sides and put parchment paper on the bottom (cut to size).  Turned out perfectly and came right out.

DSCF3719

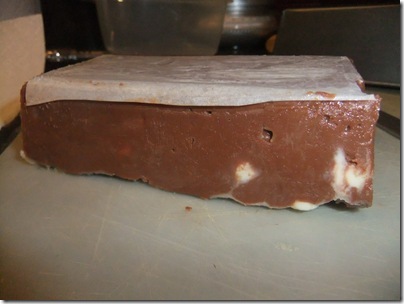
And it was easy to make multiple varieties just by mixing it right in the pans (that I made small to have a few flavors).  This one had white chocolate chips in it.

DSCF3723

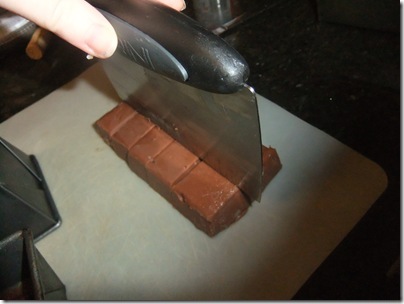
I then just used a simple bench scraper to cut into squares.

DSCF3721

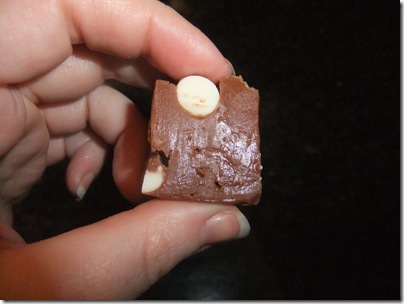
And we had perfect little servings of fudge.

DSCF3725

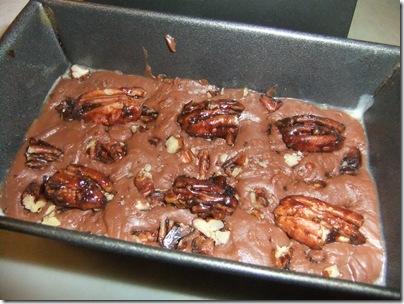
 I still had some leftover sweet glazed pecans from the cheesecake, so I added them to one batch. (This wound up being my favorite)

DSCF3717

It was remarkably simple, tasty, and the texture was actually BETTER than many homemade fudges I have tasted.  Next time you need to make an impressive dessert with about 10 minutes of hands on time, look no farther than microwaved fudge. (Let the fact it was so damn easy stay our little secret)

__________________________
RECIPE
__________________________

Microwaved Fudge
(borrowed from AllRecipes.com)

Ingredients

  • 16 ounces semisweet chocolate
  • 1 (14 ounce) can sweetened condensed milk
  • 2 teaspoons vanilla extract
  • 1 1/2 cups chopped walnuts (optional.  I tried white chocolate chips and pecans.  I think it would be amazing with pretzel pieces, fruit, or peanut butter)
  • I also added a bit of salt after melting until the chocolate was to my liking

Directions

  1. Line an 8×8 inch square dish with aluminum foil.  (if you want to make multiple flavors, use a smaller pan.  And when I tried to use aluminum foil, it wouldn’t get flat and I didn’t want wrinkled in my fudge, so I just buttered the containers and put parchment paper on the bottom)
  2. 

  3. Chop chocolate and place in a large, microwave safe bowl with condensed milk. Microwave on high, stirring once or twice until chocolate is soft, 2 to 3 minutes. Remove from microwave and stir until completely smooth. Stir in vanilla and walnuts. Spread in prepared pan.
  4. Refrigerate 2 hours, until firm. Cut into squares.

Water Bathing the Pumpkin Cheesecake

16 Mar

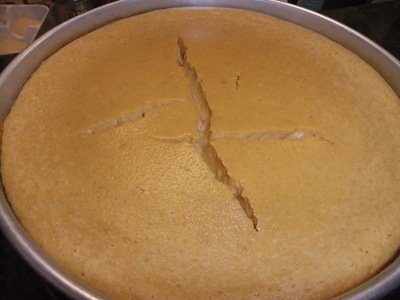
 The last time I made the pumpkin cheesecake, I made the ultimate cheesecake faux pas. It cracked. Badly…

So how do you prevent a cheesecake from cracking?  It’s so simple.  Waterbath!

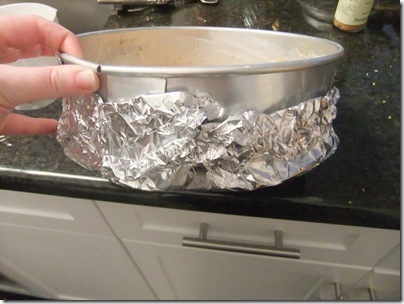
First, you just put some aluminum foil around the base of your springform before pouring in your cheesecake.  I usually use 2 layers.  The goal of this is to prevent any water from leaking IN.

DSCF3697

This is the perfect time to do some doublechecking that you have a pan to set your springform in (it’s a lot harder to figure this out once its filled).  I usually use my roasting pan.

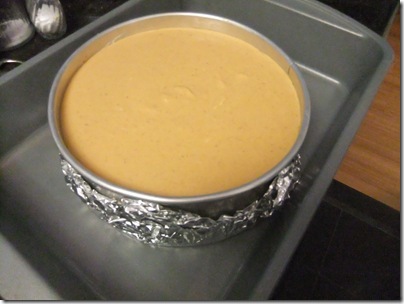
Then you pour in your cheesecake filling and set the springform in the bigger pan.  Next, you put about 2 inches of water into the bottom pan.  My understanding is that the water keeps the cheesecake from getting hot too quickly and then from getting cold too quickly. 

DSCF3698

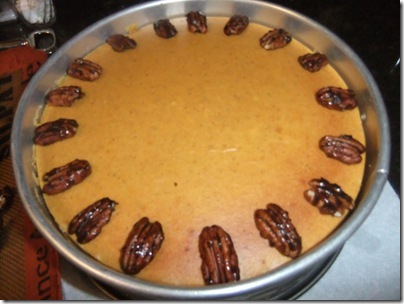
Once you bake it according to the recipe, rather than taking it out of the oven immediately, turn the oven off and crack the door.  Let that cool for about 30 minutes to an hour (or until you can remove it with your hands).  Then put it on the counter to cool for about an hour.  THEN put it in the fridge.  Yes… it’s a process,  but this version looks so much better:

DSCF3707

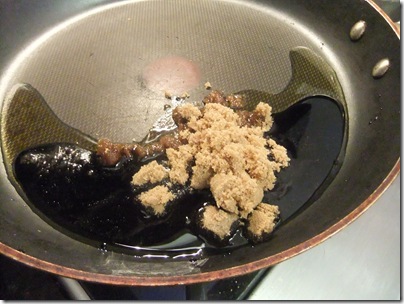
And what’s that on top you may ask? Oh just some sweet glazed pecans.  They are easy to make and fantastic as just a snack or as a topping for many things (especially pumpkin cheesecake).  All you do is heat 1 Tablespoon each of olive oil and balsamic vinegar with 1/2 cup brown sugar until it bubbles.

DSCF3700

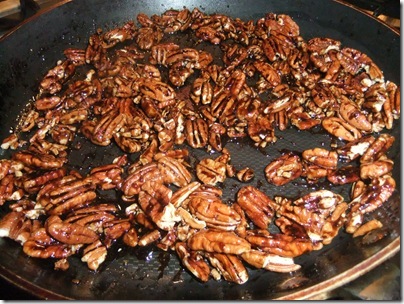
Then toss the pecans into the mixture and toast it for about 6 minutes, stirring constantly, until the pecans are toasted and most of the liquid is absorbed.

DSCF3703

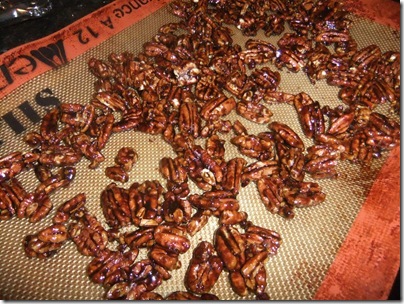
Then you can turn them out onto a Silpath (or parchment paper/foil/etc) and separate them with a fork.  Cool to room temp (in the fridge to speed it up) and enjoy. 

DSCF3705

Chestnut Cookies

7 Feb

As much as I love chestnuts, I don’t have a lot of recipes that contain them.  So when I found myself just snacking on a jar of them, I decided I’d research some cookies and found a recipe by Smitten Kitchen.  As it turns out, she adapted the recipe originally from Epicurious who posted the basis for them as “Mexican Wedding Cakes”.  This actually very much resembled these vanilla kipferl cookies that my great-grandmother used to make, so I figured I’d give it a shot.

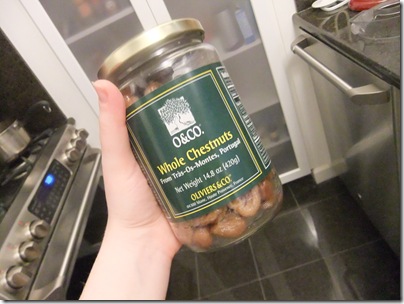
I also was a bit ahead since I had chestnuts already in a jar. 

DSCF2994

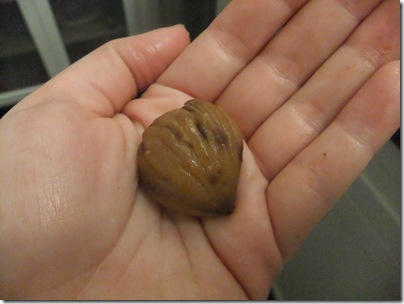
 I never have luck roasting chestnuts… the ones that aren’t rotten are usually impossible to get out of the shell.   Much easier to buy them already done (even if they are crazy expensive).

DSCF2996

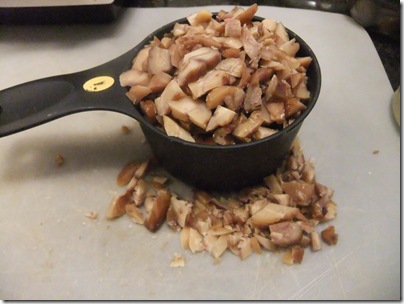
This recipe, luckily, is made for those maddening pieces of chestnuts because the first thing you do is chop them up…

DSCF2995

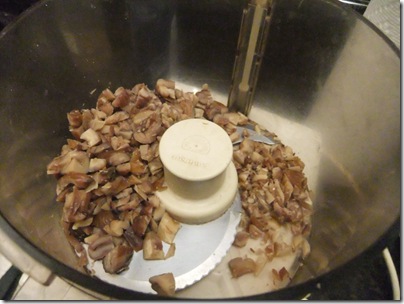
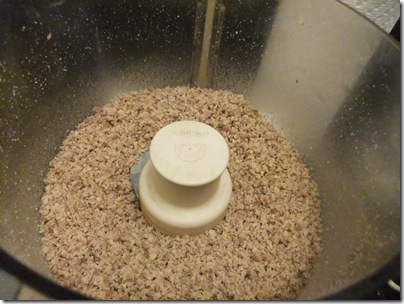
Then stick them in a food processor to pulverize them. (You can also do this by hand and then mix everything with a hand or stand mixer)

DSCF2997

Into a fine nutty crumb.

DSCF2998

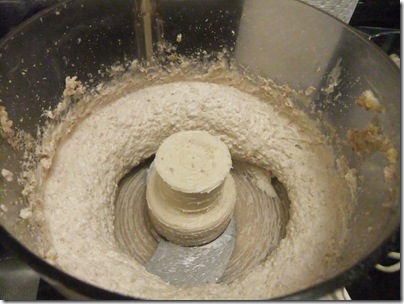
To which you then add soften butter until you have a whipped delicious mound of buttery chestnut paste in your food processor.

DSCF3001

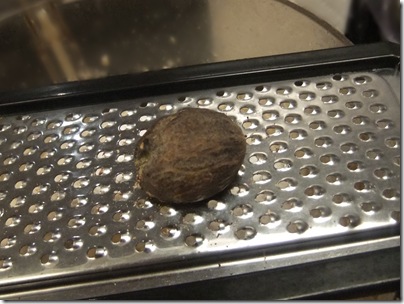
Then you add some freshly grated nutmeg (or the powdered if you don’t have a fresh nut on hand)

DSCF3002

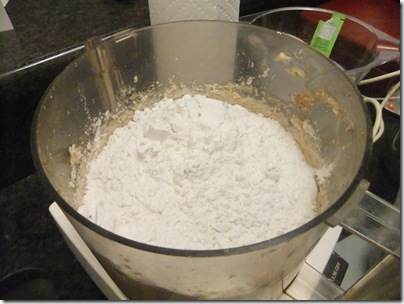
And some powdered sugar, vanilla extract, cinnamon, salt, and flour.

DSCF3003

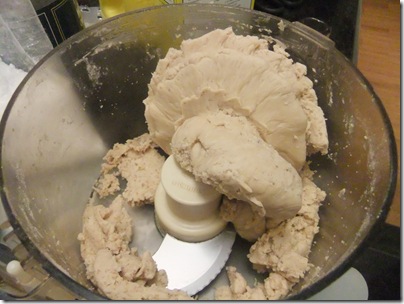
Which forms a lovely dough.

DSCF3004

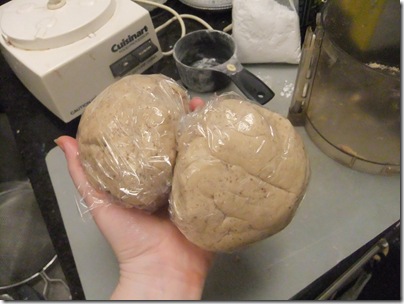
That you then separate in half and wrap in plastic.  You can then put it into the fridge for at least an hour (mine wound up staying there for about half a day).  Why do you have to chill them?  Because otherwise you have a melty buttery mess on your hands… literally.

DSCF3005

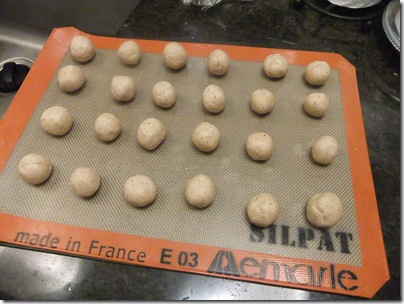
Once the dough is chilled, you can remove one  ball of dough at a time and start rolling 2 teaspoon sized balls.

DSCF3006

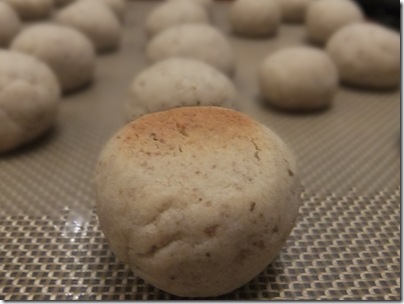
Then you pop them in the oven for 14-17 minutes.  SmittenKitchen noted that they over-bake easily, so when after the 20 minute mark mine still hadn’t even started to brown… I got nervous.  I left them in for about another 3 minutes before calling it.  I rolled them over to see that they had just barely begun to brown on the bottom.  (And they weren’t too dry, but I could see how they could get there quickly… and my oven seems to always take just a little longer than recipes call for anyway).

DSCF3011

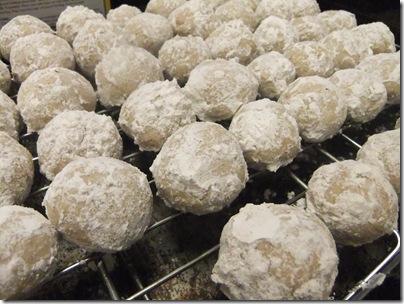
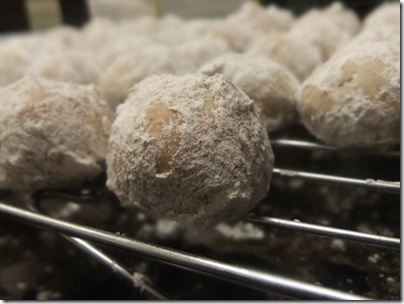
You then let them cool for about 5 minutes, and then toss them in a mixture of cinnamon and powdered sugar to coat them all the way around.

DSCF3013

Then they cool completely on a rack (okay… and you eat a few while they are warm).

DSCF3016

I actually kept hoping that they would get a little better as they cooled.  They were good, but not chestnutty enough for my taste (the sugar seemed to overpower the chestnut flavor) and actually wound up reminding me of Dunkin Donuts powdered sugar munchkins (not in a good way).  I think next time I will up the chestnut ratio and lower the flour ratio.  I also may try to coat them in a mixture of powdered & white sugar with the cinnamon. 

You can check out the original recipe here.

And for anyone keeping track… yes… I am addicted to chestnuts.  I think I shall call this the Winter of Obsessive Chestnut Nomming.