Tag Archives: recipes

Apple Pie with New Crust

17 Dec

My Aunt Dinah is a 90-something powerhouse of a woman with a fondness for awesome shoes and the most amazing spirit you have ever met.   She is awesome.

However, she is 90-something and while she was fine to make ONE homemade apple pie from scratch for Thanksgiving, she admitted she couldn’t bring the usual two pies.  My cousin/uncle Mark, who hosts Thanksgiving every year at his house with wife Wanda, asked that I pick up a pie down the street.

Are you kidding?

Pick up a pie?

That was not going to happen.  Though I couldn’t go up against Dinah’s classic apple pie.  I didn’t even want to try to compete.  So I wanted a bit more of a twist on the pie, so I went with one that had a crumble top.  I got the full recipe from one of my new favorite blogs, The Pioneer Woman.  And I was up for a challenge, so I chose her pie crust that she, a very experienced baker, said was very difficult to make.

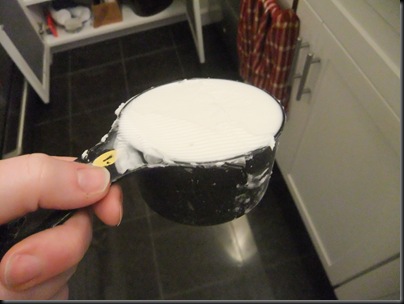
And it started with (gulp)… shortening!  EEEEEEEEEEEEK!  How can you make a buttery crust without butter?  I just wasn’t sure, but I had trust.  So I took out the stuff that always reminds me of kindergarten paste and measured myself a cup.

DSCF2837

 And because I have never seen the difference between pastry that I do by hand and when I do it in the food processor (except in wrist pain), I “cheated.”

DSCF2838

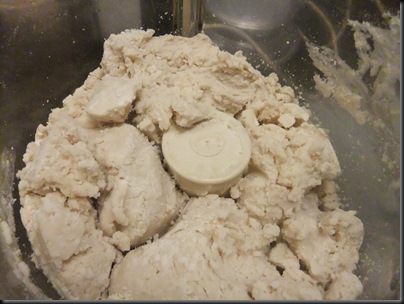
 So I pulsed the shortening with the flour until it made a lumpy mess.

DSCF2839

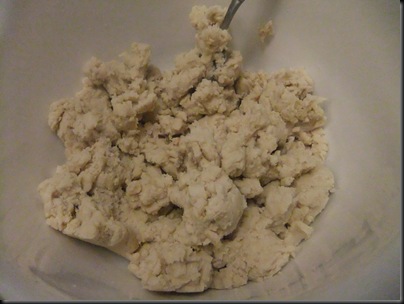
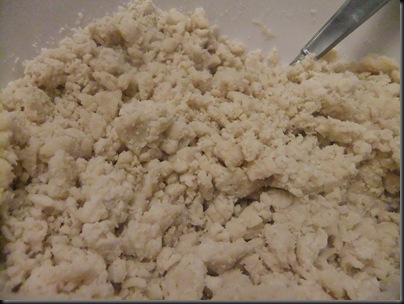
 So I pulsed it a bit more until it looked more like crumbs. 

DSCF2840

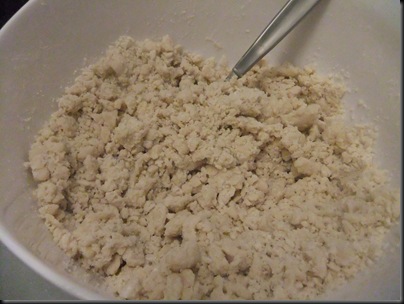
 My idea of the right texture for pie crust is always where most of it is making pencil eraser size chunks with a few bigger and some crumbs.

DSCF2841

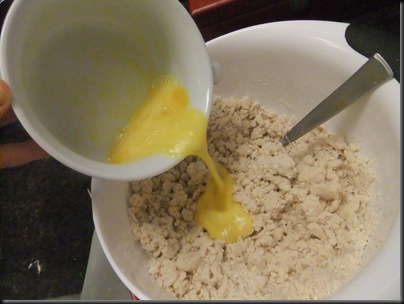
 Then I added some egg.

DSCF2843

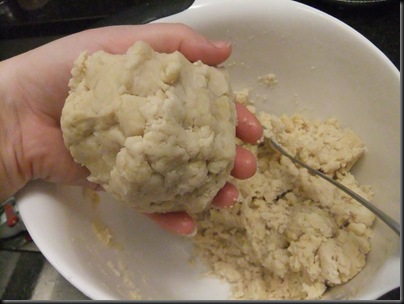
And some water, white vinegar, and salt before separating the crust into 3 parts and making some balls.

DSCF2847

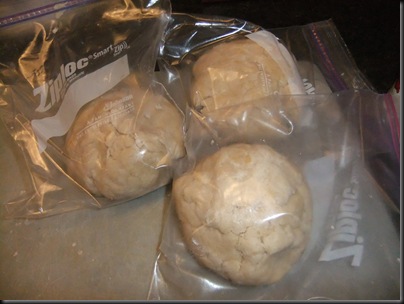
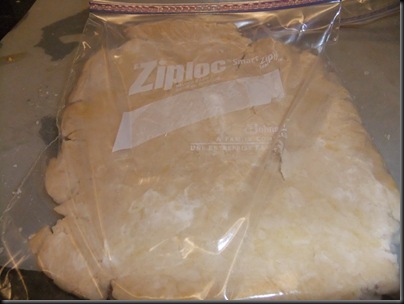
 I put the balls into ziplocks.

DSCF2850

Then used a rolling pin to smush it down so it would be “easier” to work with later (HA!)

DSCF2852

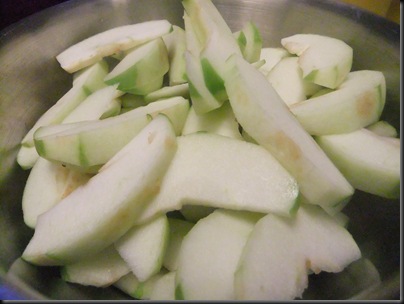
Then I stuck it in the freezer, for what wound up being overnight.  I took it out the next morning to thaw while I prepared the filling.  First I cut up apples (uniformity is important!) 

The filling recipe also came from the Pioneer Woman recipe collection.

DSCF2861

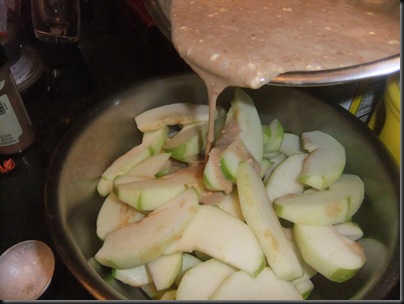
And then stirred together this mixture that was like heaven in my mouth.

DSCF2864

 Phew!  Now just to roll out the crust.

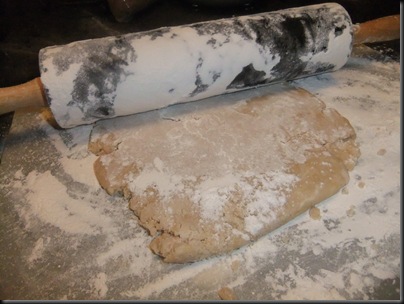
I added flour to my surface and pin.

DSCF2865

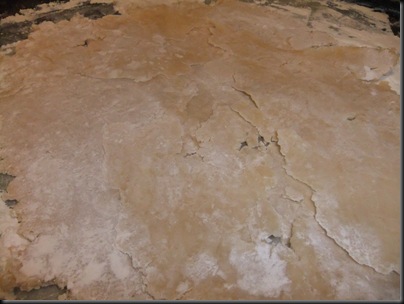
And then I rolled… and rolled… and folding it up… and rolled… and rolled.. and refloured… and rolled and rolled and folded it up and rolled and rolled and refloured and rolledandrolledandfoldeditupandrolledandrolledandrefloured… and rolled…

DSCF2868

 It just never quite made it smooth.  I decided that even though it looked like it was falling apart that I would try to lay it into the pie dish and just patch it as needed.

DSCF2870

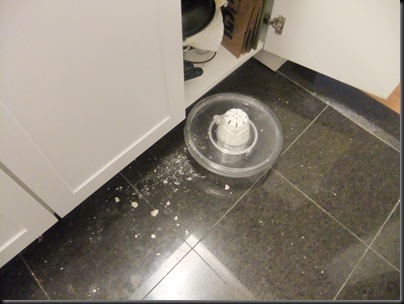
But how do I get it off of the mat?  It had been floured and all… but it was STUCK.  And it was right around the moment when I somehow looped my apron around the handle of the cabinet and in one foul swooped yanked it open, toppled out the top to my salad spinner, and dumped a combo of flour and pie dough all over the floor.

DSCF2879

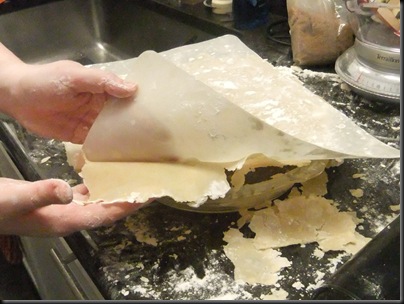
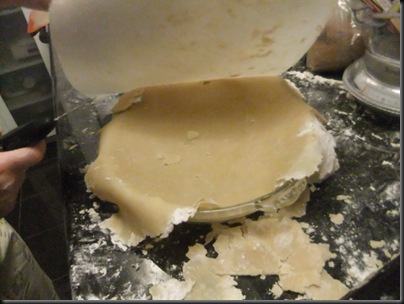
Mike was looking at the sorry state of me covered in flour, fear, and frustration and suggested that I turn the whole thing over on the pie plate and peal the dough off. 

DSCF2871

Much to my relief, it worked.  

 DSCF2873

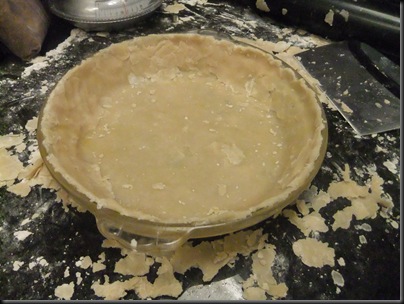
 I had to patch some areas and wound up with no where near enough to make nice edges, however, it was SO thin that I dared not roll it anymore. 

DSCF2877

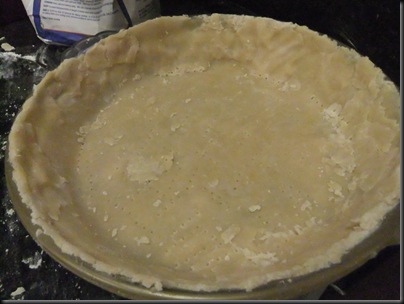
The recipe didn’t mention if the crust should be pricked to allow air out, however, I didn’t want to take any chances so I pricked.

DSCF2881

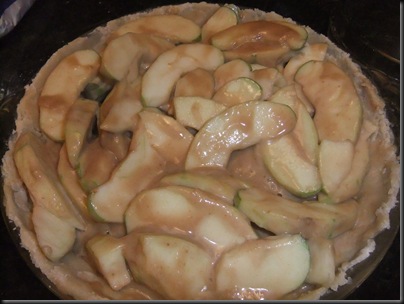
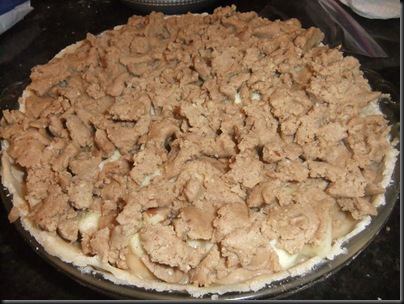
Then I filled it with the apples that were covered in the delicious sauce. 

DSCF2884

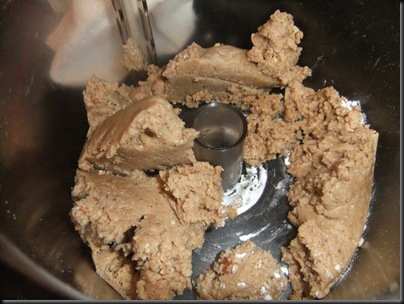
 And I made the topping, which was supposed to be like crumbs… but it never really came close.

DSCF2886

So I wound up breaking it into little chunks with my fingers and spreading it across the top.

DSCF2888

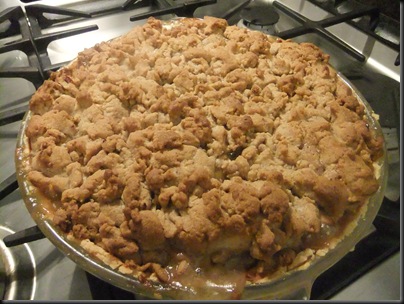
 The smell while this was baking was absolutely fantastic.  And it came out looking BEAUTIFUL!

DSCF2889

But how did it taste?

Well…. ehhhh… it was good… but it wasn’t great.  Not even all that special.  I don’t know why this fell short.  It had all the makings (and look) of a brilliant pie… but it just wasn’t.  And the crust was no better than my other crust, which was much less effort.

So while I still love Ree and her recipes, I think I have to say… skip this pie.   And from what I hear from Lori, make this Pecan Pie instead (which I plan on doing very soon).

For the recipes, it’s better (and so worthwhile) to check out Ree’s summaries:

The Crust

The Pie

Pumpkin Cheesecake

15 Dec

When a coworker’s birthday arrives, I always try to bake for the office.  It gives me a great excuse to bake and not have to eat it all.  For one coworker, Sam, I gave him a blank slate to choose what he wanted.  His choice: Pumpkin Cheesecake.  Wise choice, Sam.  Wise Choice.
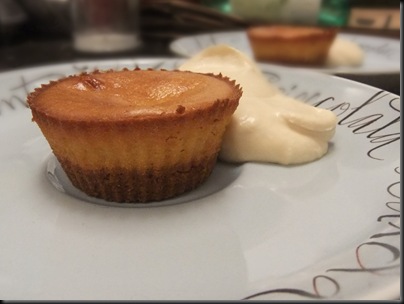
I didn’t have a recipe that I loved, and usually actually wind up making no-bake cheesecakes (I usually prefer their texture).  For his, however, I did some searching around online to see what I could come up with.  My typical method for coming up with recipes is to check out some highest rated ones around the internet (AllRecipes.com is great), go to some of my most trusted resources for recipes (Food Network, Pioneer Woman, and Smitten Kitchen to name a few), then combine my favorite parts of each and my past recipes to come up with something a bit more Sara.  When I saw this recipe from Paula Deen, however, I decided to try it as-is.  And boy am I glad I did!  This was the best graham cracker crust I have ever tried.

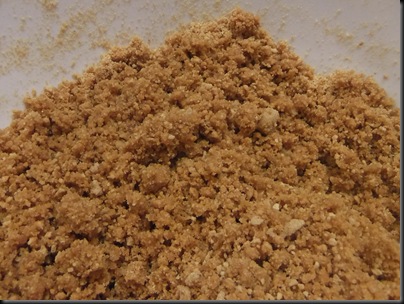
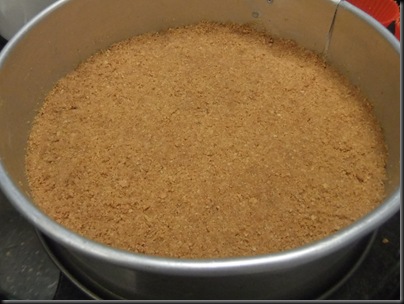
You combine graham cracker crumbs, sugar, and cinnamon and then add melted butter.  This is pretty much the same set of ingredients as every graham cracker crust, however, the proportions and texture is just perfect.

 DSCF2792

Then you press it into the bottom of a springform pan.

DSCF2793

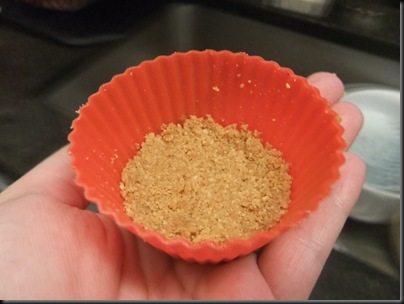
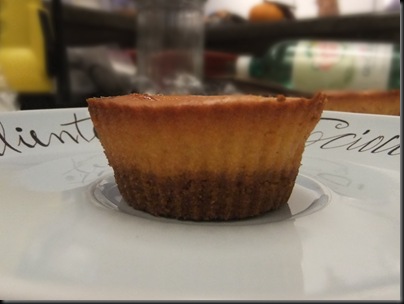
And if you want to make a sample for yourself and your boyfriend to “make sure it tastes okay” before cutting into the big one the next day… fill the bottom of a non-stick baking cup.   

DSCF2794

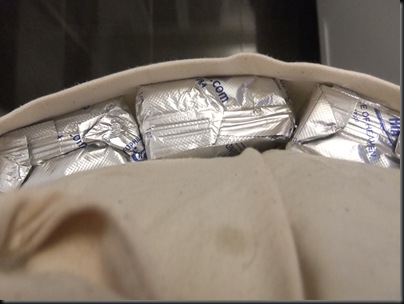
Next for the filling, you need cream cheese at room temperature.  It’s amazing how long it takes cream cheese to get to room temp, so I used the kangaroo pouch in my apron to speed it along.  (TIP: Take your cream cheese out a few HOURS before you start) 

DSCF2795

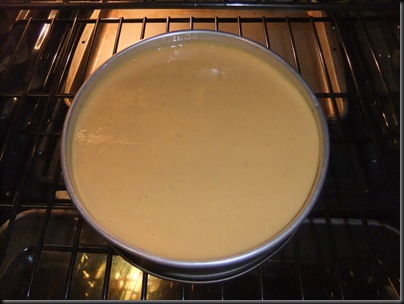
Then you fill the springform with the combination of blended cream cheese, pumpkin puree, eggs (both full and yolks), sugar, spices, and sour cream (which I think really added a perfect flavor!)  The one edit I made is that I added more spices, since I love the flavors of fall.  I honestly could have probably added even more. 

DSCF2797

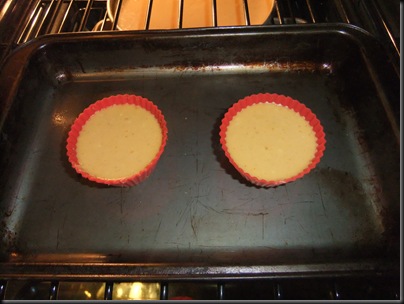
Then I put the same filling into the cups.

DSCF2799

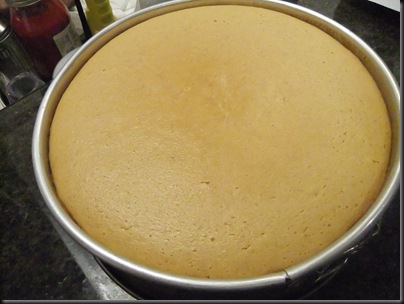
 And set the whole thing to bake at 350 for 1 hour. (Or 30-35 minutes for the mini cups).

DSCF2804

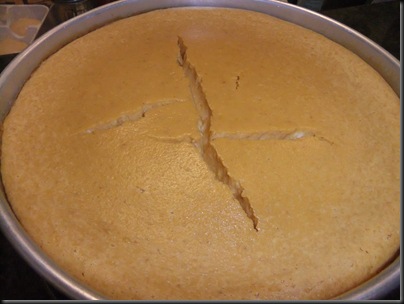
Then let it cool for 15 minutes before slapping yourself in the forehead.  Why?  Cheesecakes are finicky little things.  They just LOVE to expose their fault lines as they cool.   Every other cheesecake I’ve ever baked I have put in a water bath (which regulates the temperature so it doesn’t crack as it cools), and I just plum forgot.  D’oh! 

DSCF2807

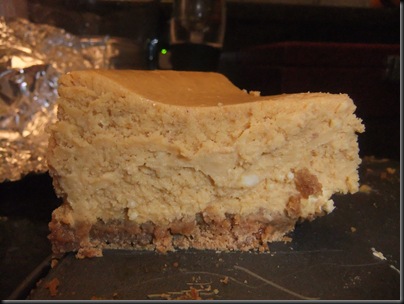
Honestly?  No one cared and it still tasted MARVELOUS!  I don’t think I would change a thing about this recipe with the exception of a bit more allspice and clove.

DSCF2856

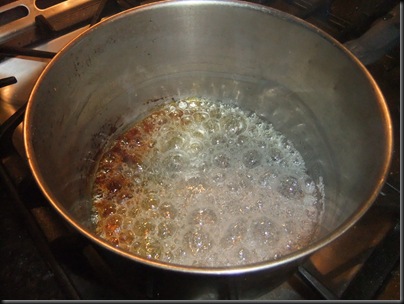
And what would a Sara dessert be without a homemade schlag to go with it?  I thought a salted carmel schlag would compliment the pumpkin cheesecake… so I looked up a recipe and found out that it was basically just making caramel, adding salt, then adding in the heavy cream, letting it cool and then whipping it up.  Easy-peasy!

Unfortunately, however, my pot has a hot spot and it kept burning in one corner.  Damn.  It was still delish though!

DSCF2823

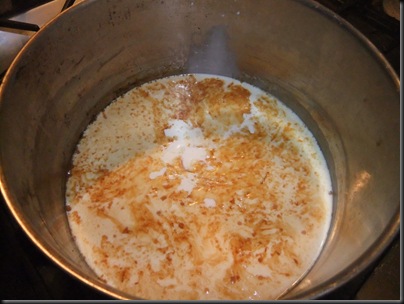
I added the cream once it browned…

DSCF2825

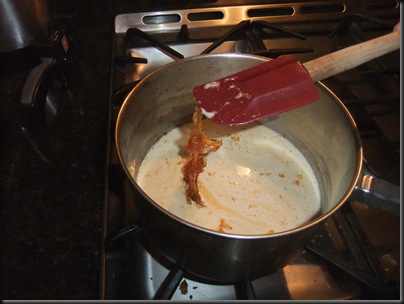
 And the cool cream instantly made it into cracked caramel sugar.  But a few spins over medium heat and it blended nicely into a delicious base for whipped cream.

DSCF2827

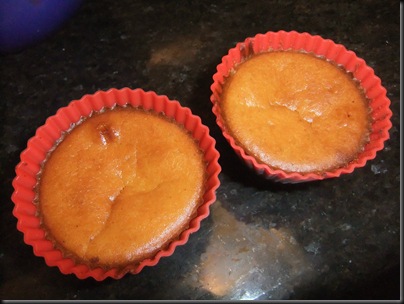
 And the minis?  Well… a bit overcooked.  I did it for 45 minutes, so probably more like 30-35 would be better (cheesecake shouldn’t brown, and should be a little loose in the middle).

DSCF2829

 But they popped out beautifully.

DSCF2831

 And made a perfect bite with the whipped cream.

DSCF2836

This is a fantastic recipe.  And a TRUE crowd pleaser.

___________________
RECIPE
___________________

Pumpkin Pie
(Borrowed with hardly any changes from Paula Deen via FoodNetwork.com)

Ingredients

Crust:

  • 1 3/4 cups graham cracker crumbs
  • 3 tablespoons light brown sugar
  • 1/2 teaspoon ground cinnamon
  • 1 stick melted salted butter

Filling:

  • 3 (8-ounce) packages cream cheese, at room temperature
  • 1 (15-ounce) can pureed pumpkin
  • 3 eggs plus 1 egg yolk
  • 1/4 cup sour cream
  • 1 1/2 cups sugar
  • 1/2 teaspoon ground cinnamon
  • 1/8 teaspoon fresh ground nutmeg
  • 1/8 teaspoon ground cloves (I would make this 1/4 or 1/2 tsp. depending on your love of cloves and possibly also add 1/4 tsp. Allspice)
  • 2 tablespoon all-purpose flour
  • 1 teaspoon vanilla extract

Directions

Preheat oven to 350 degrees F.

For crust:

In medium bowl, combine crumbs, sugar and cinnamon. Add melted butter. Press down flat into a 9-inch springform pan. Set aside.

For filling:

Beat cream cheese until smooth. Add pumpkin puree, eggs, egg yolk, sour cream, sugar and the spices. Add flour and vanilla. Beat together until well combined.

Pour into crust. Spread out evenly and place oven for 1 hour. Remove from the oven and let sit for 15 minutes. Cover with plastic wrap and refrigerate for 4 hours.


Spaghetti Squash and Slow Cooker Pears

19 Nov

I feel like I am already at the tail end of this incredible cacophony of  support for the long neglected spaghetti squash.  I first encountered this awesome veggie about 8 years ago, and when I found out that it has ZERO Weight Watchers Points for a whole cup, I had to make it part of my weekly cooking.  I love squash to begin with, so having a squash that is easy to cook, can be paired with just about anything, and is good for me is pretty awesome.

How easy to cook?  I’ll tell ya.

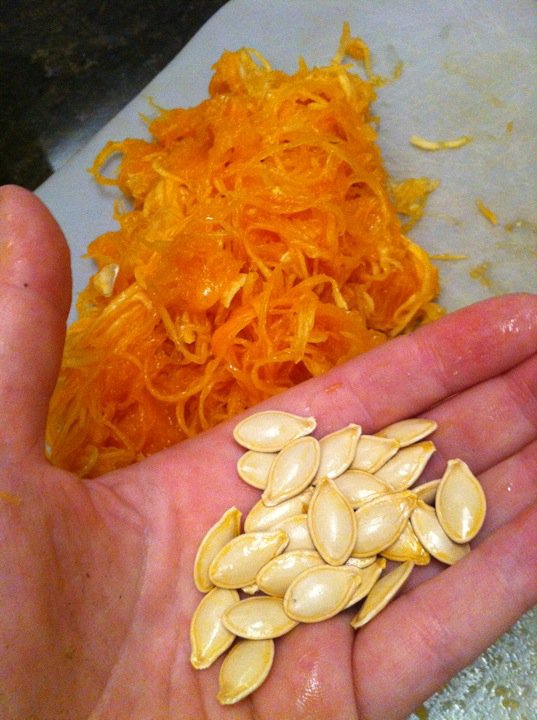
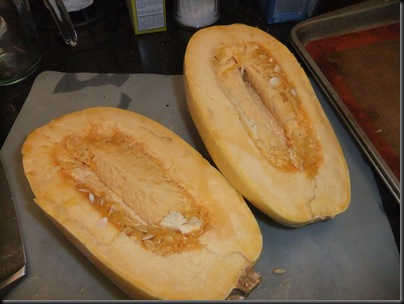
The hardest part is cutting the sucker in half, lengthwise.  I always sharpen the big knife before going into it, however, it makes me yearn for an axe.  Once you have it split, you can just scoop out the yag and seeds from the middle (just keep those seeds for roasting!)


I use the side of a large spoon to scrape around the opening.

DSCF2669

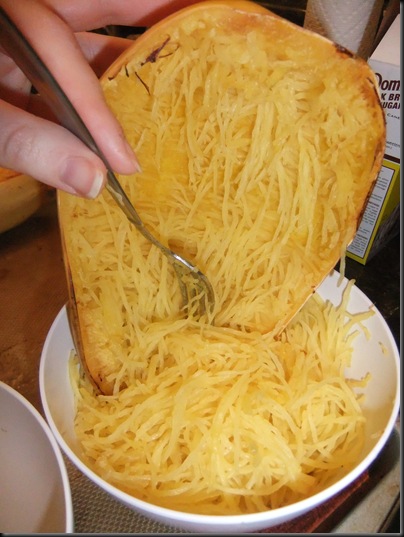
After that, you put it cut side down on parchment paper, a Silpat, or slightly greased cookie sheet and just roast it up at 350 degrees for 30-40 minutes.  A fork should easily be able to scrape out the insides.

So why do they call it spaghetti squash?

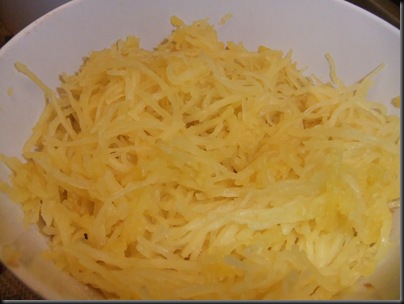
Well… what starts as a seemingly solid piece of squash winds up turning into these beautiful strands that look just like spaghetti.

DSCF2673

And you can treat it like spaghetti and pair it with a pasta sauce, cheese, veggies or any other savory topping.  You can also make a sweet version and I’ve heard brown sugar and butter on it is especially delicious.  Personally, I’m dying to try this recipe which pairs it with maple syrup and shallots.

DSCF2675

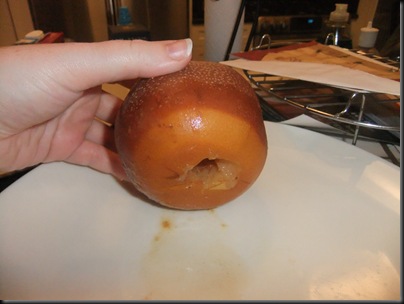
Another quick and easy, yet totally healthy recipe for a good dessert after you’ve had your spaghetti squash is putting a pear (or apple) in the slow cooker.  I just cored 2 apples and then put them in the crock pot.  Then I poured over some apple cider (until it came up about half way on the pears), a sprinkle of brown sugar, cinnamon, cloves, and nutmeg, then set it on low for about 4 hours until it was tender.

DSCF2677

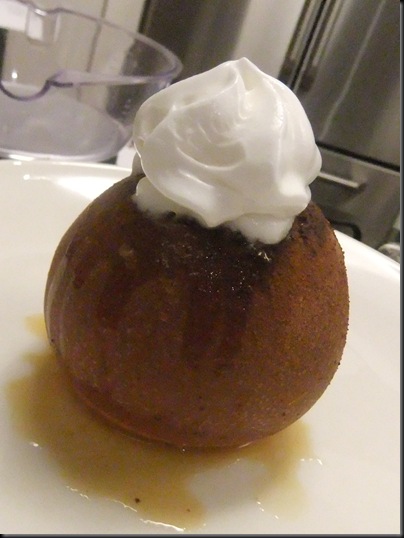
Topped off with a bit of homemade schlag and it was a very yummy treat.

DSCF2678