The second part of Mike’s birthday dinner had to be dessert. I tried to think of something new to make that Mike loved. He always seeks out black and white cookies, so I decided to try my hand at them. I also decided to try to take a lot more “making of” pictures for this recipe.
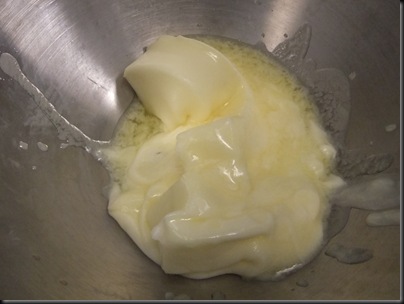
Here is the ol’ melted butter in the mixer pic.
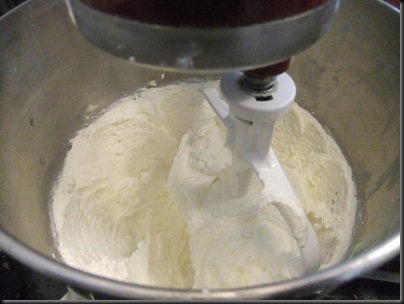
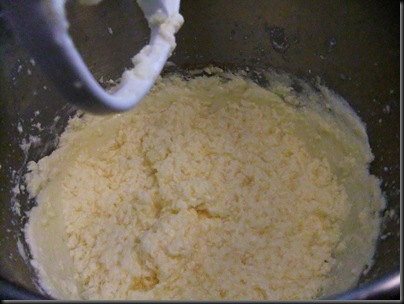
I then creamed said butter with sugar.
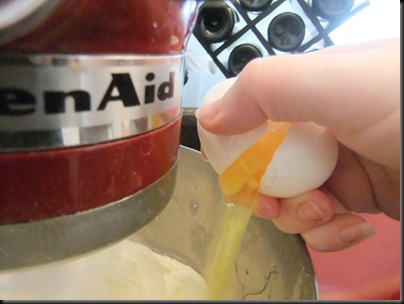
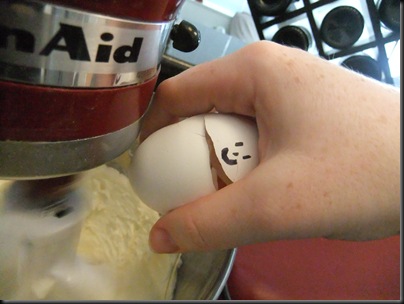
And then started adding eggs. Here went #1 of 4.
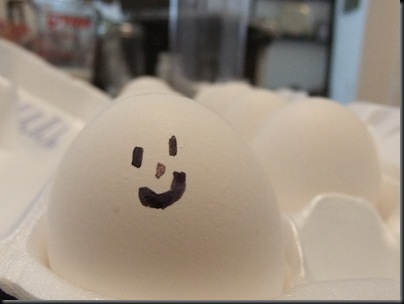
As you are looking at the picture below, I’m sure you’re thinking to yourself “why on earth is that egg so happy?” I’ll tell you… I tried to take a picture of these eggs with my camera about 400 times. It couldn’t find a single surface to focus on, however, so I got crafty. And… named him Fred.
Say “hi” to Fred!
And then… Fred had to die.
Goodbye Fred.
I mixed the eggs in with the butter/sugar and then added in milk, vanilla extract, and lemon extract. That is when it got scary. It looked curdled. I’m sure the lemon extract had something to do with it.
I paused for a moment, but then decided to continue and see how it all turned out.
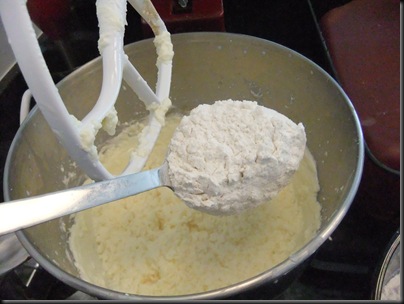
Next up came the cake flour, salt, and baking powder.
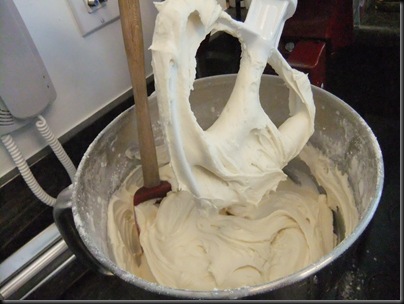
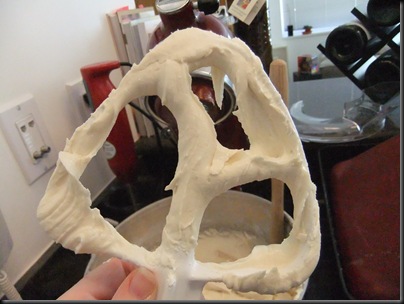
Which, when all combined, looked like something edible again. (Oh boy and it was good eatin’ batter!)
This here is moments before I licked it completely clean.
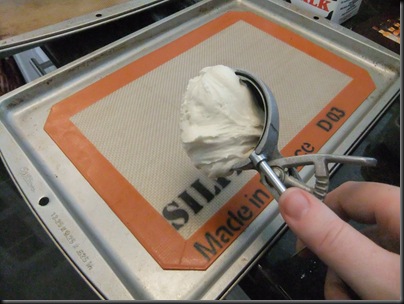
I dropped the dough onto a pan by an ice cream scoop, aiming for bigger cookies than the 1 Tablespoon suggestion would have brought. I wanted bakery size!
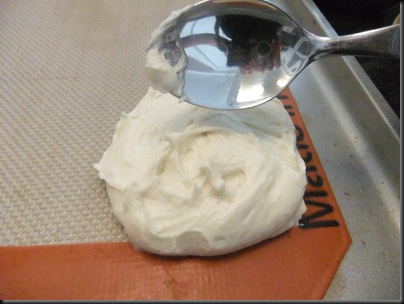
Then I used the back of a spoon to swirl the top to make them flatter.
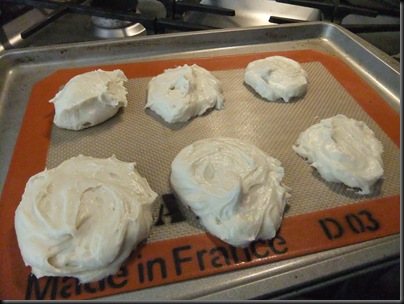
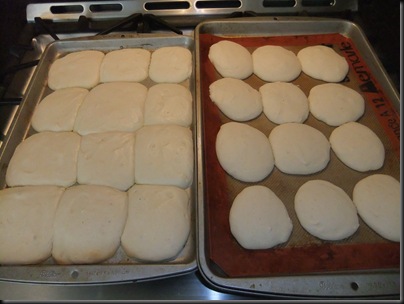
Using my trusty Silpat all the way. Well… half of the way. I only had 2 mats and 4 pans. D’oh.
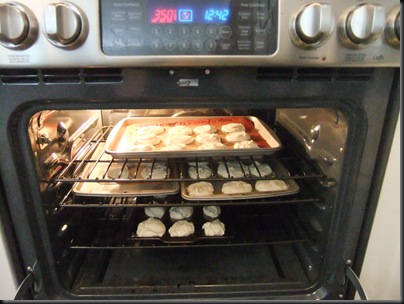
And then into the oven they went at 350 degrees F for 30 minutes.
And if it wasn’t clear why Silpats rock, here is photographic evidence that Silpats are pretty much the best invention ever. THOUGH, after the suggested 30 minutes, both trays were still pretty raw.
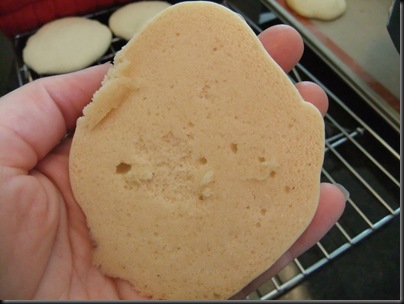
I actually stuck them back in the oven and checked on them about every 3 minutes for the next 15 minutes. It was now 50% longer than the original recipe called for and I started to get nervous. I took them out and they were less raw, though still quite white on the bottom.
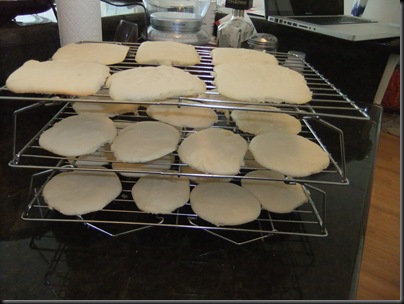
I took a bite and figured it didn’t matter so much since they tasted awesome. And onto the cooling rack they went. (Though, as mentioned in the previous entry, some came into work with me.)
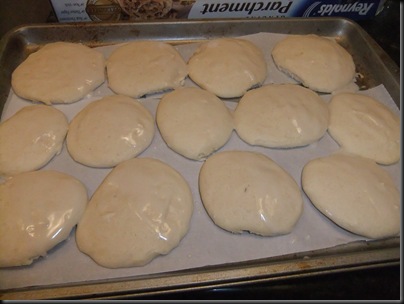
When I came home (prior to making dinner), I started glazing the cookies. The bottom shows the white glaze, which basically just looks half shiny.
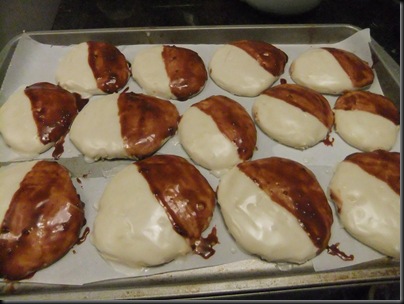
Then I added chocolate glaze. I was in WAY too much of a rush so I didn’t spread these out enough. So they weren’t nearly as neat as I would have preferred. I was also pretty bummed at the transparency of the chocolate glaze and could not for the life of me figure out how most places get it so dark!
But they tasted great! Though not bakery great. I guess there are just some things you should leave to the pros!
________________________
RECIPE
________________________
Black & White Cookies
(original recipe was from AllRecipes.com, however, I read the notes and tweaked it accordingly)
Ingredients
- 1 cup unsalted butter
- 1 3/4 cups white sugar
- 4 eggs
- 1 cup milk
- 1/2 teaspoon vanilla extract
- 1 teaspoon lemon extract
- 2 1/2 cups cake flour
- 2 1/4 cups all-purpose flour
- 1 teaspoon baking powder
- 3/4 teaspoon salt
- 4 cups confectioners’ sugar
- 1/3 cup boiling water (just add until it’s the right consistency)
- 6 ounces semi-sweet chocolate chips (good quality)
Directions
- Preheat oven to 375 degrees F (190 degrees C). Butter/spray 2 baking sheets or use a Silpat.
- In a medium bowl, cream together butter and sugar until smooth. Beat in eggs one at a time, then stir in the milk, vanilla, and lemon extract. Combine cake flour and all-purpose flour, baking powder, and salt; gradually blend into the creamed mixture. Drop tablespoonfuls of the dough 2 inches apart on prepared baking sheets.
- Bake until edges begin to brown, about 20 to 30 minutes (or more?). Cool completely.
- Place confectioners sugar in large bowl. Mix in boiling water one tablespoon at a time until mixture is thick and spreadable. (Add more than the indicated amount if you need to).
- Transfer half of the frosting to the top of a double boiler set over simmering water. Stir in the chocolate. Warm mixture, stirring frequently, until the chocolate melts. Remove from heat. (or do it slowly in the microwave)
- With a brush, coat half the cookie with chocolate frosting and the other half with the white frosting. Set on waxed paper until frosting hardens.

