Archive | November, 2010

More Birthday Catch-up: Ma Peche

22 Nov

Lori and I come within 2 days of sharing a birthday.  We have made a tradition out of going out to celebrate each other each year since our fateful meeting.  (In fact, it was one of those birthday celebrations where I met Mike… and the rest was history).  This year we decided to try the new David Chang‘s new midtown restaurant: Ma Peche (on 56th Street between 5th and 6th Aves).

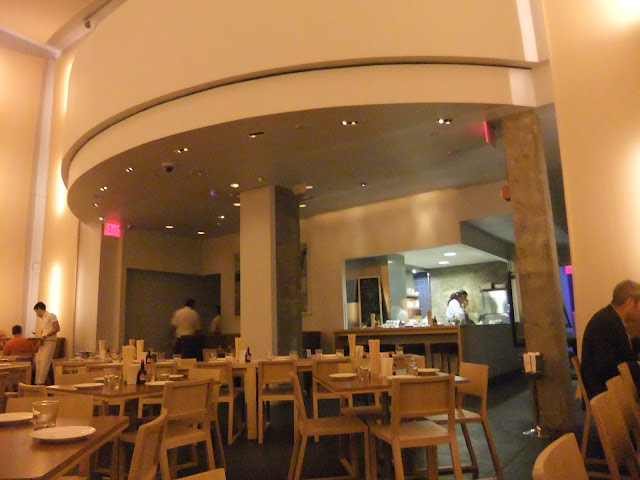
The restaurant is in the Chambers Hotel (and you have to kind of walk through the lobby to get to it).  The room has very high ceilings with an huge space and what appears to be a very small kitchen.  You can see the kitchen area below, lit up towards the right of the picture.

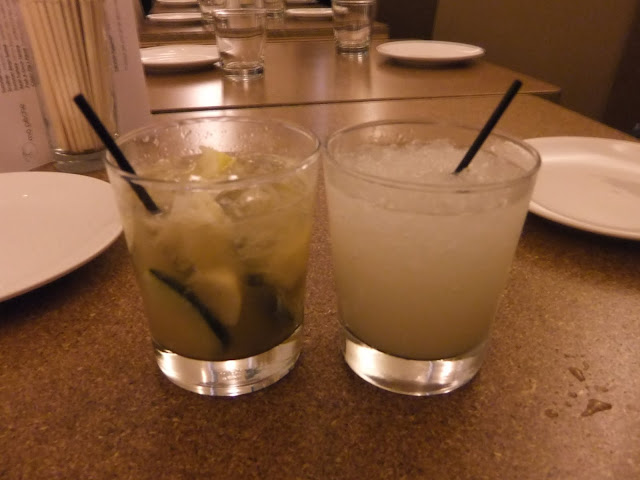
The drink menu didn’t leap out at me, but I eventually chose the Ampersand and Lori chose the Moscow Mule.

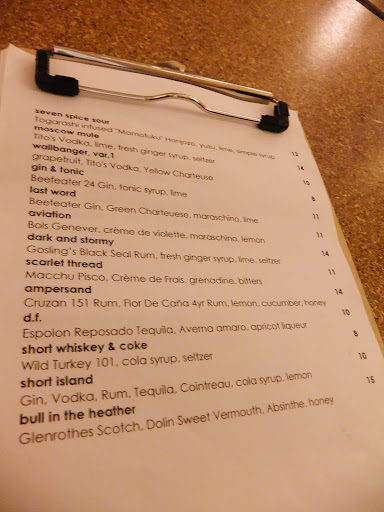
Both were quite good, but nothing to write home about.

I was VERY excited about the men, however.  The Prix Fixe wasn’t that enticing…

But I couldn’t wait to try the pork & duck terrine or the crispy pig’s head or the pork ribs or the striped bass or the steak frites or the cavalo nero…

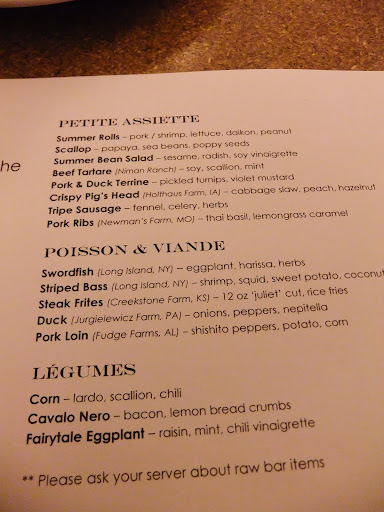
I honestly didn’t know how I was going to decide.  And then… the bomb hit.  The waitress informed me that 99% of the menu had peppers in it that couldn’t be changed.  Now… I didn’t have this problem even at Ko where they make the menu for you and serve whatever they have that day… but here at Ma Peche, I was SOL.  We kept asking for certain dishes and basically were told over and over again that it would kill me.  DAMN.

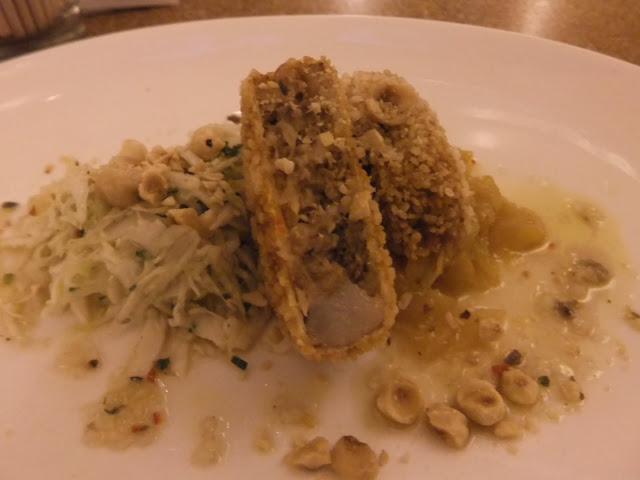
I couldn’t stand the idea of Lori missing out because of me, however, so I encouraged her to get the crispy pig’s head.  I actually risked it and took a little bite. It was delicious, but definitely something I couldn’t eat without pain.  It was worth it though.

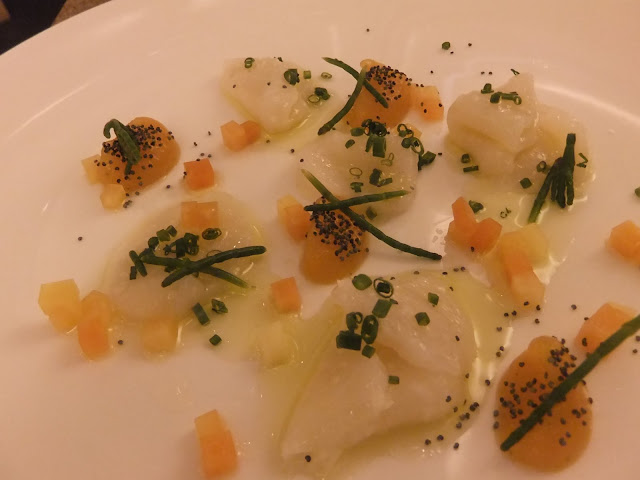
We split the scallops with papaya, soy beans, and poppy seeds.  It was a beautiful plate and we thoroughly enjoyed.  The parts apart were good, but once you combined it all together into one mouthful, it was fantastic. There was also a hint of salt that brought it to a new level.  I do have to say, however, that I definitely prefer my scallops seared.

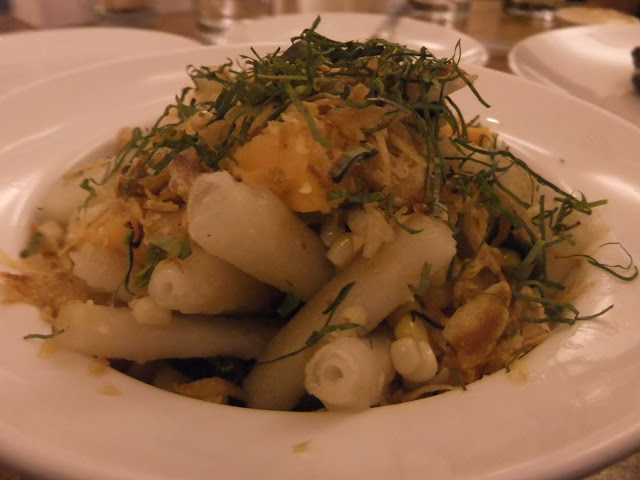
To give me an entree option, they actually had to go off the menu and gave us a crispy rice noodle with vegetables.

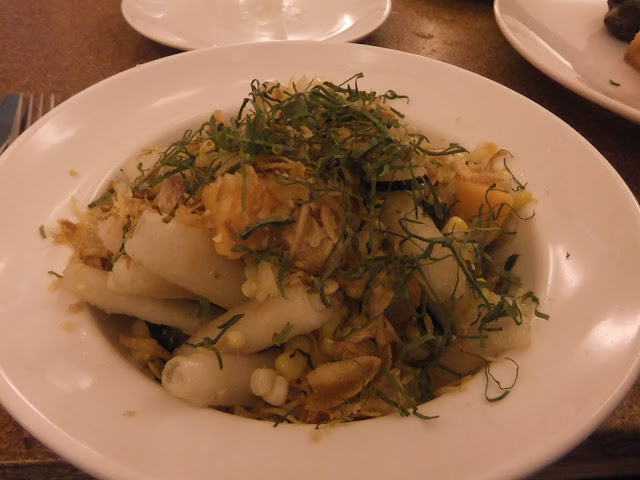
The noodles were cool spirals and weren’t so much crispy as they were chewy.  But in an AWESOME way.  The sweet potato was pretty bland (which was sad since I LOVE sweet potatoes), however, the corn in this was SO. FREAKING. GOOD.  I actually would go back here JUST for this.  I find myself craving them now.

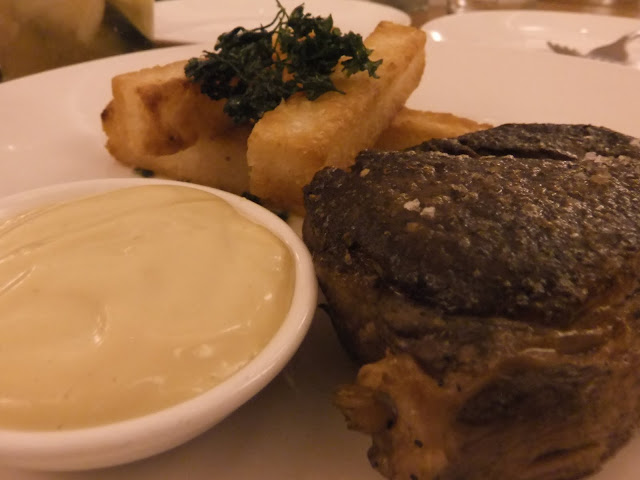
The steak with rice fries was a fantastic dish.  The fries were more like flash fried rice balls and I LOVED them.  I thought they tasted like popcorn and I couldn’t get enough.  The beef was also fantastic and had the perfect flavor.

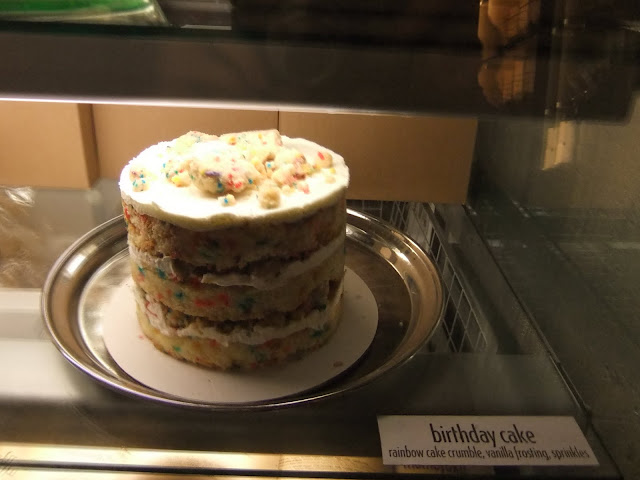
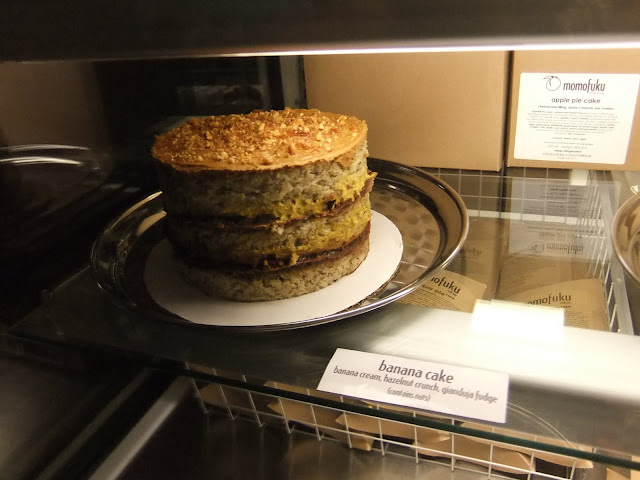
For dessert, we went to the offshoot of Momofuku Milk Bar.  It’s a carry out dessert place and we decided we would grab a bite and eat it in the hotel lobby.  They had a large assortment of delicious look cakes and we couldn’t wait to try a piece.  Lori blogged about our visit as well.

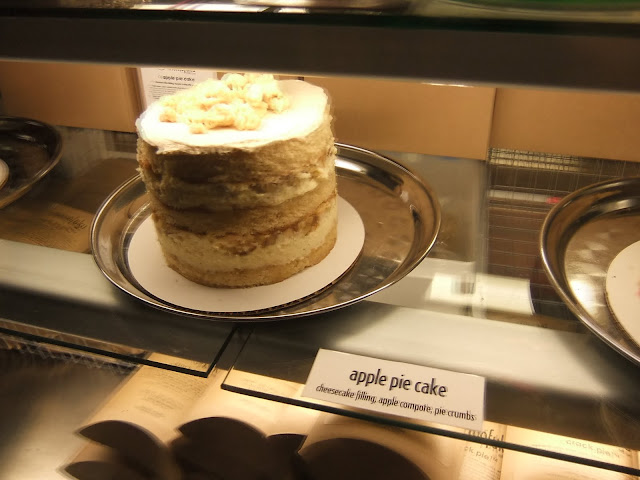
I was especially excited to try the Apple Pie Cake… I was just curious how you could make a pie into a cake.

What we didn’t know, however, is that they don’t sell these cakes by the slice.  Only complete.  Le sigh.

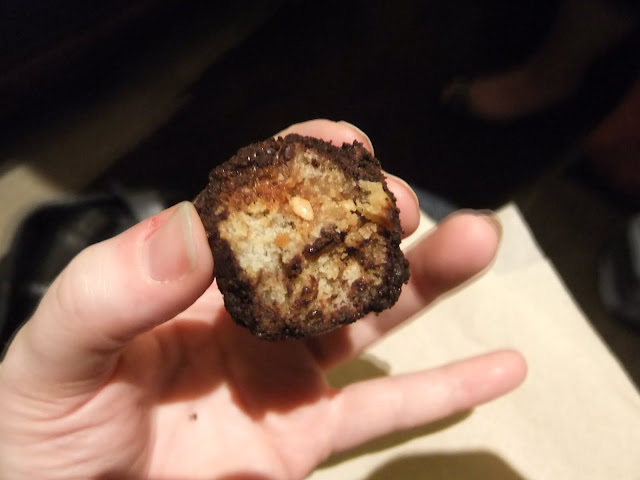
Luckily, all was not lost.  They also sold cake balls!  They basically enrobed those cakes in chocolate shell.  Nom Nom Nom.

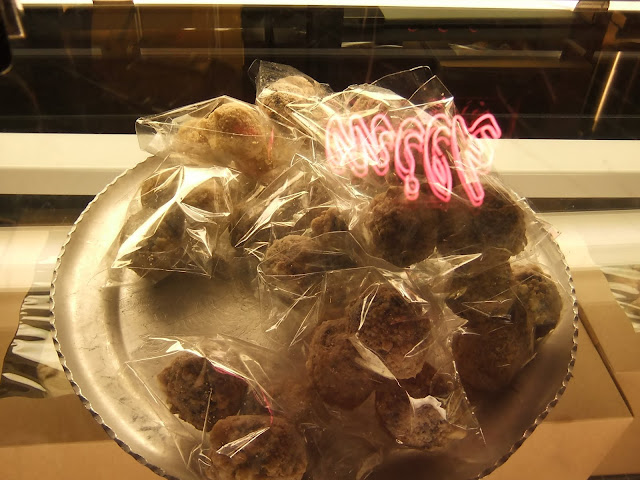
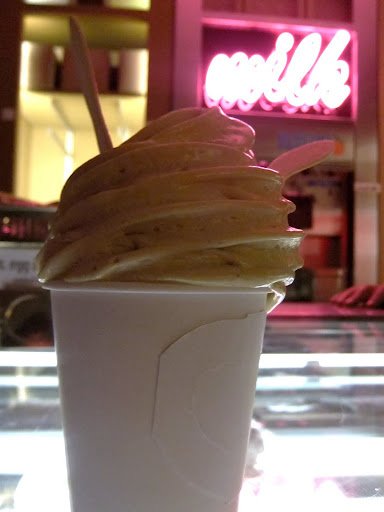
I also couldn’t resist trying the soft serve.  It was salty pistacchio caramel and that sounded just too good.  I expected more, but I liked the kinda of sweet, kinda salty flavor.  Lori wasn’t a huge fan.  It was definitely polarizing.

The cake balls were good, but not as good as I had hoped.

The apple pie was certainly my favorite though!

Overall, the food was innovative and fun to eat.  I wish I could have tried more, however, what I did get to try was fantastic.  I was not impressed with Milk Bar, but it was satisfying.

Ma Peche Overall Nom Points: 7.5 out of 10

Milk Bar Overall Nom Points: 5.5 out of 10

Spaghetti Squash and Slow Cooker Pears

19 Nov

I feel like I am already at the tail end of this incredible cacophony of  support for the long neglected spaghetti squash.  I first encountered this awesome veggie about 8 years ago, and when I found out that it has ZERO Weight Watchers Points for a whole cup, I had to make it part of my weekly cooking.  I love squash to begin with, so having a squash that is easy to cook, can be paired with just about anything, and is good for me is pretty awesome.

How easy to cook?  I’ll tell ya.

The hardest part is cutting the sucker in half, lengthwise.  I always sharpen the big knife before going into it, however, it makes me yearn for an axe.  Once you have it split, you can just scoop out the yag and seeds from the middle (just keep those seeds for roasting!)


I use the side of a large spoon to scrape around the opening.

DSCF2669

After that, you put it cut side down on parchment paper, a Silpat, or slightly greased cookie sheet and just roast it up at 350 degrees for 30-40 minutes.  A fork should easily be able to scrape out the insides.

So why do they call it spaghetti squash?

Well… what starts as a seemingly solid piece of squash winds up turning into these beautiful strands that look just like spaghetti.

DSCF2673

And you can treat it like spaghetti and pair it with a pasta sauce, cheese, veggies or any other savory topping.  You can also make a sweet version and I’ve heard brown sugar and butter on it is especially delicious.  Personally, I’m dying to try this recipe which pairs it with maple syrup and shallots.

DSCF2675

Another quick and easy, yet totally healthy recipe for a good dessert after you’ve had your spaghetti squash is putting a pear (or apple) in the slow cooker.  I just cored 2 apples and then put them in the crock pot.  Then I poured over some apple cider (until it came up about half way on the pears), a sprinkle of brown sugar, cinnamon, cloves, and nutmeg, then set it on low for about 4 hours until it was tender.

DSCF2677

Topped off with a bit of homemade schlag and it was a very yummy treat.

DSCF2678

Mike’s Birthday Dinner Part 2: Black and White Cookies

17 Nov

The second part of Mike’s birthday dinner had to be dessert.  I tried to think of something new to make that Mike loved.  He always seeks out black and white cookies, so I decided to try my hand at them.  I also decided to try to take a lot more “making of” pictures for this recipe.

Here is the ol’ melted butter in the mixer pic.

DSCF2362

I then creamed said butter with sugar.

DSCF2371

And then started adding eggs.  Here went #1 of 4.

DSCF2374

As you are looking at the picture below, I’m sure you’re thinking to yourself “why on earth is that egg so happy?”  I’ll tell you… I tried to take a picture of these eggs with my camera about 400 times. It couldn’t find a single surface to focus on, however, so I got crafty.  And… named him Fred.

Say “hi” to Fred!

DSCF2368

And then… Fred had to die.

Goodbye Fred.

DSCF2375

I mixed the eggs in with the butter/sugar and then added in milk, vanilla extract, and lemon extract.  That is when it got scary.  It looked curdled.  I’m sure the lemon extract had something to do with it.

I paused for a moment, but then decided to continue and see how it all turned out.

DSCF2383

Next up came the cake flour, salt, and baking powder.

DSCF2385

Which, when all combined, looked like something edible again.  (Oh boy and it was good eatin’ batter!)

DSCF2387

This here is moments before I licked it completely clean.

DSCF2388

I dropped the dough onto a pan by an ice cream scoop, aiming for bigger cookies than the 1 Tablespoon suggestion would have brought.  I wanted bakery size!

DSCF2389

Then I used the back of a spoon to swirl the top to make them flatter.

DSCF2391

Using my trusty Silpat all the way.  Well… half of the way.  I only had 2 mats and 4 pans.  D’oh.

DSCF2392

And then into the oven they went at 350 degrees F for 30 minutes.

DSCF2393

And if it wasn’t clear why Silpats rock, here is photographic evidence that Silpats are pretty much the best invention ever.  THOUGH, after the suggested 30 minutes, both trays were still pretty raw.

DSCF2414

I actually stuck them back in the oven and checked on them about every 3 minutes for the next 15 minutes.  It was now 50% longer than the original recipe called for and I started to get nervous.  I took them out and they were less raw, though still quite white on the bottom.

DSCF2416

I took a bite and figured it didn’t matter so much since they tasted awesome.  And onto the cooling rack they went.  (Though, as mentioned in the previous entry, some came into work with me.)

DSCF2422

When I came home (prior to making dinner), I started glazing the cookies.  The bottom shows the white glaze, which basically just looks half shiny.

DSCF2430

Then I added chocolate glaze.  I was in WAY too much of a rush so I didn’t spread these out enough.  So they weren’t nearly as neat as I would have preferred.  I was also pretty bummed at the transparency of the chocolate glaze and could not for the life of me figure out how most places get it so dark!

DSCF2431

But they tasted great!  Though not bakery great.  I guess there are just some things you should leave to the pros!

________________________
RECIPE
________________________

Black & White Cookies
(original recipe was from AllRecipes.com, however, I read the notes and tweaked it accordingly)

Ingredients

  • 1 cup unsalted butter
  • 1 3/4 cups white sugar
  • 4 eggs
  • 1 cup milk
  • 1/2 teaspoon vanilla extract
  • 1 teaspoon lemon extract
  • 2 1/2 cups cake flour
  • 2 1/4 cups all-purpose flour
  • 1 teaspoon baking powder
  • 3/4 teaspoon salt
  • 4 cups confectioners’ sugar
  • 1/3 cup boiling water (just add until it’s the right consistency)
  • 6 ounces semi-sweet chocolate chips (good quality)

Directions

  1. Preheat oven to 375 degrees F (190 degrees C). Butter/spray 2 baking sheets or use a Silpat.
  2. In a medium bowl, cream together butter and sugar until smooth. Beat in eggs one at a time, then stir in the milk, vanilla, and lemon extract. Combine cake flour and all-purpose flour, baking powder, and salt; gradually blend into the creamed mixture. Drop tablespoonfuls of the dough 2 inches apart on prepared baking sheets.
  3. Bake until edges begin to brown, about 20 to 30 minutes (or more?). Cool completely.
  4. Place confectioners sugar in large bowl. Mix in boiling water one tablespoon at a time until mixture is thick and spreadable. (Add more than the indicated amount if you need to).
  5. Transfer half of the frosting to the top of a double boiler set over simmering water. Stir in the chocolate. Warm mixture, stirring frequently, until the chocolate melts. Remove from heat. (or do it slowly in the microwave)
  6. With a brush, coat half the cookie with chocolate frosting and the other half with the white frosting. Set on waxed paper until frosting hardens.