Archive | Baking RSS feed for this section

Homemade Popovers… that worked!

21 Jun

Every once in a while I get a craving for pop overs.  My obsession started at BLT Steak, and I have since tried to make them myself, and found a restaurant in NYC that is dedicated to this fluffy baked good.

What makes popovers so wonderful?  They are crispy (and cheesy at BLT) on the outside and pillowy soft on the inside.  The first time I made them, they didn’t pop quite well enough and they were also a bit too eggy inside.  So this time, I decided to try a new recipe.

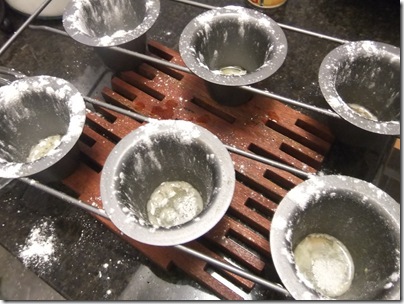
I read about a million recipes and reviews of those recipes and decided to try a classic one.  The tips said that it was best to put the popover tin in the oven while it heated (something about the popovers releasing steam when the room temp batter meets the hot cups, creating extra pop… but this was wildly contested and refuted).  Then before you pour in the batter, you pam and flour the cups (so they fully release and have room to pop).  So that’s what I did…

DSCF3209

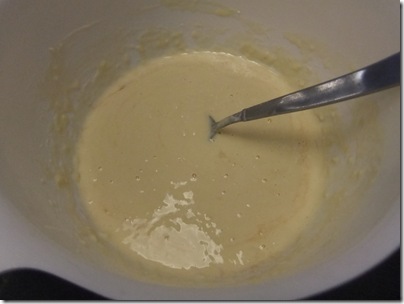
Then I mixed up the batter (careful not to overmix)

DSCF3210

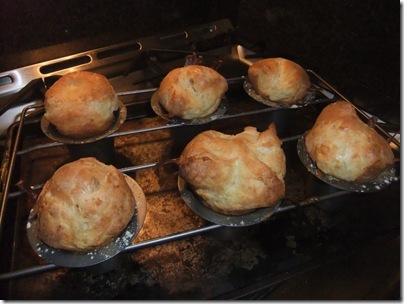
Then I poured in the batter and put it in the oven, turned down the temp when I was told to, and DIDN’T peak.  While it may be a wive’s tale, the #1 tip I always hear about popovers is that they can deflate simply by opening the oven door while they cooked.

But these just looked perfect.

DSCF3214

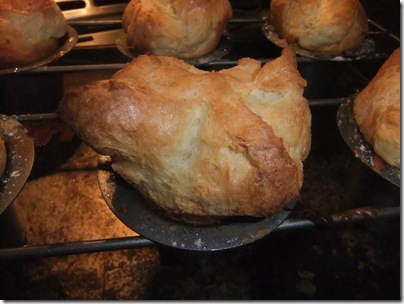
Total crispy poppage.

DSCF3216

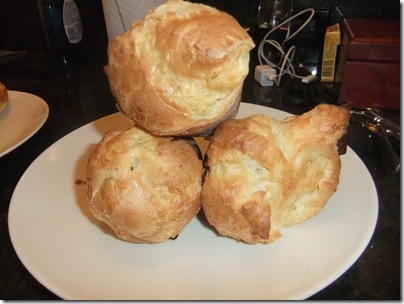
And they slid right out of the cups and didn’t deflate! (SCORE!)

DSCF3218

They were so beautiful that I just kept taking photos.

DSCF3219

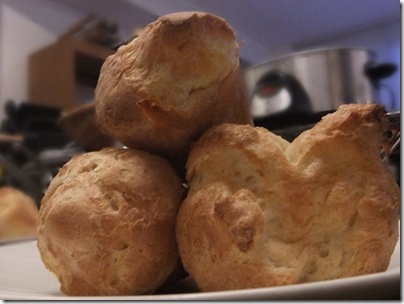
And the inside?  Perfect!  Mostly hollow with fluffy deliciousness.  A touch of butter and I just wanted to go and shout from my rooftop “I made popovers! And they WORKED!”

DSCF3220

_______________
RECIPE
_______________

Ingredients

  • 2 eggs
  • 1 cup all-purpose flour
  • 1 cup milk
  • 1/2 teaspoon salt
  • 1/2 teaspoon vanilla extract
  • Pam
  • Butter

Directions

  1. Preheat oven to 450 degrees F (230 degrees C). Butter popover pan and put it into the oven while it’s preheating.
  2. In a medium bowl beat eggs slightly, Beat in flour, milk and salt until just smooth; being careful not to overbeat.
  3. Spray the cups with pam and flour them
  4. Fill popover cups 1/2 full.
  5. Bake at 450 degrees F (230 degrees C) for 20 minutes. Decrease oven temperature to 350 degrees F (175 degrees C) and bake for 20 minutes more. Immediately remove from cups and serve piping hot. DO NOT OPEN OVEN during cooking.

White Chocolate Macadamia Nut Cookies

13 May

I have a folio filled with recipes from my Grandmother.  I also have my own folder of recipes from over the years.  When I don’t have a recipe on hand, however, my first stop is always AllRecipes.com.  I started using the site years and years ago, before user reviews were the “it” thing, and especially liked the feedback that was left from other bakers/cooks.  A recipe can be great, but sometimes it’s nice to know if it sometimes fails, or if there is too much nutmeg for people’s tastes, or if the cooking time was too much and should be checked on often.  I’ve always thought cooking and baking is better when it’s collaborative.  (I was recently invited to an AllRecipes.com PR event where they showed us some new tools, but more on that at another time.)

When my coworker asked for White Chocolate Macadamia Cookies, I definitely for a moment thought about opening up a package of my favorite Pepperidge Farm Tahoe cookies for fear that I would never be able to bake something that could taste as good as those.  But I like a challenge. I sorted through a number of recipes and decided on the one that had both white and brown sugar.  I also thought about what I liked most about the Pepperidge Farm cookies and, immediately, salt came to mind.  Macadamia nuts almost always come salty, so I had to think about whether I should add more salt or hope that the salt on the nuts was enough.  AllRecipes to the rescue! I read a few reviews that mentioned that it was too salty, so I decided adding more would NOT be a good idea.

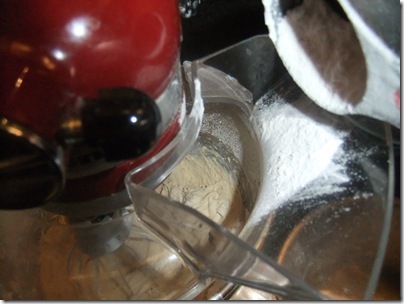
But what is a good idea? How about taking pictures while trying to pour flour.  What you can see in this next shot is the camera being totally poofed with flour.  Oh well!

DSCF2941

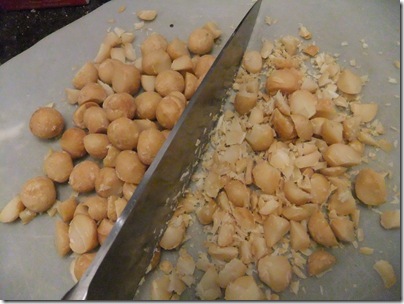
I chopped up some delicious macadamia nuts while sampling some… for quality control purposes only, of course. (PS- Why are macadamia nuts SO DAMN GOOD?)

DSCF2942

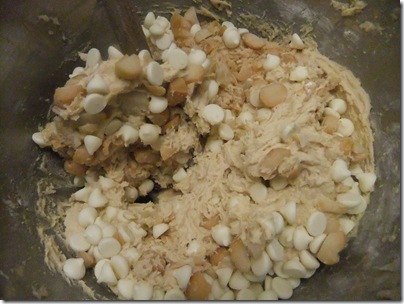
Then the nuts and white chocolate went into the batter.  Quality control came out again, and turns out this batter with the nuts and white chocolate chips was just about perfection.

DSCF2943

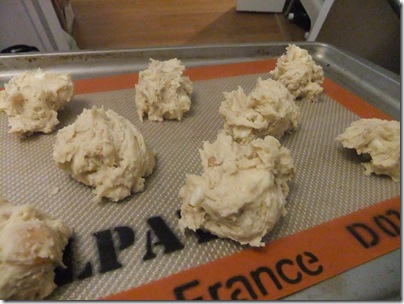
Spooned onto the trusty Silpat. (If you do not have a Silpat, you are missing out. I use it for everything from cookies to roasting vegetables to toasting bread)

DSCF2944

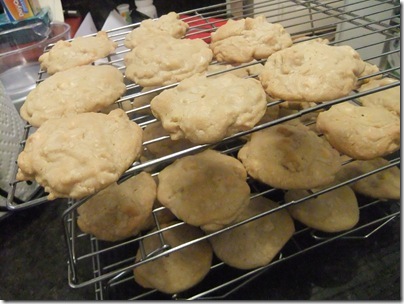
Then onto the trusty 3-tier cookie rack they went.  They looked a bit under-baked (recipe said golden brown), but I had already left them in the oven for 5 minutes longer than the time, so I took them out and tried one.  Quality Control says “A+!”

DSCF2946

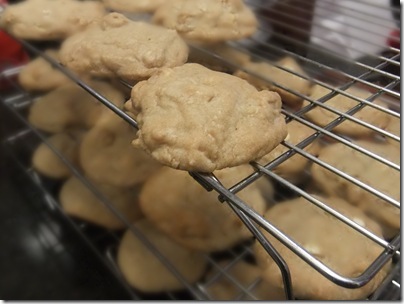
These were perfectly fluffy with a slight crisp on the outside, and the saltiness of the nuts was great in collaboration with the white chocolate chips.

DSCF2947

I <3 you AllRecipes.com.

________________________
RECIPE BOX
________________________

White Chocolate Macadamia Nut Cookies III
(thank you AllRecipes.com) 

Ingredients

  • 1 cup butter, softened
  • 3/4 cup packed light brown sugar
  • 1/2 cup white sugar
  • 2 eggs
  • 1/2 teaspoon vanilla extract
  • 1/2 teaspoon almond extract
  • 2 1/2 cups all-purpose flour
  • 1 teaspoon baking soda
  • 1/2 teaspoon salt
  • 1 cup coarsely chopped macadamia nuts
  • 1 cup coarsely chopped white chocolate

Directions

  1. Preheat oven to 350 degrees F (175 degrees C).
  2. In a large bowl, cream together the butter, brown sugar, and white sugar until smooth. Beat in the eggs, one at a time, then stir in the vanilla and almond extracts. Combine the flour, baking soda, and salt; gradually stir into the creamed mixture. Mix in the macadamia nuts and white chocolate. Drop dough by teaspoonfuls onto ungreased cookie sheets.
  3. Bake for 10 minutes in the preheated oven, or until golden brown.

Grape and Basil Crumble

30 Mar

I have yet to master shopping for fresh produce in NYC.  With only 2 of us and a NYC apartment, I try to shop in small batches to make sure things don’t go bad.  However, as many a day does not play out the way we expect, and we wind up eating out a LOT more than we should, I have the inevitable problem of having to throw too much food away. It makes me want to cry… wasting all that food.

So when I had a whole bushel of grapes that were a few days from being too soft, I had to ask myself “How do I use up a lot of grapes before they go bad?”  This is when I got creative…

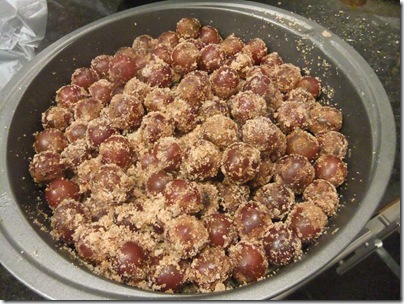
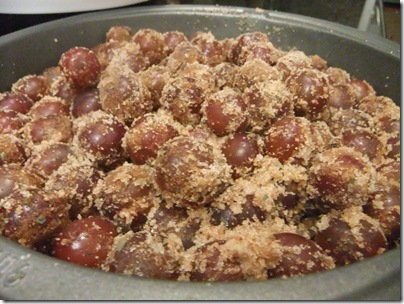
First, there was mixing grapes with brown sugar.

DSCF3665

Then it was “what can I do that will make this unique?” and the spice cabinet was opened and basil was sprinkled and with a moment of both bravery and hope, I threw it all together.

DSCF3667

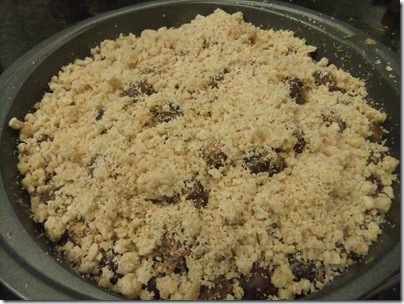
Then topped it with the leftover crumble I had from the Drunk ‘N Nutty Pie.

DSCF3668

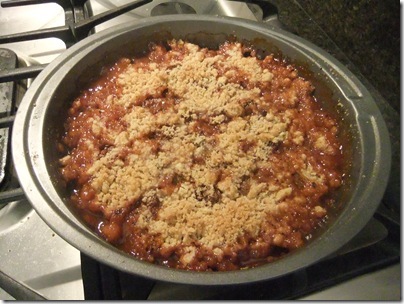
And I popped it into the over and prayed.  I removed it when it was bubbling and starting to brown.

DSCF3673

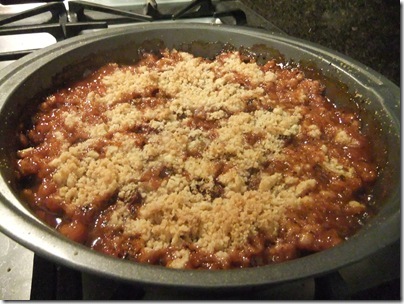
And it was good.  BOY it was good. I actually wished I had added MORE basil.  The flavors were incredibly complimentary.

DSCF3674

So today’s lesson in baking: Don’t be afraid to mix in spices that wouldn’t ordinary be thought of as baking supplies.  Enjoy the creative spoils.