Tag Archives: apple pie

Apple Pie with New Crust

17 Dec

My Aunt Dinah is a 90-something powerhouse of a woman with a fondness for awesome shoes and the most amazing spirit you have ever met.   She is awesome.

However, she is 90-something and while she was fine to make ONE homemade apple pie from scratch for Thanksgiving, she admitted she couldn’t bring the usual two pies.  My cousin/uncle Mark, who hosts Thanksgiving every year at his house with wife Wanda, asked that I pick up a pie down the street.

Are you kidding?

Pick up a pie?

That was not going to happen.  Though I couldn’t go up against Dinah’s classic apple pie.  I didn’t even want to try to compete.  So I wanted a bit more of a twist on the pie, so I went with one that had a crumble top.  I got the full recipe from one of my new favorite blogs, The Pioneer Woman.  And I was up for a challenge, so I chose her pie crust that she, a very experienced baker, said was very difficult to make.

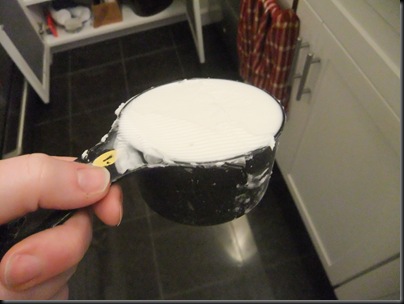
And it started with (gulp)… shortening!  EEEEEEEEEEEEK!  How can you make a buttery crust without butter?  I just wasn’t sure, but I had trust.  So I took out the stuff that always reminds me of kindergarten paste and measured myself a cup.

DSCF2837

 And because I have never seen the difference between pastry that I do by hand and when I do it in the food processor (except in wrist pain), I “cheated.”

DSCF2838

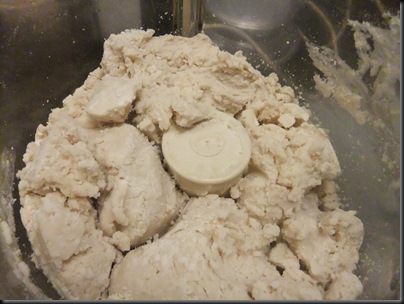
 So I pulsed the shortening with the flour until it made a lumpy mess.

DSCF2839

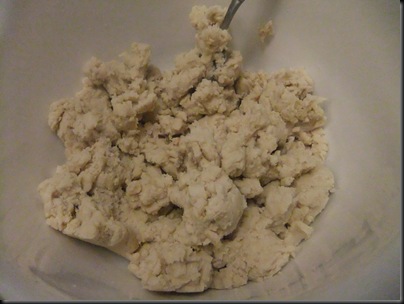
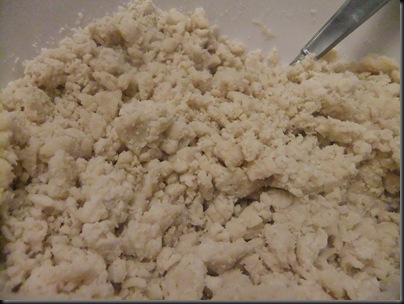
 So I pulsed it a bit more until it looked more like crumbs. 

DSCF2840

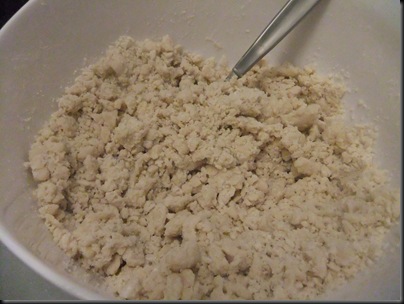
 My idea of the right texture for pie crust is always where most of it is making pencil eraser size chunks with a few bigger and some crumbs.

DSCF2841

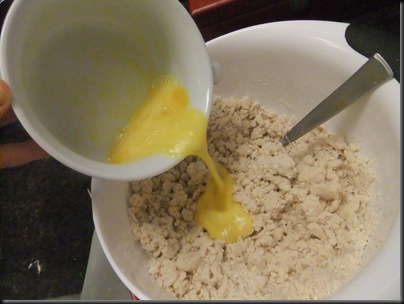
 Then I added some egg.

DSCF2843

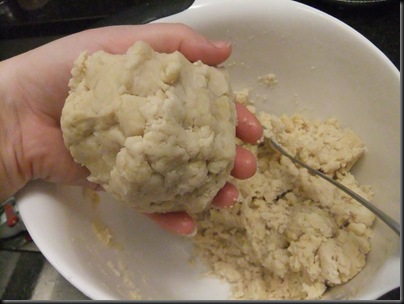
And some water, white vinegar, and salt before separating the crust into 3 parts and making some balls.

DSCF2847

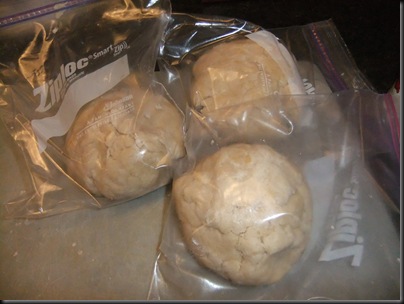
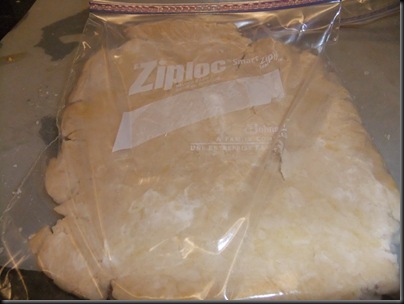
 I put the balls into ziplocks.

DSCF2850

Then used a rolling pin to smush it down so it would be “easier” to work with later (HA!)

DSCF2852

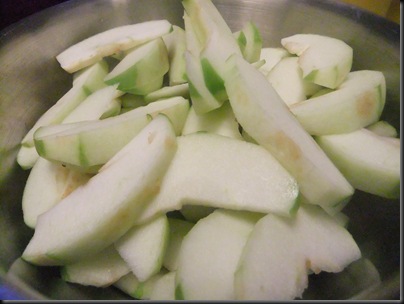
Then I stuck it in the freezer, for what wound up being overnight.  I took it out the next morning to thaw while I prepared the filling.  First I cut up apples (uniformity is important!) 

The filling recipe also came from the Pioneer Woman recipe collection.

DSCF2861

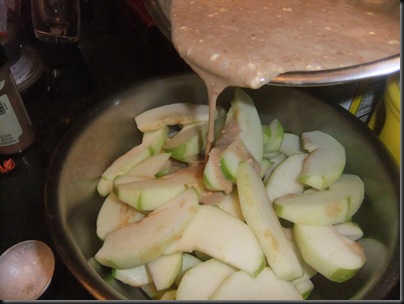
And then stirred together this mixture that was like heaven in my mouth.

DSCF2864

 Phew!  Now just to roll out the crust.

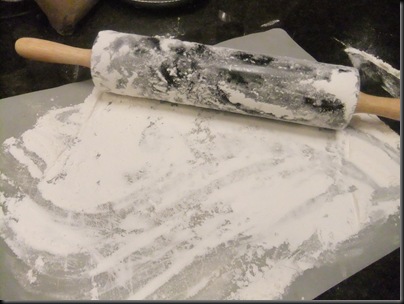
I added flour to my surface and pin.

DSCF2865

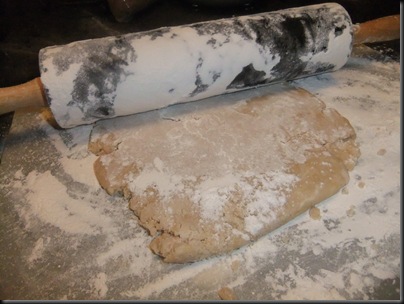
And then I rolled… and rolled… and folding it up… and rolled… and rolled.. and refloured… and rolled and rolled and folded it up and rolled and rolled and refloured and rolledandrolledandfoldeditupandrolledandrolledandrefloured… and rolled…

DSCF2868

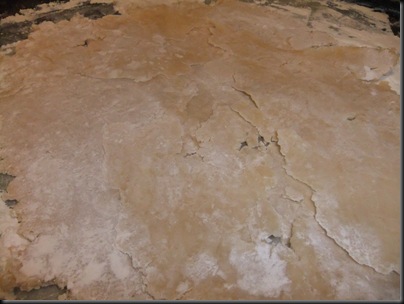
 It just never quite made it smooth.  I decided that even though it looked like it was falling apart that I would try to lay it into the pie dish and just patch it as needed.

DSCF2870

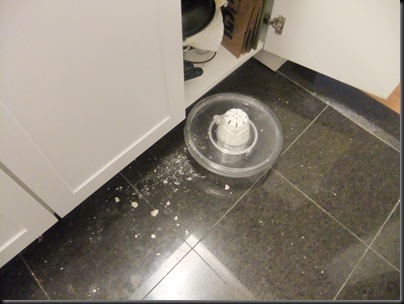
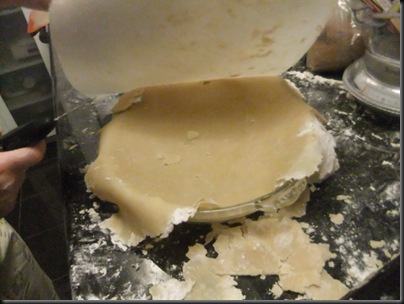
But how do I get it off of the mat?  It had been floured and all… but it was STUCK.  And it was right around the moment when I somehow looped my apron around the handle of the cabinet and in one foul swooped yanked it open, toppled out the top to my salad spinner, and dumped a combo of flour and pie dough all over the floor.

DSCF2879

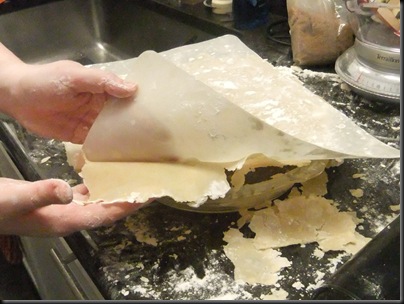
Mike was looking at the sorry state of me covered in flour, fear, and frustration and suggested that I turn the whole thing over on the pie plate and peal the dough off. 

DSCF2871

Much to my relief, it worked.  

 DSCF2873

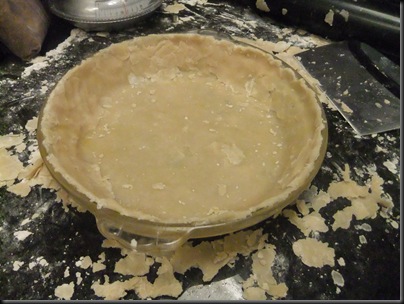
 I had to patch some areas and wound up with no where near enough to make nice edges, however, it was SO thin that I dared not roll it anymore. 

DSCF2877

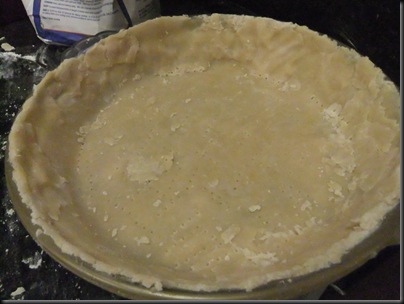
The recipe didn’t mention if the crust should be pricked to allow air out, however, I didn’t want to take any chances so I pricked.

DSCF2881

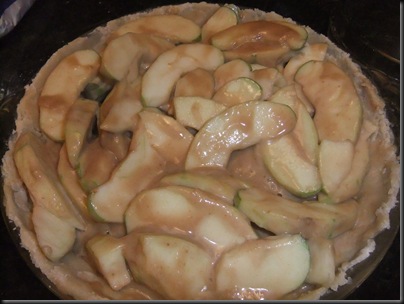
Then I filled it with the apples that were covered in the delicious sauce. 

DSCF2884

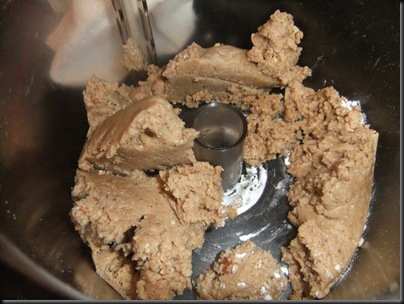
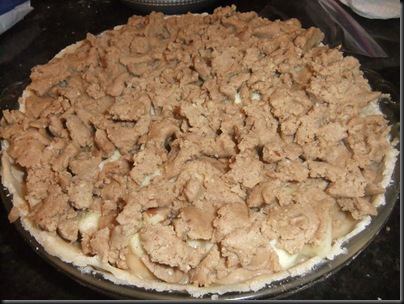
 And I made the topping, which was supposed to be like crumbs… but it never really came close.

DSCF2886

So I wound up breaking it into little chunks with my fingers and spreading it across the top.

DSCF2888

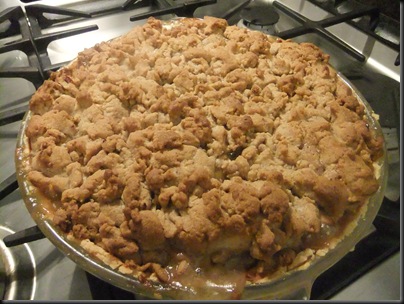
 The smell while this was baking was absolutely fantastic.  And it came out looking BEAUTIFUL!

DSCF2889

But how did it taste?

Well…. ehhhh… it was good… but it wasn’t great.  Not even all that special.  I don’t know why this fell short.  It had all the makings (and look) of a brilliant pie… but it just wasn’t.  And the crust was no better than my other crust, which was much less effort.

So while I still love Ree and her recipes, I think I have to say… skip this pie.   And from what I hear from Lori, make this Pecan Pie instead (which I plan on doing very soon).

For the recipes, it’s better (and so worthwhile) to check out Ree’s summaries:

The Crust

The Pie

Do not fear the pie

17 Feb

I guess I learned how to make a pie before I learned that it was something to fear. So many people I know say they don’t make pies because they are terrified of making crust. So below I’ve broken down the steps for how to make a pie crust.

Now while I don’t LOVE my crusts, it seems they are quite popular amongst my friends (I just don’t think they have enough flavor). Texture-wise it’s always pretty good… flaky without being too crumbly. But this recipe works well… so I don’t mess with it too much. If you want to make a pie with 2 crusts or a lattice crust, it’s always good to double it. Cut up 1 cup of butter (2 sticks) into small cubes and place in freezer for at least 15 minutes. Prepare about 1/2 cup of ice water and set aside. Combine 2 cups flour with 1 tsp. salt. Remove butter from freezer and combine with flour mixture (see tip below) until it looks like crumbles the size of small peas (don’t be too aggressive with this). Then stir in ice water in by the teaspoon and mix until dough forms. At first it will look like this will never happen, then suddenly: DOUGH! If you’ve doubled the recipe, divide into two dough balls and flatten into pancakes. Wrap dough in plastic wrap and refrigerate for at least 2 hours, 4 or overnight is better.

The secret to pies, as you’ll hear over and over again, is COLD. As far as I have learned, the cold butter stays more solid within the flour mixture and you need those pockets of butter to make flaky dough. If you look closely at the picture below, you can see the little pieces of butter in the dough.

I have heard many pieces of advice about keeping everything cold and it’s all rather daunting if you read it. Personally, I’ve always had success with cutting the butter into small cubes and putting it into the freezer before mixing everything together. A lot of people fear a food processor for the warmth of the blades and other people swear by them. I’ve never had one, so I just give it a quick spin in the Kitchenaid or pull out the pastry blender.

After the dough has been in the fridge, take out a dough pancake and place it on a floured countertop or smooth surface. Rolling out dough takes time and patience but I find it meditative. You want to start in the center and roll out a corner. Then pick it up and turn it 90 degrees and roll it again. Continue this, making sure the surface below is well floured so it doesn’t stick.

Once the dough is at the desired diameter, flour both sides lightly and then fold in half and then half again (you can also roll it on the rolling pin, however, I find the folding method easier).

Pick up the folded dough and lay into a quarter of the pie plate.

Unfold the half.

Then unfold again and gently push the dough into the corners of the pie plate.

You can leave the overhang and fold it over for a fluted edge (another pie post coming soon with that) or you can cut down the edges of the pie for a blunt edge (just rub your hand firmly against the rim and let the edge of the pie plate do the cutting for you).

If you are making a fruit pie, it’s good to add a top (I personally like lattice work).

After you roll out the 2nd sheet, cut it into strips (I use a pizza cutter).  I learned an easy way to make lattice but completely forgot it when I was making this one (d’oh!)  So don’t follow my directions below, follow these and lattice will be a piece of cake (errr… pie): http://smittenkitchen.com/2006/11/latticed-and-loony/

I started all wrong but it worked out in the end.


After weaving all the strips, I cut them down to the end of the pie pan.

Then I added a pie crust rim.

Then I drizzled the entire thing in the cinnamon/brown sugar mixture that went into the pie.

It baked up so lovely.  I will definitely be making this one again.

_________________________
RECIPE
_________________________

Ingredients

  • 1 recipe pastry for a 9 inch double crust pie (see above)
  • 1/2 cup unsalted butter
  • 3 tablespoons all-purpose flour
  • 1/4 cup water
  • 1/2 cup white sugar
  • 1/2 cup packed brown sugar
  • 8 Granny Smith apples – peeled, cored and sliced (this sounded like a LOT so I think I went with 3 apples, 1 pear, and cranberries)

Directions

  1. Preheat oven to 425 degrees F (220 degrees C). Melt the butter in a saucepan. Stir in flour to form a paste. Add water, white sugar and brown sugar, and bring to a boil. Reduce temperature and let simmer.
  2. Place the bottom crust in your pan. Fill with apples, mounded slightly. Cover with a lattice work of crust. Gently pour the sugar and butter liquid over the crust. Pour slowly so that it does not run off.
  3. Bake 15 minutes in the preheated oven. Reduce the temperature to 350 degrees F (175 degrees C). Continue baking for 35 to 45 minutes, until apples are soft.