I guess I learned how to make a pie before I learned that it was something to fear. So many people I know say they don’t make pies because they are terrified of making crust. So below I’ve broken down the steps for how to make a pie crust.
Now while I don’t LOVE my crusts, it seems they are quite popular amongst my friends (I just don’t think they have enough flavor). Texture-wise it’s always pretty good… flaky without being too crumbly. But this recipe works well… so I don’t mess with it too much. If you want to make a pie with 2 crusts or a lattice crust, it’s always good to double it. Cut up 1 cup of butter (2 sticks) into small cubes and place in freezer for at least 15 minutes. Prepare about 1/2 cup of ice water and set aside. Combine 2 cups flour with 1 tsp. salt. Remove butter from freezer and combine with flour mixture (see tip below) until it looks like crumbles the size of small peas (don’t be too aggressive with this). Then stir in ice water in by the teaspoon and mix until dough forms. At first it will look like this will never happen, then suddenly: DOUGH! If you’ve doubled the recipe, divide into two dough balls and flatten into pancakes. Wrap dough in plastic wrap and refrigerate for at least 2 hours, 4 or overnight is better.
The secret to pies, as you’ll hear over and over again, is COLD. As far as I have learned, the cold butter stays more solid within the flour mixture and you need those pockets of butter to make flaky dough. If you look closely at the picture below, you can see the little pieces of butter in the dough.
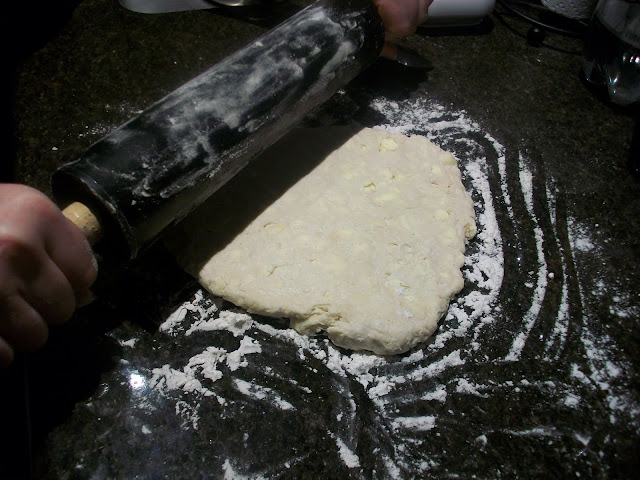
I have heard many pieces of advice about keeping everything cold and it’s all rather daunting if you read it. Personally, I’ve always had success with cutting the butter into small cubes and putting it into the freezer before mixing everything together. A lot of people fear a food processor for the warmth of the blades and other people swear by them. I’ve never had one, so I just give it a quick spin in the Kitchenaid or pull out the pastry blender.

After the dough has been in the fridge, take out a dough pancake and place it on a floured countertop or smooth surface. Rolling out dough takes time and patience but I find it meditative. You want to start in the center and roll out a corner. Then pick it up and turn it 90 degrees and roll it again. Continue this, making sure the surface below is well floured so it doesn’t stick.
Once the dough is at the desired diameter, flour both sides lightly and then fold in half and then half again (you can also roll it on the rolling pin, however, I find the folding method easier).

Pick up the folded dough and lay into a quarter of the pie plate.
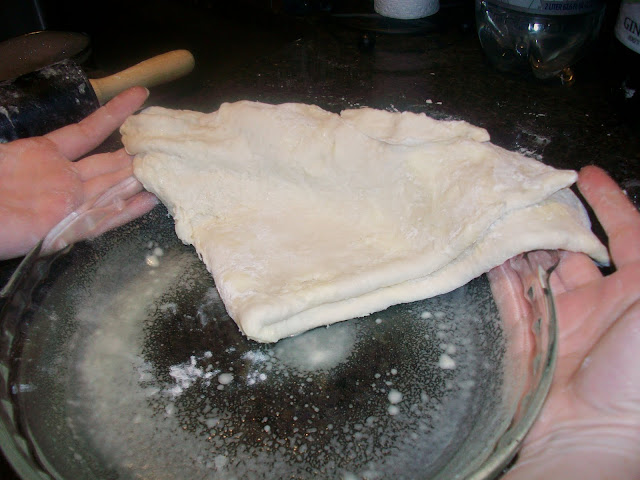
Unfold the half.
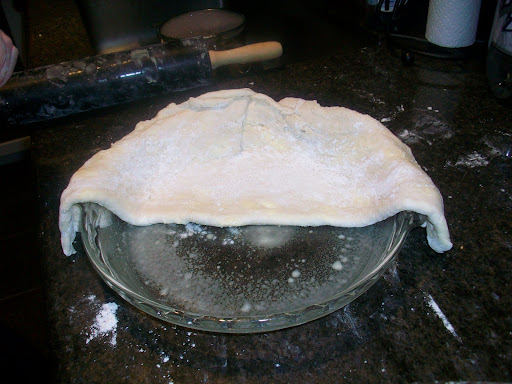
Then unfold again and gently push the dough into the corners of the pie plate.

You can leave the overhang and fold it over for a fluted edge (another pie post coming soon with that) or you can cut down the edges of the pie for a blunt edge (just rub your hand firmly against the rim and let the edge of the pie plate do the cutting for you).
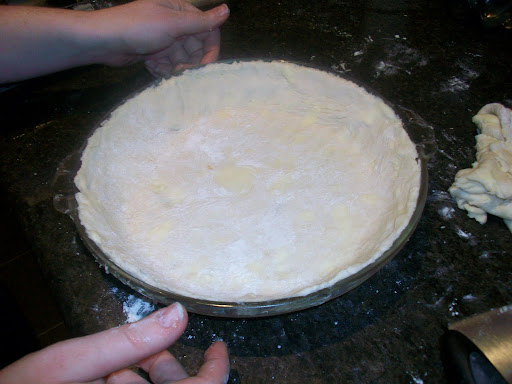
If you are making a fruit pie, it’s good to add a top (I personally like lattice work).

After you roll out the 2nd sheet, cut it into strips (I use a pizza cutter). I learned an easy way to make lattice but completely forgot it when I was making this one (d’oh!) So don’t follow my directions below, follow these and lattice will be a piece of cake (errr… pie): http://smittenkitchen.com/2006/11/latticed-and-loony/

I started all wrong but it worked out in the end.
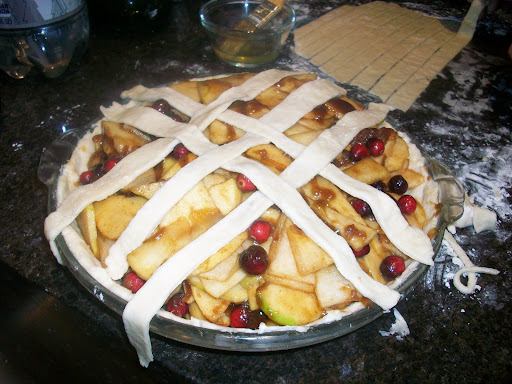

After weaving all the strips, I cut them down to the end of the pie pan.
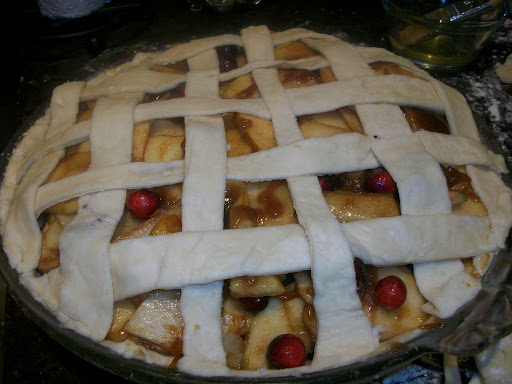
Then I added a pie crust rim.
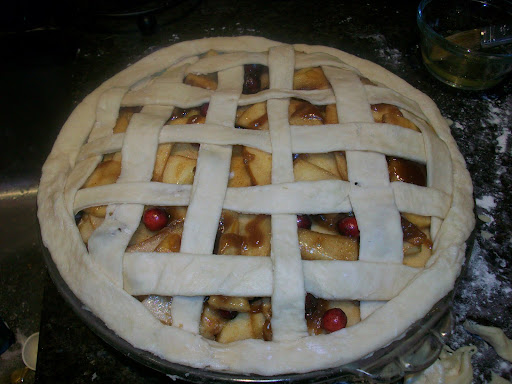
Then I drizzled the entire thing in the cinnamon/brown sugar mixture that went into the pie.

It baked up so lovely. I will definitely be making this one again.

_________________________
RECIPE
_________________________
Ingredients
- 1 recipe pastry for a 9 inch double crust pie (see above)
- 1/2 cup unsalted butter
- 3 tablespoons all-purpose flour
- 1/4 cup water
- 1/2 cup white sugar
- 1/2 cup packed brown sugar
- 8 Granny Smith apples – peeled, cored and sliced (this sounded like a LOT so I think I went with 3 apples, 1 pear, and cranberries)
Directions
- Preheat oven to 425 degrees F (220 degrees C). Melt the butter in a saucepan. Stir in flour to form a paste. Add water, white sugar and brown sugar, and bring to a boil. Reduce temperature and let simmer.
- Place the bottom crust in your pan. Fill with apples, mounded slightly. Cover with a lattice work of crust. Gently pour the sugar and butter liquid over the crust. Pour slowly so that it does not run off.
- Bake 15 minutes in the preheated oven. Reduce the temperature to 350 degrees F (175 degrees C). Continue baking for 35 to 45 minutes, until apples are soft.
Tags: apple pie, apple pie recipe, baking, best pie crust, dessert, how to bake a pie crust, how to make a pie, pie, pie crust, recipes, techniques, tips


