For all the cooking I’ve done recently, a full chicken was new to me… and quite intimidating. Not to mention I have a childhood fear of raw food… especially chicken. Remember that commercial where they made the contaminating bacteria glow green? Yeh… scarred for life!
ANYWAY… Whole chickens were on sale at Fresh Direct so I went for it. While looking for recipes, I happened upon the recipe for the Zuni chicken and bread salad. We enjoyed this very much when we ate at Zuni in December, so I thought it would be fun to try. I read a few versions (here is 1 and 2… and turns out the original “real” recipe is insanely long) and combined a few ideas to make a simpler version (see recipe at the end of this post).
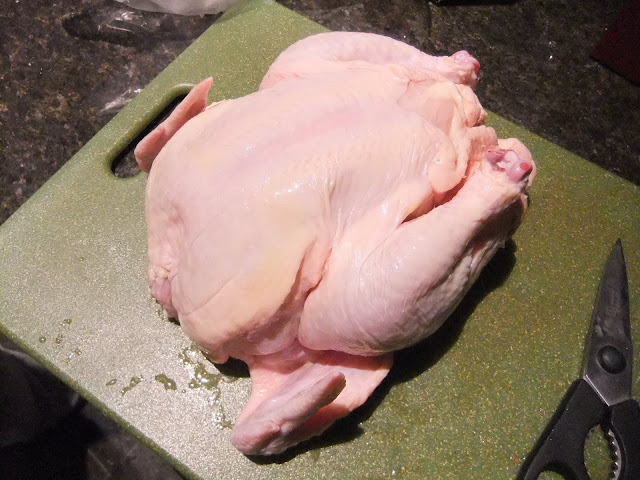
We started with the intimidating raw bird and Mike was nice enough to do most of the handling.
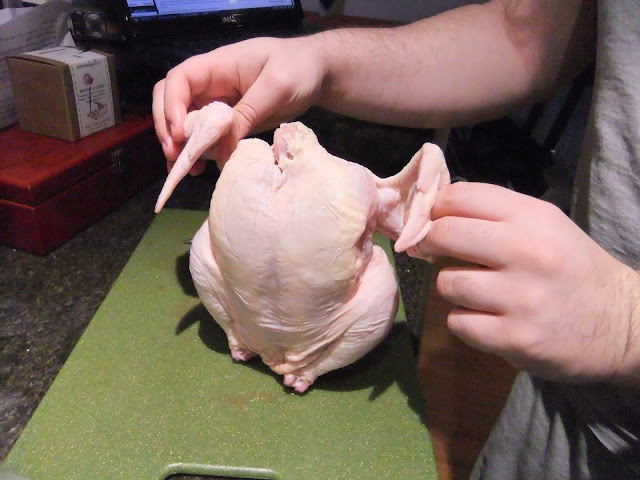
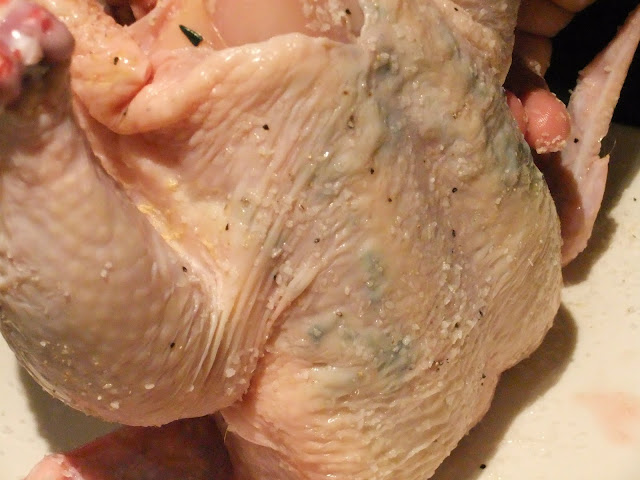
The recipe called for finding “pockets” near the tail under the skin. I didn’t even know these existed, but turns out they make perfect little pockets for spices.

We went with kosher salt and made a mix of rosemary, thyme, and sage (no parsley this time).

We actually “found” a few more pockets than probably were normal… but why not?
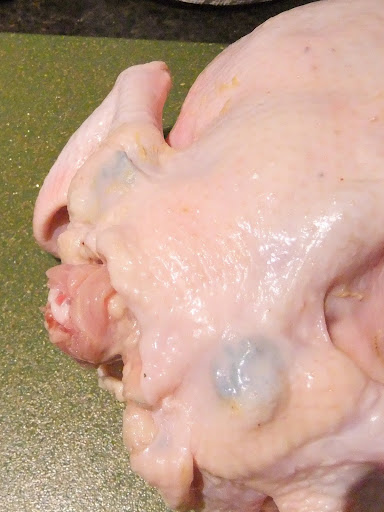

After making sure the chicken was fully herbed, we coated the entire thing in kosher salt.
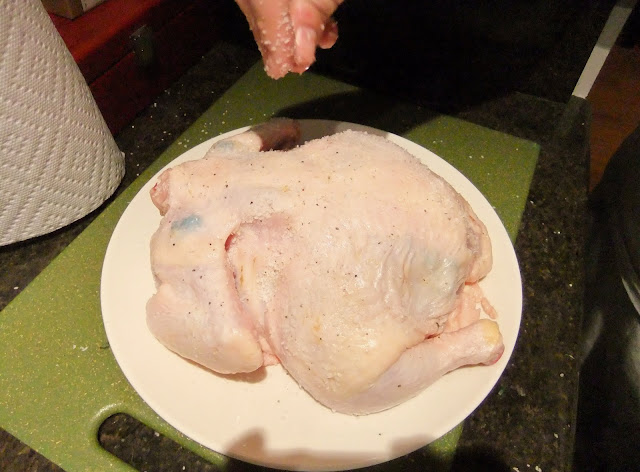
Then we put the chicken in the fridge for 2 days to season. The salt brined the chicken and made it SUPER moist. I’m still not positive on the science, but I can tell you that it certainly works! (And no… it doesn’t make the chicken taste super salty at all)
I took my awesome Lodge Logic Double Dutch Oven (where the lid doubles as a skillet!) and browned the chicken on both sides over high heat.
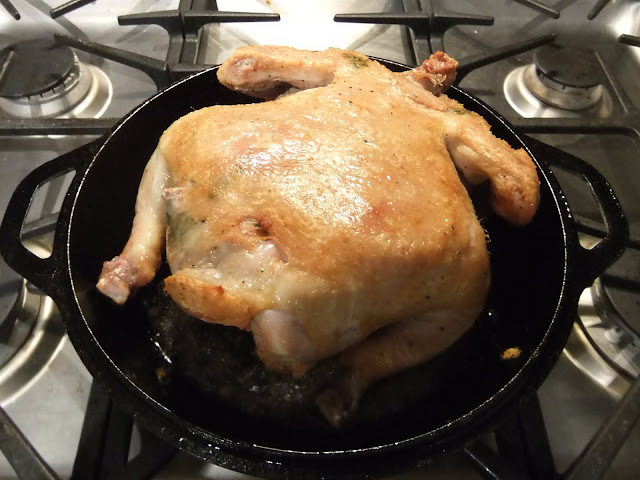
Then it went into the oven.

While the chicken cooked, I started on the bread salad. I had bought some whole grain peasant bread from FreshDirect a few days prior and left it on the counter to get nice and stale. You were supposed to carve most of the crust off, however, I think my bread was extra crusty and made this difficult… so I just left some of it on and tore it up.
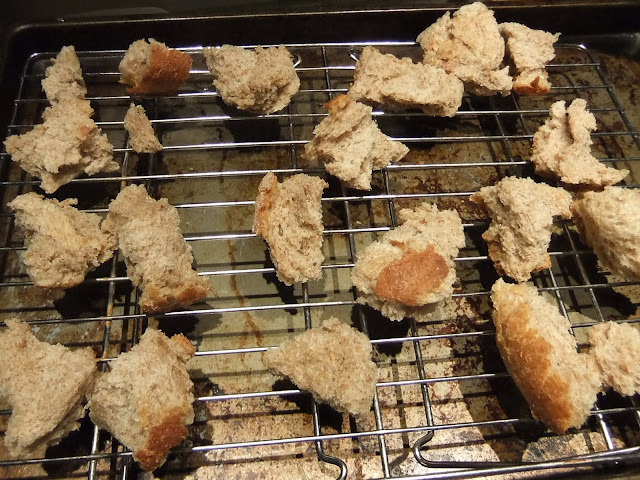
I then tossed them with some olive oil and put them under the broiler to brown. It then got tossed with some garlic, shallots, white raisins, pine nuts, scallions, and dressing.
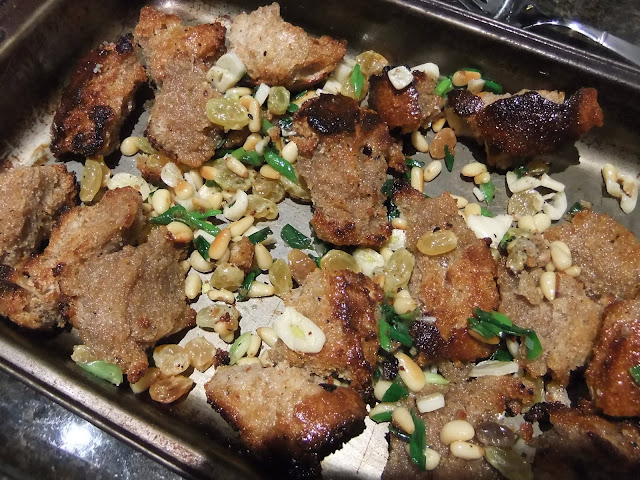
Then tossed with some arugula.

After some flipping of the chicken, it came out beautifully.
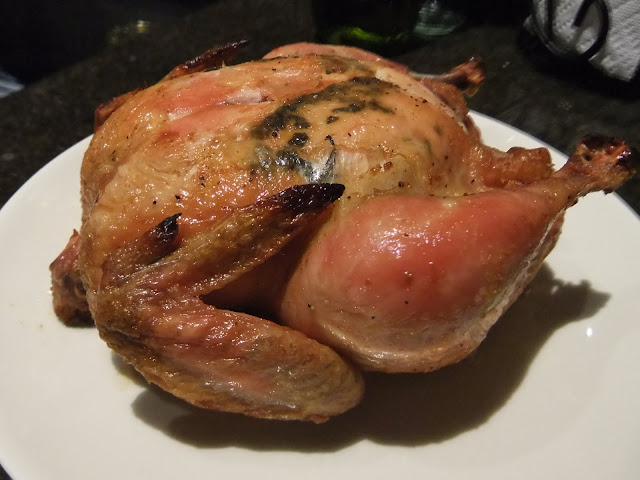
With crispy skin and juicy meat, I was so impressed with how beautiful this looked!

And it tasted damn good too.
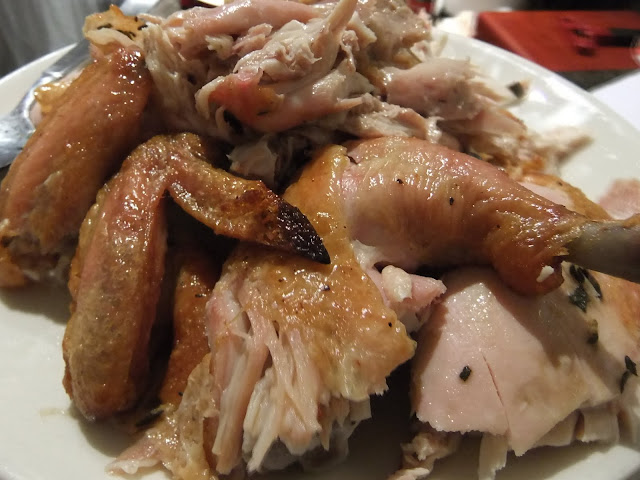
The bread salad was good… but no where near the Zuni salad. I thought our chicken could have been in competition though!
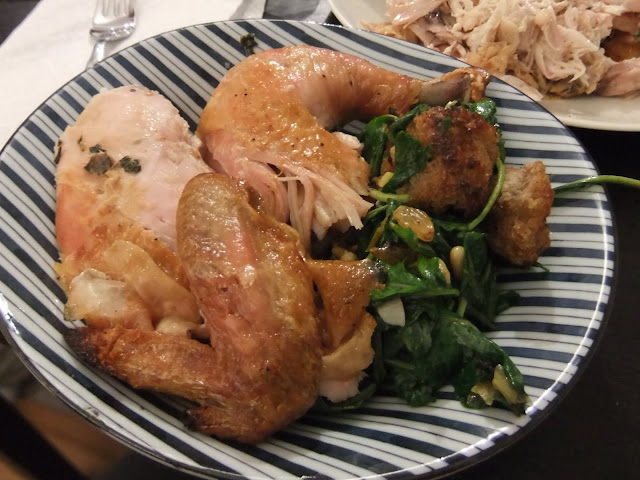
I was impressed at how easy this chicken was to make for the impressive end result. The bread salad? I’ll probably skip that myself from now on.
This was all done prior to Weight Watchers (I somehow forgot to post this months ago!) Though we did the chicken again (sans bread salad) recently and, of course, the bulk of the points come from the skin. I saved up my points, however, and 1/4 chicken comes to about 9 points. Not terrible!
________________________
RECIPE
________________________
Zuni Style Chicken (simplified)
Ingredients:
- One small whole chicken- rinsed and thoroughly dried (inside and outside), innards and fat removed from neck
- Springs of rosemary, sage, and thyme (~1 Tbl. of each)
- Optional: Garlic Powder
- Lots of kosher salt (~1 Tbl. for stuffing and then as much as you need for coating)
- Black pepper (we used very little since I’m not a big fan)
Directions:
- About 2 days before you want to eat it, start with a very dry bird
- Mix spices and 1 Tbl. kosher salt in a small dish (we also added garlic powder on one occassion… damn good)
- Slide your finger into the pockets between the breast meat and the skin to open them for stuffing
- Season the outside of the chicken liberally with kosher salt and black pepper
- Sprinkle a little salt inside
- Cover loosely and refrigerate for 2 days
- When ready to start cooking, heat oven to 475 degrees
- Heat an oven proof skillet over medium/high heat
- Place chicken in skillet and brown on both sides for just a few minutes
- When oven is heated, place chicken breast side up in pan and place in oven for 25 minutes (this is a good time to start the bread salad below)
- After 25 minutes of roasting, it should be starting to brown. Flip the chicken oven (this is a moment where I wanted “food safe” oven mits!)
- Roast for another 15 minutes, then flip again (if you are also making the bread salad, you should be to step 11 where you can put the mixture into the oven with the chicken at this point)
- Roast another 10 minutes
- Chicken should be 180 degrees when a thermometer is stuck into a meaty part of the chicken
- Remove from oven, cover with foil, and allow to rest for at leat 30 minutes before serving
__________________________________________________
Bread Salad
Ingredients:
- Recipe called for “Generous 8 ounces slightly stale open-crumbed, chewy, peasant-style bread (not sourdough)” – I did my best and found whole grain parbaked bread from FreshDirect
- ~2 tablespoons olive oil + 1/4 cup olive oil
- 1 1/2 tablespoons Champagne vinegar or white wine vinegar
- Salt and freshly cracked black pepper
- 1 tablespoon dried currants plumped in 1 tablespoon red wine vinegar and 1 tablespoon warm water for ten minutes or so (we used golden raisins instead)
- 2 tablespoons pine nuts
- 2 to 3 garlic cloves, slivered
- 2 shallots, sliced thin
- 1/4 cup slivered scallions (about 4 scallions), including a little of the green part
- 2 tablespoons lightly salted chicken stock or lightly salted water
- A few handfuls of arugula, washed and dried
- Chicken drippings from roasted chicken
Directions:
- Carve crust off bread, leaving as much bread as possible (they called for 4 cups… but I got maybe 2 cups… it was fine though)
- Tear bread into pieces (a little bigger than bite sized works) and lightly coat with olive oil
- Heat broiler and broil the bread chunks for just a few minutes until they start to brown and a few char a bit
- Combine about 1/4 cup of olive oil with the vinegar and salt and pepper to taste
- Toss about 1/4 cup of this tart vinaigrette with the torn bread in a bowl; the bread will be unevenly dressed. Taste one of the more saturated pieces. If it is bland, add a little salt and pepper and toss again.
- Soften garlic, scallions, and olive oil in a pan and toss with bread chunks (don’t brown)
- Drain currants (or raisins) and toss with bread mixture
- Toss in pine nuts (can be browned quickly if desired, but careful… they brown fast!)
- Dribble some of the chicken drippings from your roasted chicken and toss all together
- Check for seasoning and taste and adjust accordingly (I wound up adding a lot more salt and some more vinegar)
- Put bread combination into a pan and put it into the oven with the chicken for the last 10 minutes to warm
- Just before serving, toss with arugula and serve alongside chicken (or underneath if you want to be more authentic to Zuni)
Tags: bread salad, chicken, recipes, roasted chicken, roasted chicken weight watchers points, weight watchers, zuni chicken and bread salad


