Mike and I thoroughly enjoy project recipes, so this past Sunday we decided to bake a cake. Maybe we’ve been watching too much Ace of Cakes or Cake Boss, however, we wanted to make it complex. I’m not a cake person, so I set out to find a soft, vanilla cake I would like. I also wanted one that would go with an amaretto whipped cream and berries. I stumbled upon a blog called “House of Annie” and her pictures looked so great of the whipped cream frosted cake with berries that I knew we’d have similar taste. I used her cake recipe and my own whipped cream (aka Schlag) recipe… though they’re all pretty much the same.
I haven’t baked many fully homemade layer cakes. When I bake a cake, it’s typically a chocolate lava, meringue shell, or something else less traditional. When I’ve made a layer cake, it has usually involved boxed cakes and canned frostings. So this was a new challenge. Mike came up with the GREAT idea of making some balsamic strawberries for the middle layer and we made it a mixed berry middle. I personally don’t love frosted cakes but do have a fondness for homemade whipped cream. Here was the prep process:
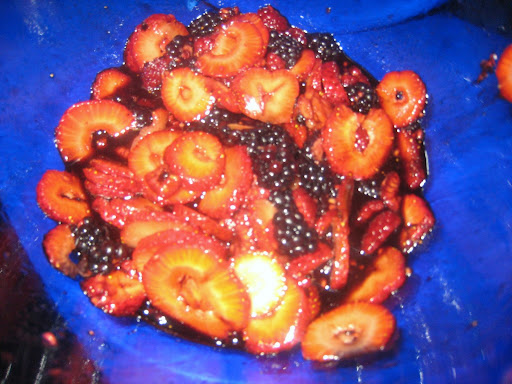
Choppin the strawberries thin enough to make a nice layer in the middle

Tossing the berries in balsamic and sugar to stew in the fridge for an hour or more (NOTE: The better your balsamic, the better this tastes. Don’t skimp. It’s worth the extra money for good balsamic)
So upon starting to make the cake, I failed to remember to take the eggs out of the fridge so they’d be room temp. So Mike decided he had an idea for a great warmer…

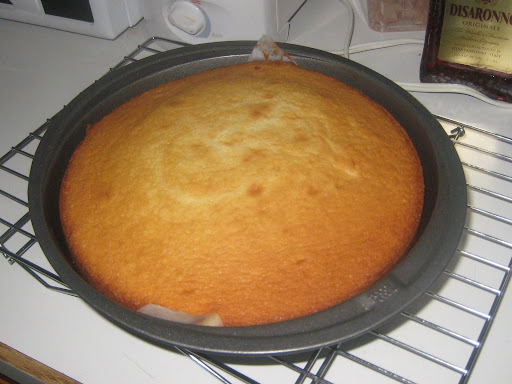
Cakes in the (terrible) oven

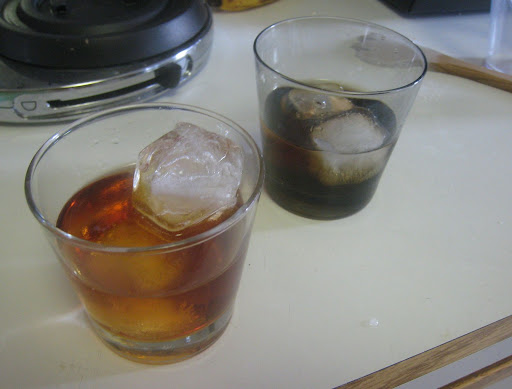
While the cake baked, we spent our time working very hard… aka… drinking amaretto
A lovely golden brown
Making the blueberry sauce to drizzle on top (inspired by, once again, the wonderful Lori) couldn’t be easier. Stir blueberries in a pot of low/medium heat. Add a little sugar and smush them with a mashed potato smasher as they cook down. Strain and put into a plastic bag, cut off the corner, and make pretty lines.

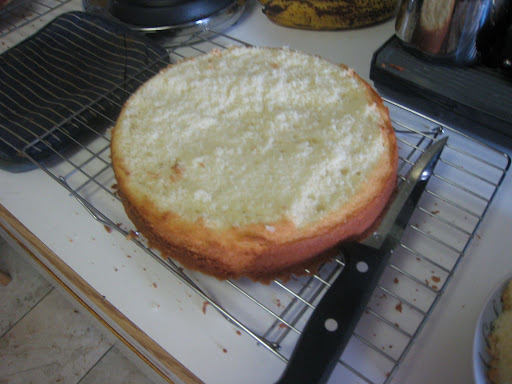
Cutting one of the cakes flat to make a bottom
Action shot of whipping the cream by hand to make sure the texture is perfect

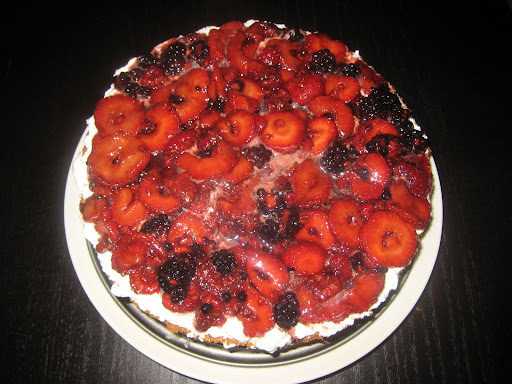
On the bottom layer we put a layer of whipped cream, then the layer of balsamic berries.
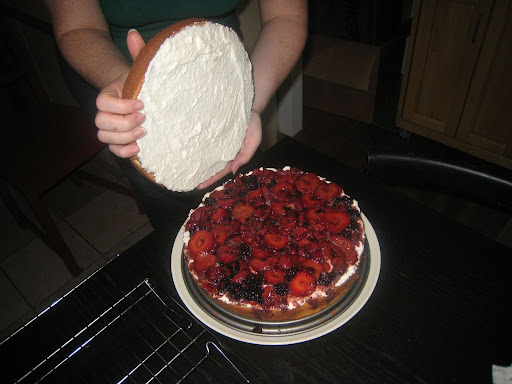
Put whipped cream on the bottom of the top layer and lined it up, then hoped my klutziness would manage to line up the layers (I did well).
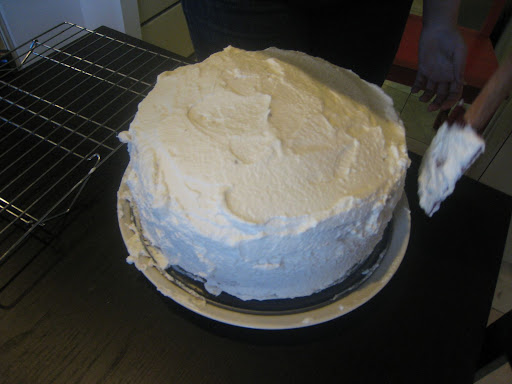
Frosted the cake with the whipped cream (which doesn’t go on as well as icing since you can’t really layer it nor smooth it all the way, but it’s SOOO delicious).
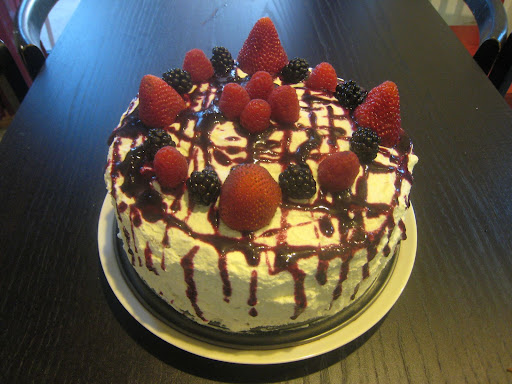
The finished cake all decorated with the blueberry sauce and fresh berries on top.
Slicing it up
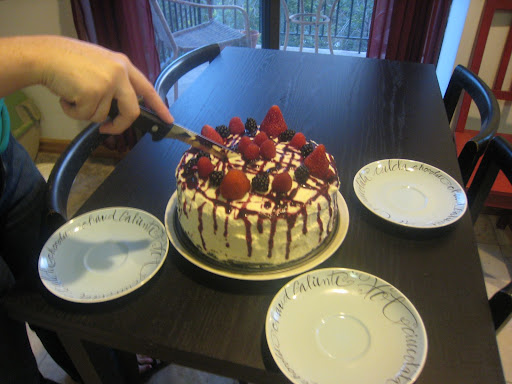
MMMMmmmmm
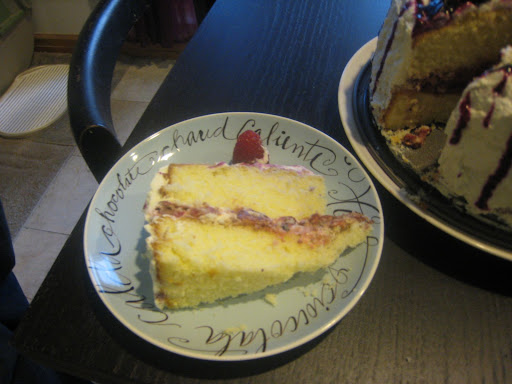
Mike came up with the name: The Berry Belt Cake

Now this was certainly a learning curve. Next time I’ll make a few changes such as thinner layers of cake with more fruit and whipped cream in the middle. Next time I may go with a more sturdy, icing like frosting (shame… love the whipped cream) and then top with the whipped cream and final decorations right before serving. The whipped cream wound up absorbing almost entirely into the cake by the evening after, with the blueberry smudging and causing it to look a little more distorted:
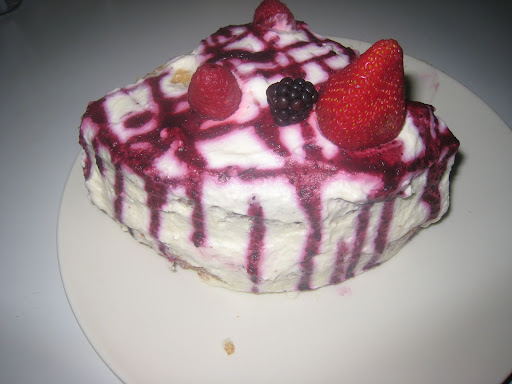
Overall, I would call it an absolutely success and one I will make again with a few changes (maybe a fall version with pears, apples, and peaches). It was a fun project and absolutely delicious.
___________________________________________________
Vanilla Butter Layer Cake Recipe
(Thanks to Annie for her recipe)
Makes two 9-inch cakes.
Ingredients
Nonstick cooking spray for the pan
10 1/2 oz (2 3/4 cups) cake flour (cake flour means it’s soft and less dense)
1 1/2 cups sugar
3 3/4 tsp baking powder
3/4 tsp table salt
6 oz (12 Tbsp) unsalted butter, cut into tablespoon-size pieces, at room temperature
3/4 cup whole milk, at room temperature
1 1/2 tsp vanilla extract
4 large eggs, at room temperature (OOPS!)
Method
1. Position rack in the center of the oven and preheat the oven to 350 F.
2. Lightly coat the sides of two 9×2-inch round cake pans with nonstick cooking spray and line the bottoms with parchment paper.
3. Sift the cake flour, sugar, baking powder and salt into the bowl of a stand mixer fitted with the paddle attachment (I used the normal mixes since I don’t have a real KitchenAid🙁 ). Mix on low speed (#2 on a KitchenAid mixer) until the ingredients are well combined.
4. Add the softened butter pieces and mix on low speed for 20-30 seconds to mix the butter into the dry ingredients—the mixture should look a little lumpy, with the largest lumps being about the size of a hazelnut.
5. Add the milk and vanilla extract and mix on medium speed (#5 on a KA) for 1 minute to thoroughly blend the ingredients and aerate the batter. Scrape the sides of the bowl with a spatula.
6. Add the eggs one at a time, mixing on medium speed for about 15 seconds after each addition. Scrape down the bowl after the second egg.
7. Divide the batter equally between the two prepared pans and use your spatula to smooth the surface. (I also bang the pans down a bit on the counter to level it and get out the air bubbles)
8. Bake until the cakes are golden brown and a cake tester inserted in the center of the cake comes out clean, about 30-35 minutes. (My terrible oven took about 25 minutes so watch closely)
9. Set the pans on a rack, run a table knife around the edge of each cake and let cool in the pans for 30 minutes.
10. Invert the cakes onto the rack, lift the pans, peel off the parchment, and reinvert back and let cakes cool completely. If baking ahead, wrap cakes in plastic once fully cooled.
___________________________________________________
Spiked Whipped Cream (aka Schlag)
I think I’ve posted this recipe before, however, I’ll post it again just in case. It’s SO easy to make and so good with berries or ice cream.
- Add heavy cream or whipping cream, vanilla, sugar, and your liquor of choice (amaretto is my favorite, but just about anything works, included rum/vodka/tequila/baileys/kaluha) to taste (Add slowly until it tastes right, but it doesn’t have to be exact… just watch the sugar so it doesn’t taste too sacarine)
- Whip heavy cream in a stand mixer, with hand mixer, or go hog wild and do it by hand
- It will take a few minutes for the cream to get enough air to thicken, however, give it time and before you know it the texture will get thicker
- Whip just until the cream makes peaks when you touch it with a beater/spoon (don’t overbeat or the texture is all wrong)
Tags: balsamic strawberries, berry belt cake, blueberry reduction, cake, fresh whipped cream, recipes, schlag, vanilla cake


