Tag Archives: Silpat

White Chocolate Macadamia Nut Cookies

13 May

I have a folio filled with recipes from my Grandmother.  I also have my own folder of recipes from over the years.  When I don’t have a recipe on hand, however, my first stop is always AllRecipes.com.  I started using the site years and years ago, before user reviews were the “it” thing, and especially liked the feedback that was left from other bakers/cooks.  A recipe can be great, but sometimes it’s nice to know if it sometimes fails, or if there is too much nutmeg for people’s tastes, or if the cooking time was too much and should be checked on often.  I’ve always thought cooking and baking is better when it’s collaborative.  (I was recently invited to an AllRecipes.com PR event where they showed us some new tools, but more on that at another time.)

When my coworker asked for White Chocolate Macadamia Cookies, I definitely for a moment thought about opening up a package of my favorite Pepperidge Farm Tahoe cookies for fear that I would never be able to bake something that could taste as good as those.  But I like a challenge. I sorted through a number of recipes and decided on the one that had both white and brown sugar.  I also thought about what I liked most about the Pepperidge Farm cookies and, immediately, salt came to mind.  Macadamia nuts almost always come salty, so I had to think about whether I should add more salt or hope that the salt on the nuts was enough.  AllRecipes to the rescue! I read a few reviews that mentioned that it was too salty, so I decided adding more would NOT be a good idea.

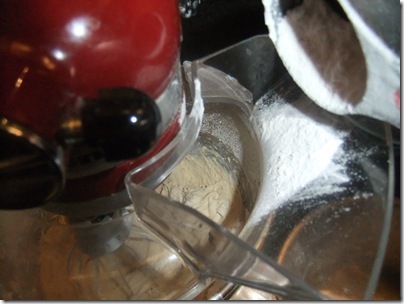
But what is a good idea? How about taking pictures while trying to pour flour.  What you can see in this next shot is the camera being totally poofed with flour.  Oh well!

DSCF2941

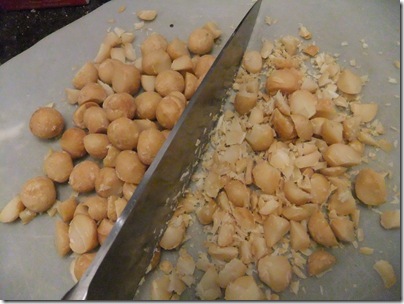
I chopped up some delicious macadamia nuts while sampling some… for quality control purposes only, of course. (PS- Why are macadamia nuts SO DAMN GOOD?)

DSCF2942

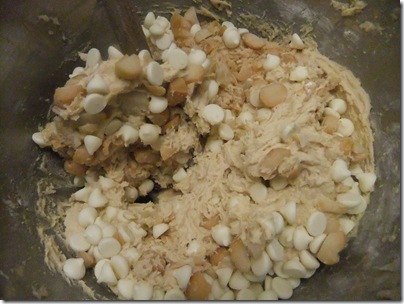
Then the nuts and white chocolate went into the batter.  Quality control came out again, and turns out this batter with the nuts and white chocolate chips was just about perfection.

DSCF2943

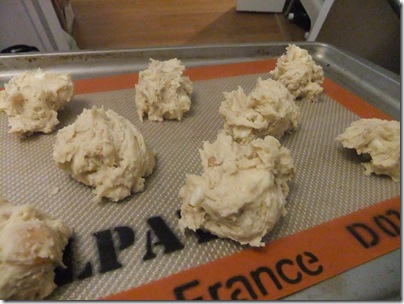
Spooned onto the trusty Silpat. (If you do not have a Silpat, you are missing out. I use it for everything from cookies to roasting vegetables to toasting bread)

DSCF2944

Then onto the trusty 3-tier cookie rack they went.  They looked a bit under-baked (recipe said golden brown), but I had already left them in the oven for 5 minutes longer than the time, so I took them out and tried one.  Quality Control says “A+!”

DSCF2946

These were perfectly fluffy with a slight crisp on the outside, and the saltiness of the nuts was great in collaboration with the white chocolate chips.

DSCF2947

I <3 you AllRecipes.com.

________________________
RECIPE BOX
________________________

White Chocolate Macadamia Nut Cookies III
(thank you AllRecipes.com) 

Ingredients

  • 1 cup butter, softened
  • 3/4 cup packed light brown sugar
  • 1/2 cup white sugar
  • 2 eggs
  • 1/2 teaspoon vanilla extract
  • 1/2 teaspoon almond extract
  • 2 1/2 cups all-purpose flour
  • 1 teaspoon baking soda
  • 1/2 teaspoon salt
  • 1 cup coarsely chopped macadamia nuts
  • 1 cup coarsely chopped white chocolate

Directions

  1. Preheat oven to 350 degrees F (175 degrees C).
  2. In a large bowl, cream together the butter, brown sugar, and white sugar until smooth. Beat in the eggs, one at a time, then stir in the vanilla and almond extracts. Combine the flour, baking soda, and salt; gradually stir into the creamed mixture. Mix in the macadamia nuts and white chocolate. Drop dough by teaspoonfuls onto ungreased cookie sheets.
  3. Bake for 10 minutes in the preheated oven, or until golden brown.

The NYC Nom Nom Official Gift Guide for the Festive Foodie (Part 1)- WITH GIVEAWAY!

9 Dec

I don’t know if you’ve noticed… but it’s the holiday season.  I have added so many awesome fun foodie finds to my kitchen this year and I wanted to share them with all of you, just in time to give that special foodie in your life a gift… even if it’s you.  I’m going to do a bit of digging for the best prices, however, they are only current as of December 8th, 2010. So act fast!  (Links to buy the products are within the descriptions)

Part 1 includes some of my absolute essentials (most of which are, curiously, made from silicone… Who knew?!)  And don’t miss the first ever NYC Nom Nom GIVEAWAY at the bottom!

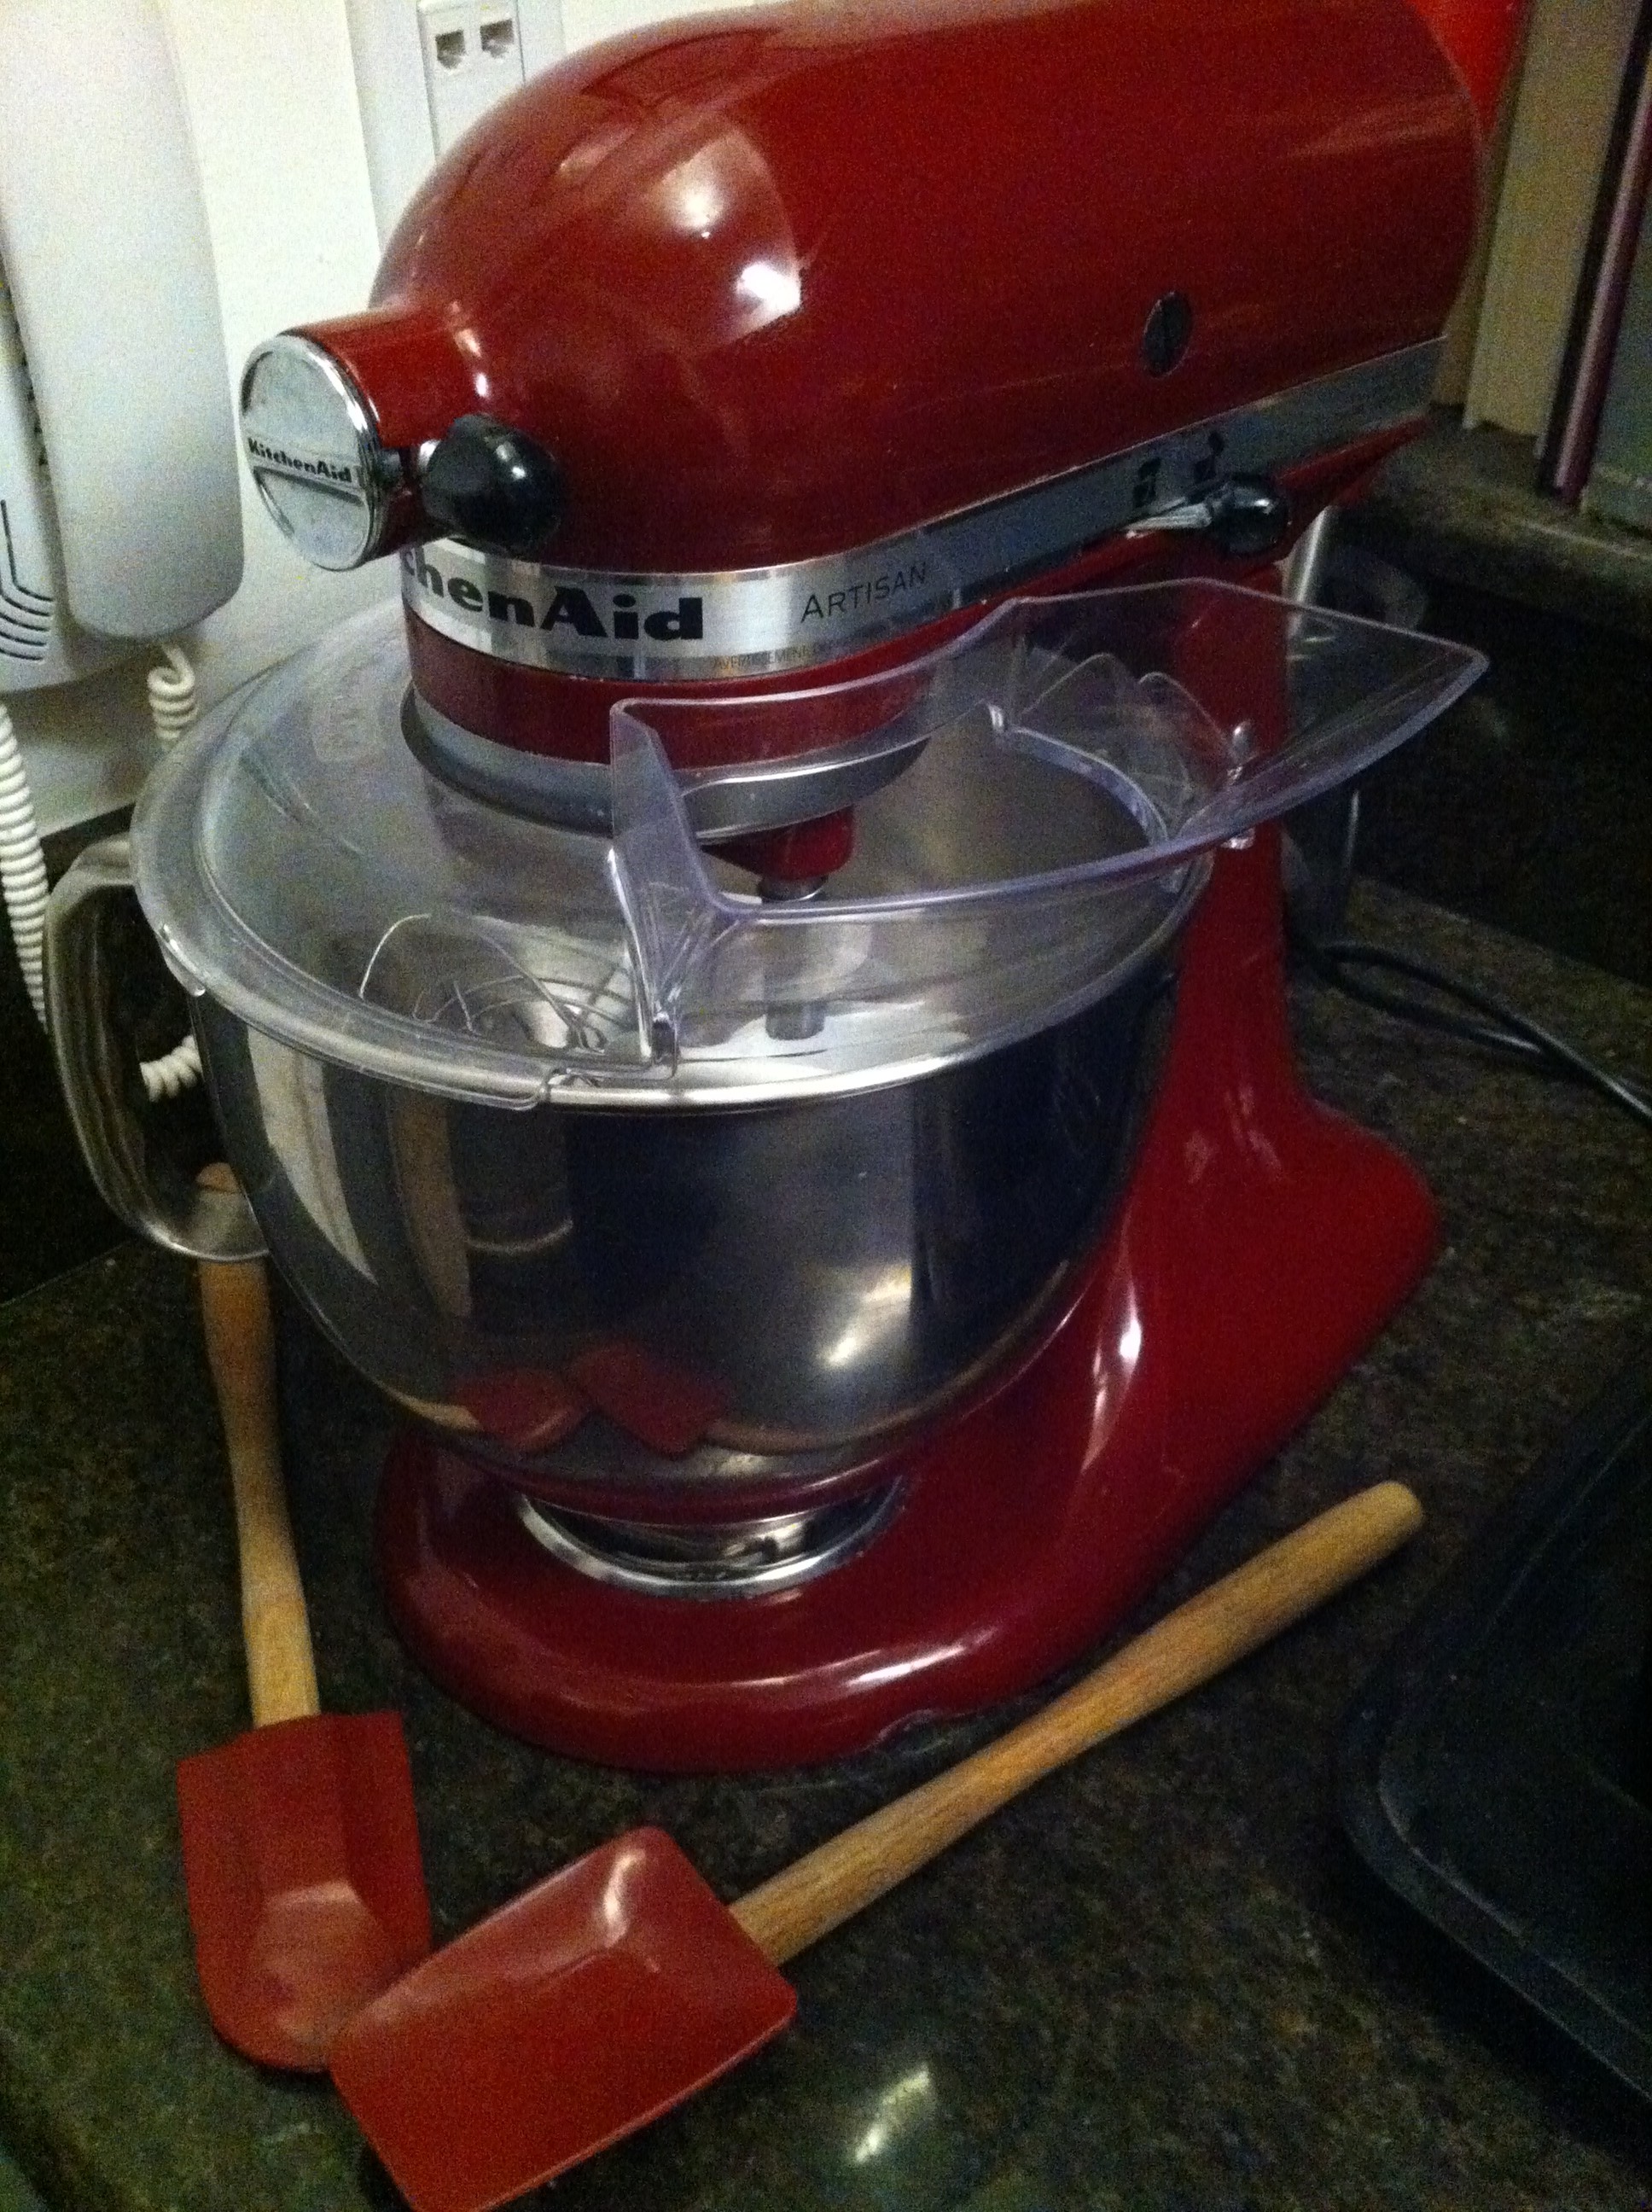
Just around this time last year, I received a gift that changed my baking life forever.  Mike got me a KitchenAid mixer.  Life has never been the same.  I have had (and gone through) a few other light weight stand mixers and far too many hand mixers in the last few years.  But the KitchenAid can take on PEANUT BUTTER!  (Yes… that is a big deal.)  Unfortunately, they aren’t cheap.  But I look at it as a long-term purchase. It appears as though Amazon has it for less than $200.  Mine is cinnamon colored (to match the rest of the kitchen highlights) with a stainless steel bowl and a bowl cover/feed (or “powdered sugar cloud preventer” as I like to call it).

Also in the picture above are silicone spatulas.  I love these.  They stand up to heat and scrape cookie batter and melted chocolate oh so well.  I usually get them from William Sonoma (Set of 3 for $22.50.  I highly recommend the “Spoonula” for $10) but there are many different brands and types according to Amazon.

And on the topic of silicone, I picked up these handy egg poachers and I love them (mostly).

I poach a lot of eggs, which is one of the healthiest ways to eat eggs and one of the best in my opinion… but also one of the hardest to master with the swirl in boiling water method.   I can’t say I LOVE the ones I purchased, but they get the job done.  They are a bit hard to get out of the boiling water (since they have no handle on top) and can sometimes spill out of the sides, but they are AWFULLY cute!   All you have to do is bring about 2 inches of water to a boil, grease up the cups (I use pam), crack the egg in, place in the boiling water and cover for 4 minutes.  Voila! Perfectly poached eggs.  Since I can’t totally recommend mine, I found ones online that seem to fit the bill for you (just as cute but with a handle!) for just $5 each.

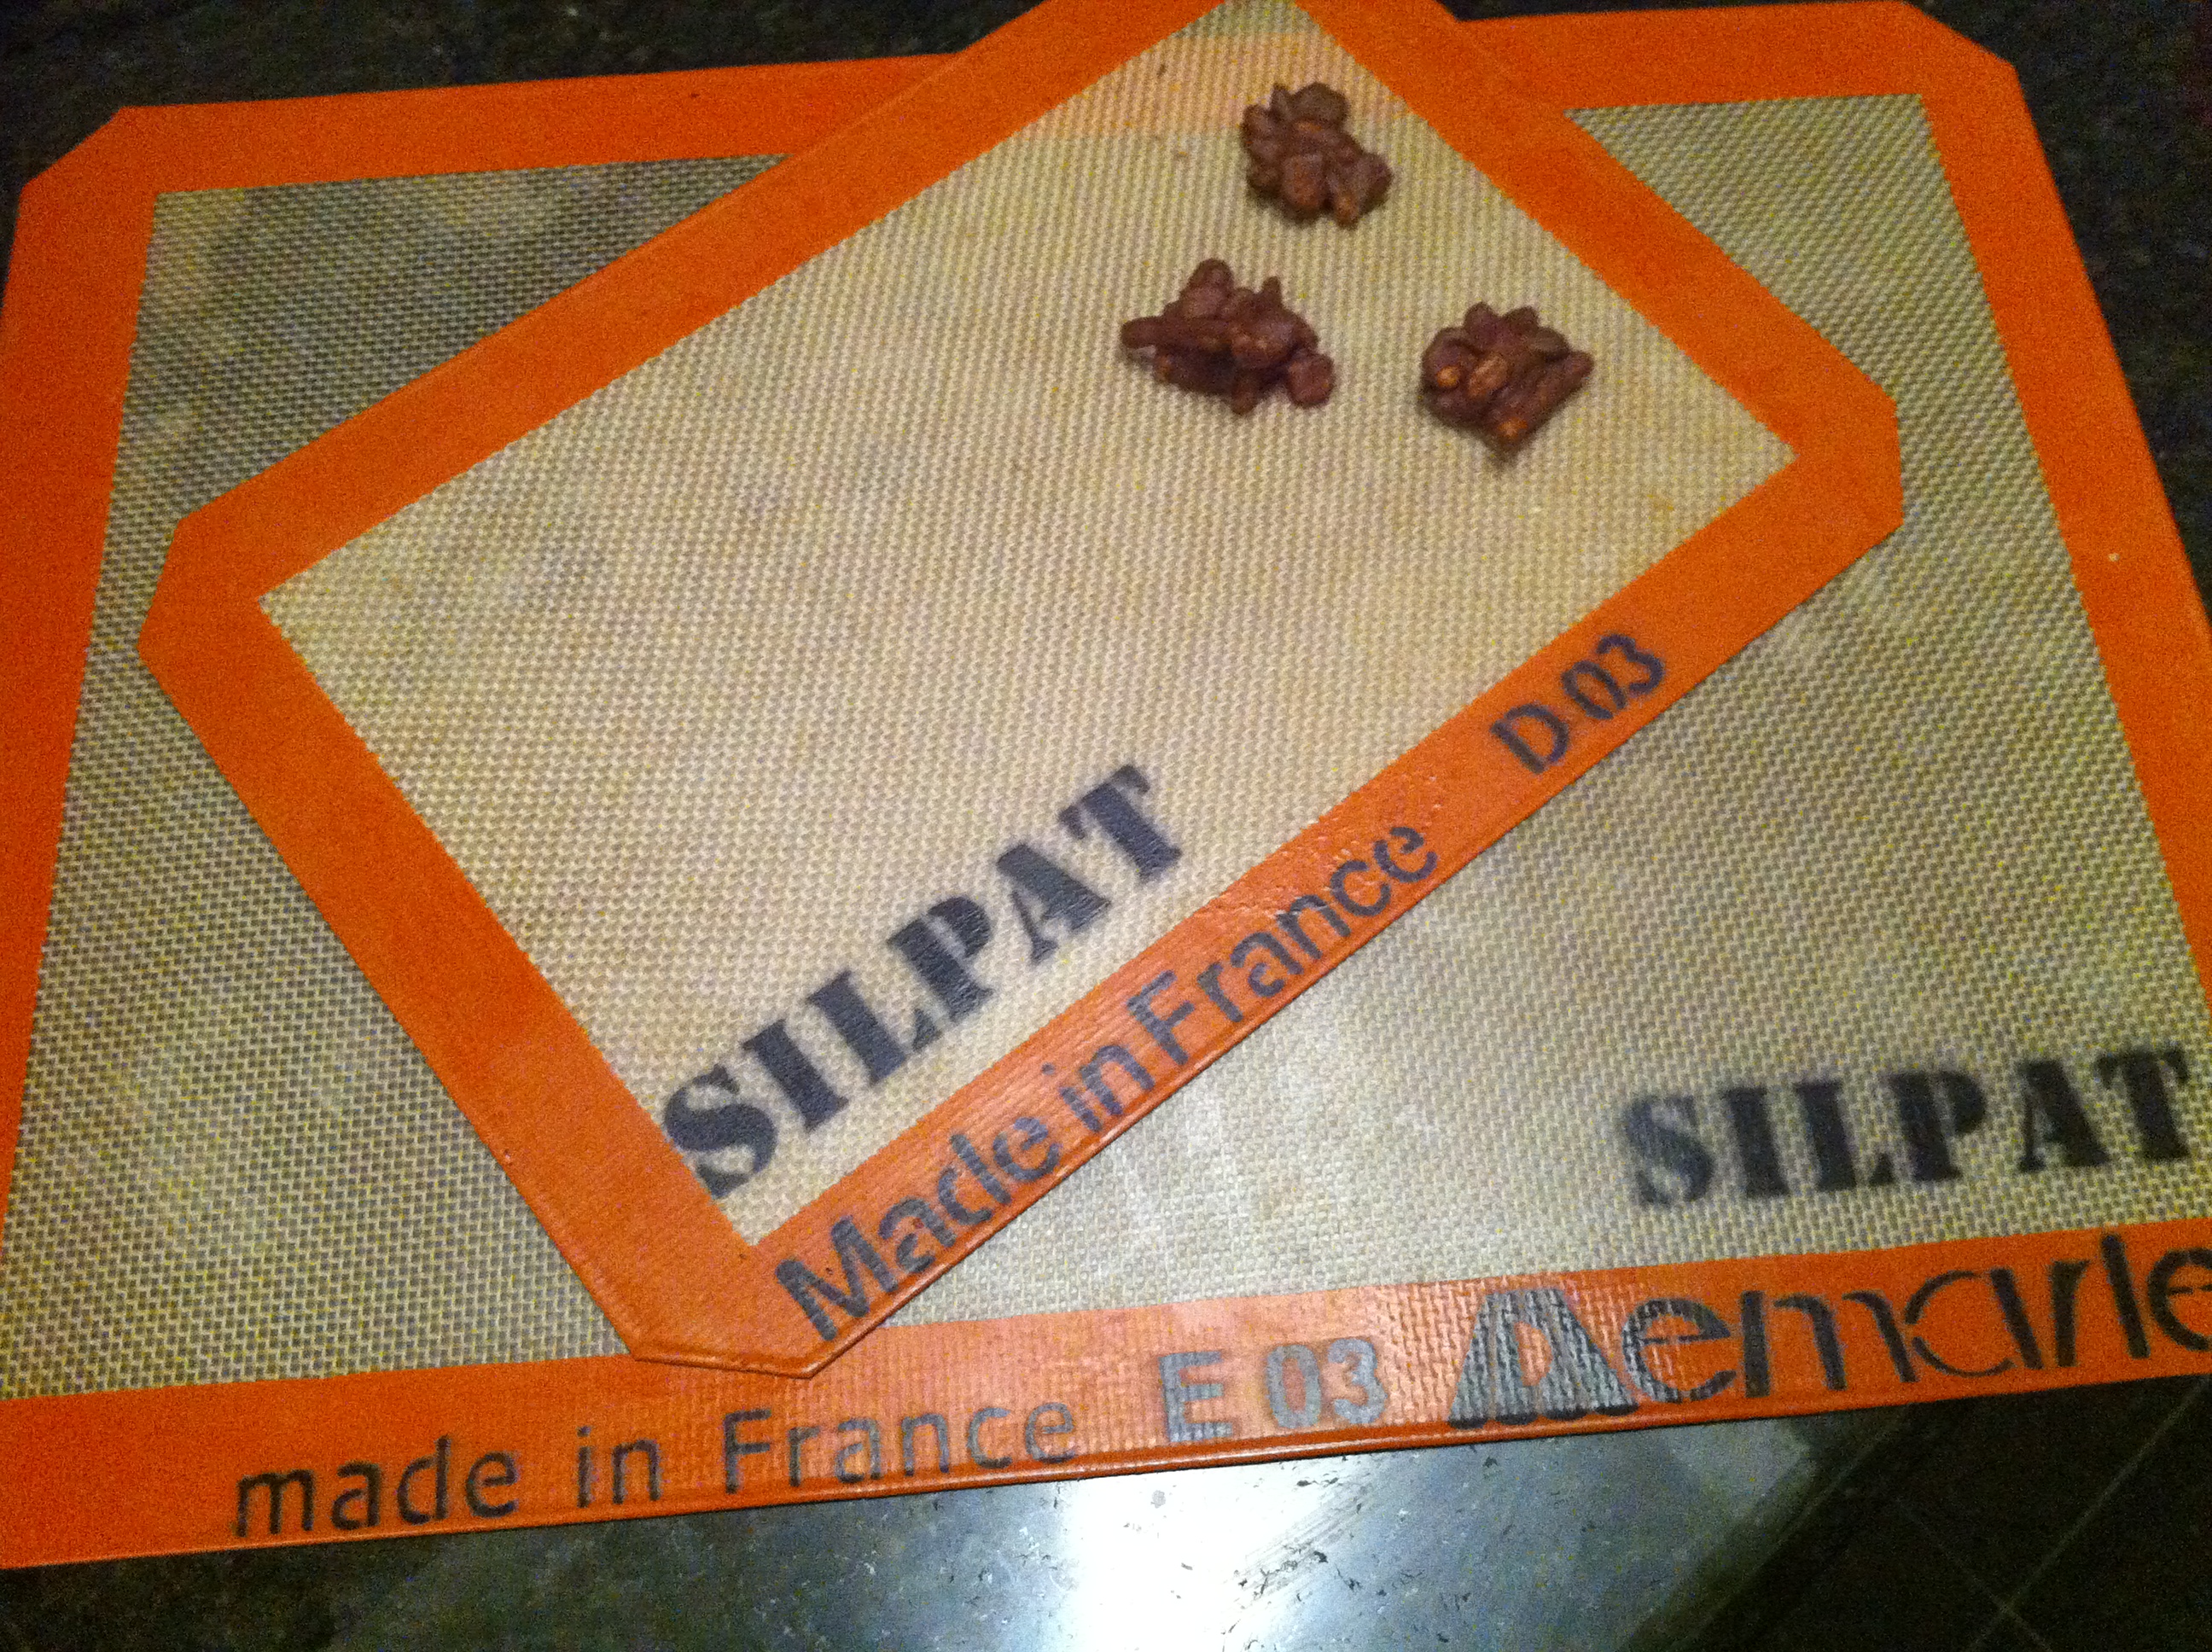
To further my obvious and newly recognized fondness for silicone kitchen products, we will move to what I think may be one of the best kitchen products EVER: The Silpat.

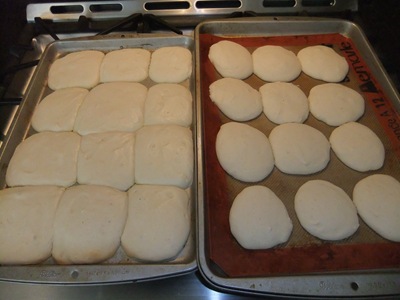
If you know a baker that doesn’t have one, you now have a perfect gift for them. And if you don’t have one, what are you waiting for?  They come in many sizes and range from about $10-$20.  You can use them basically any place that you would use parchment or wax paper.  I bake all my cookies on them so the bottoms don’t burn nor stick nor spread too far and use them below all the candy I make.  It is a life saver!  And in case you don’t remember the side-by-side comparison of Silpat vs Non-Silpat from the Black & White Cookies, check out this link and this picture:

(Note: I have heard rumor that the cheaper versions of Silpat don’t work as well.  I have not experimented myself, however, because why would I fix something that ain’t broke?)

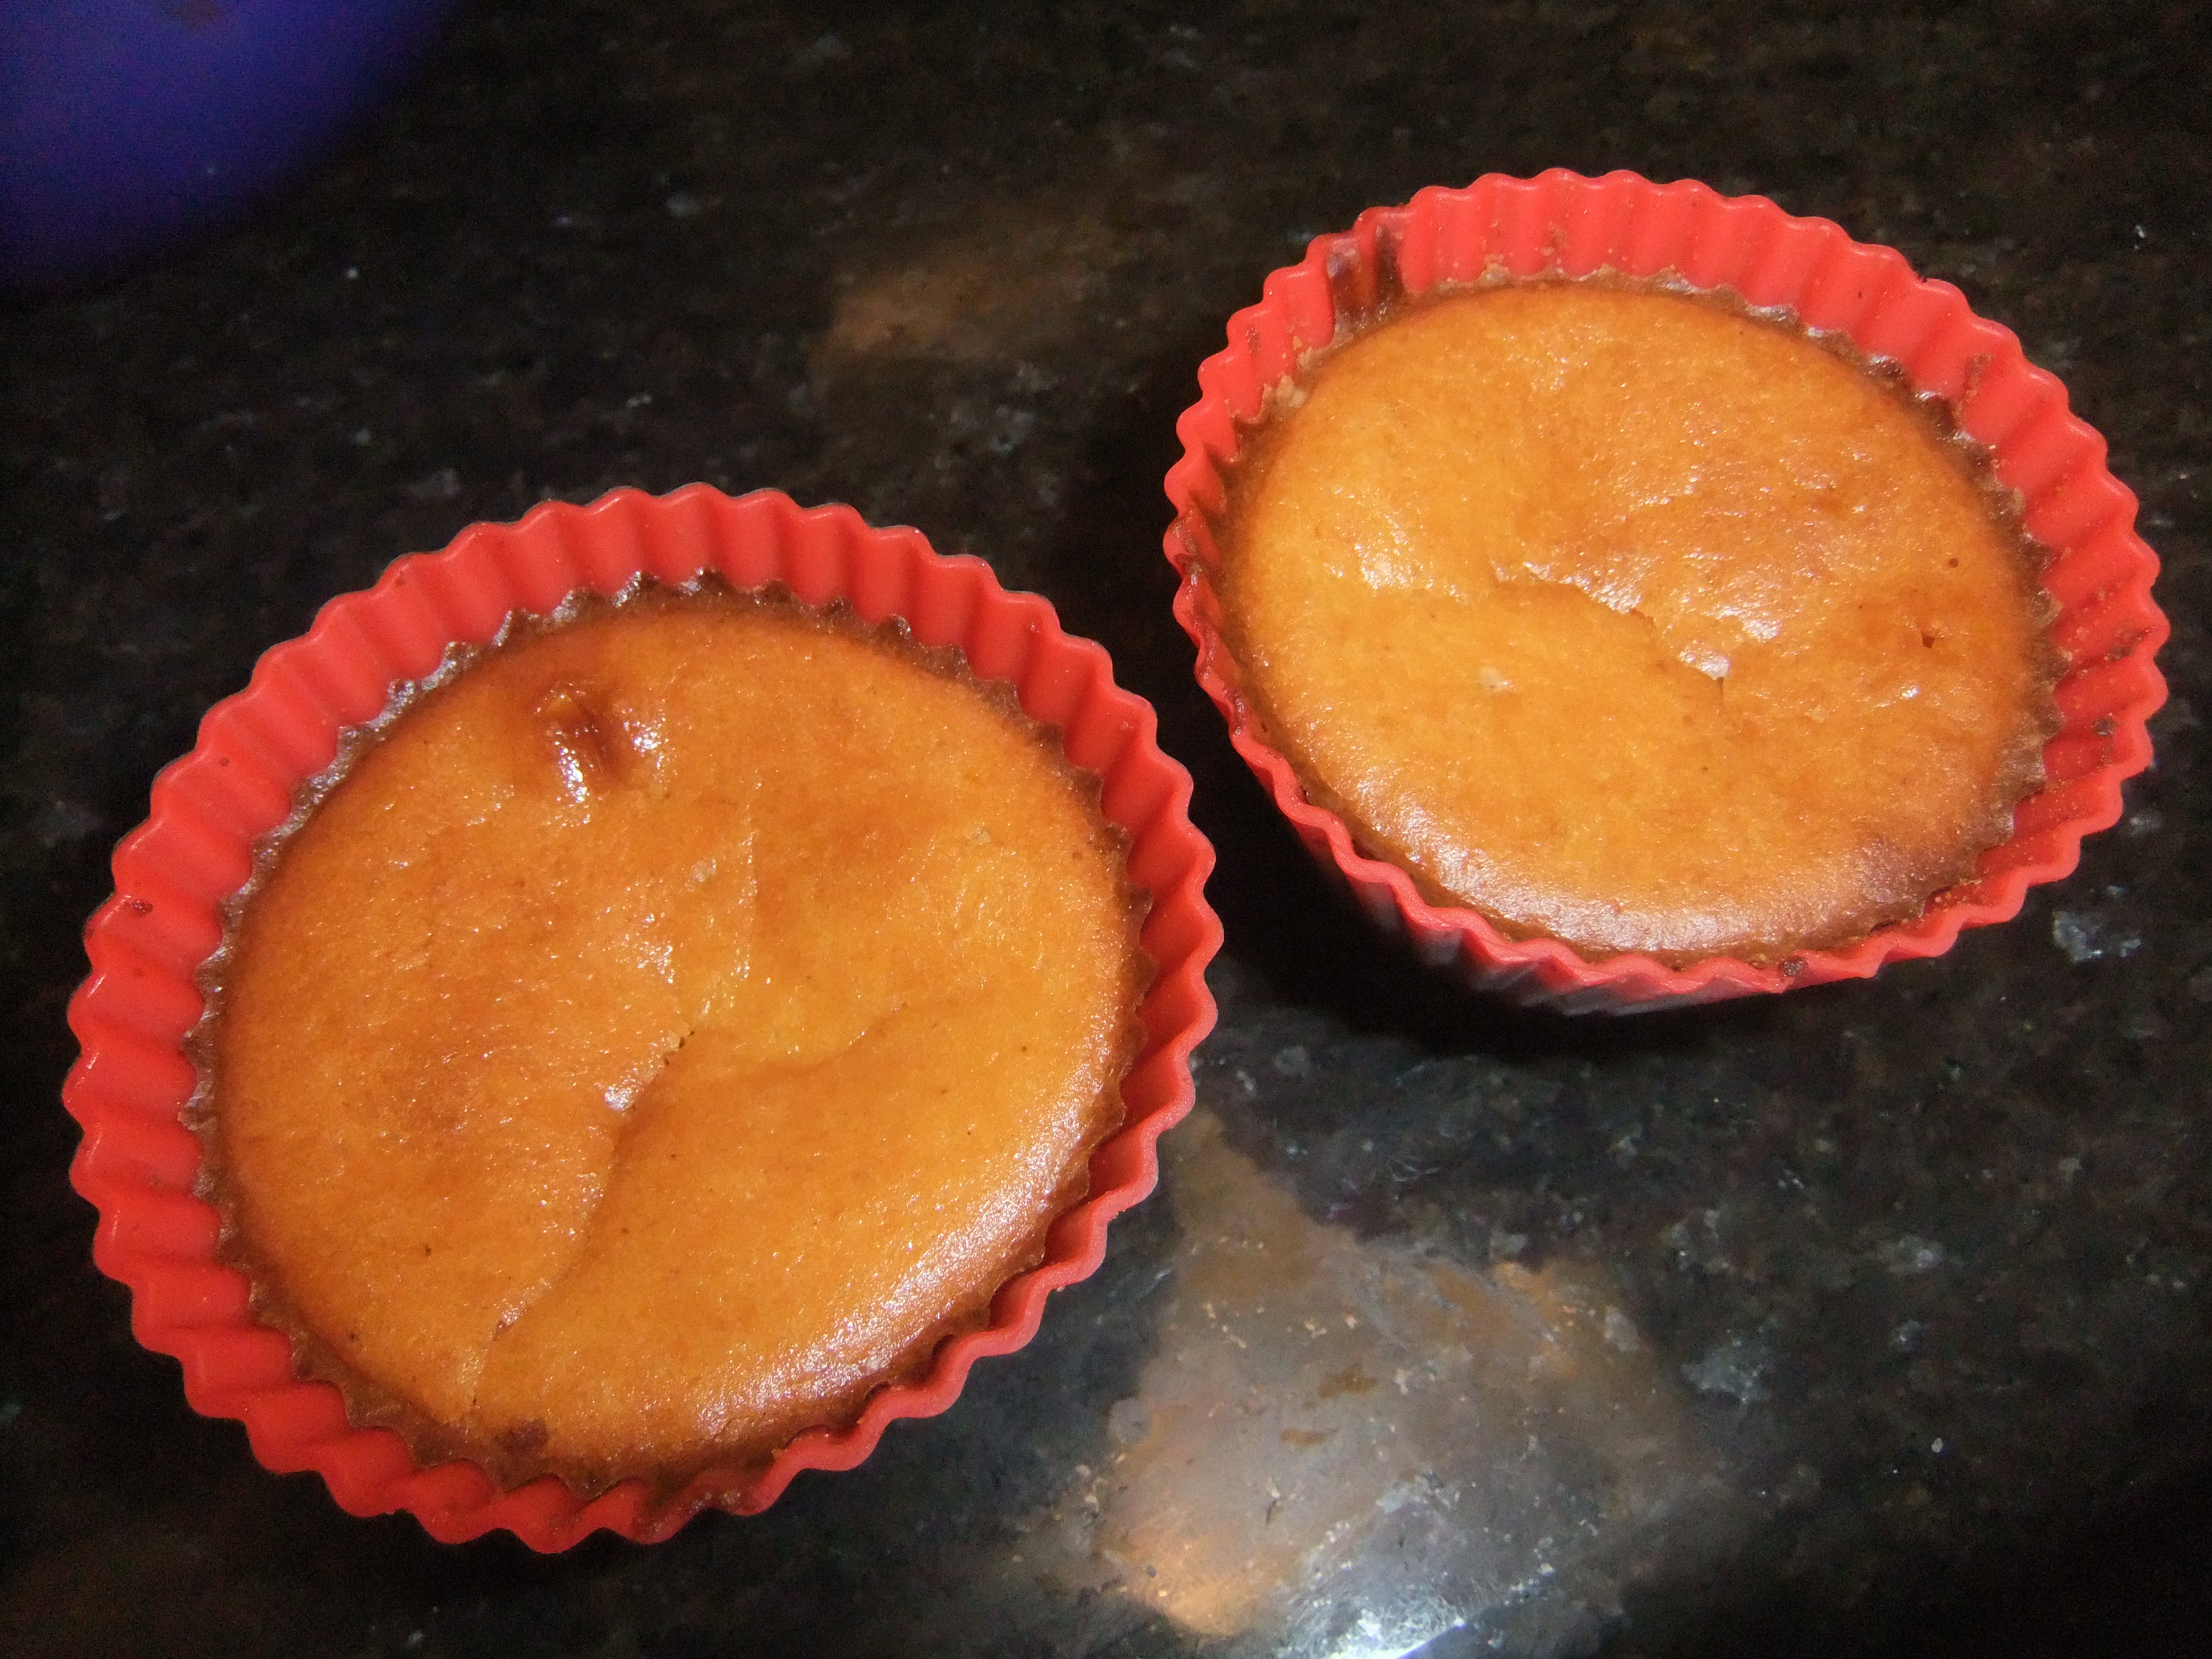
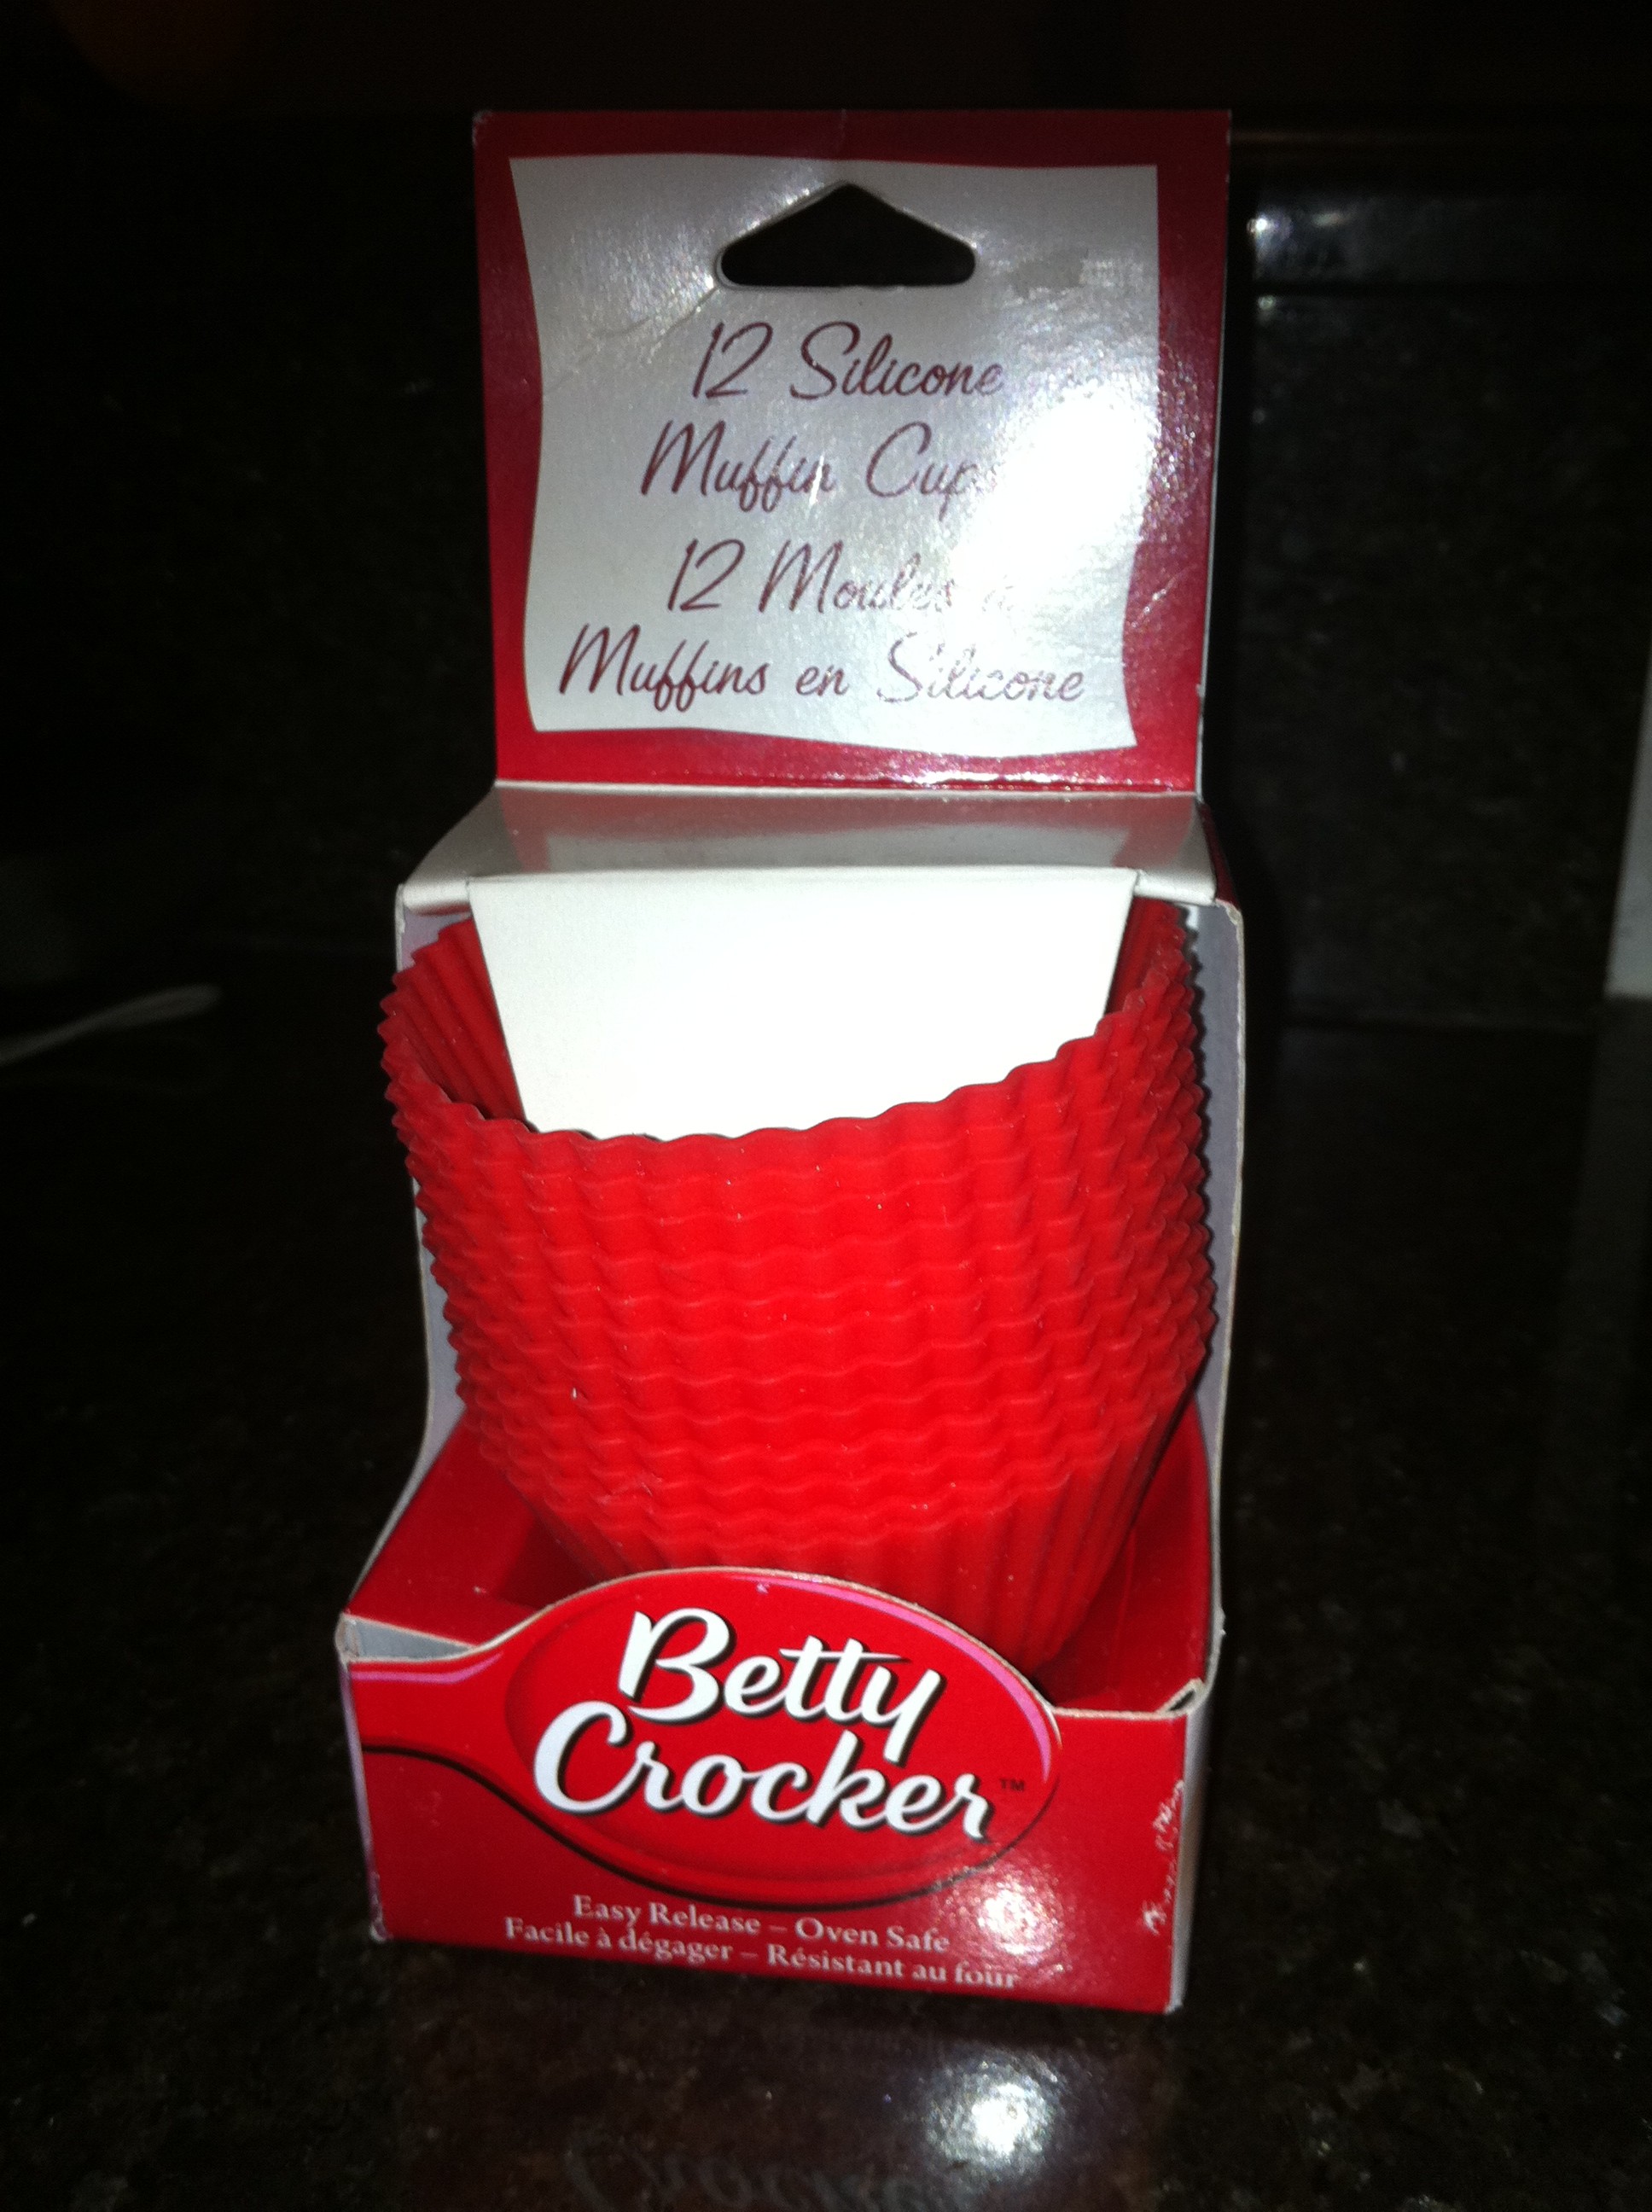
Now onto my favorite purchase of 2010!  I never realized how much I would use these amazing Betty Crocker Non-Stick Reusable Baking Cups when I first bought them at Bed, Bath, and Beyond ($9 for a set of 12).  What’s funny is that I have used them for neither muffins nor cup cakes!  They make excellent peanut butter cup molds and I have started making the meringue cake in miniature in these.

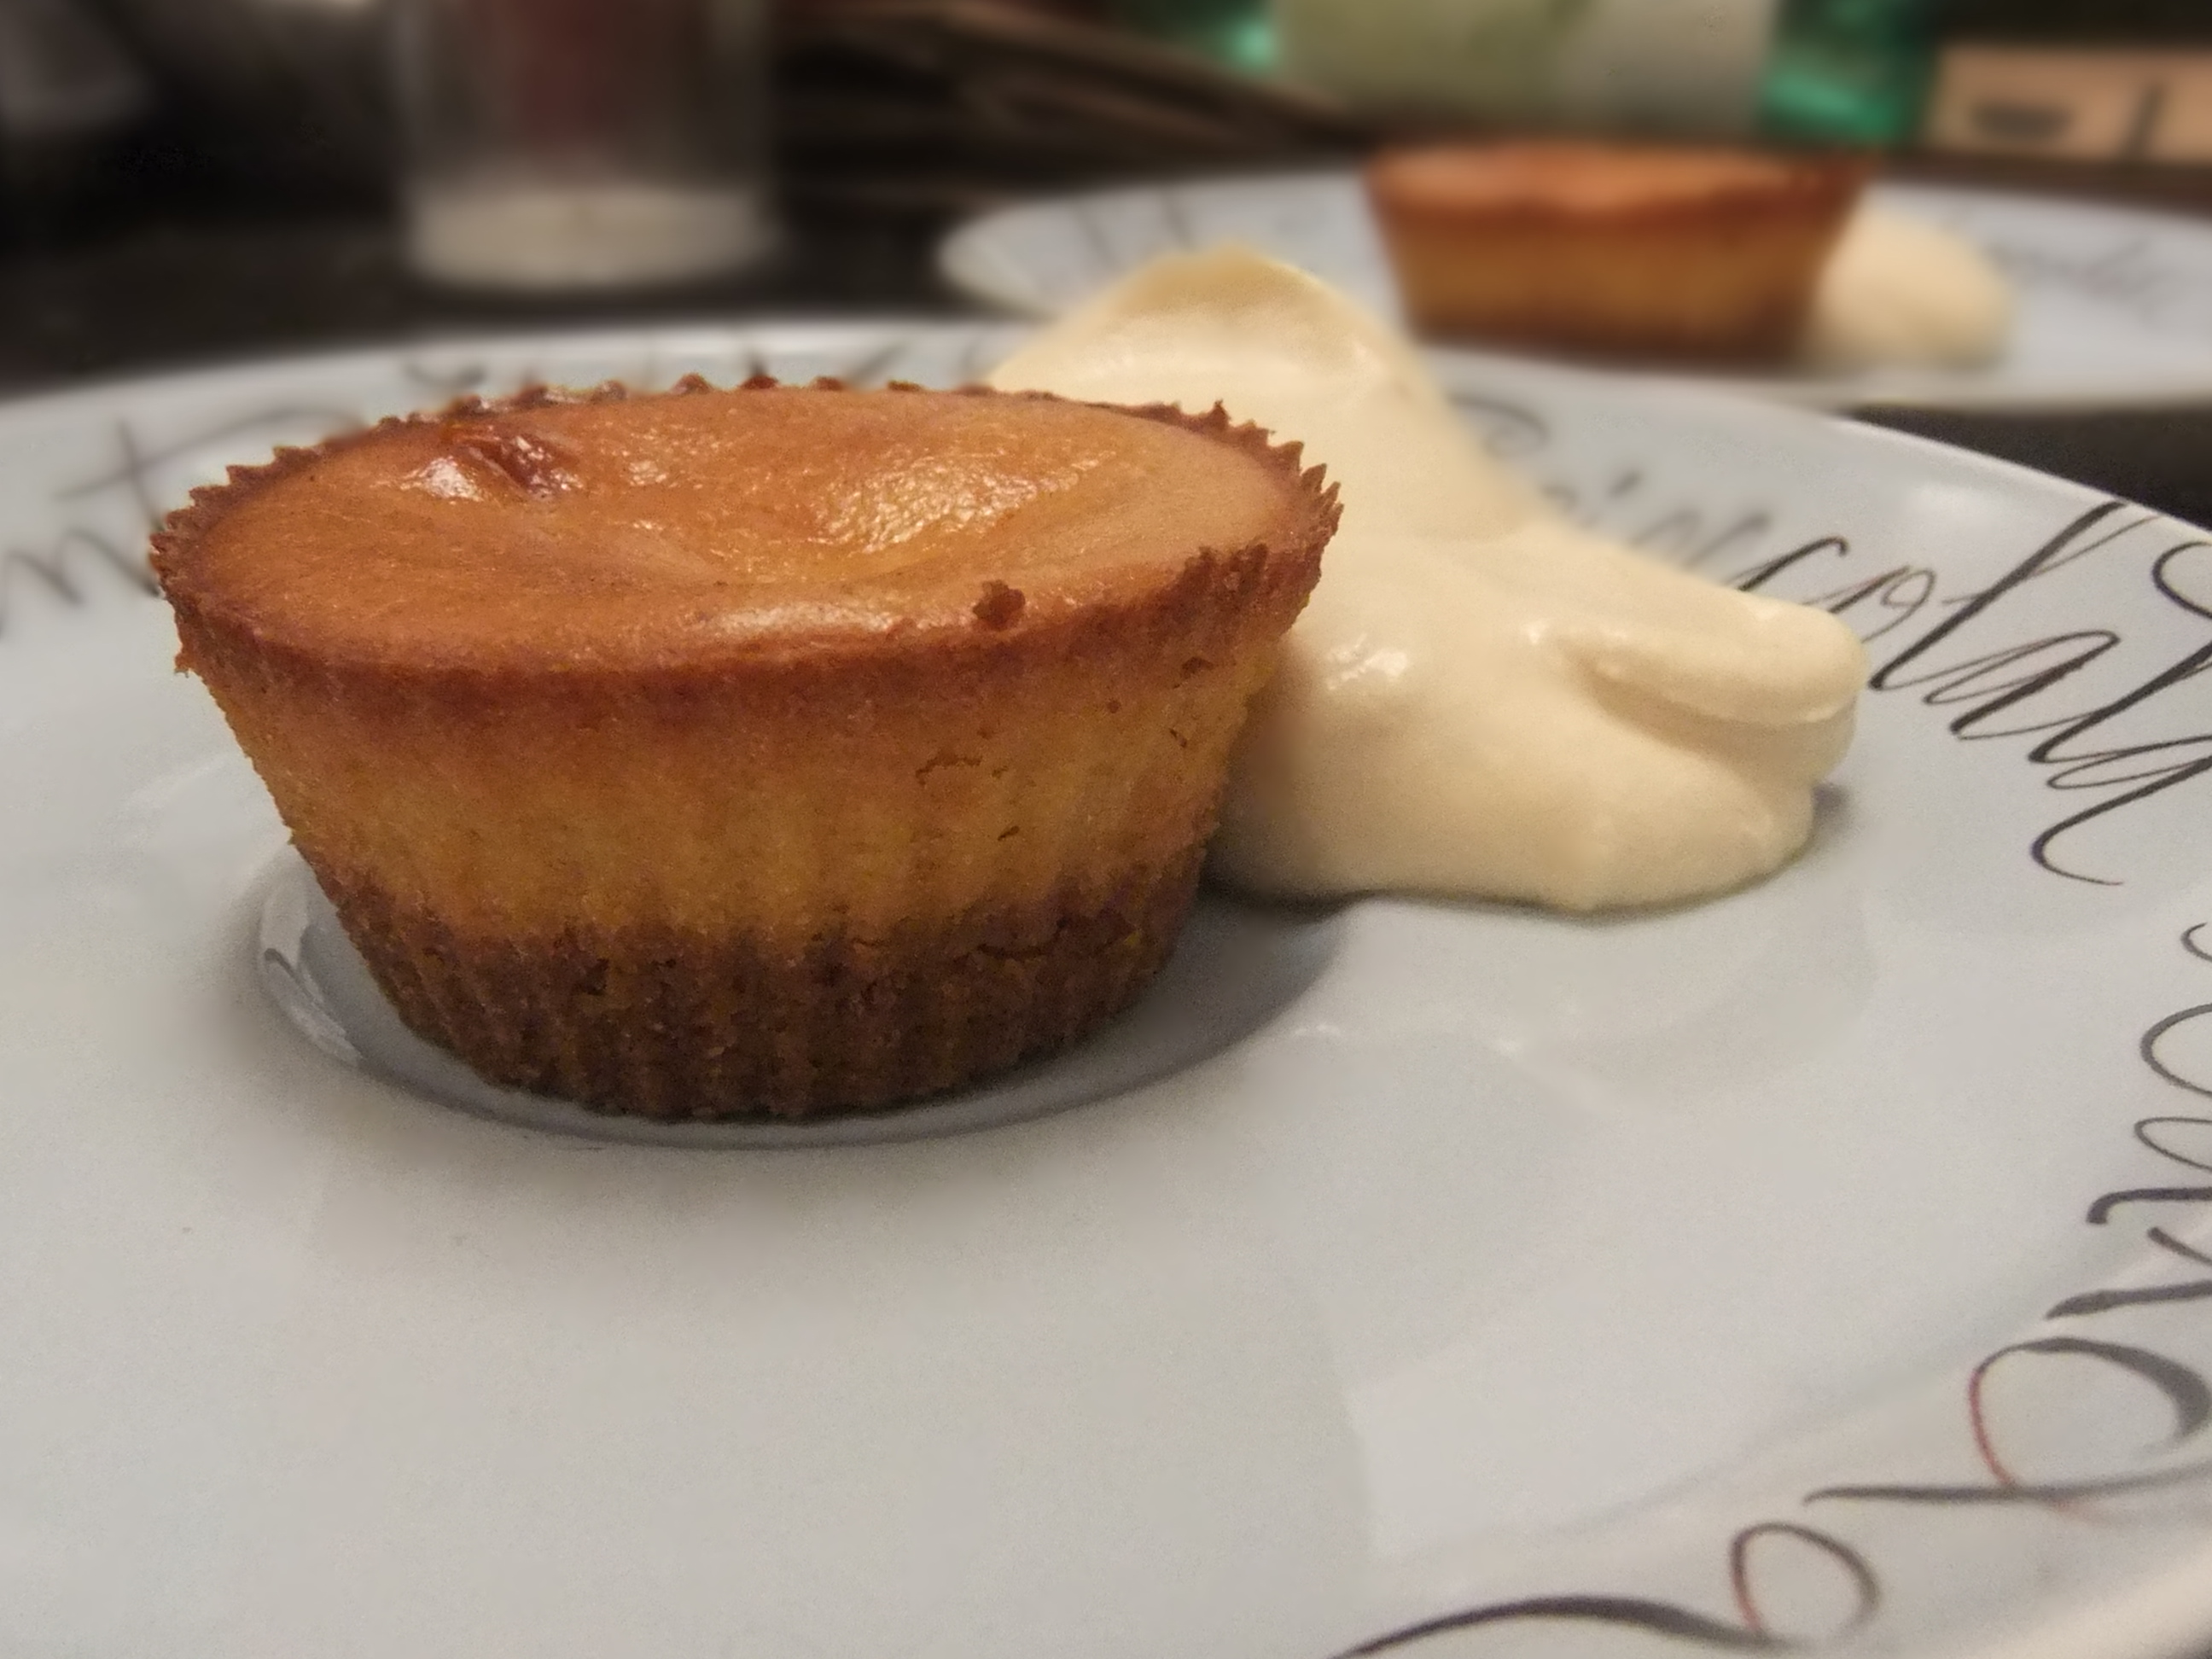
I have also made miniature versions of a pumpkin cheesecake and squash souffle.

What is great about them is that they just simply work.  They do exactly what they are supposed to do.  And they also make great little mise en place cups!

So now onto the fun… THE GIVEAWAY! I will be giving away a set of my favorite product of 2010, the Betty Crocker Baking Cups, to one lucky reader.  It will also come with a printed copy of the Super Secret Axelrod Brownie recipe (which you can make in the cups!)

Here are the rules: Leave a comment below about which product from the NYC Nom Nom Official Gift Guide (there are three parts, all posted on Thursday, December 9th,  including a special on wine products) you covet the most.  Please be sure to leave me your name and an email address.  (Limit: one comment entry per person… so no comment spamming!)  If you would prefer to email me, you can feel free to do so at sara@nycnomnom.com.

You can earn additional entries by posting a link to this blog on Facebook, Twitter, your website or just emailing it to all your friends (one entry per post).  Just send me a screenshot or link to NYC Nom Nom from the post/email (flex that “@” key!)

I’ll be taking entries through midnight, EST on Tuesday, December 14th and do the drawing on Wednesday, December 15th.

Happy Holiday Nomming!

Spaghetti Squash and Slow Cooker Pears

19 Nov

I feel like I am already at the tail end of this incredible cacophony of  support for the long neglected spaghetti squash.  I first encountered this awesome veggie about 8 years ago, and when I found out that it has ZERO Weight Watchers Points for a whole cup, I had to make it part of my weekly cooking.  I love squash to begin with, so having a squash that is easy to cook, can be paired with just about anything, and is good for me is pretty awesome.

How easy to cook?  I’ll tell ya.

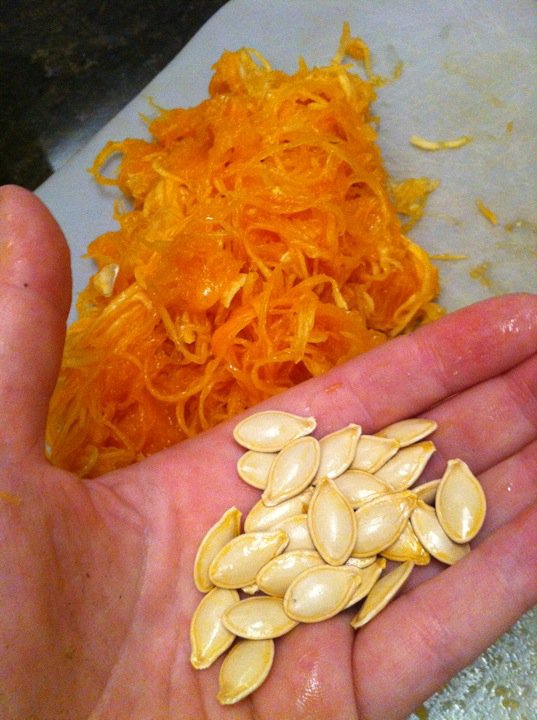
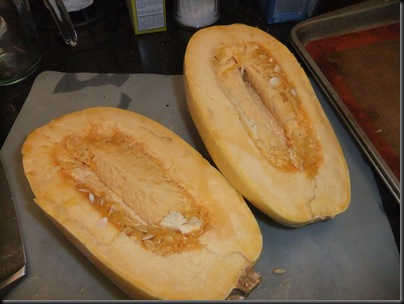
The hardest part is cutting the sucker in half, lengthwise.  I always sharpen the big knife before going into it, however, it makes me yearn for an axe.  Once you have it split, you can just scoop out the yag and seeds from the middle (just keep those seeds for roasting!)


I use the side of a large spoon to scrape around the opening.

DSCF2669

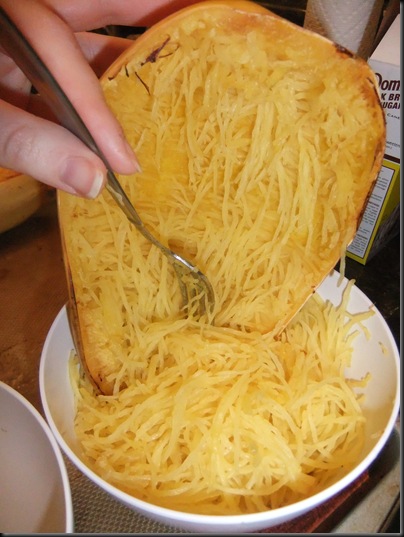
After that, you put it cut side down on parchment paper, a Silpat, or slightly greased cookie sheet and just roast it up at 350 degrees for 30-40 minutes.  A fork should easily be able to scrape out the insides.

So why do they call it spaghetti squash?

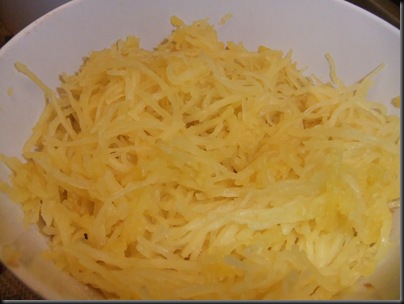
Well… what starts as a seemingly solid piece of squash winds up turning into these beautiful strands that look just like spaghetti.

DSCF2673

And you can treat it like spaghetti and pair it with a pasta sauce, cheese, veggies or any other savory topping.  You can also make a sweet version and I’ve heard brown sugar and butter on it is especially delicious.  Personally, I’m dying to try this recipe which pairs it with maple syrup and shallots.

DSCF2675

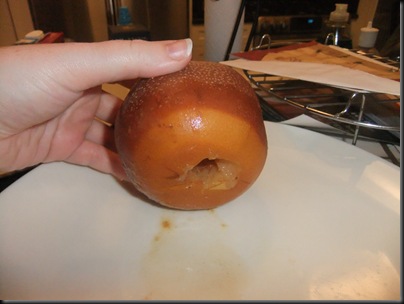
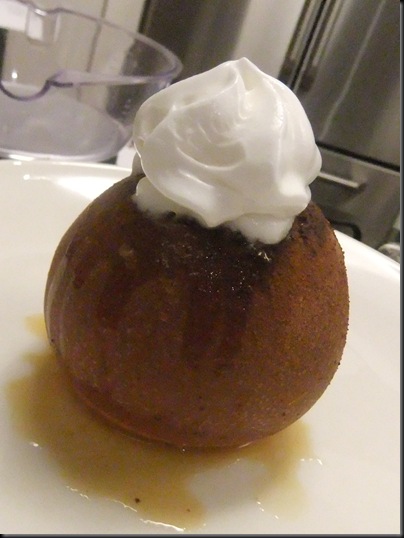
Another quick and easy, yet totally healthy recipe for a good dessert after you’ve had your spaghetti squash is putting a pear (or apple) in the slow cooker.  I just cored 2 apples and then put them in the crock pot.  Then I poured over some apple cider (until it came up about half way on the pears), a sprinkle of brown sugar, cinnamon, cloves, and nutmeg, then set it on low for about 4 hours until it was tender.

DSCF2677

Topped off with a bit of homemade schlag and it was a very yummy treat.

DSCF2678