We have had the pleasure of making some great foodie friends, and one of our favorites was a former coworker of Mike’s who started a Supper Club when they were working together. We all get along very well, and bond over our fondness for food. In the past few years, we have done many a dinner at a brand new restaurant opening together and have hosted many a dinner party with Mike’s friend (who also happens to be Mike) as executive chef. It never disappoints.
Last year around Thanksgiving, our friendship was just forming but Mike invited us to Tursgiving, his annual Friend Thanksgiving dinner where he cooks for about 100 people (though there are only about 20 of us).
This year, we walked in to find hand-made gifts from our host: a wooden appetizer board with a wine glass holder, and a wine glass.
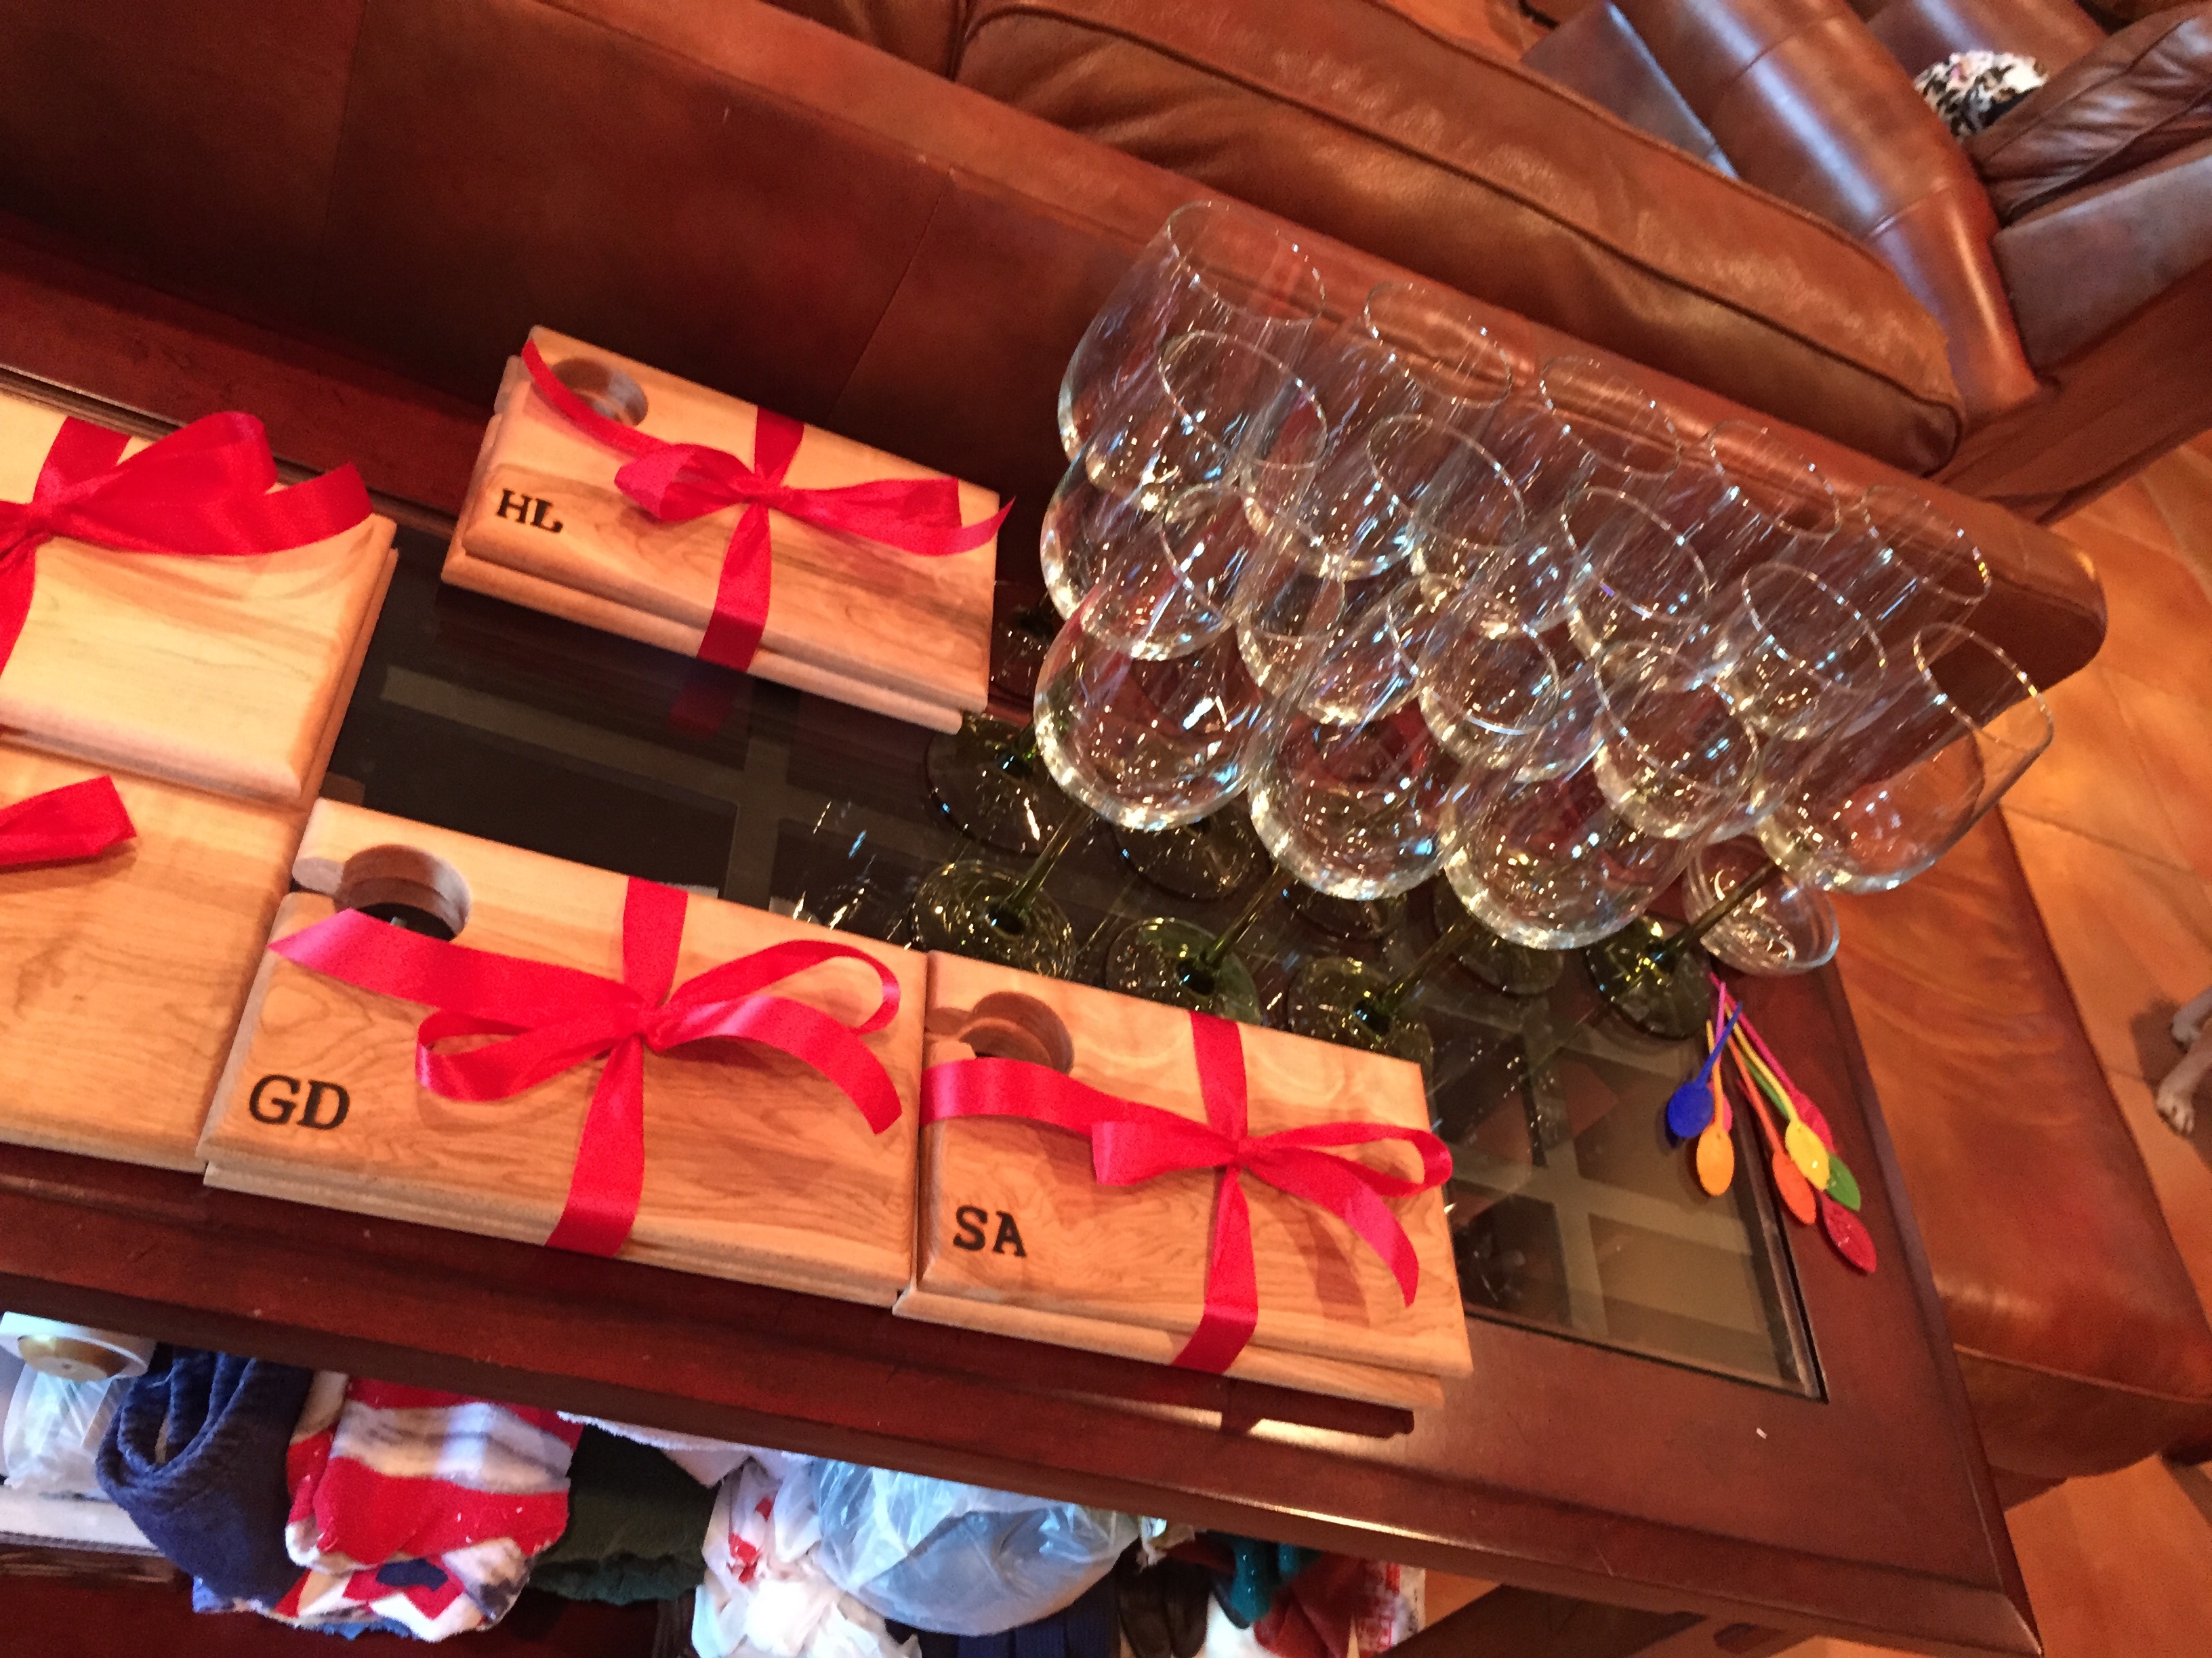
And each was personalized for us.
They worked incredibly well to be able to maintain eating and drinking at the same time (two things that should never be separated).
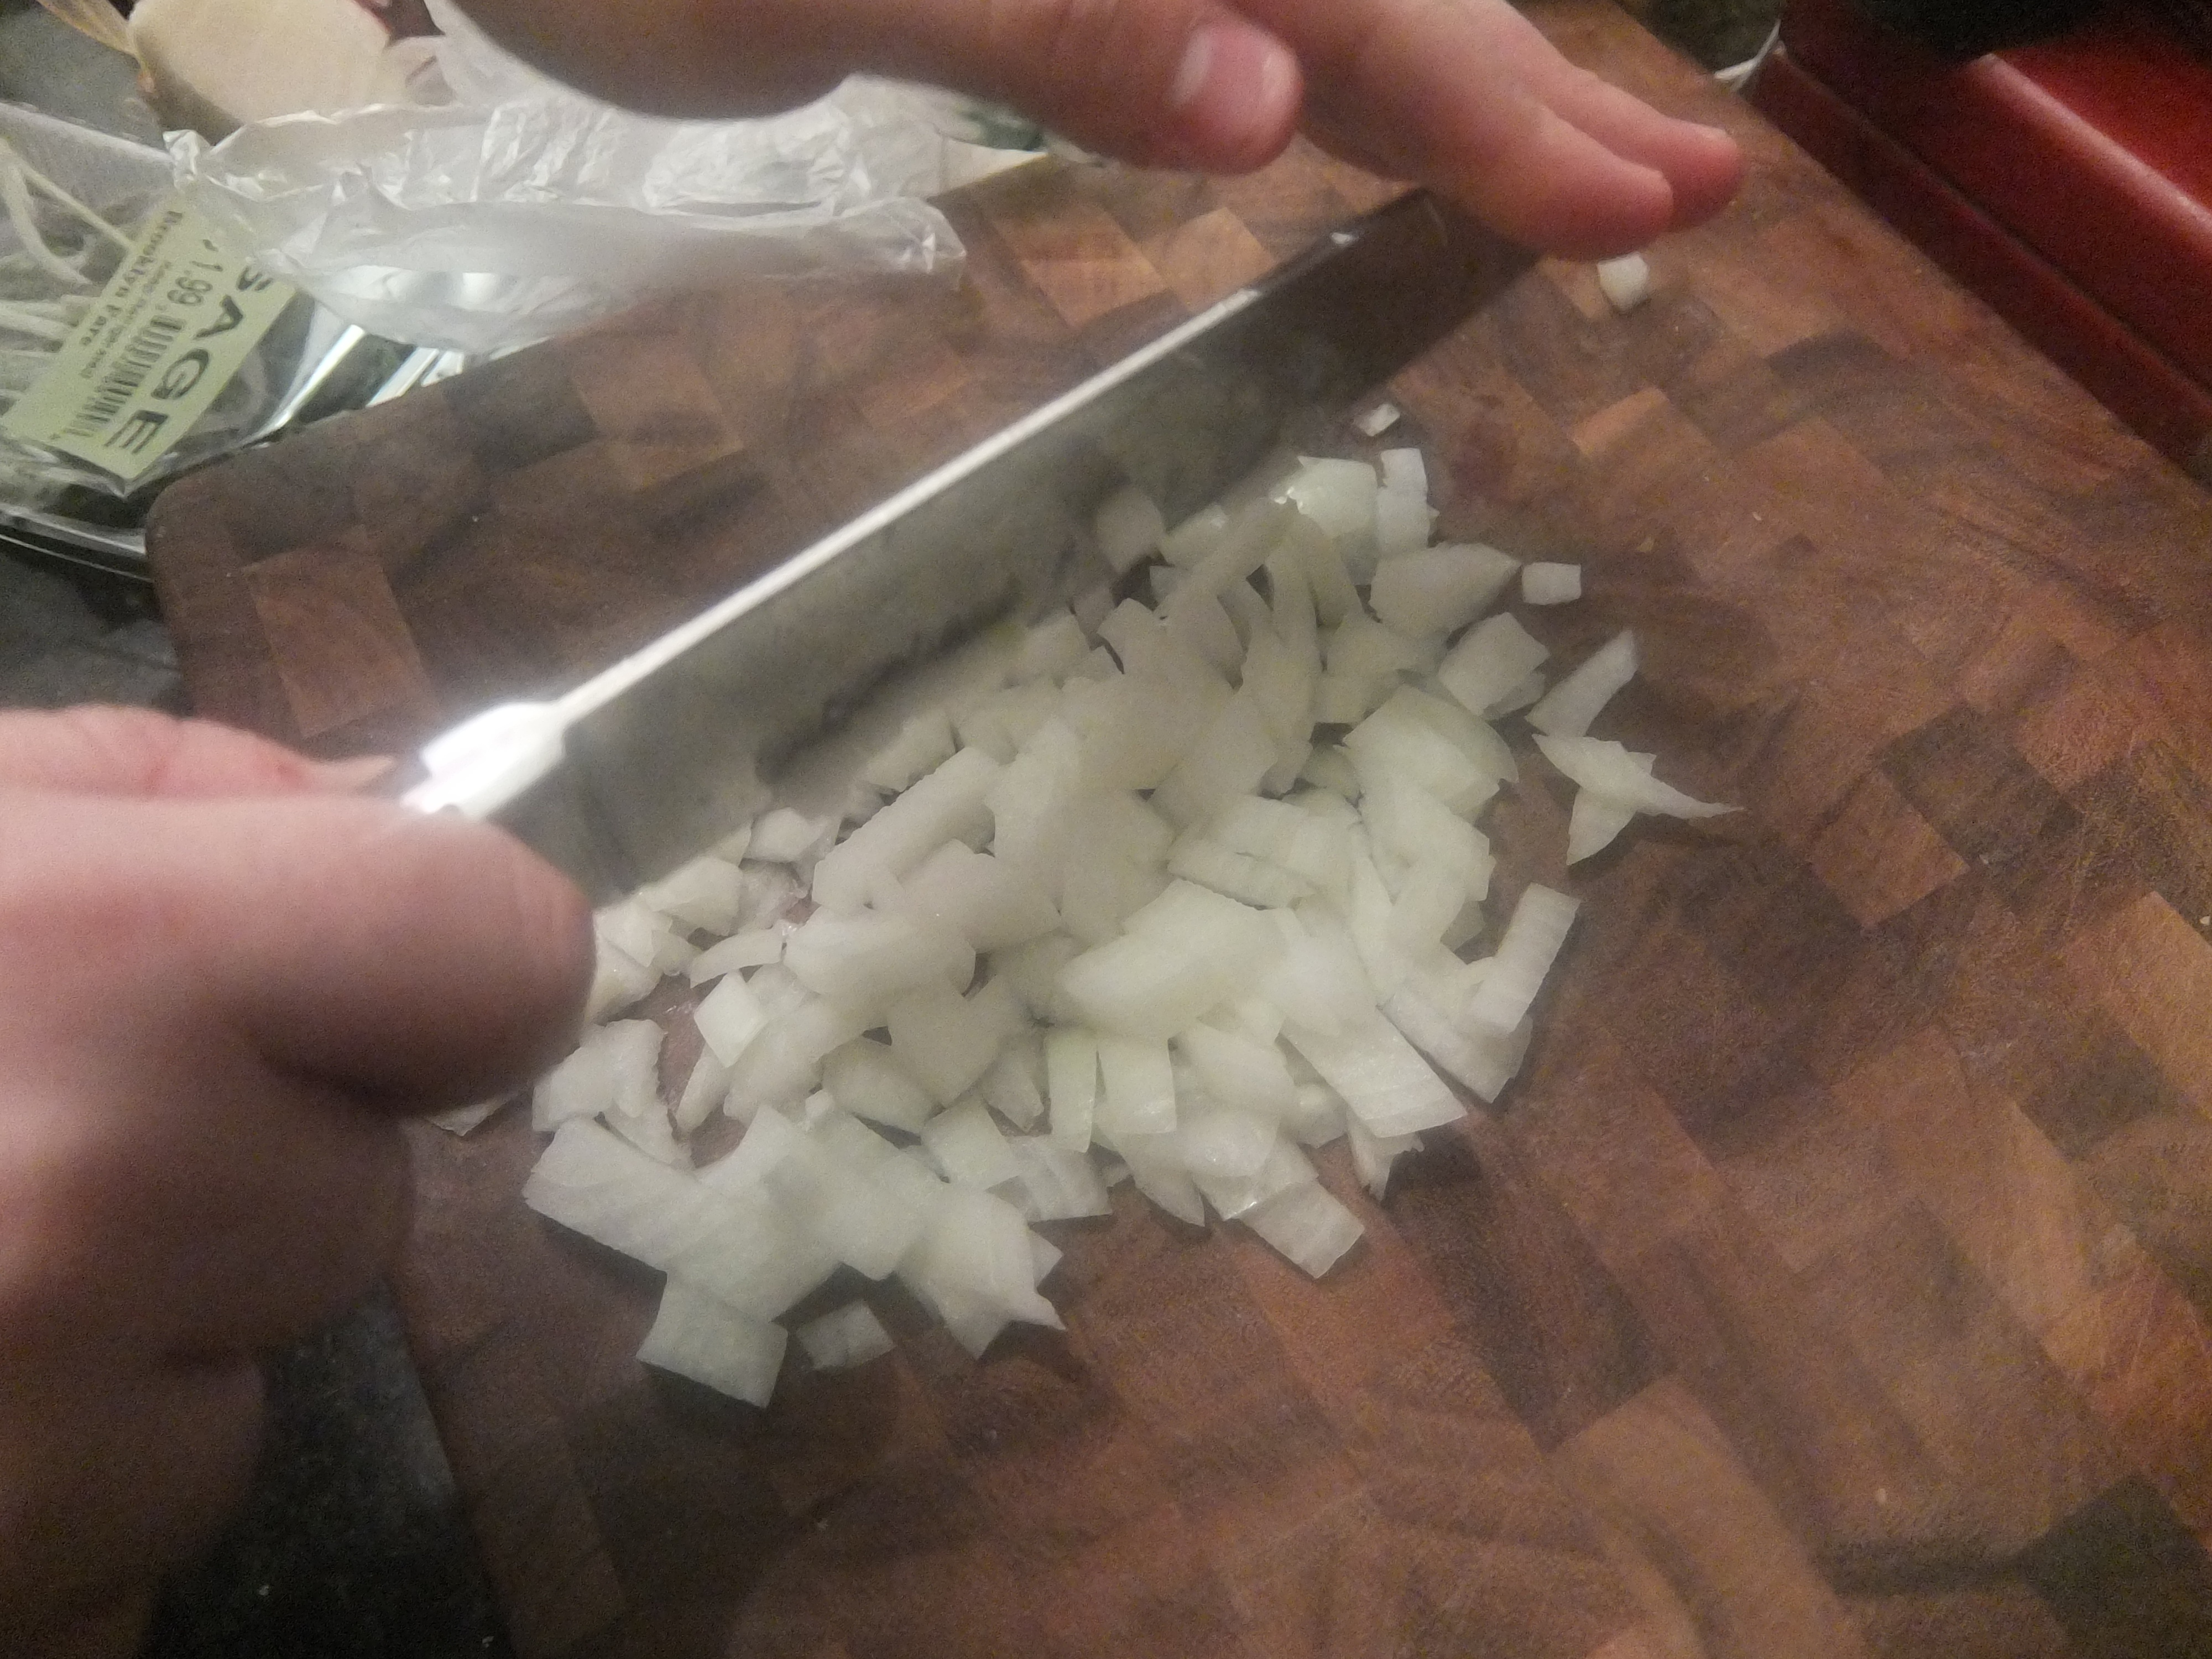
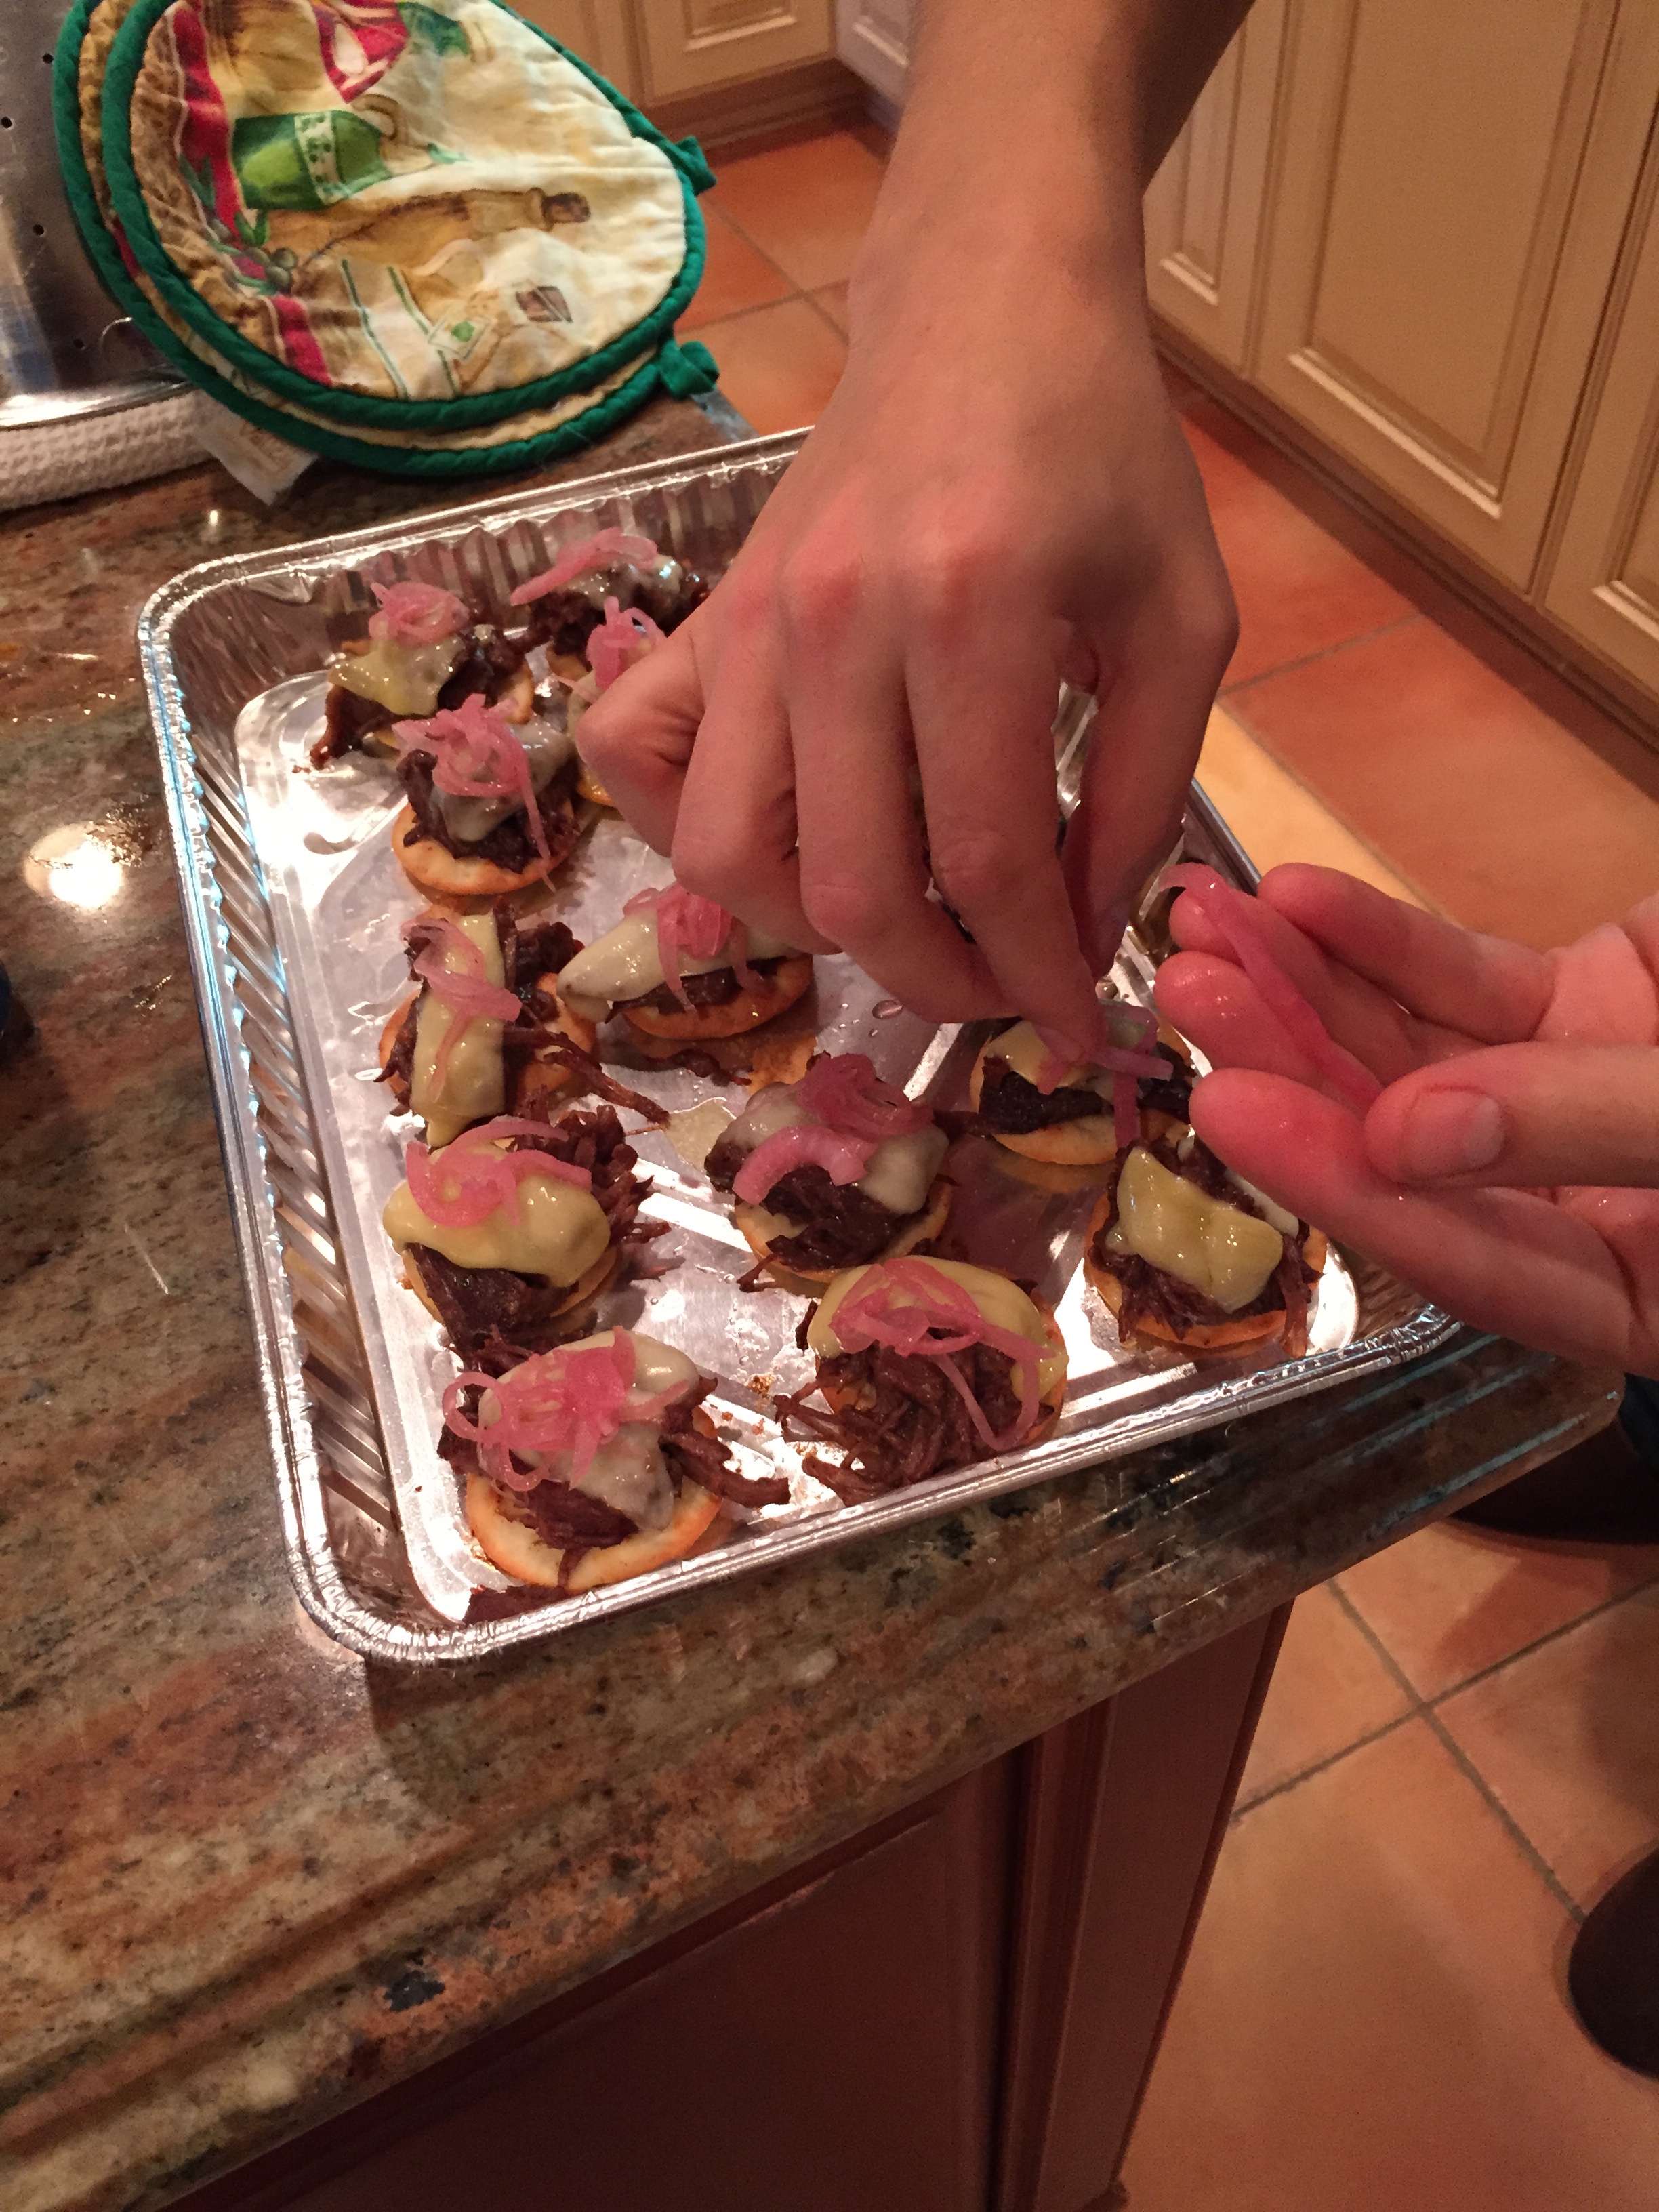
Here is our host, Mike, showing off his handiwork (both the board and the food).
Last year we didn’t know what we were in for, but this year we came prepared with empty stomachs.
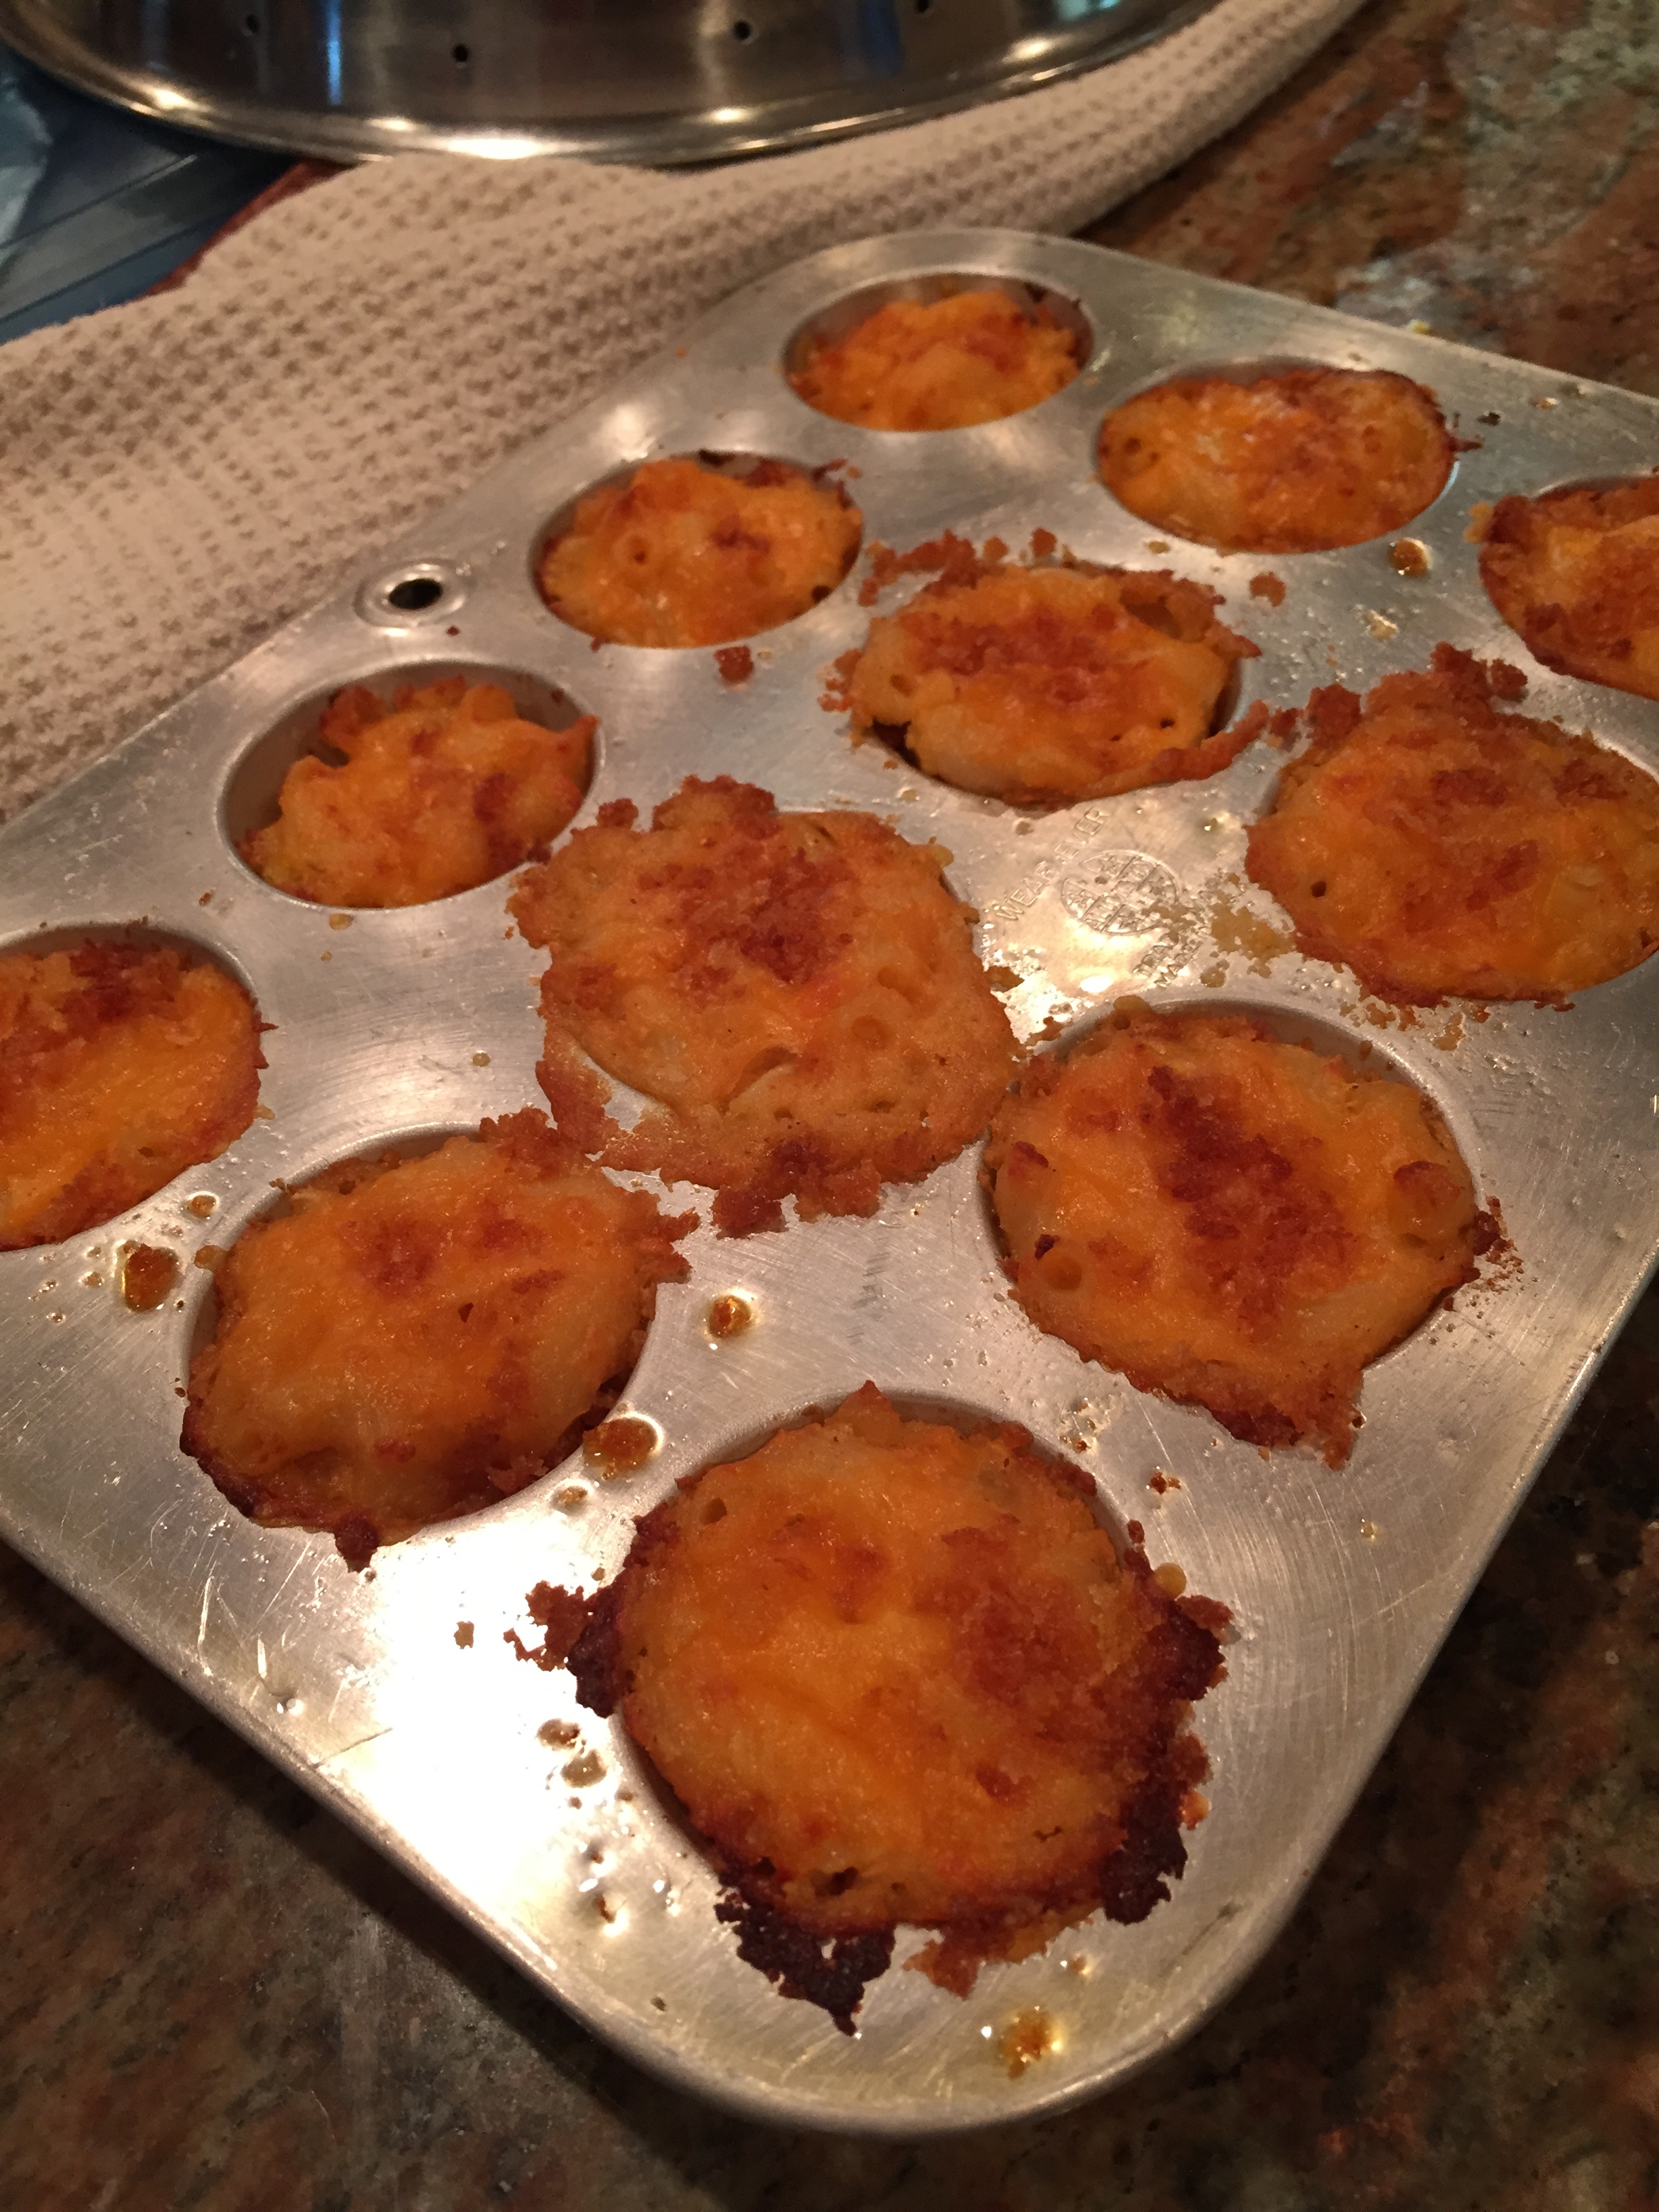
The first thing out of the oven were these macaroni and cheese bites made by one of the guests. They were a great way to star the meal.
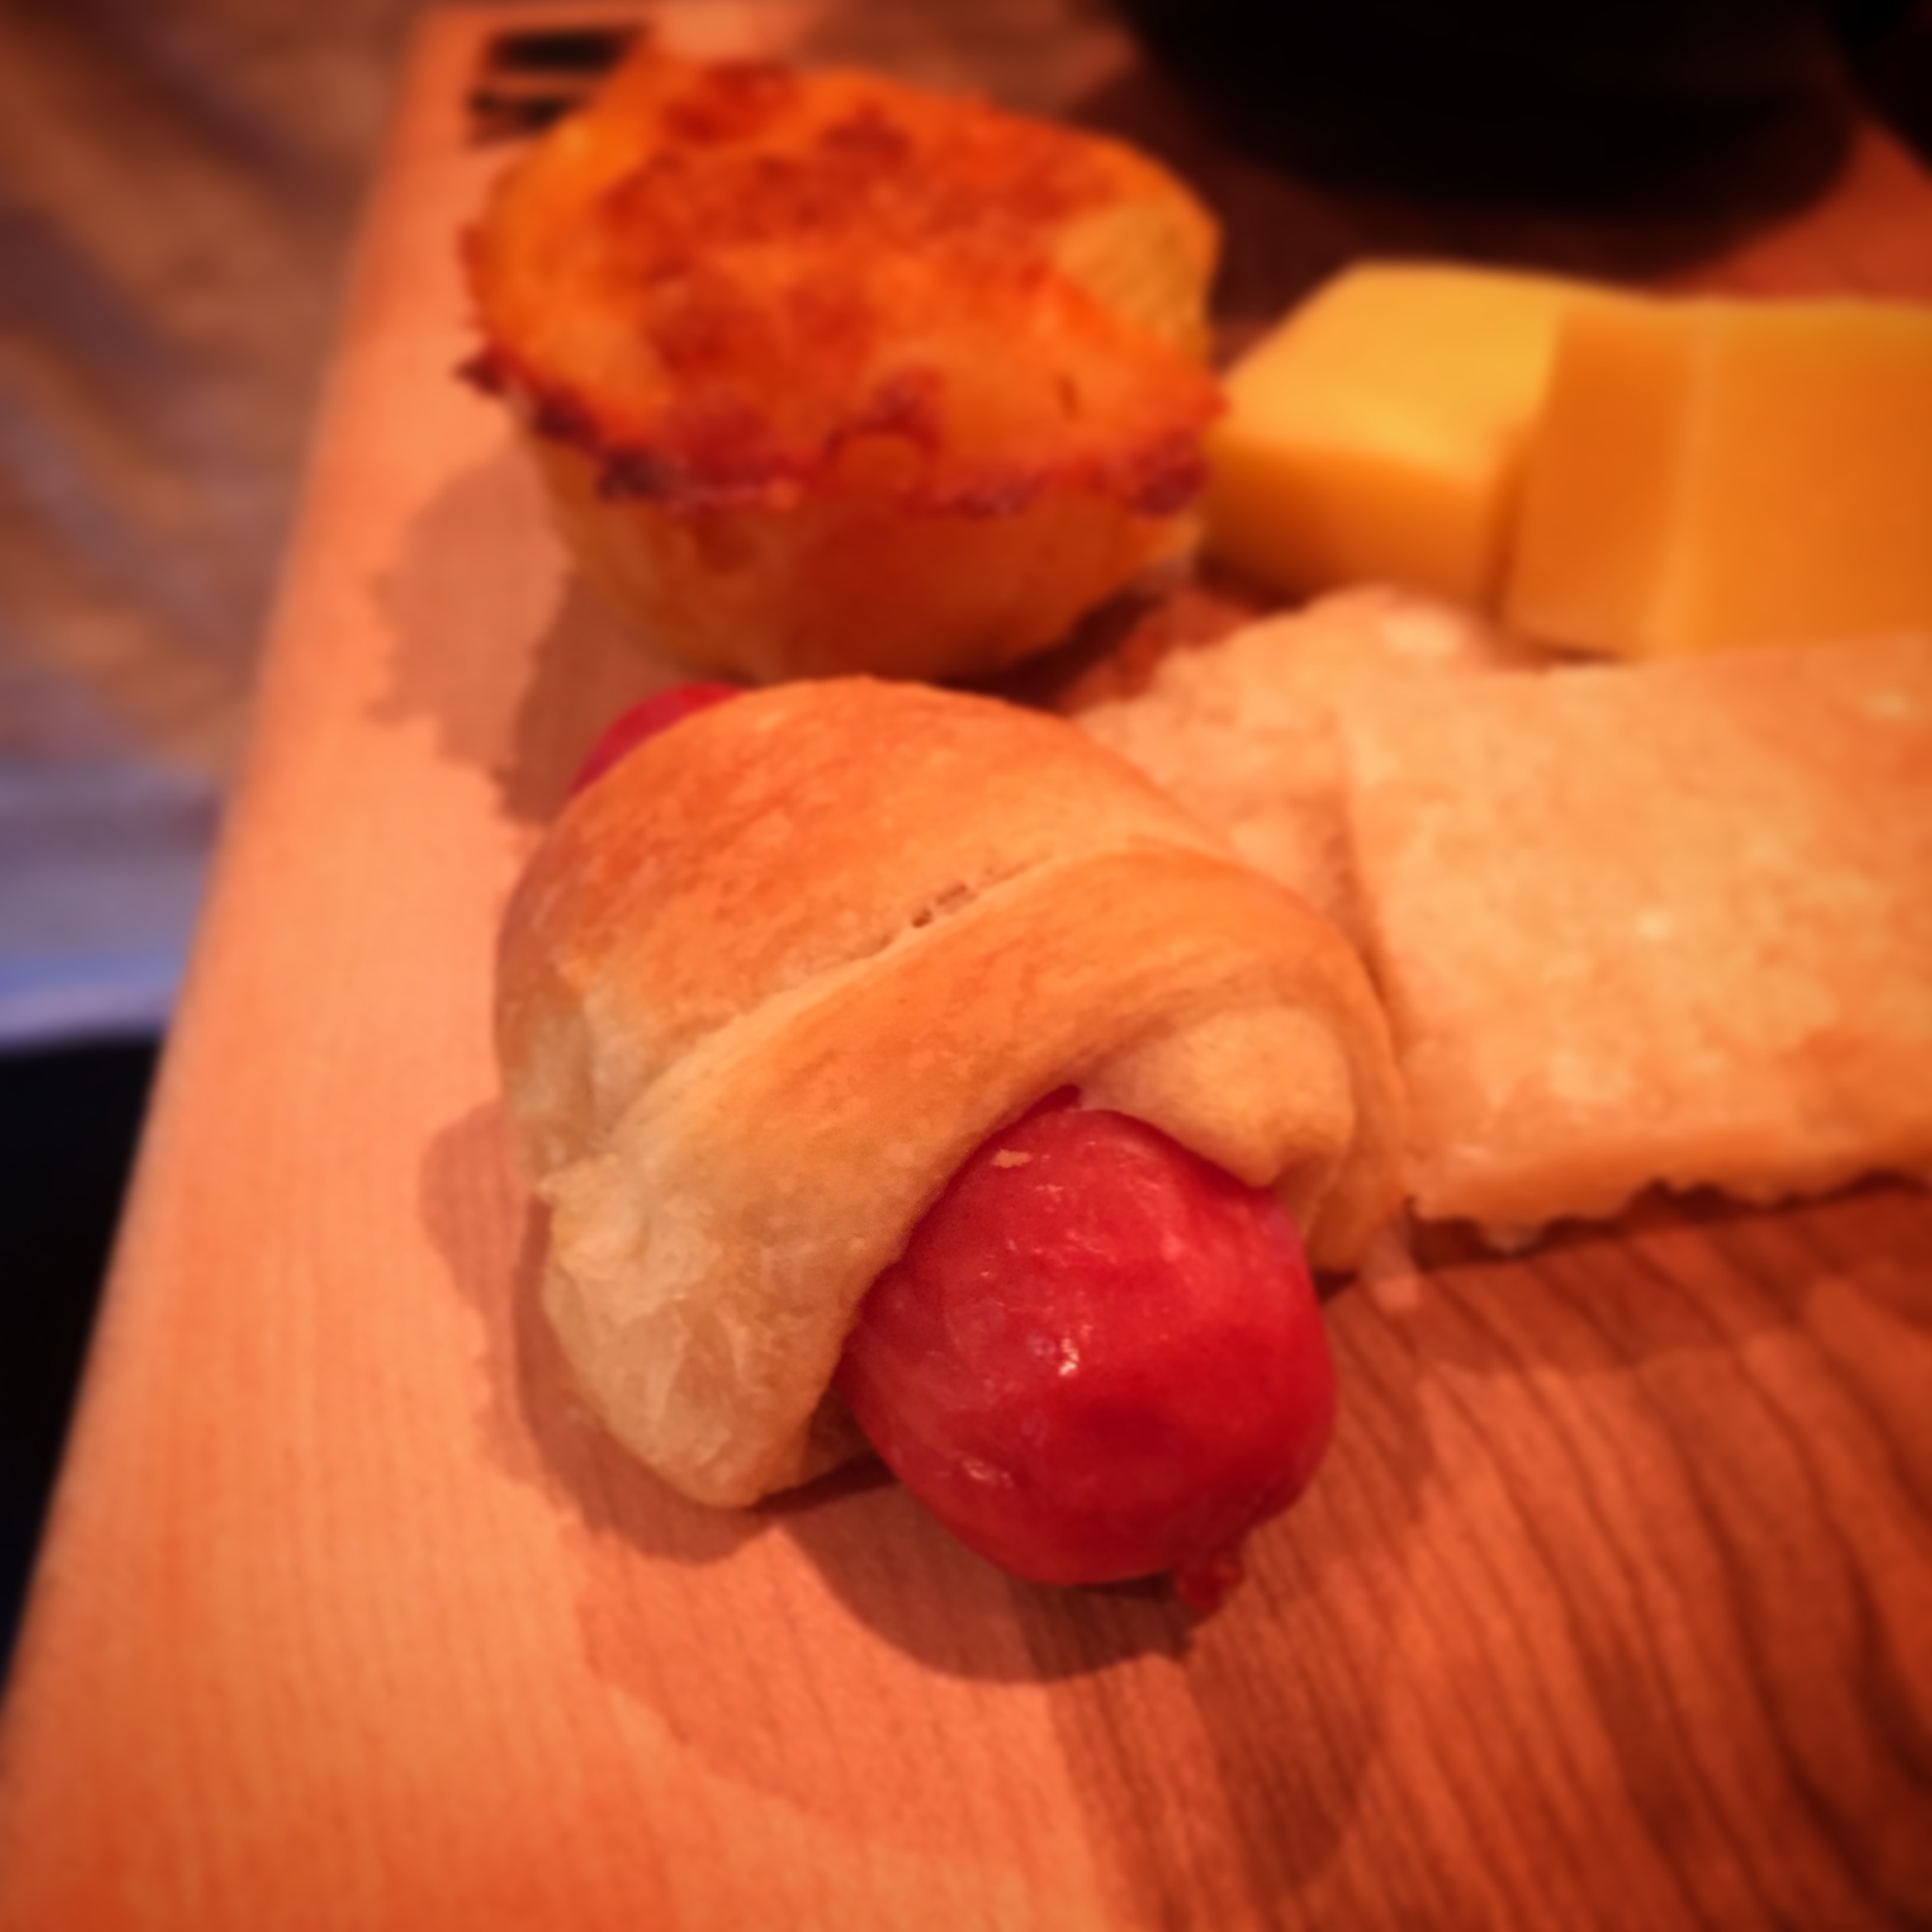
We also enjoyed mini wienies in crescent rolls.
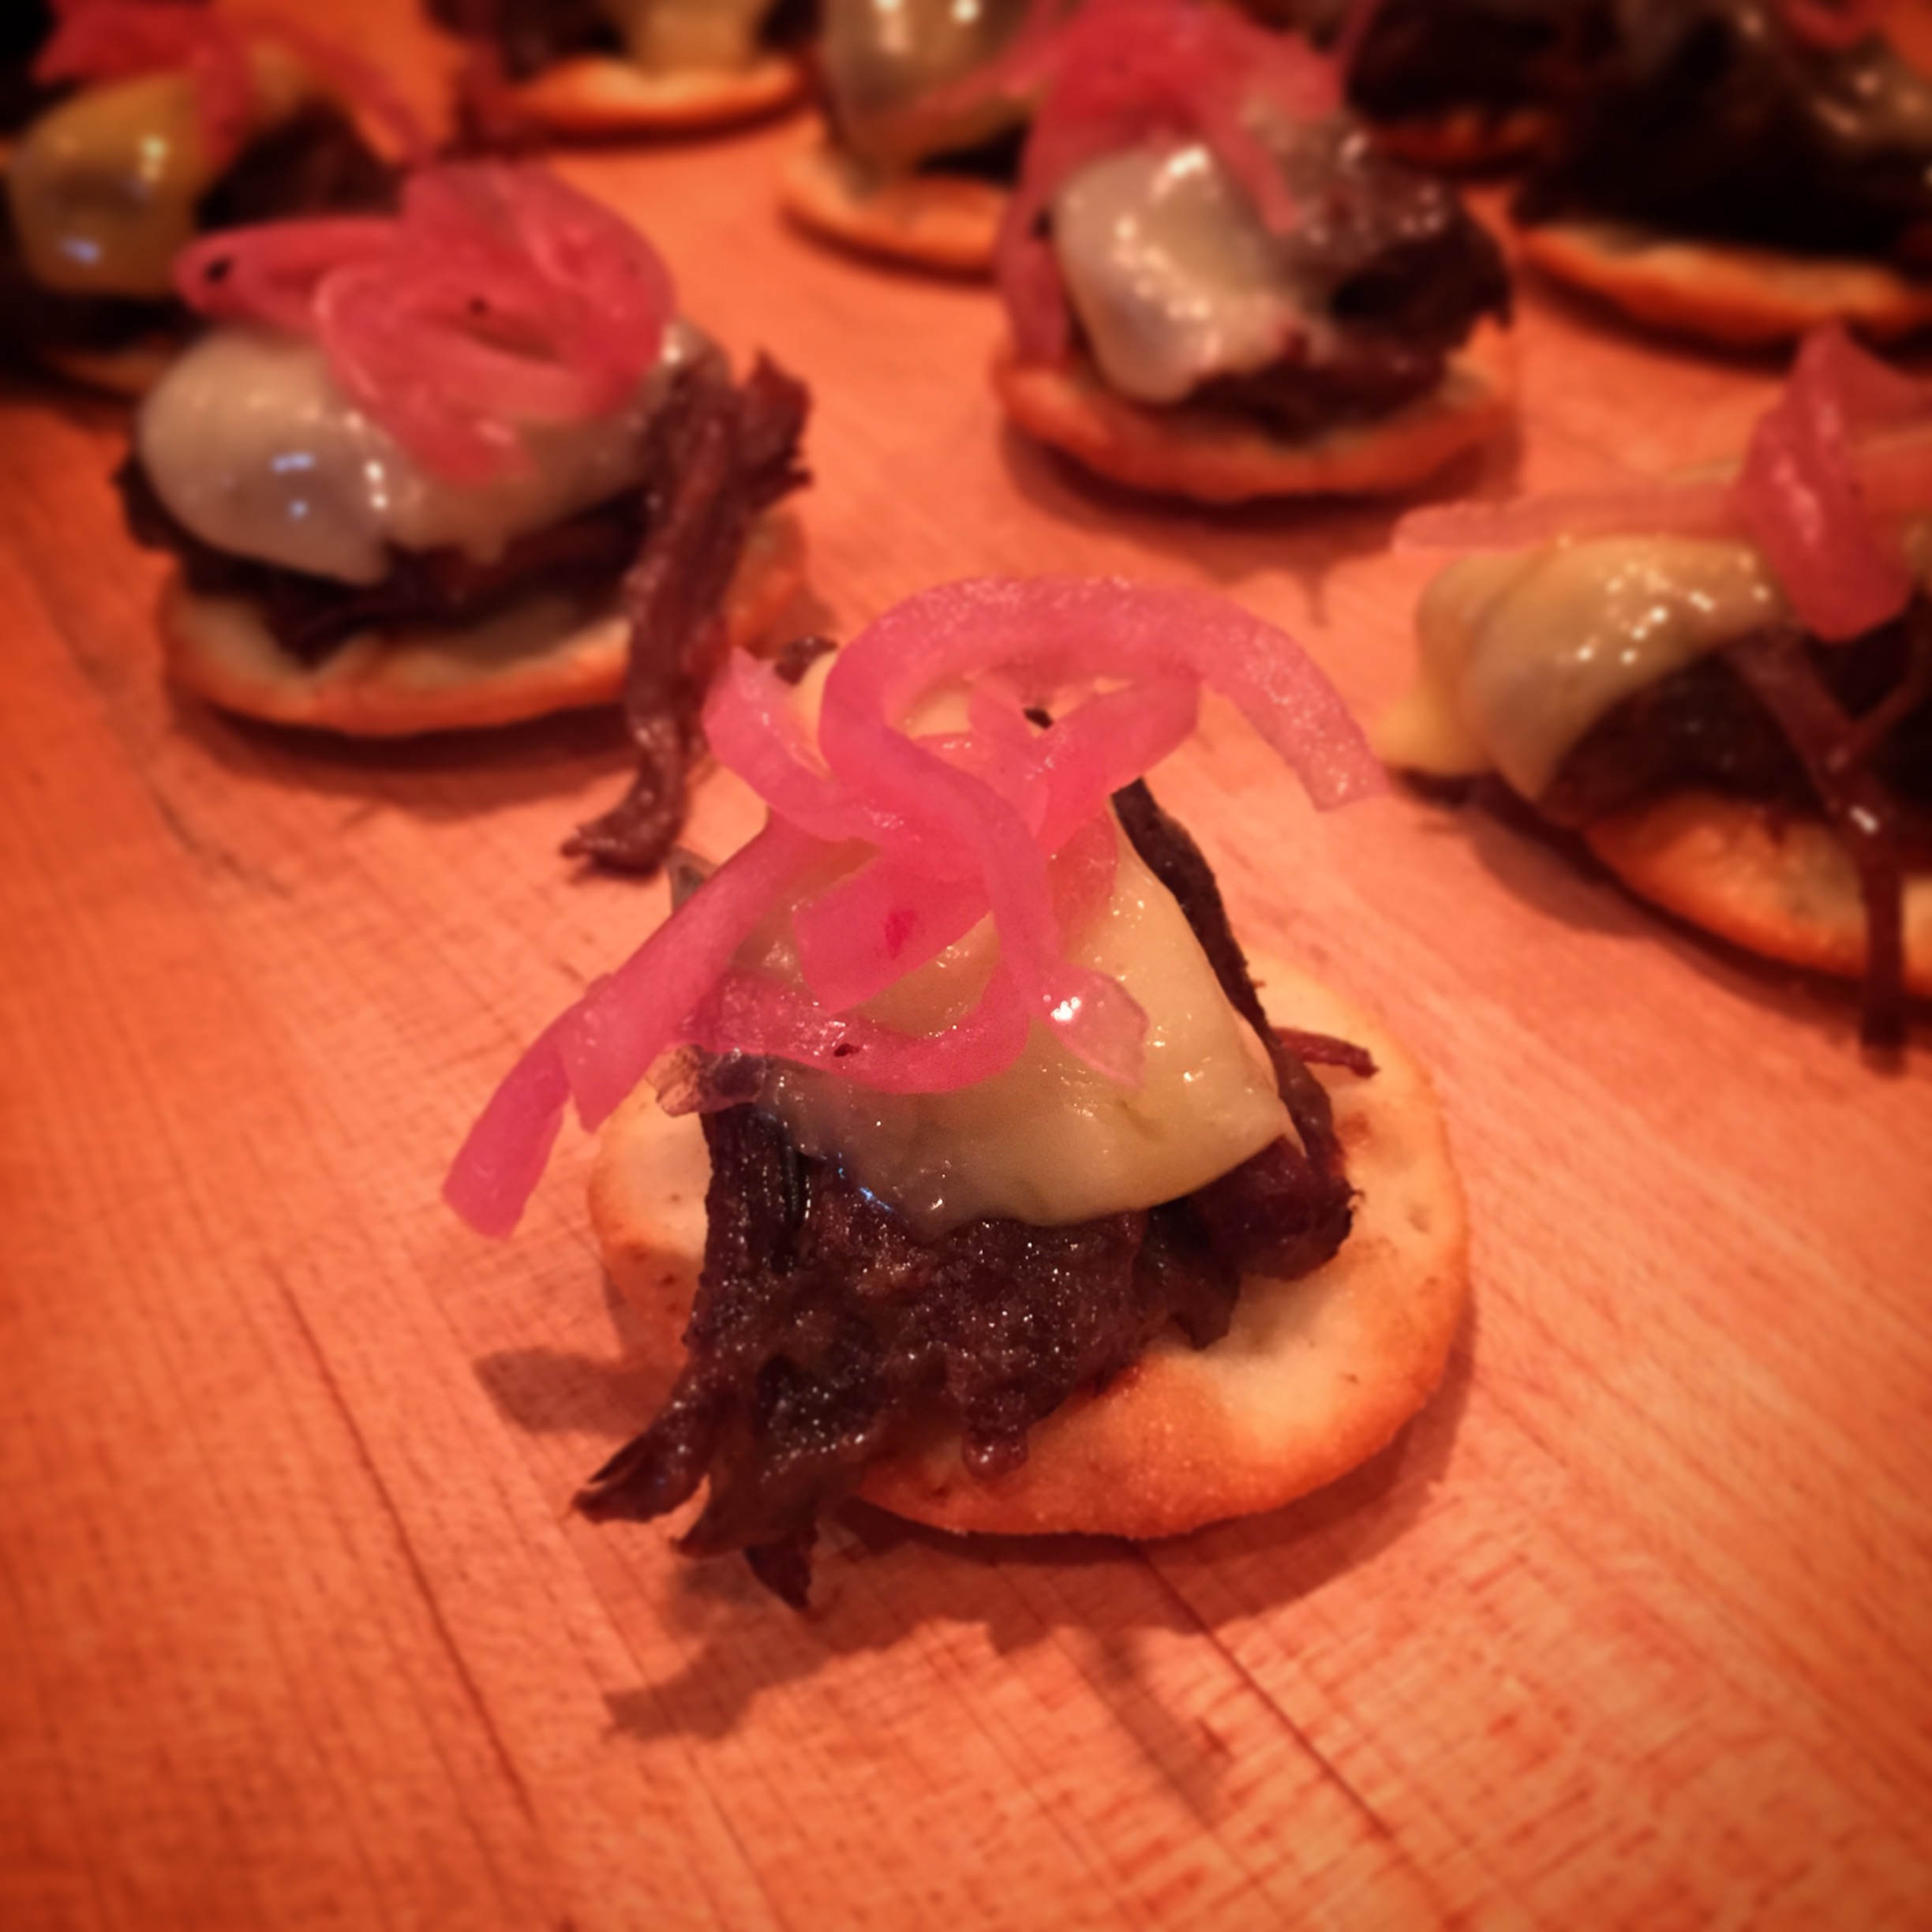
And my favorite part of the meal, short ribs on pita crisps with fontina cheese and pickled red onions.
These were absolutely gourmet and could be served in one of the finest restaurants in NYC tomorrow. (They were also enjoyed by a fellow food blogger we befriended at Tursgiving, Maggy, who wrote about them with a recipe here)
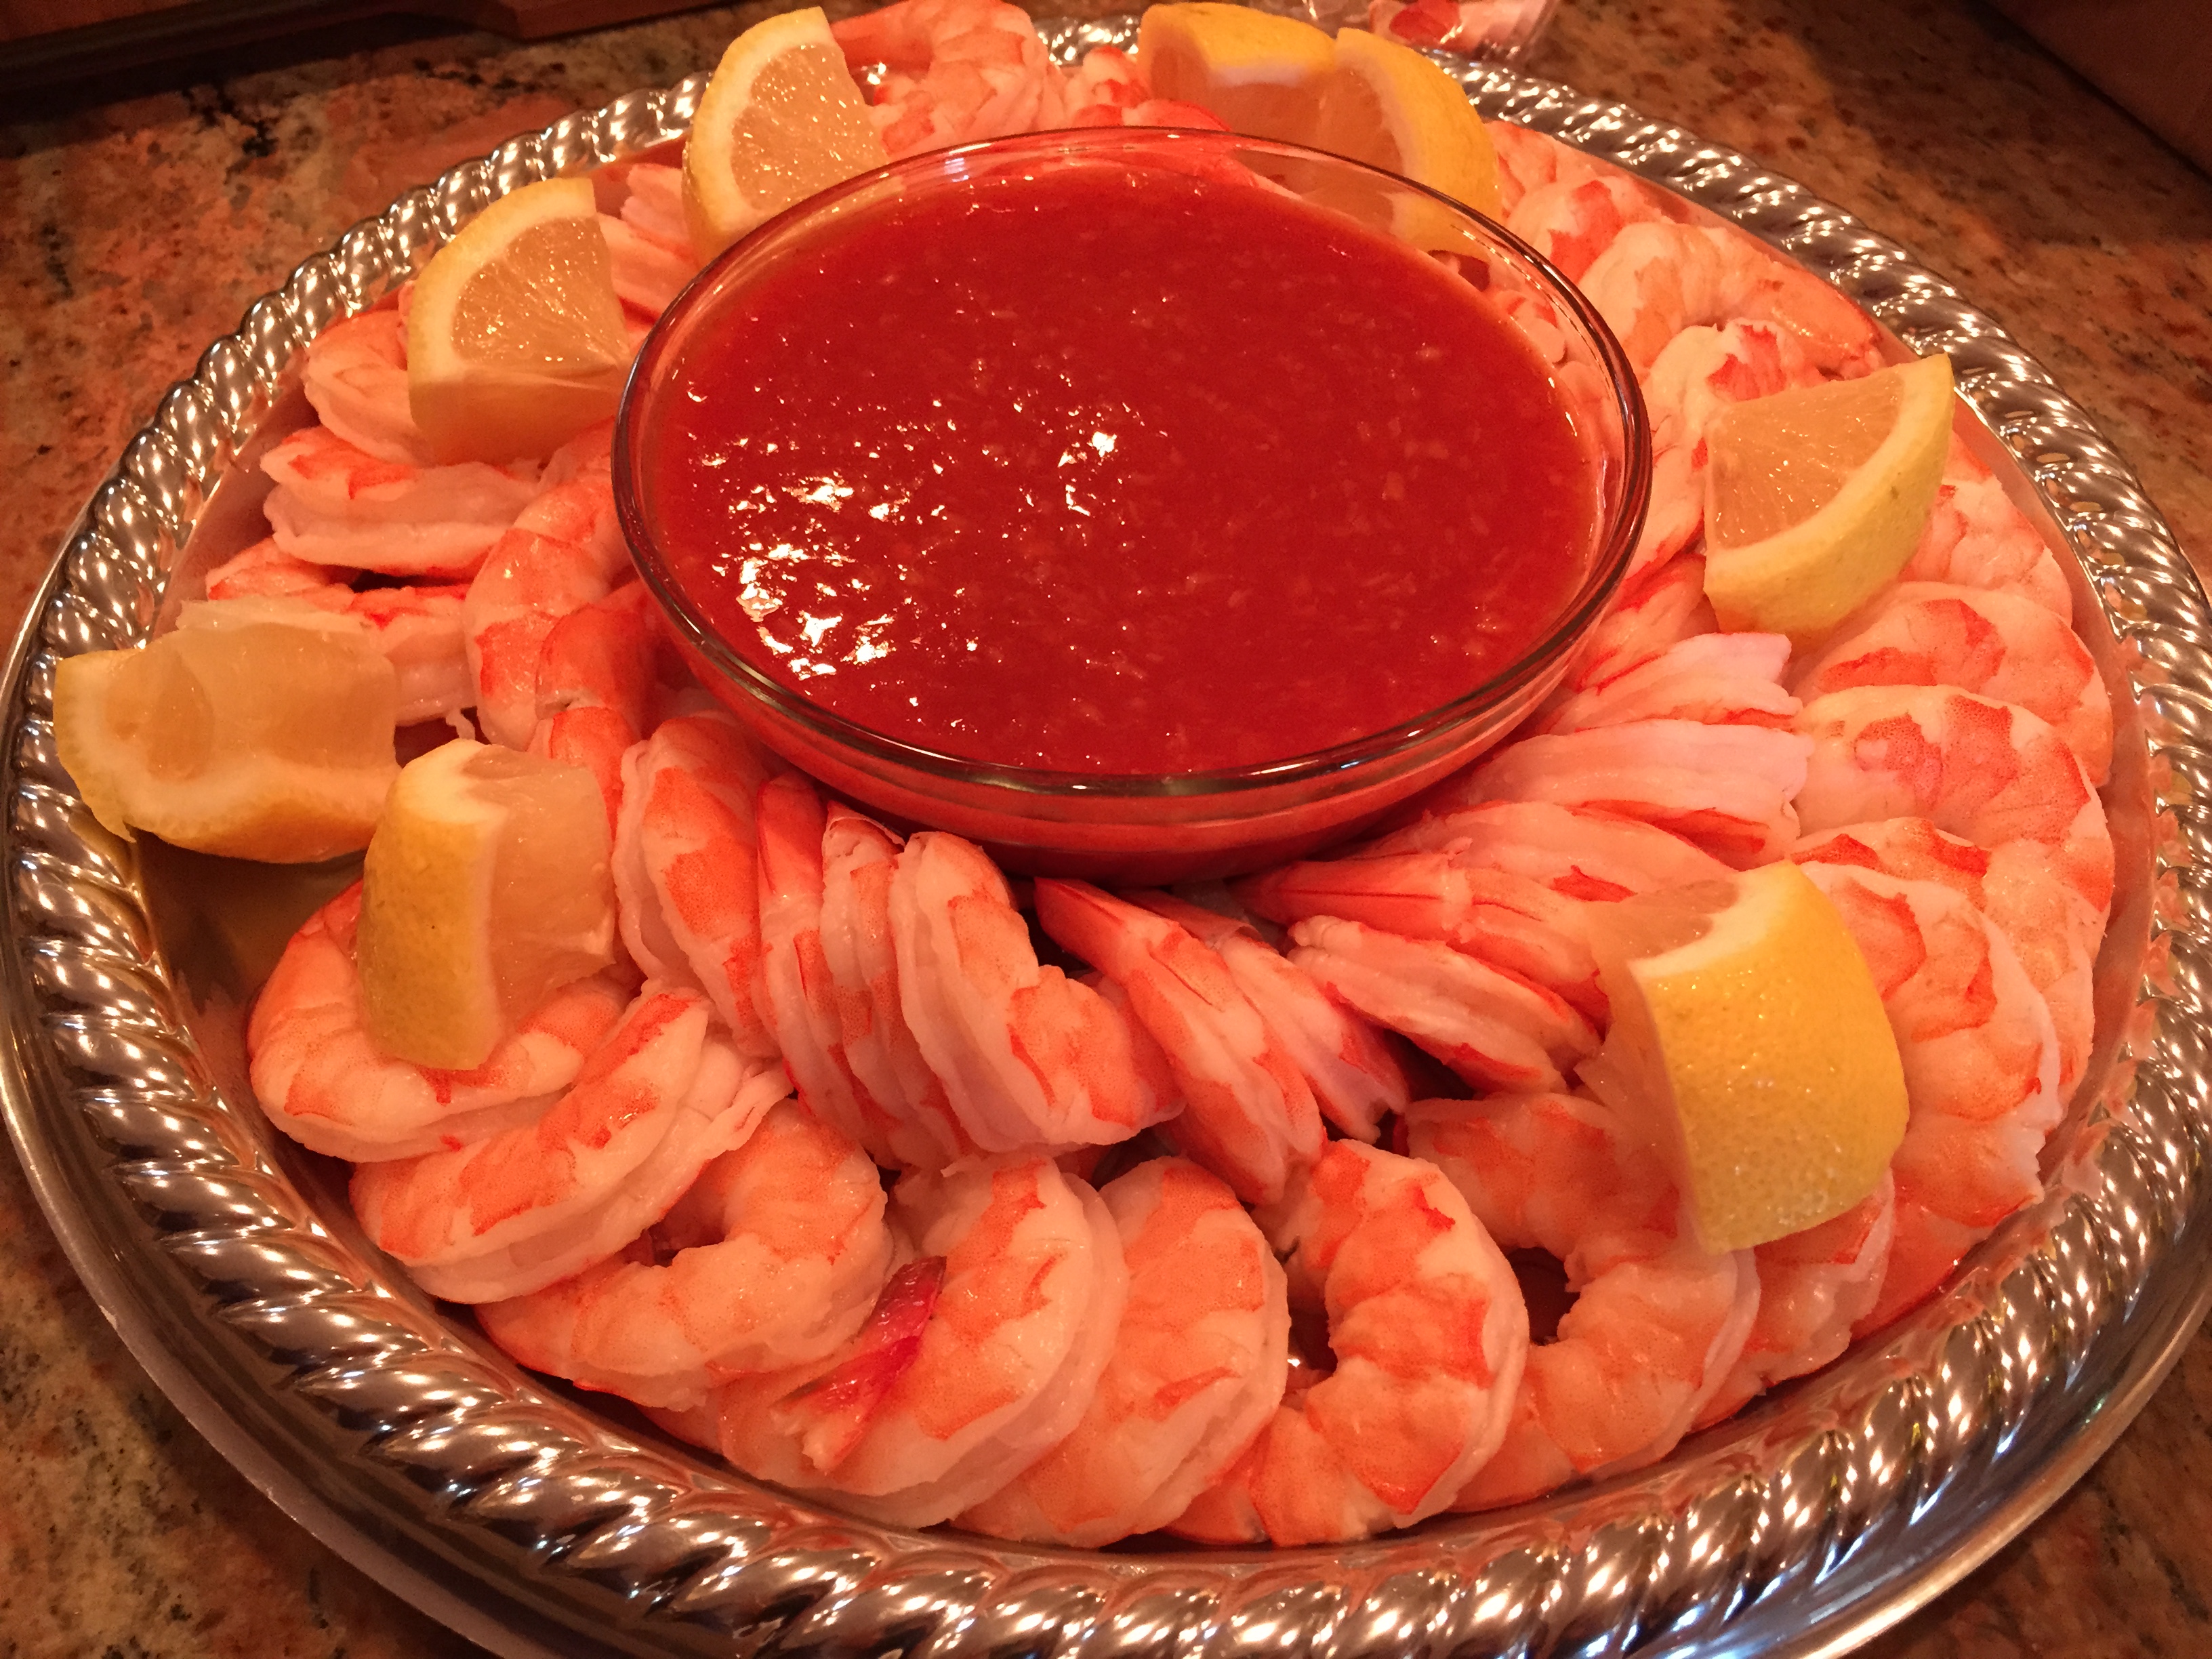
And don’t forget about the big platter of shrimp cocktail.
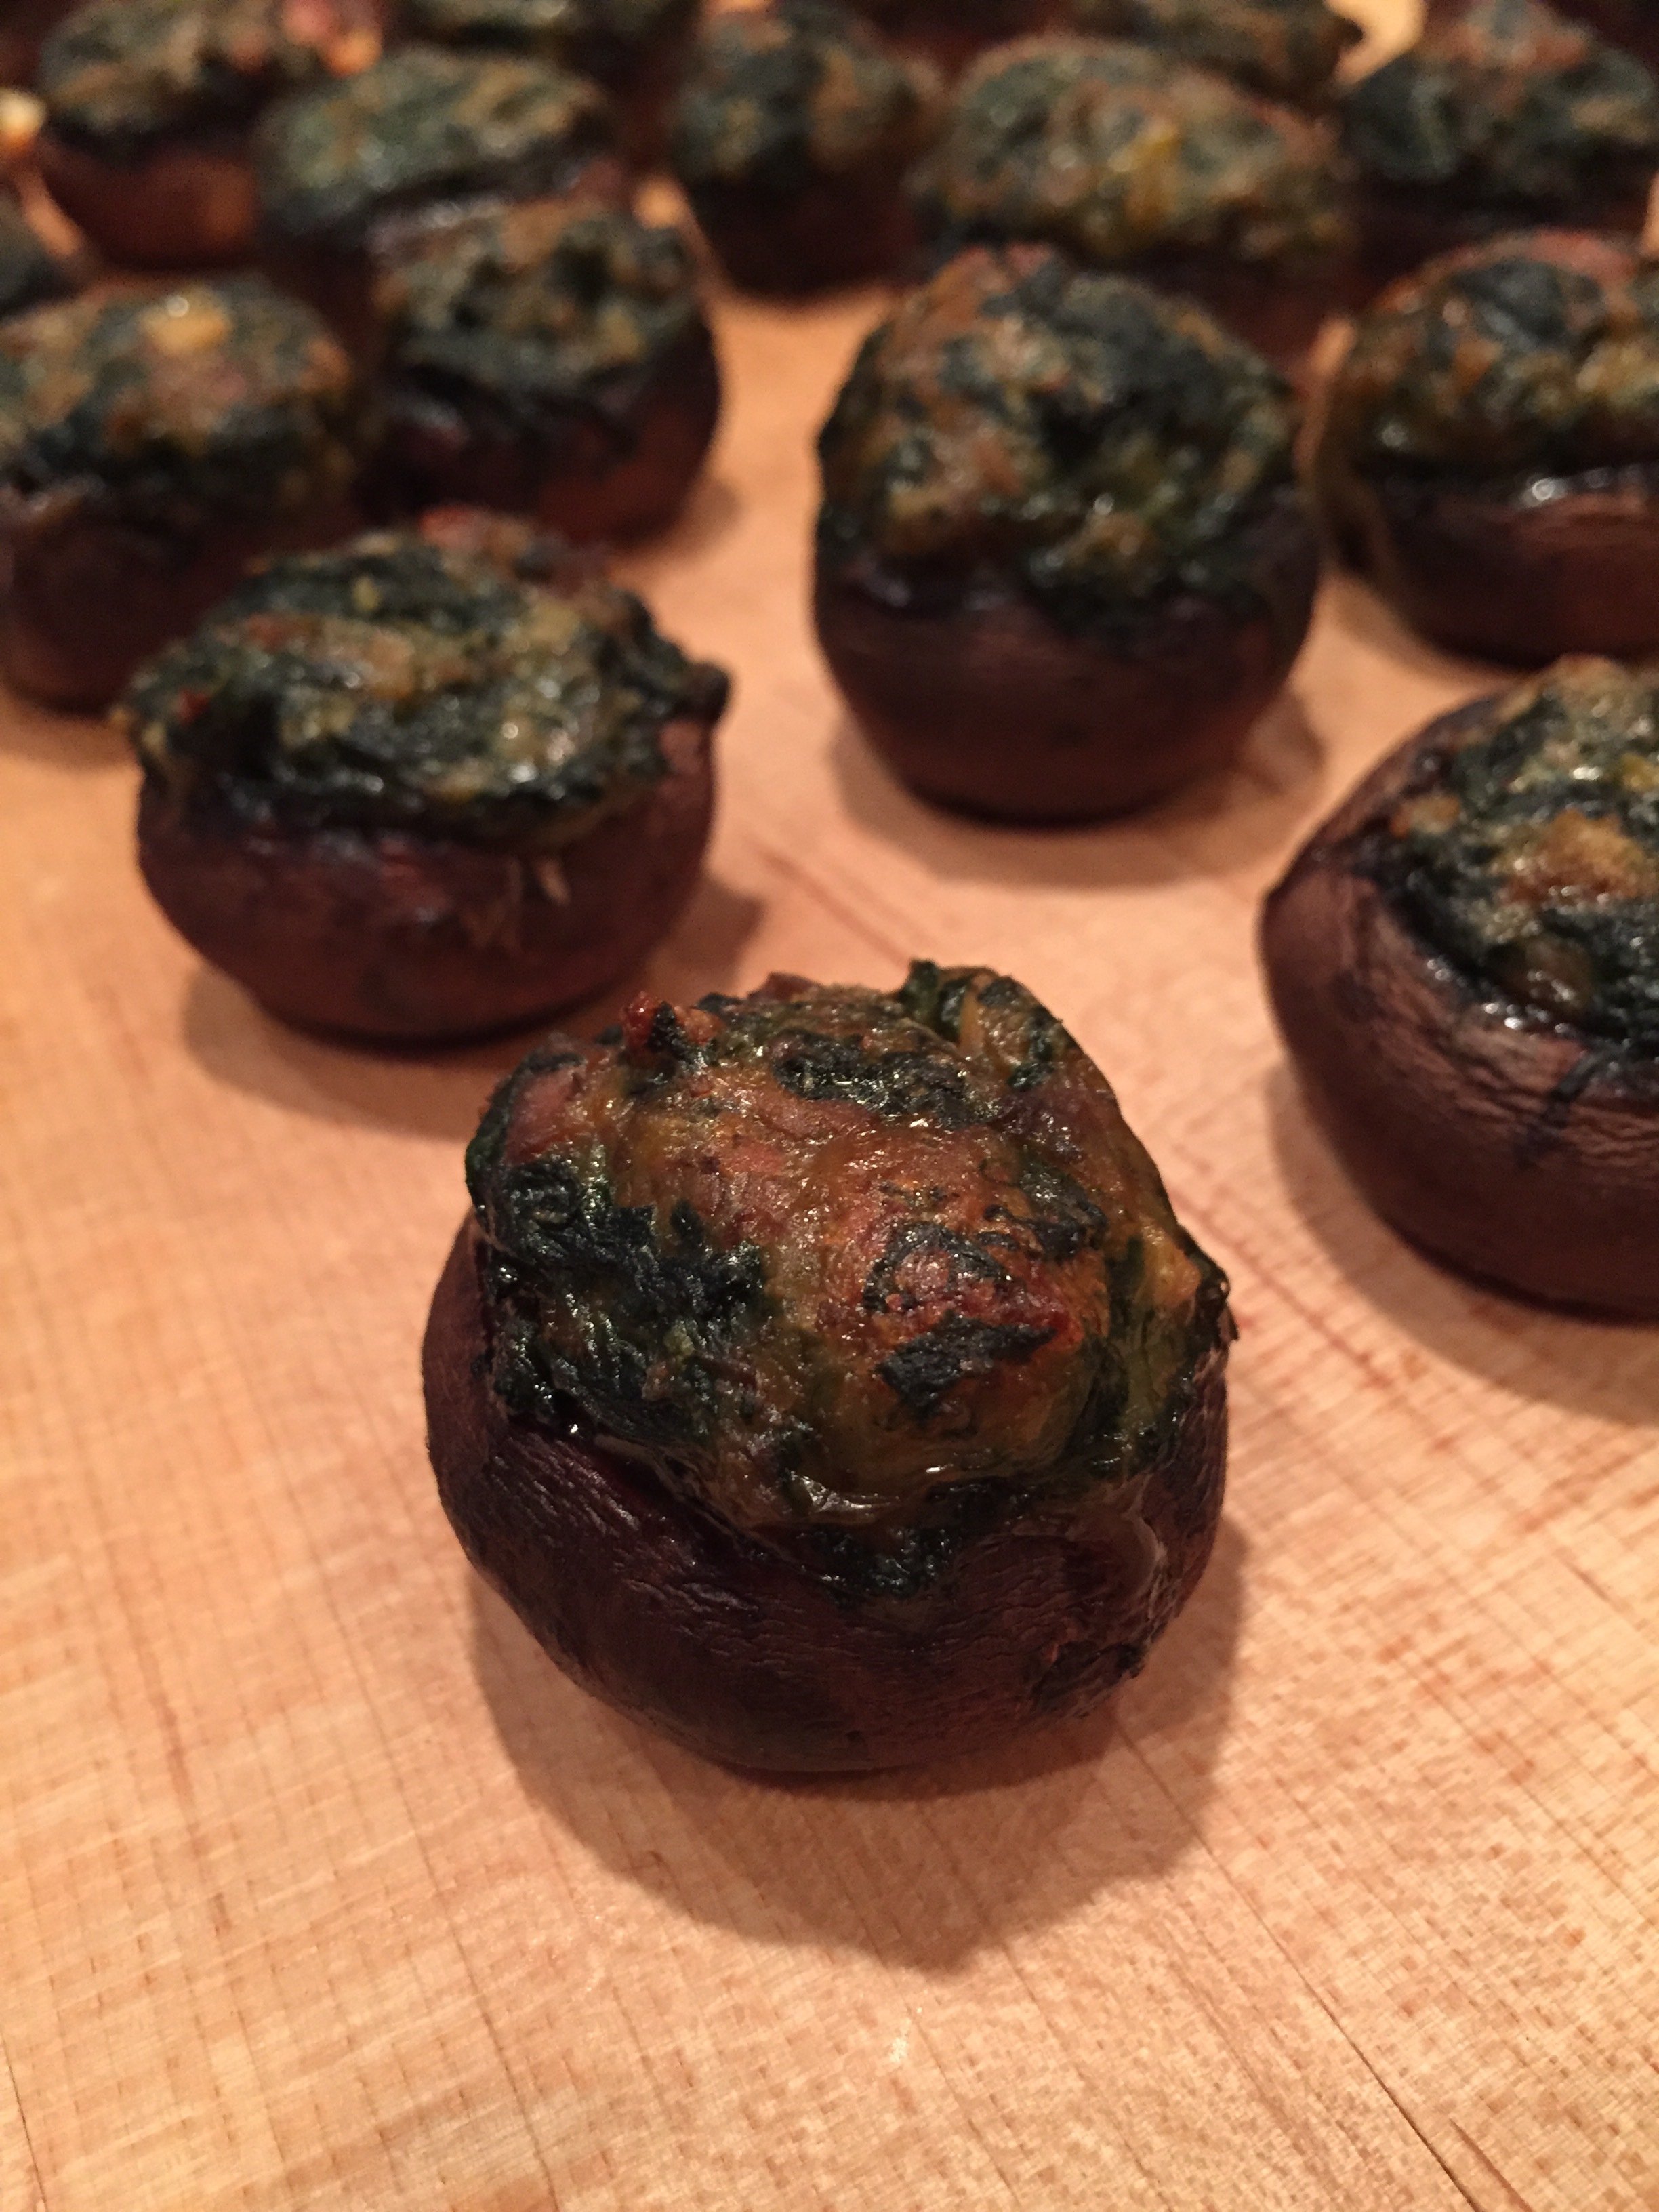
And the stuffed mushroom caps.
After all the nibbles, introductions, and friend-making, it was time to sit down to Part 1 of the main event.
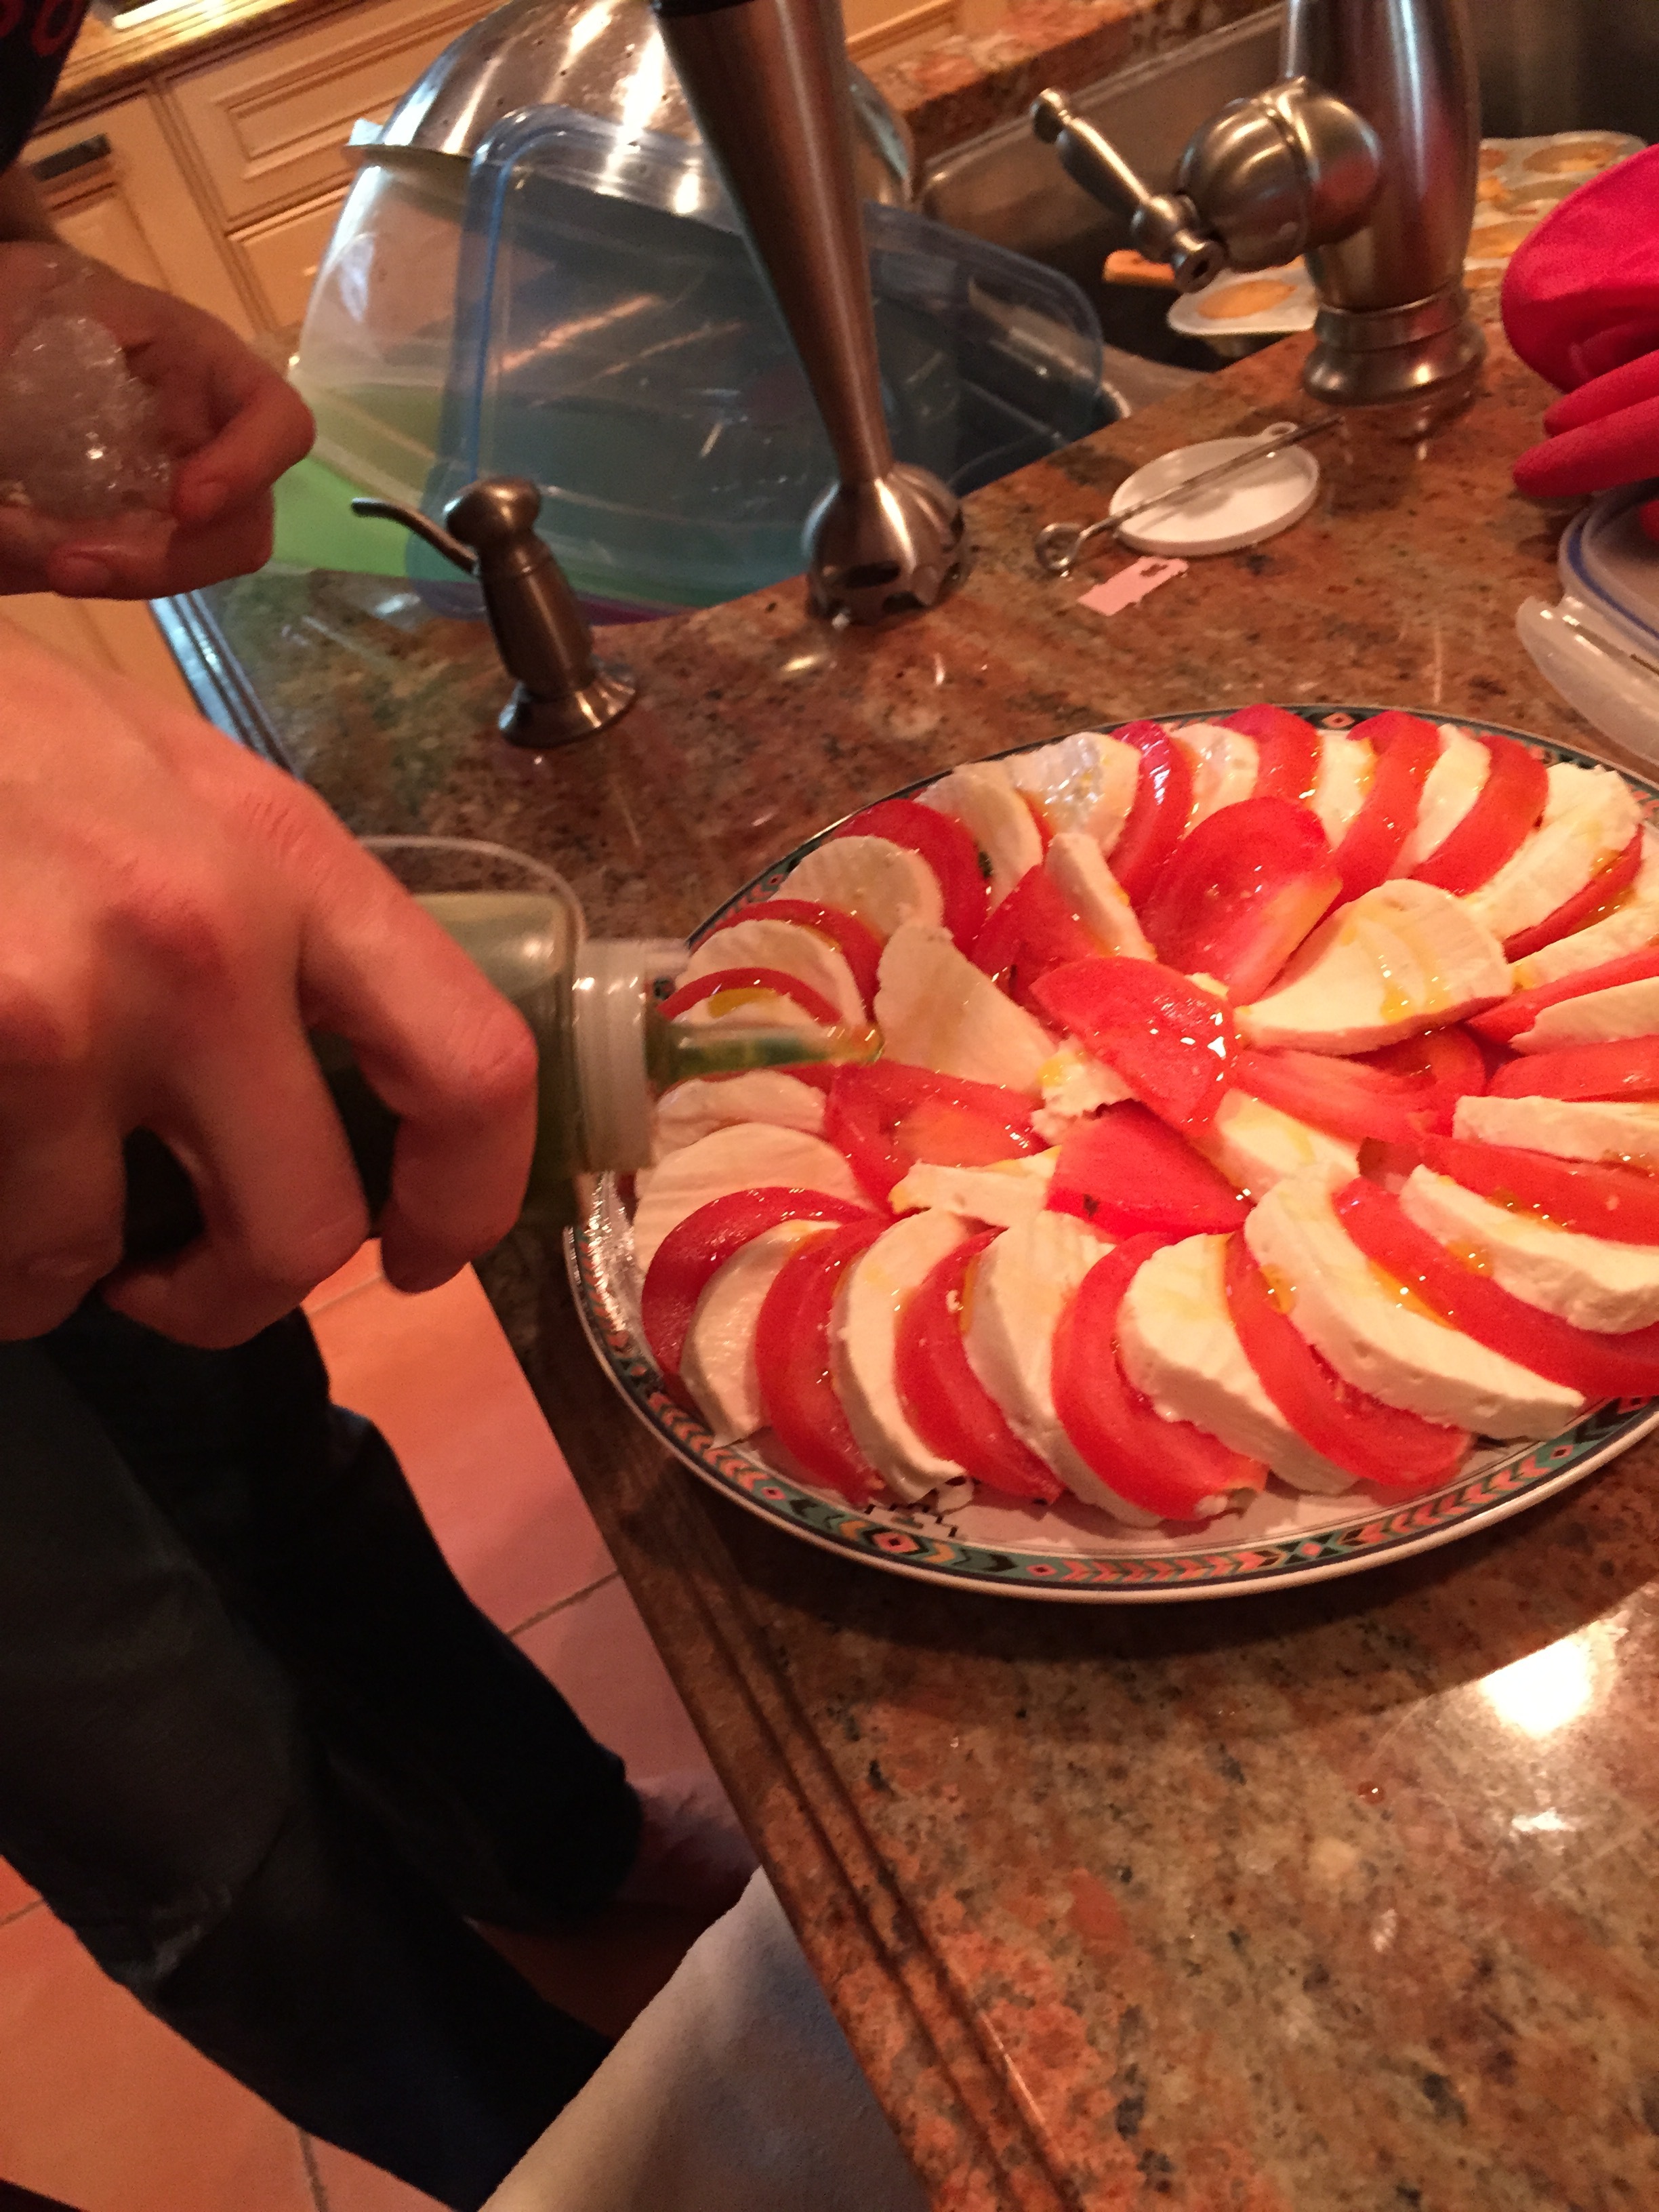
This was the Italian part of the meal, which started with tomatoes and fresh mozzarella with a basil vinaigrette.
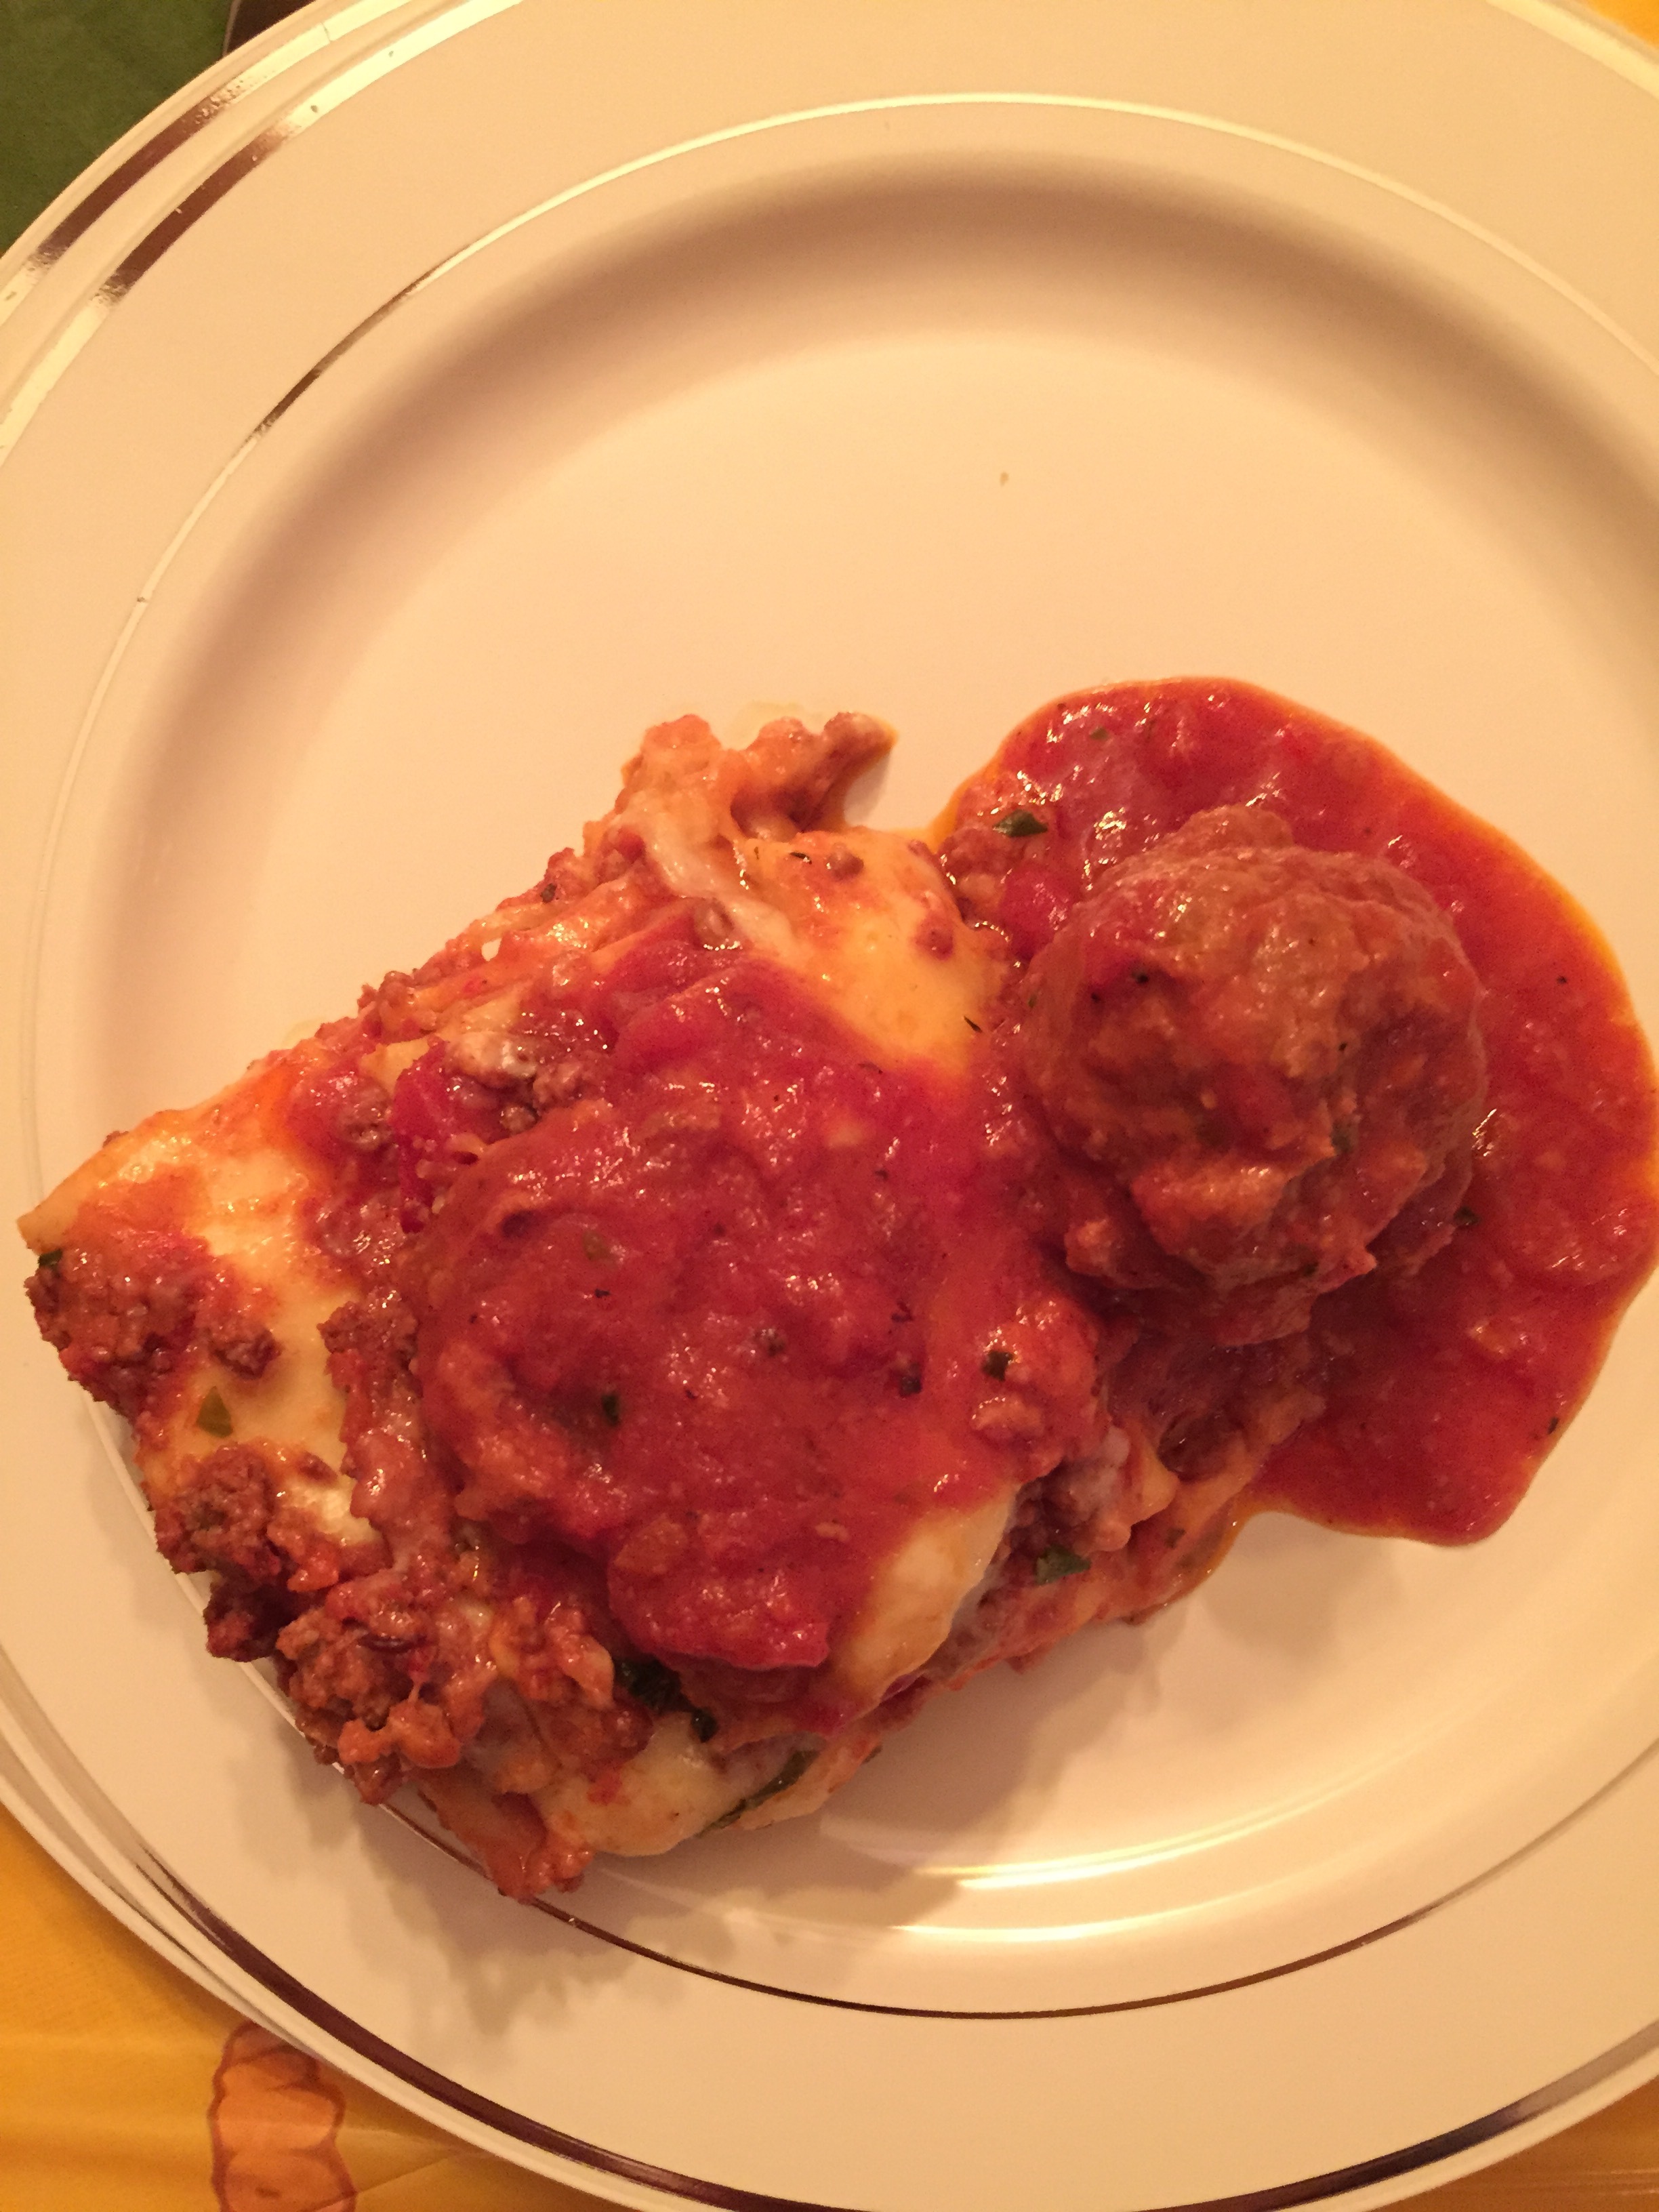
And then the homemade lasagna and meat balls. This was second only to the short rib bites. These were both awesome and bursting with flavor. Mike really knows how to make Italian food.
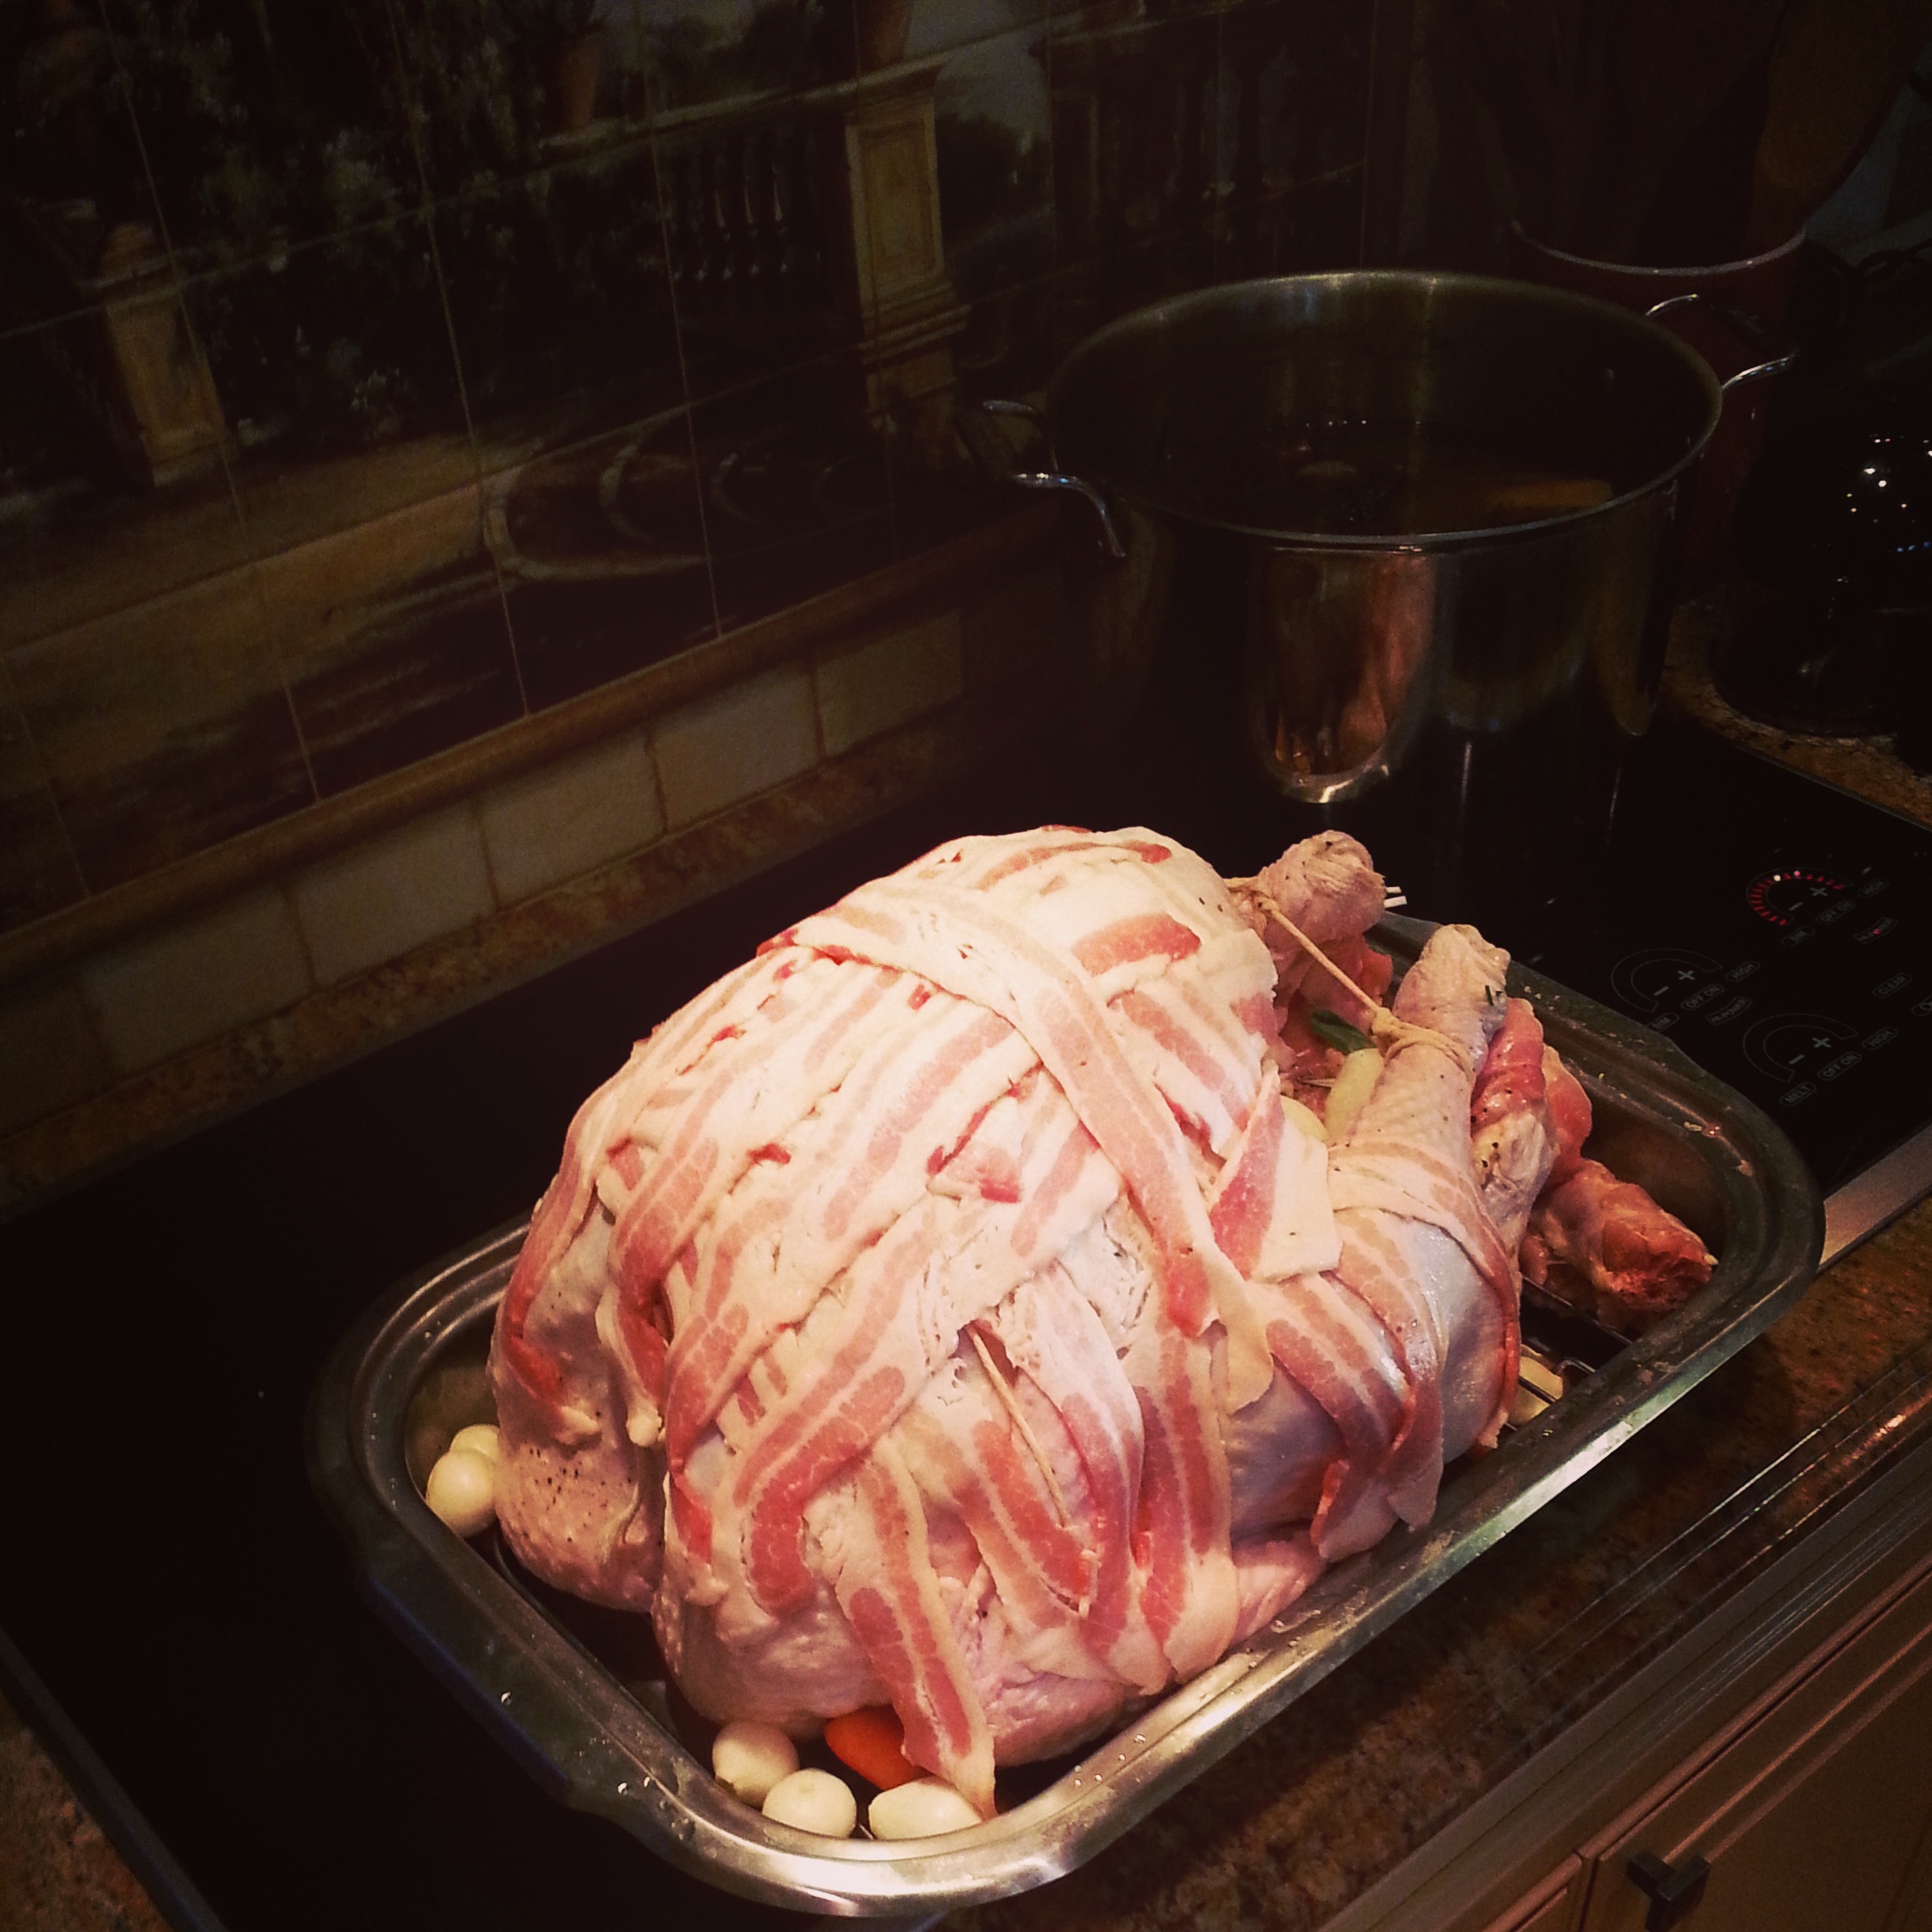
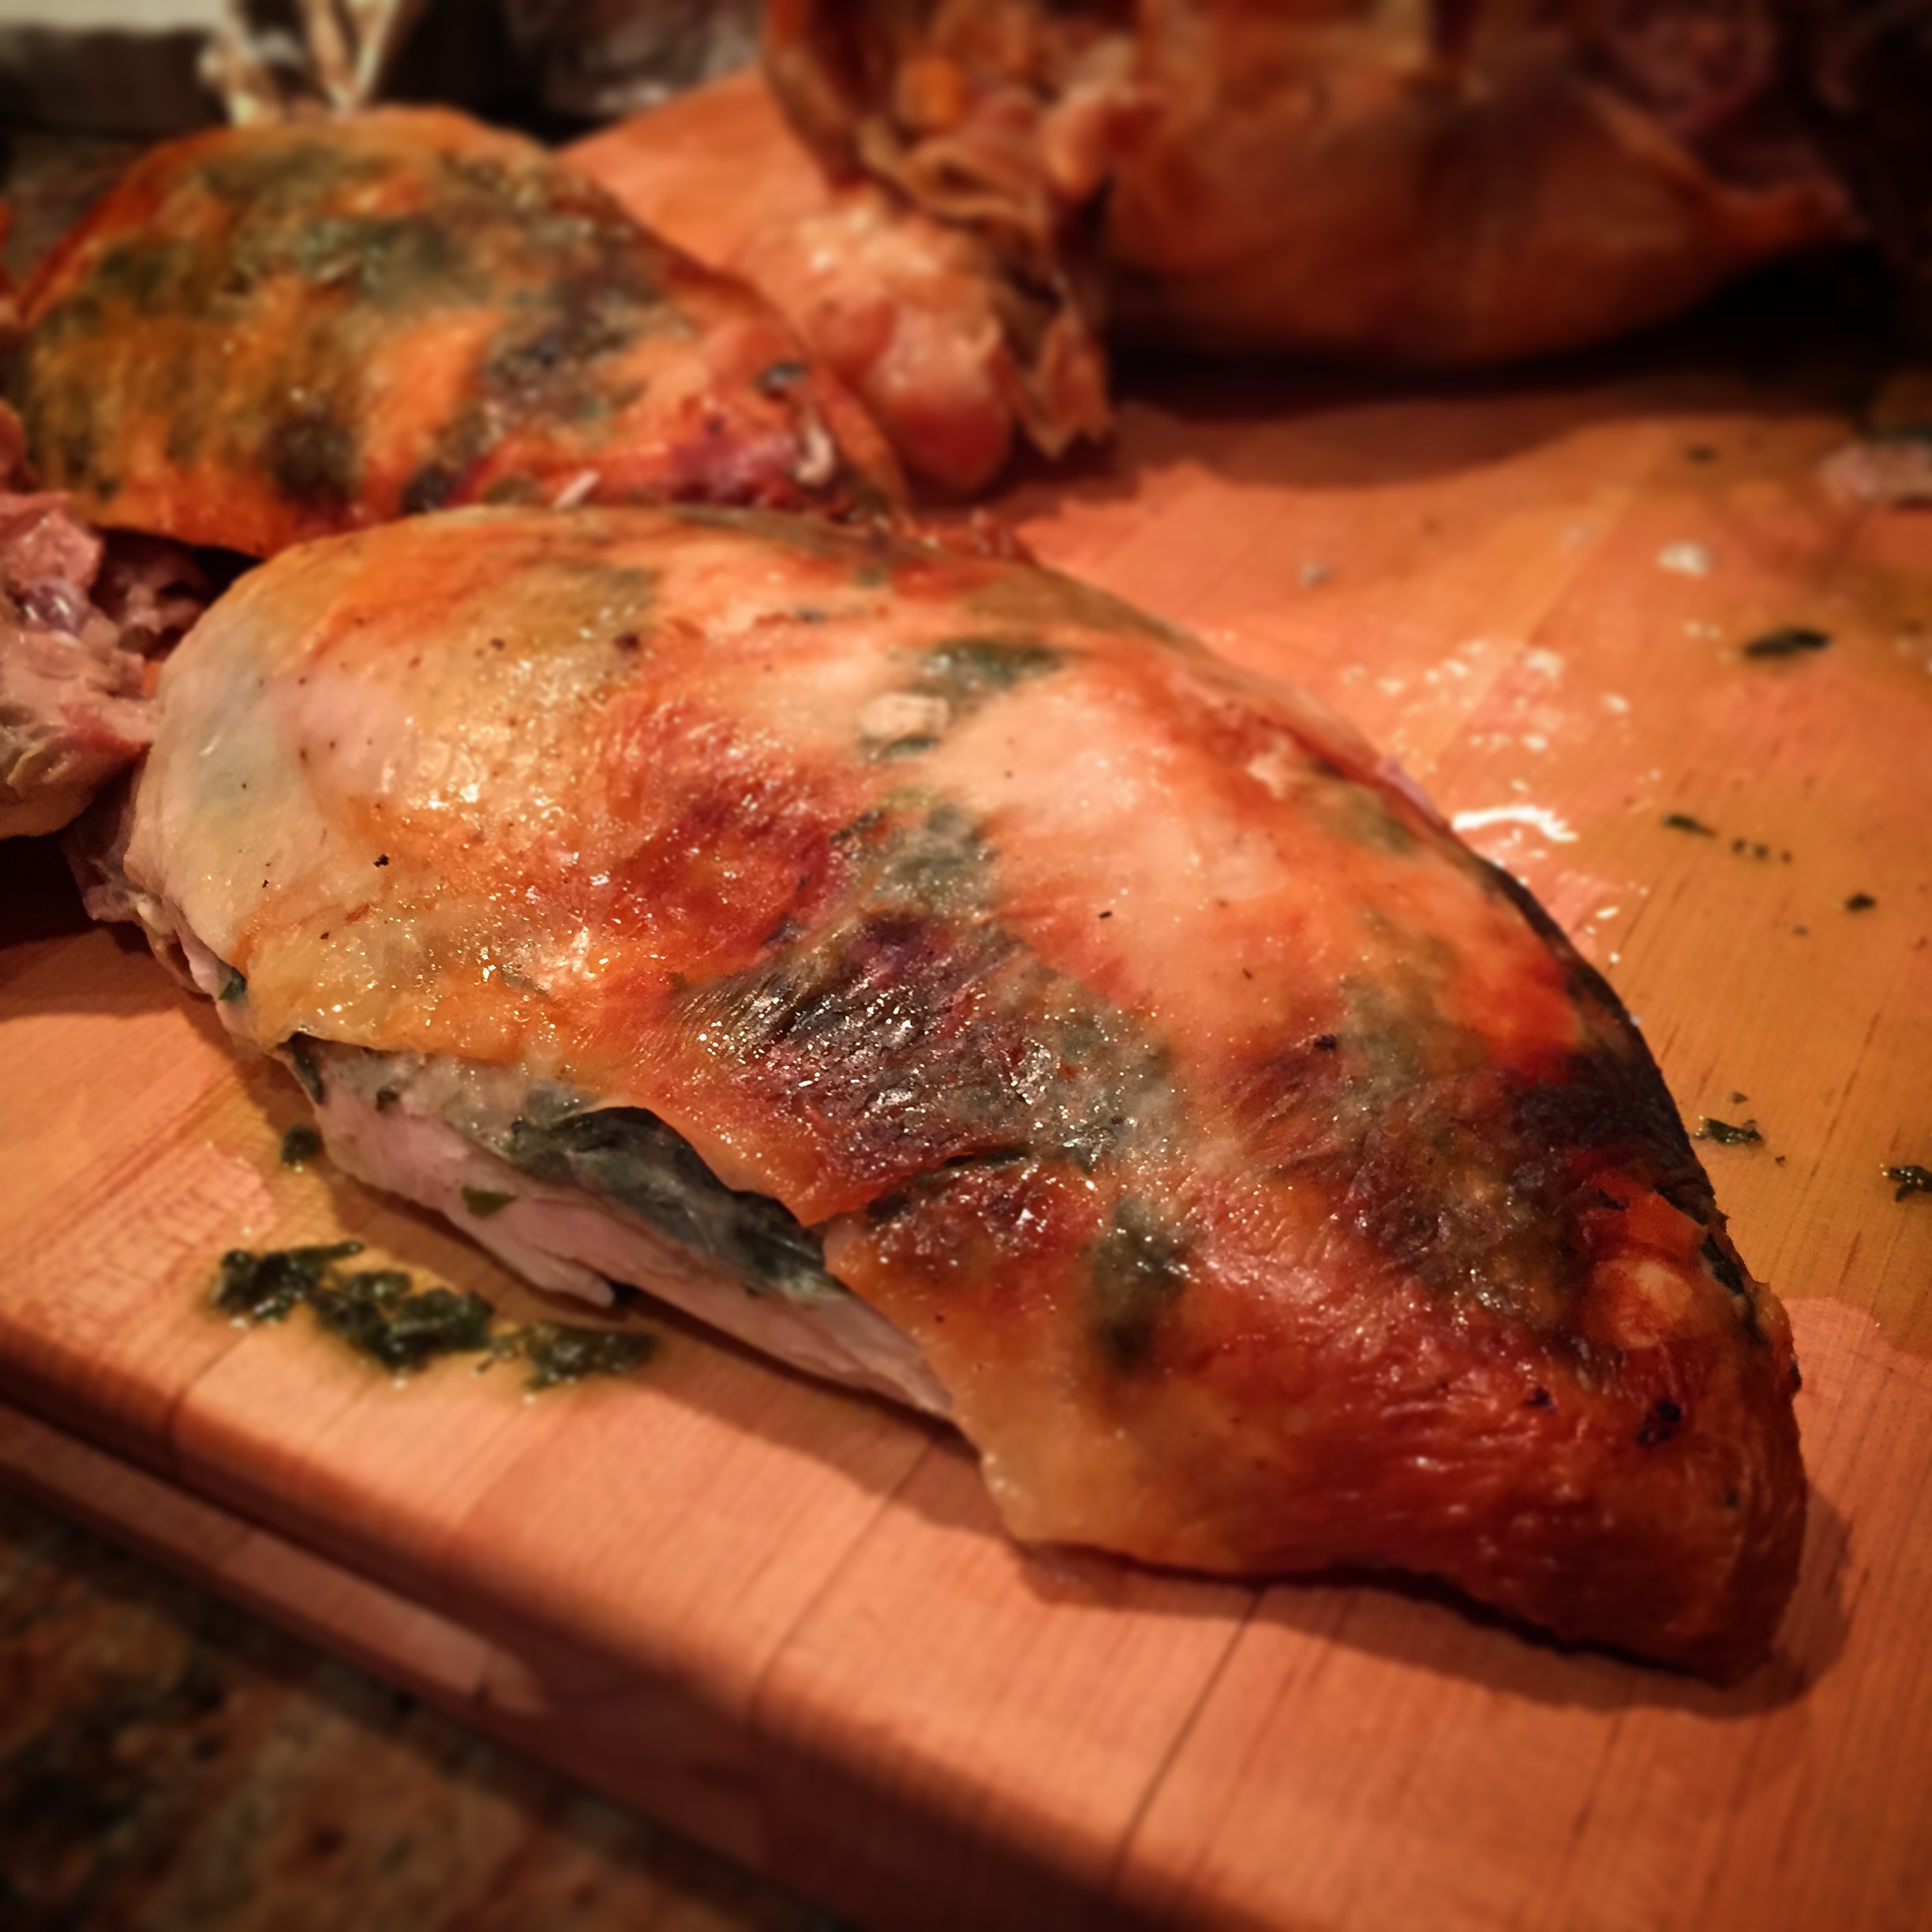
And as if that wasn’t enough food yet, it was on to the full Thanksgiving feast, including a 26 pound turkey that was herbed and covered in bacon for a full roast.
Here is the bird pre-cook wrapped in bacon.
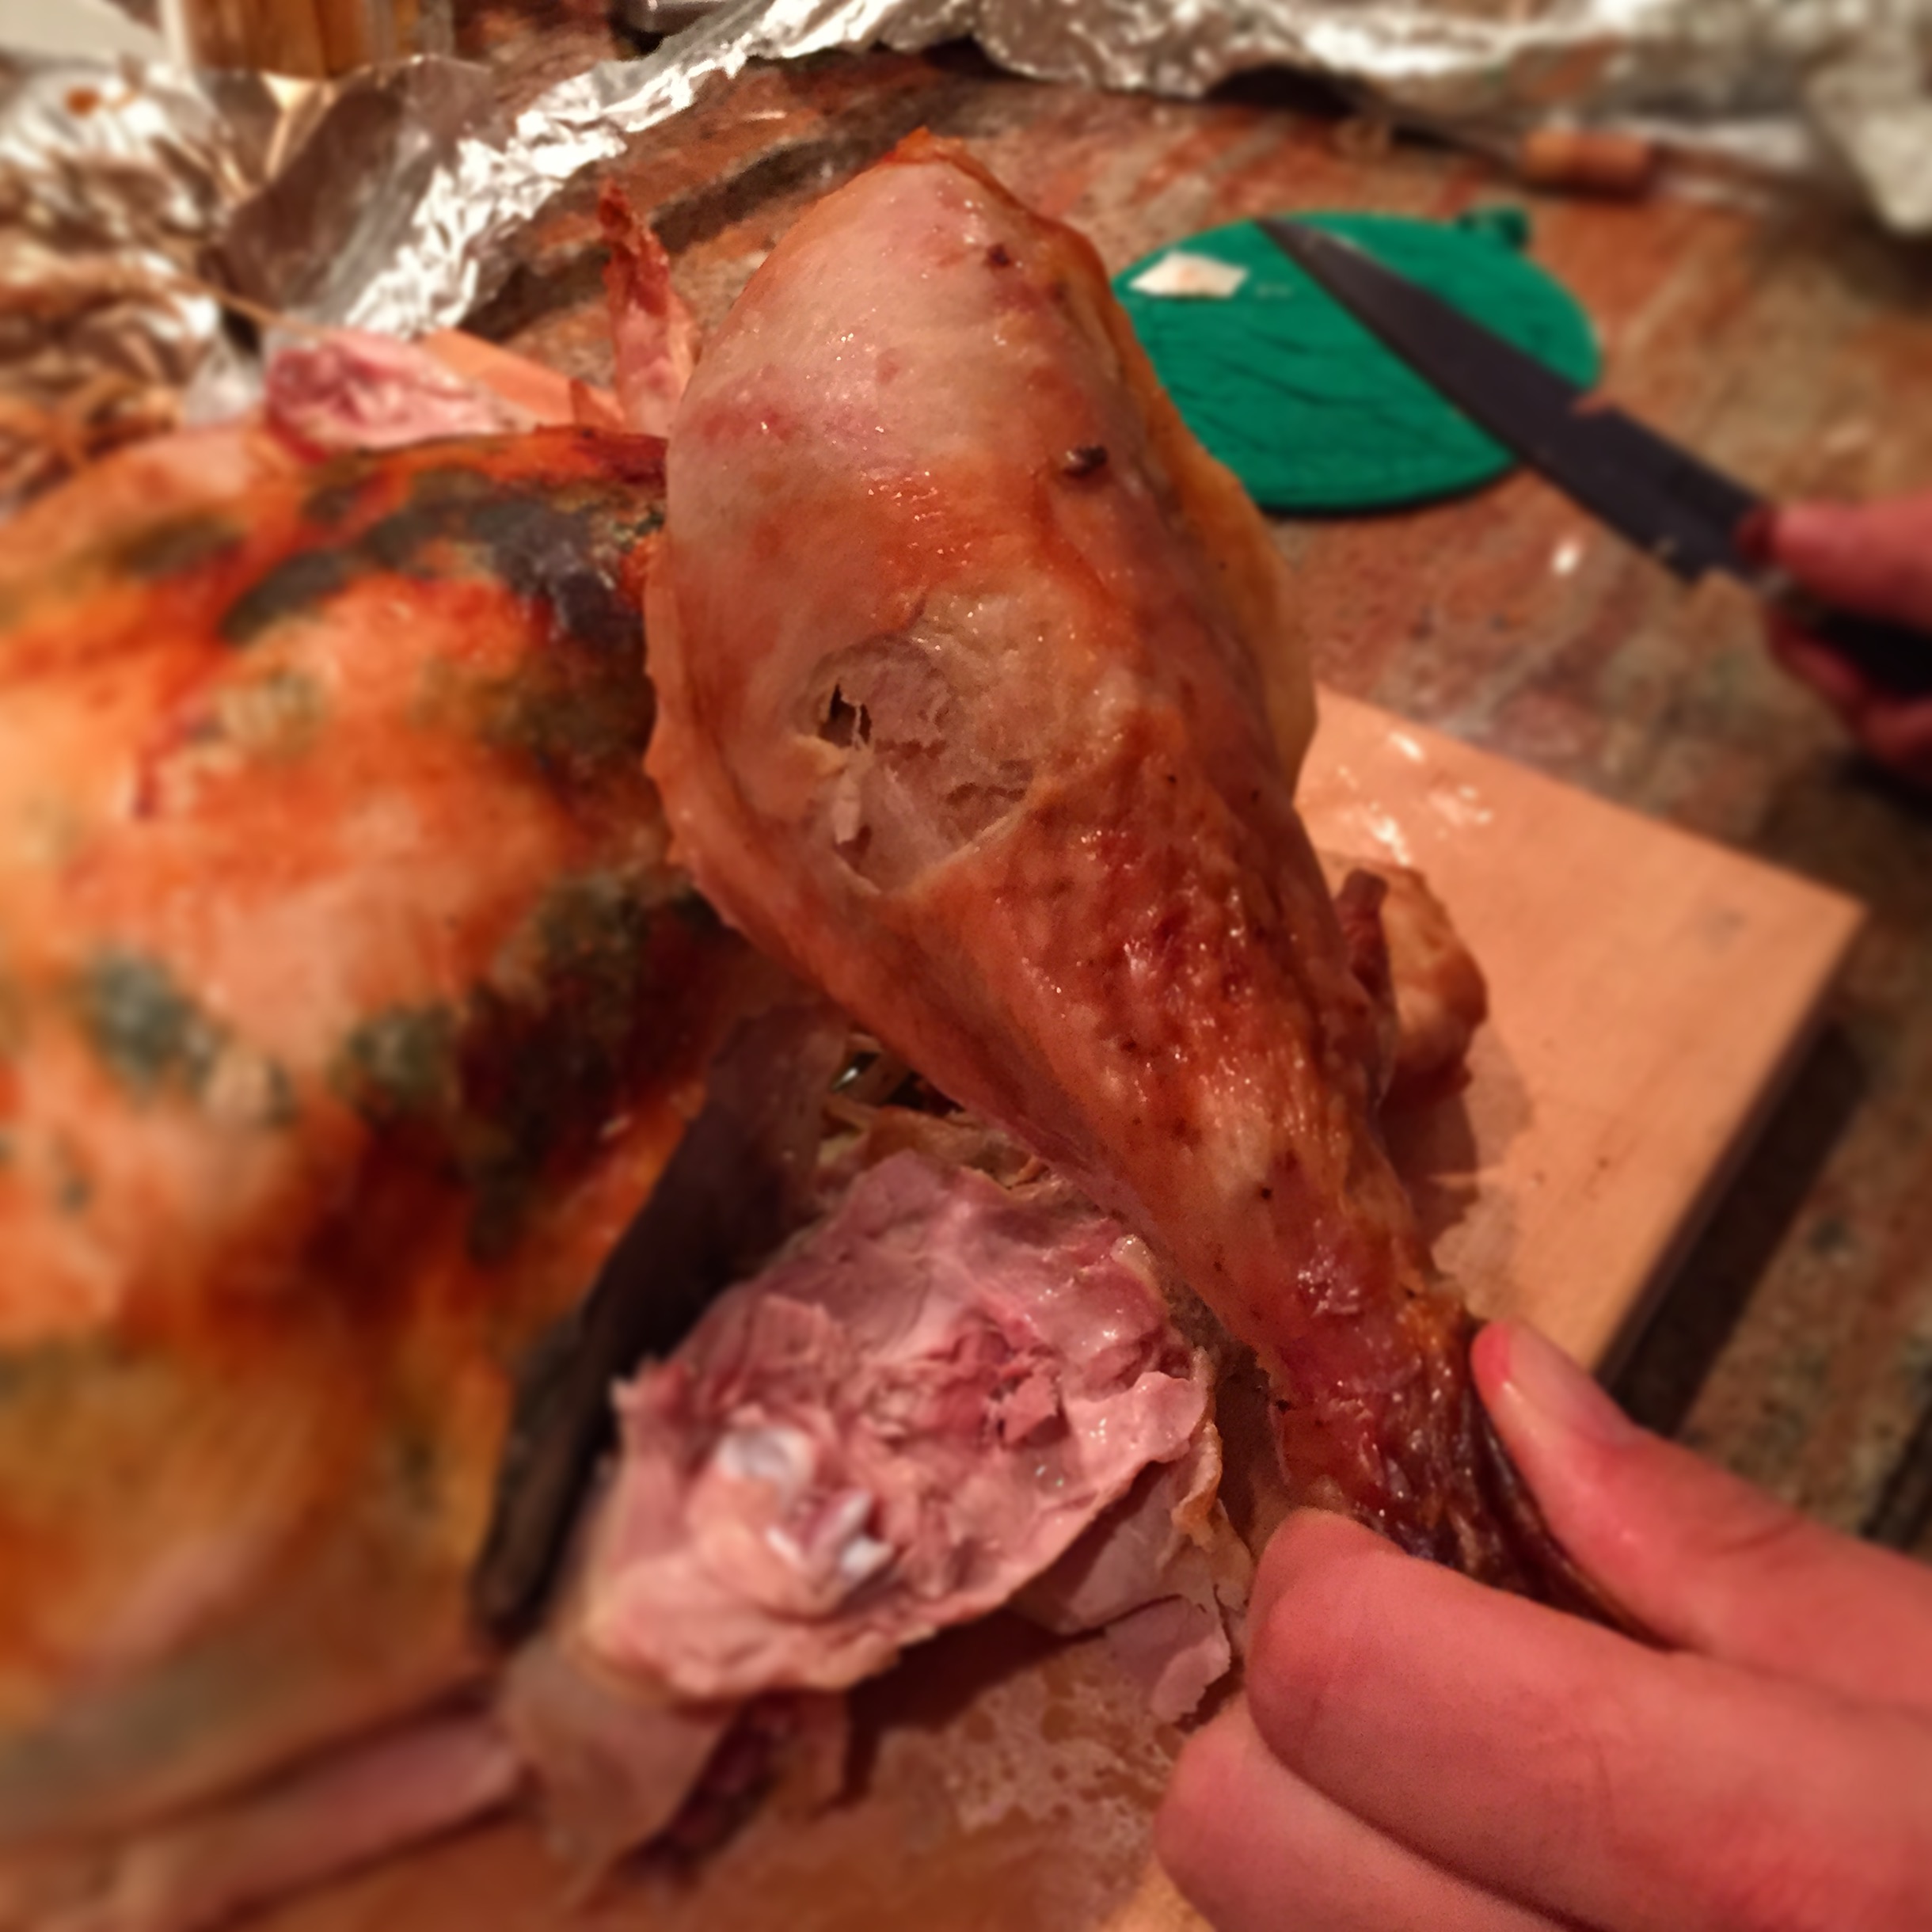
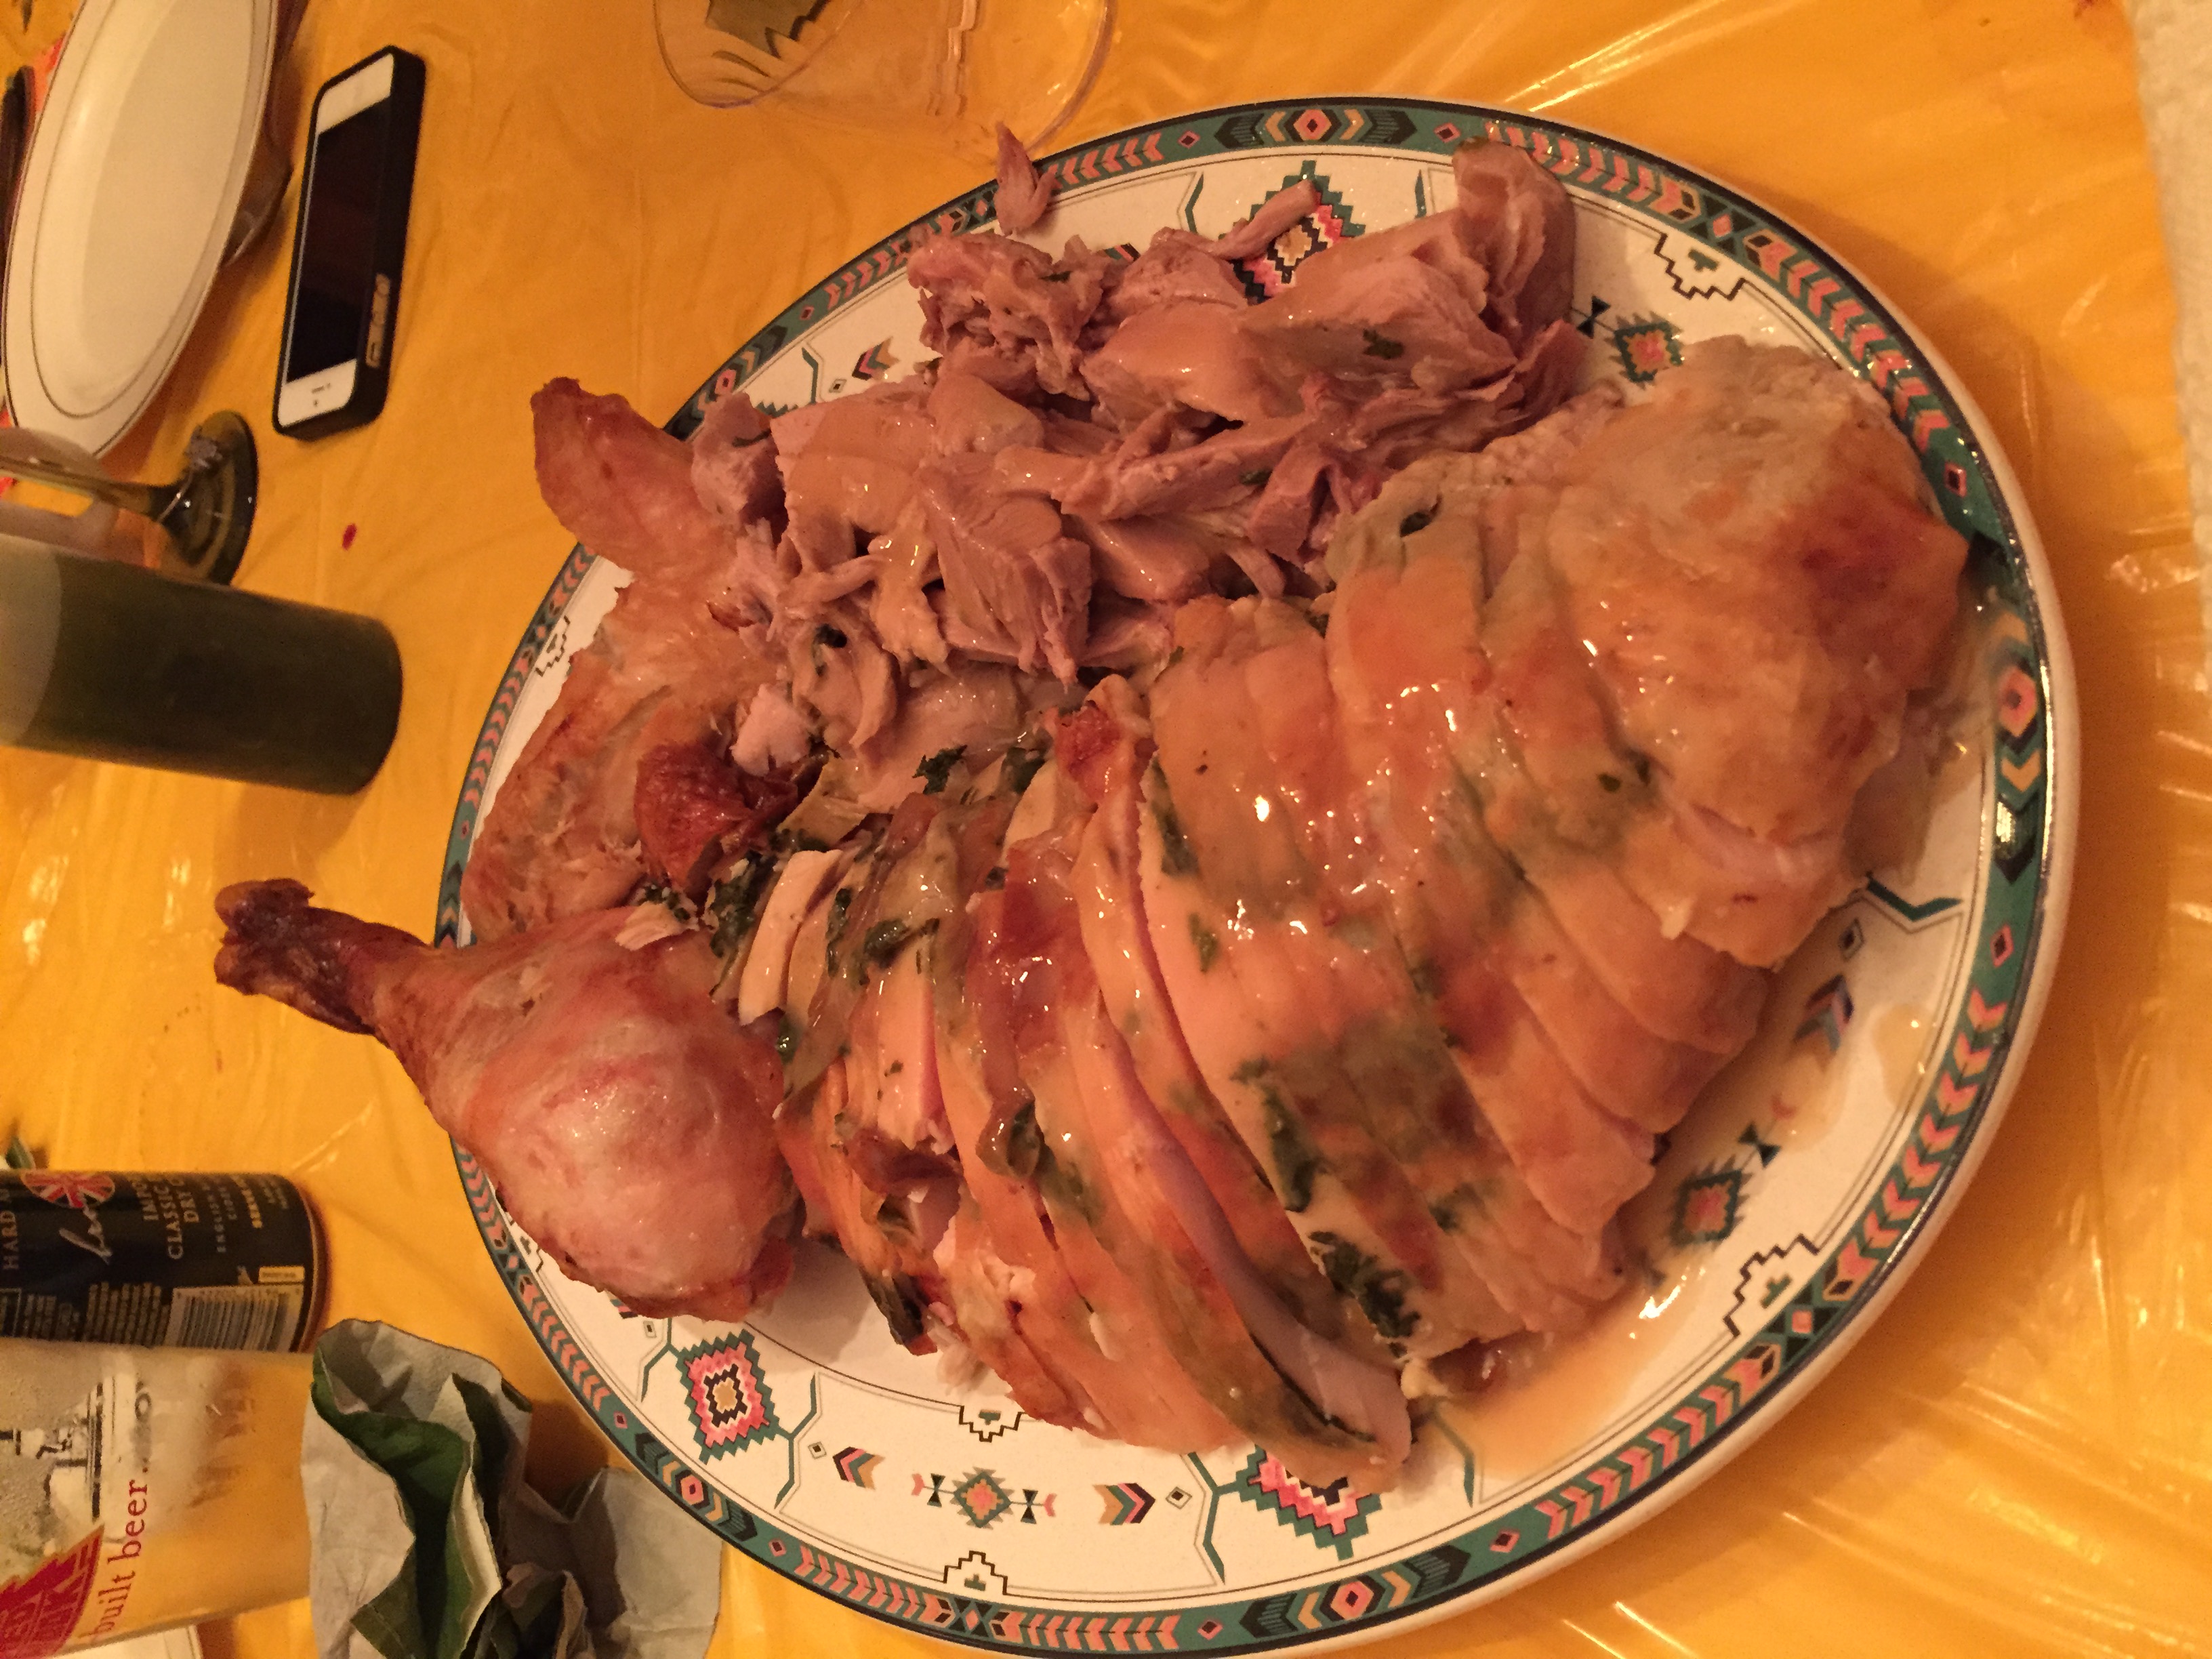
And here is the bird ready to be carved.
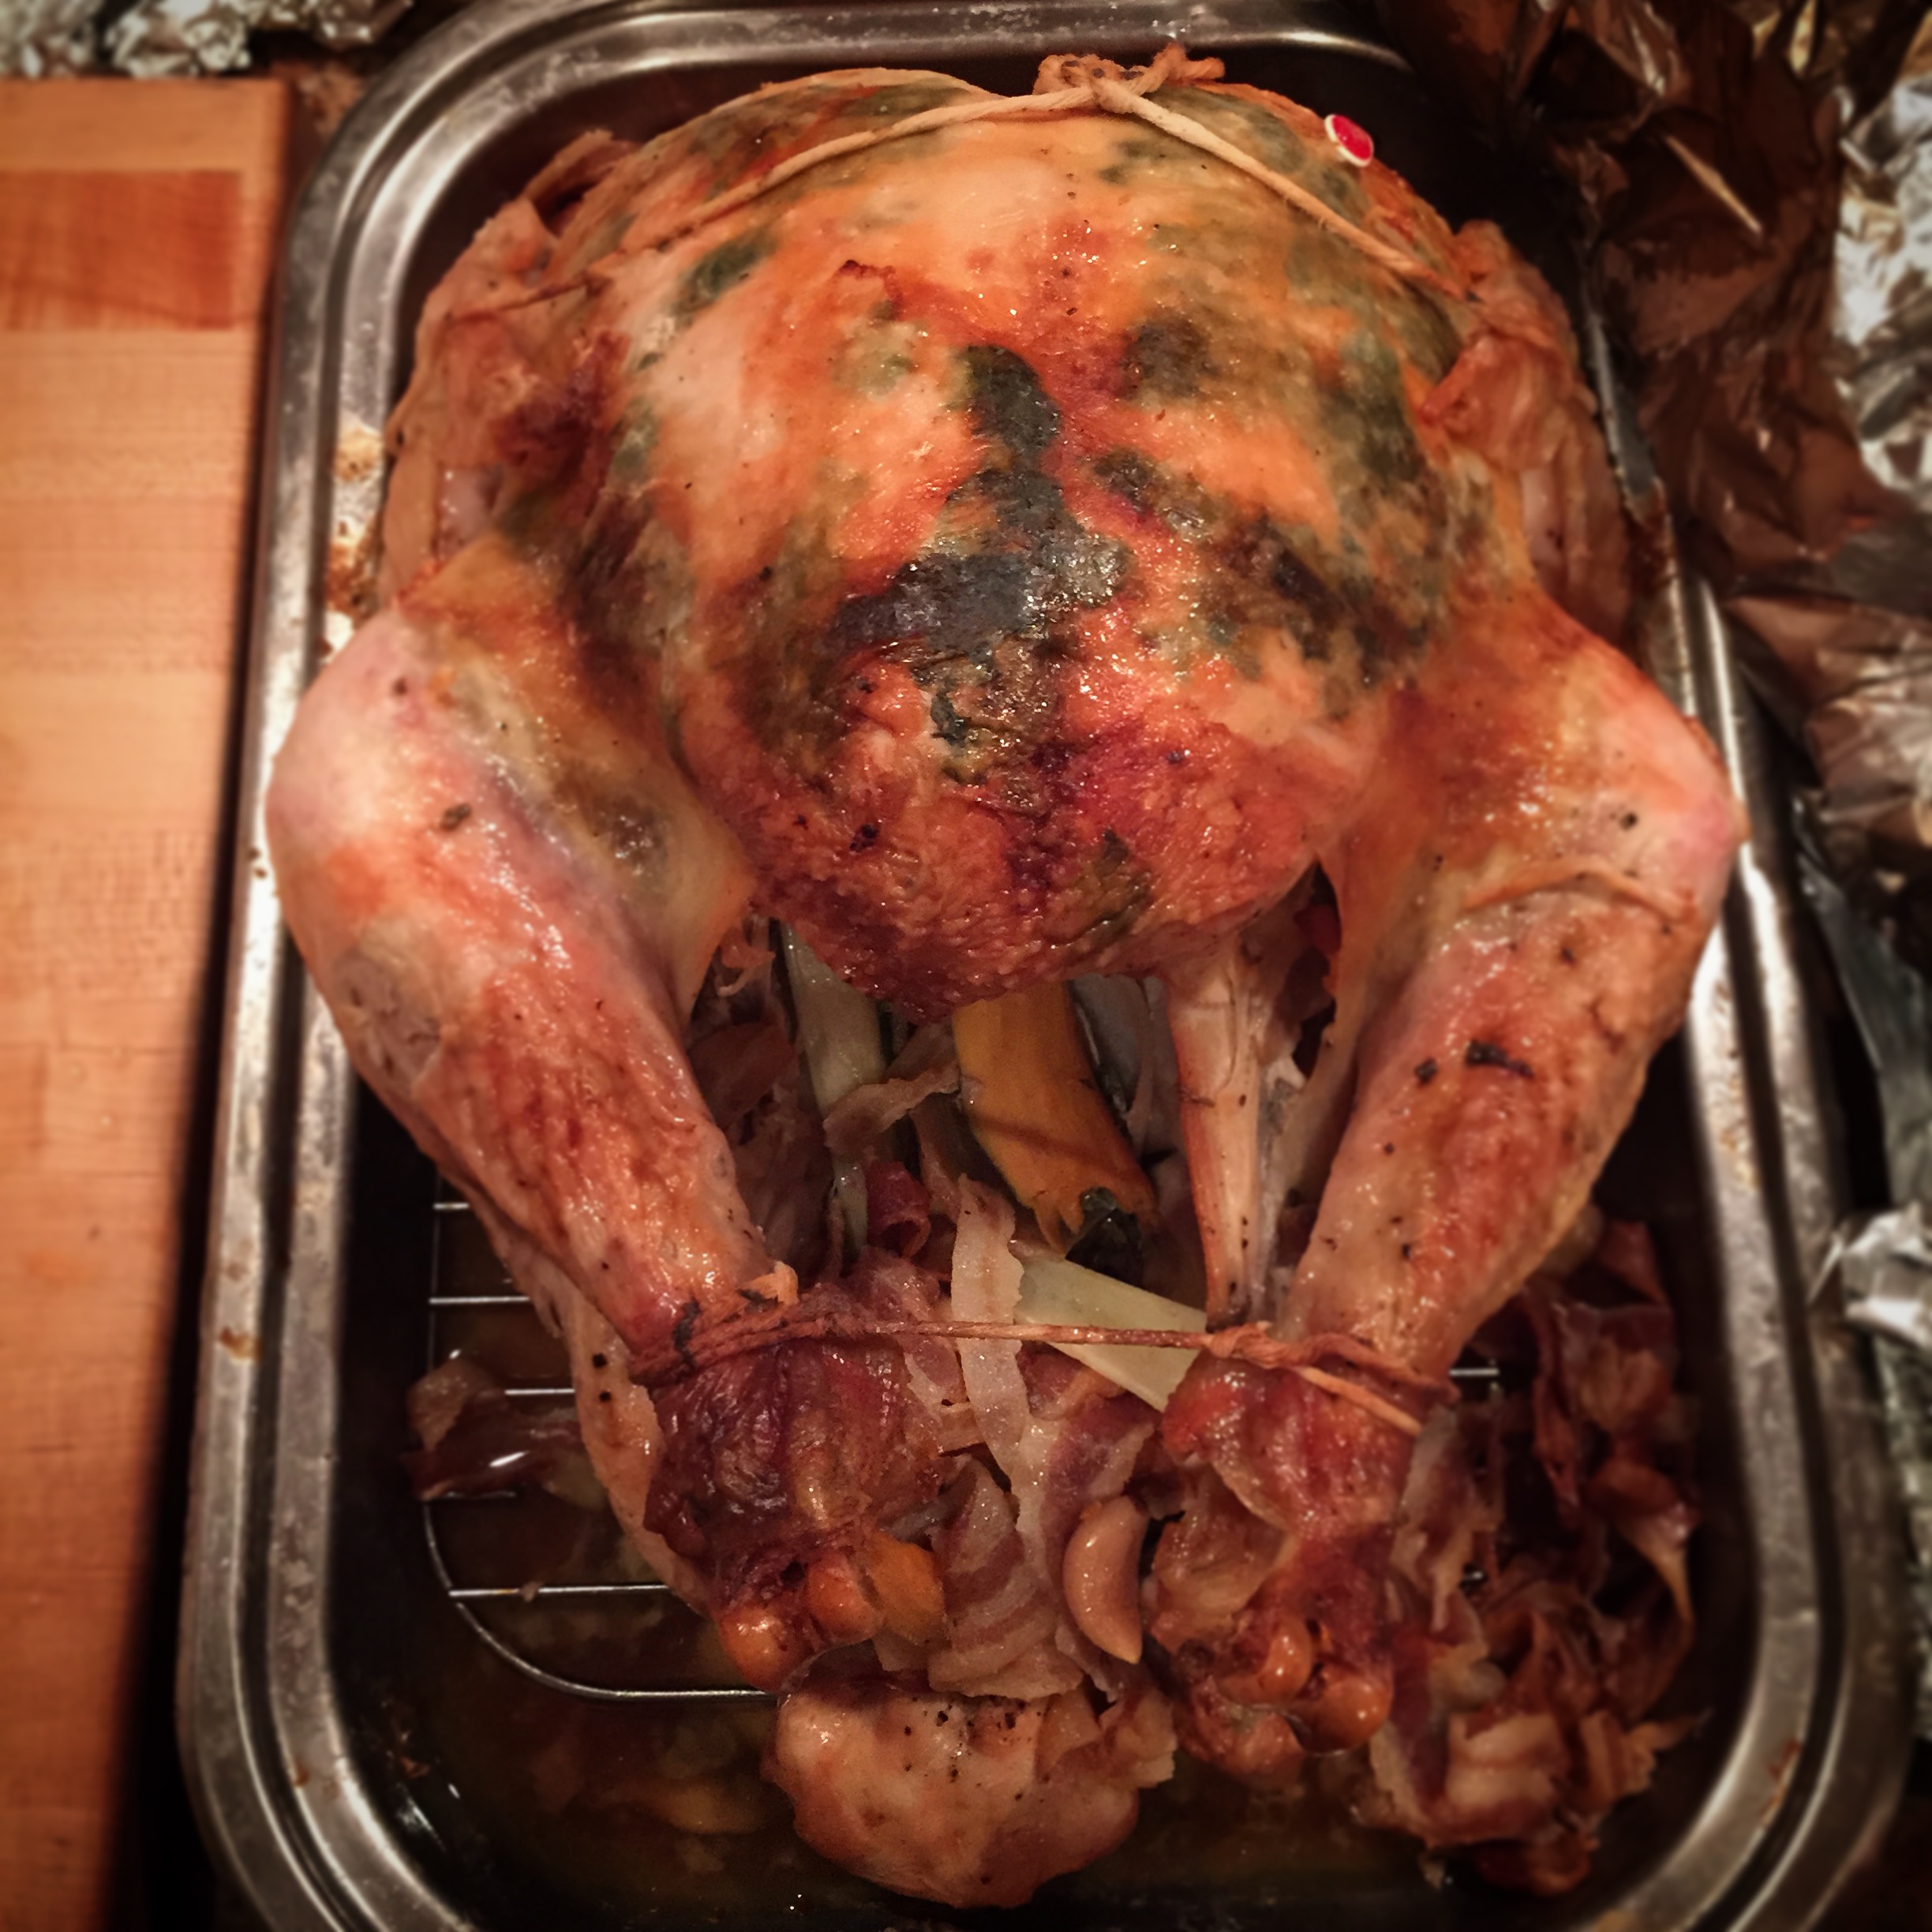
Our carver went at the bird and we all looked on.
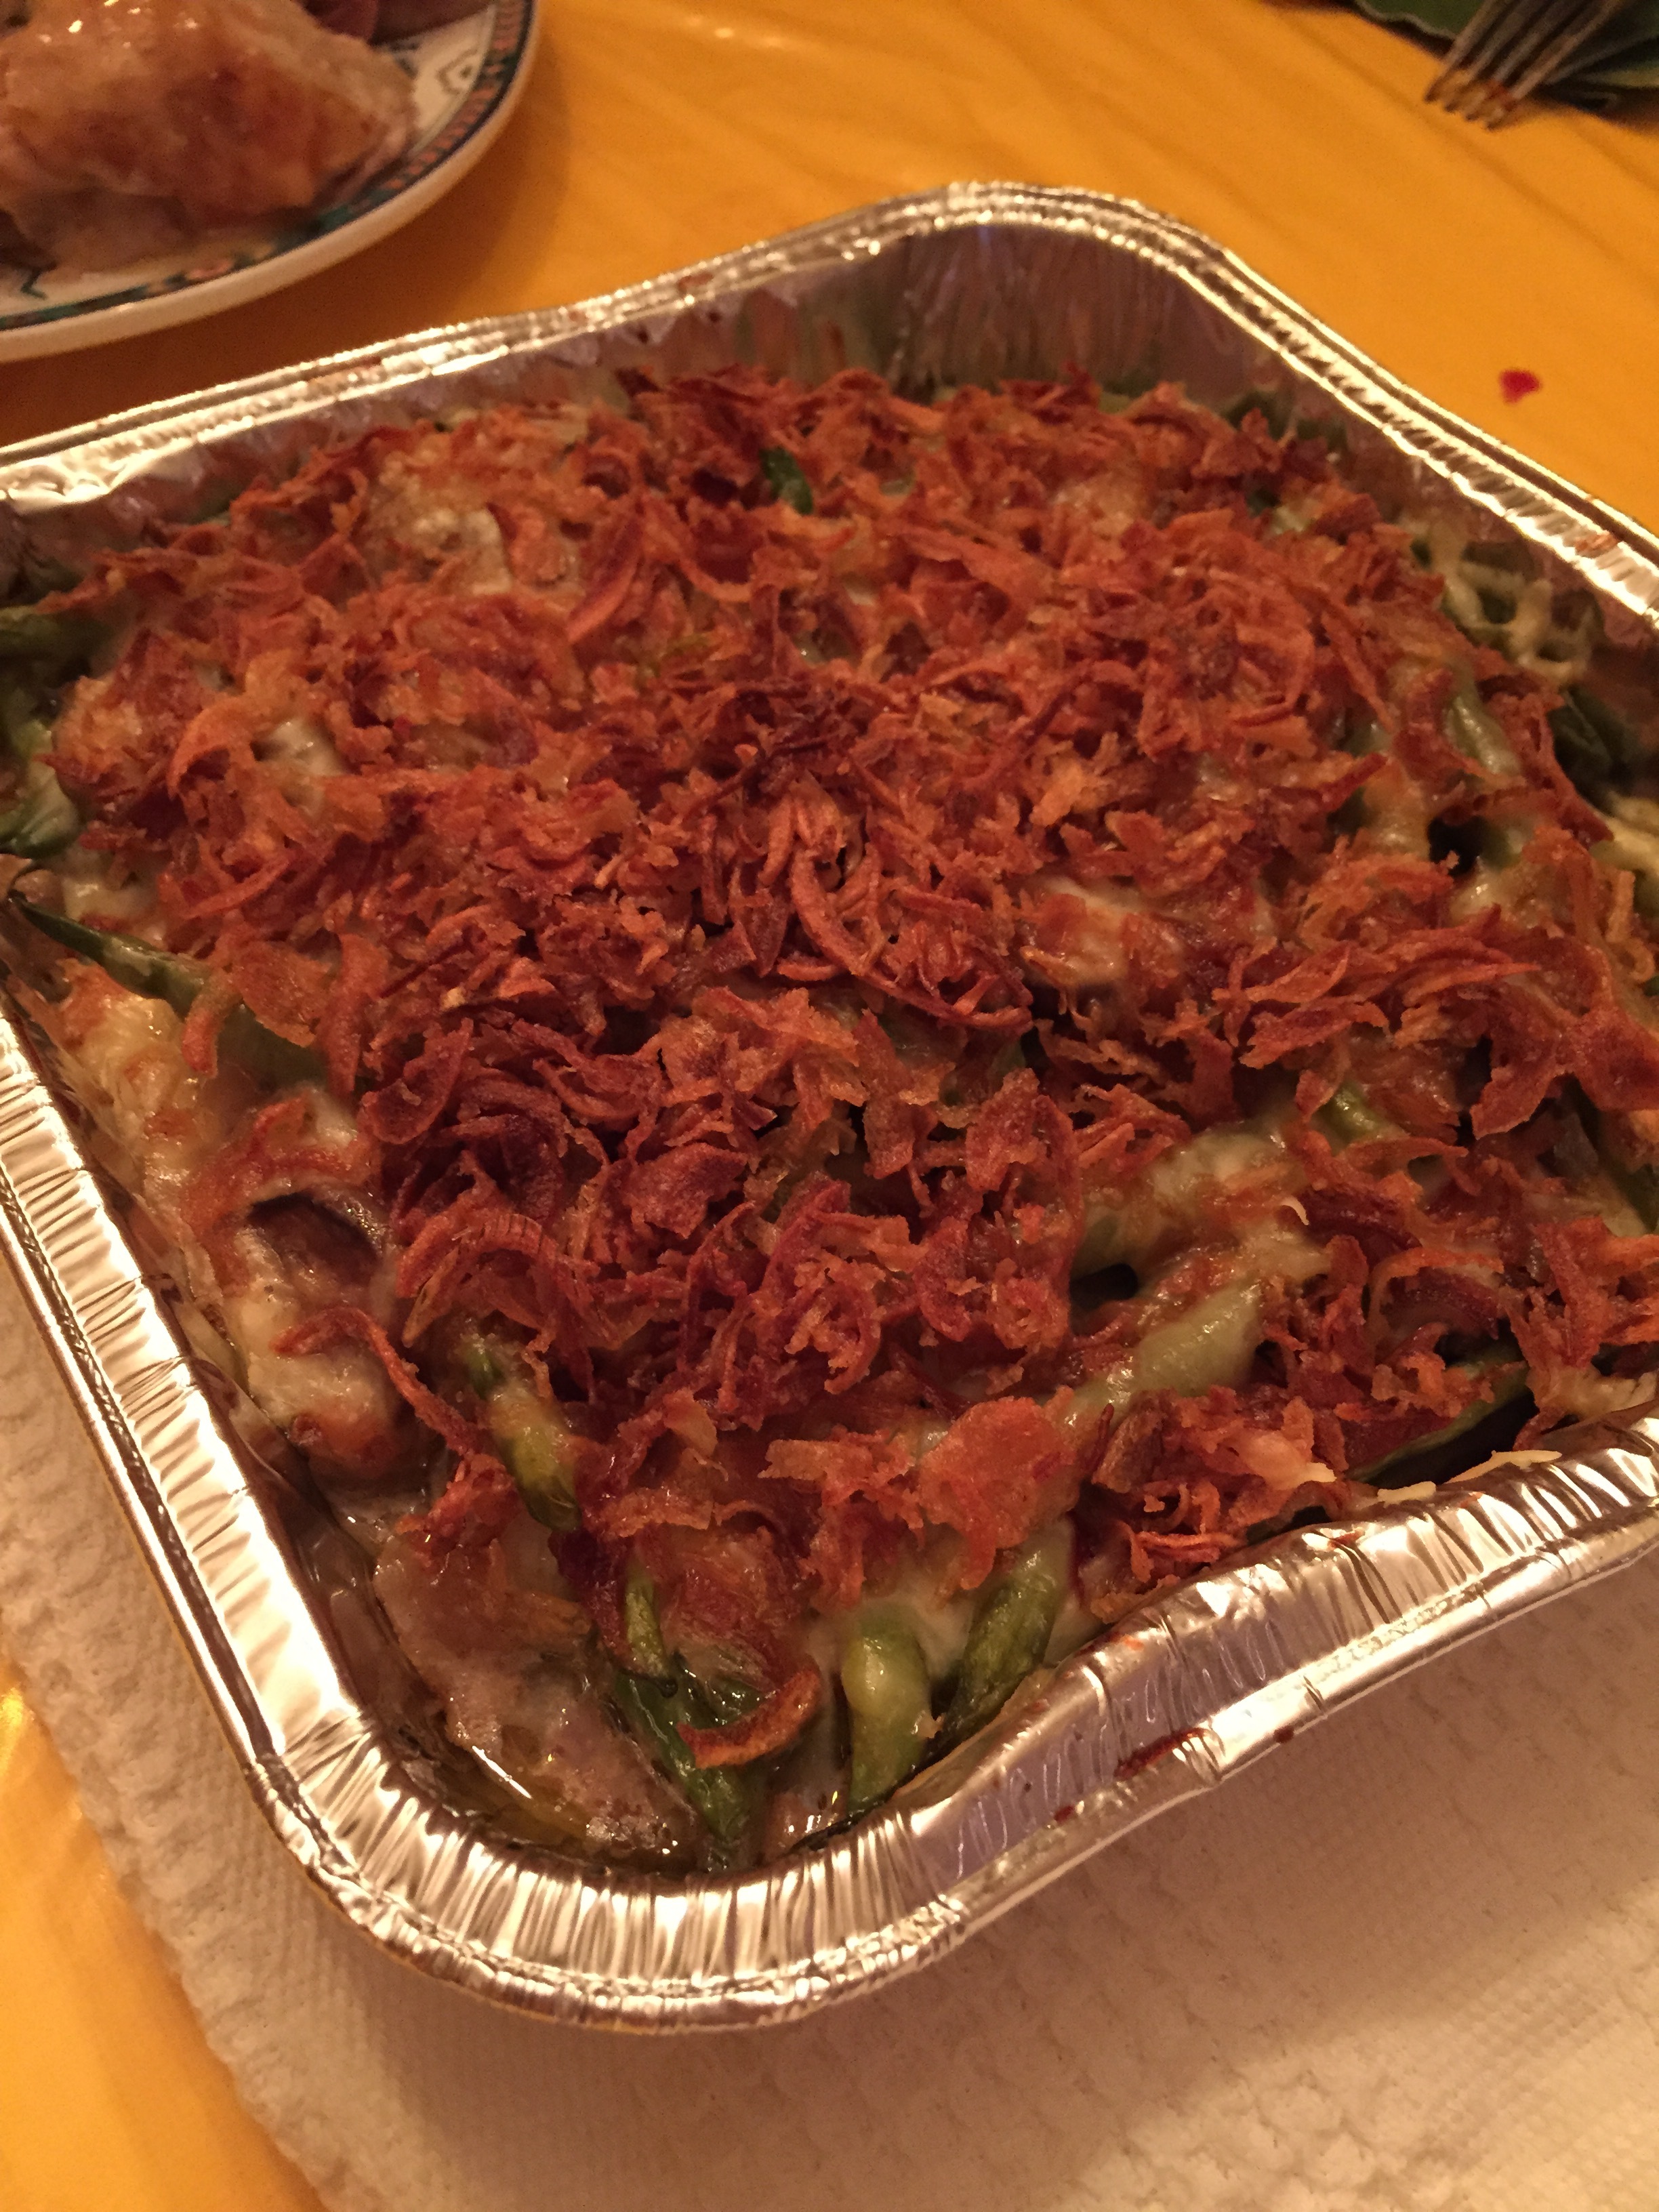
Then there was a (really delicious) string bean casserole.
Stuffing.

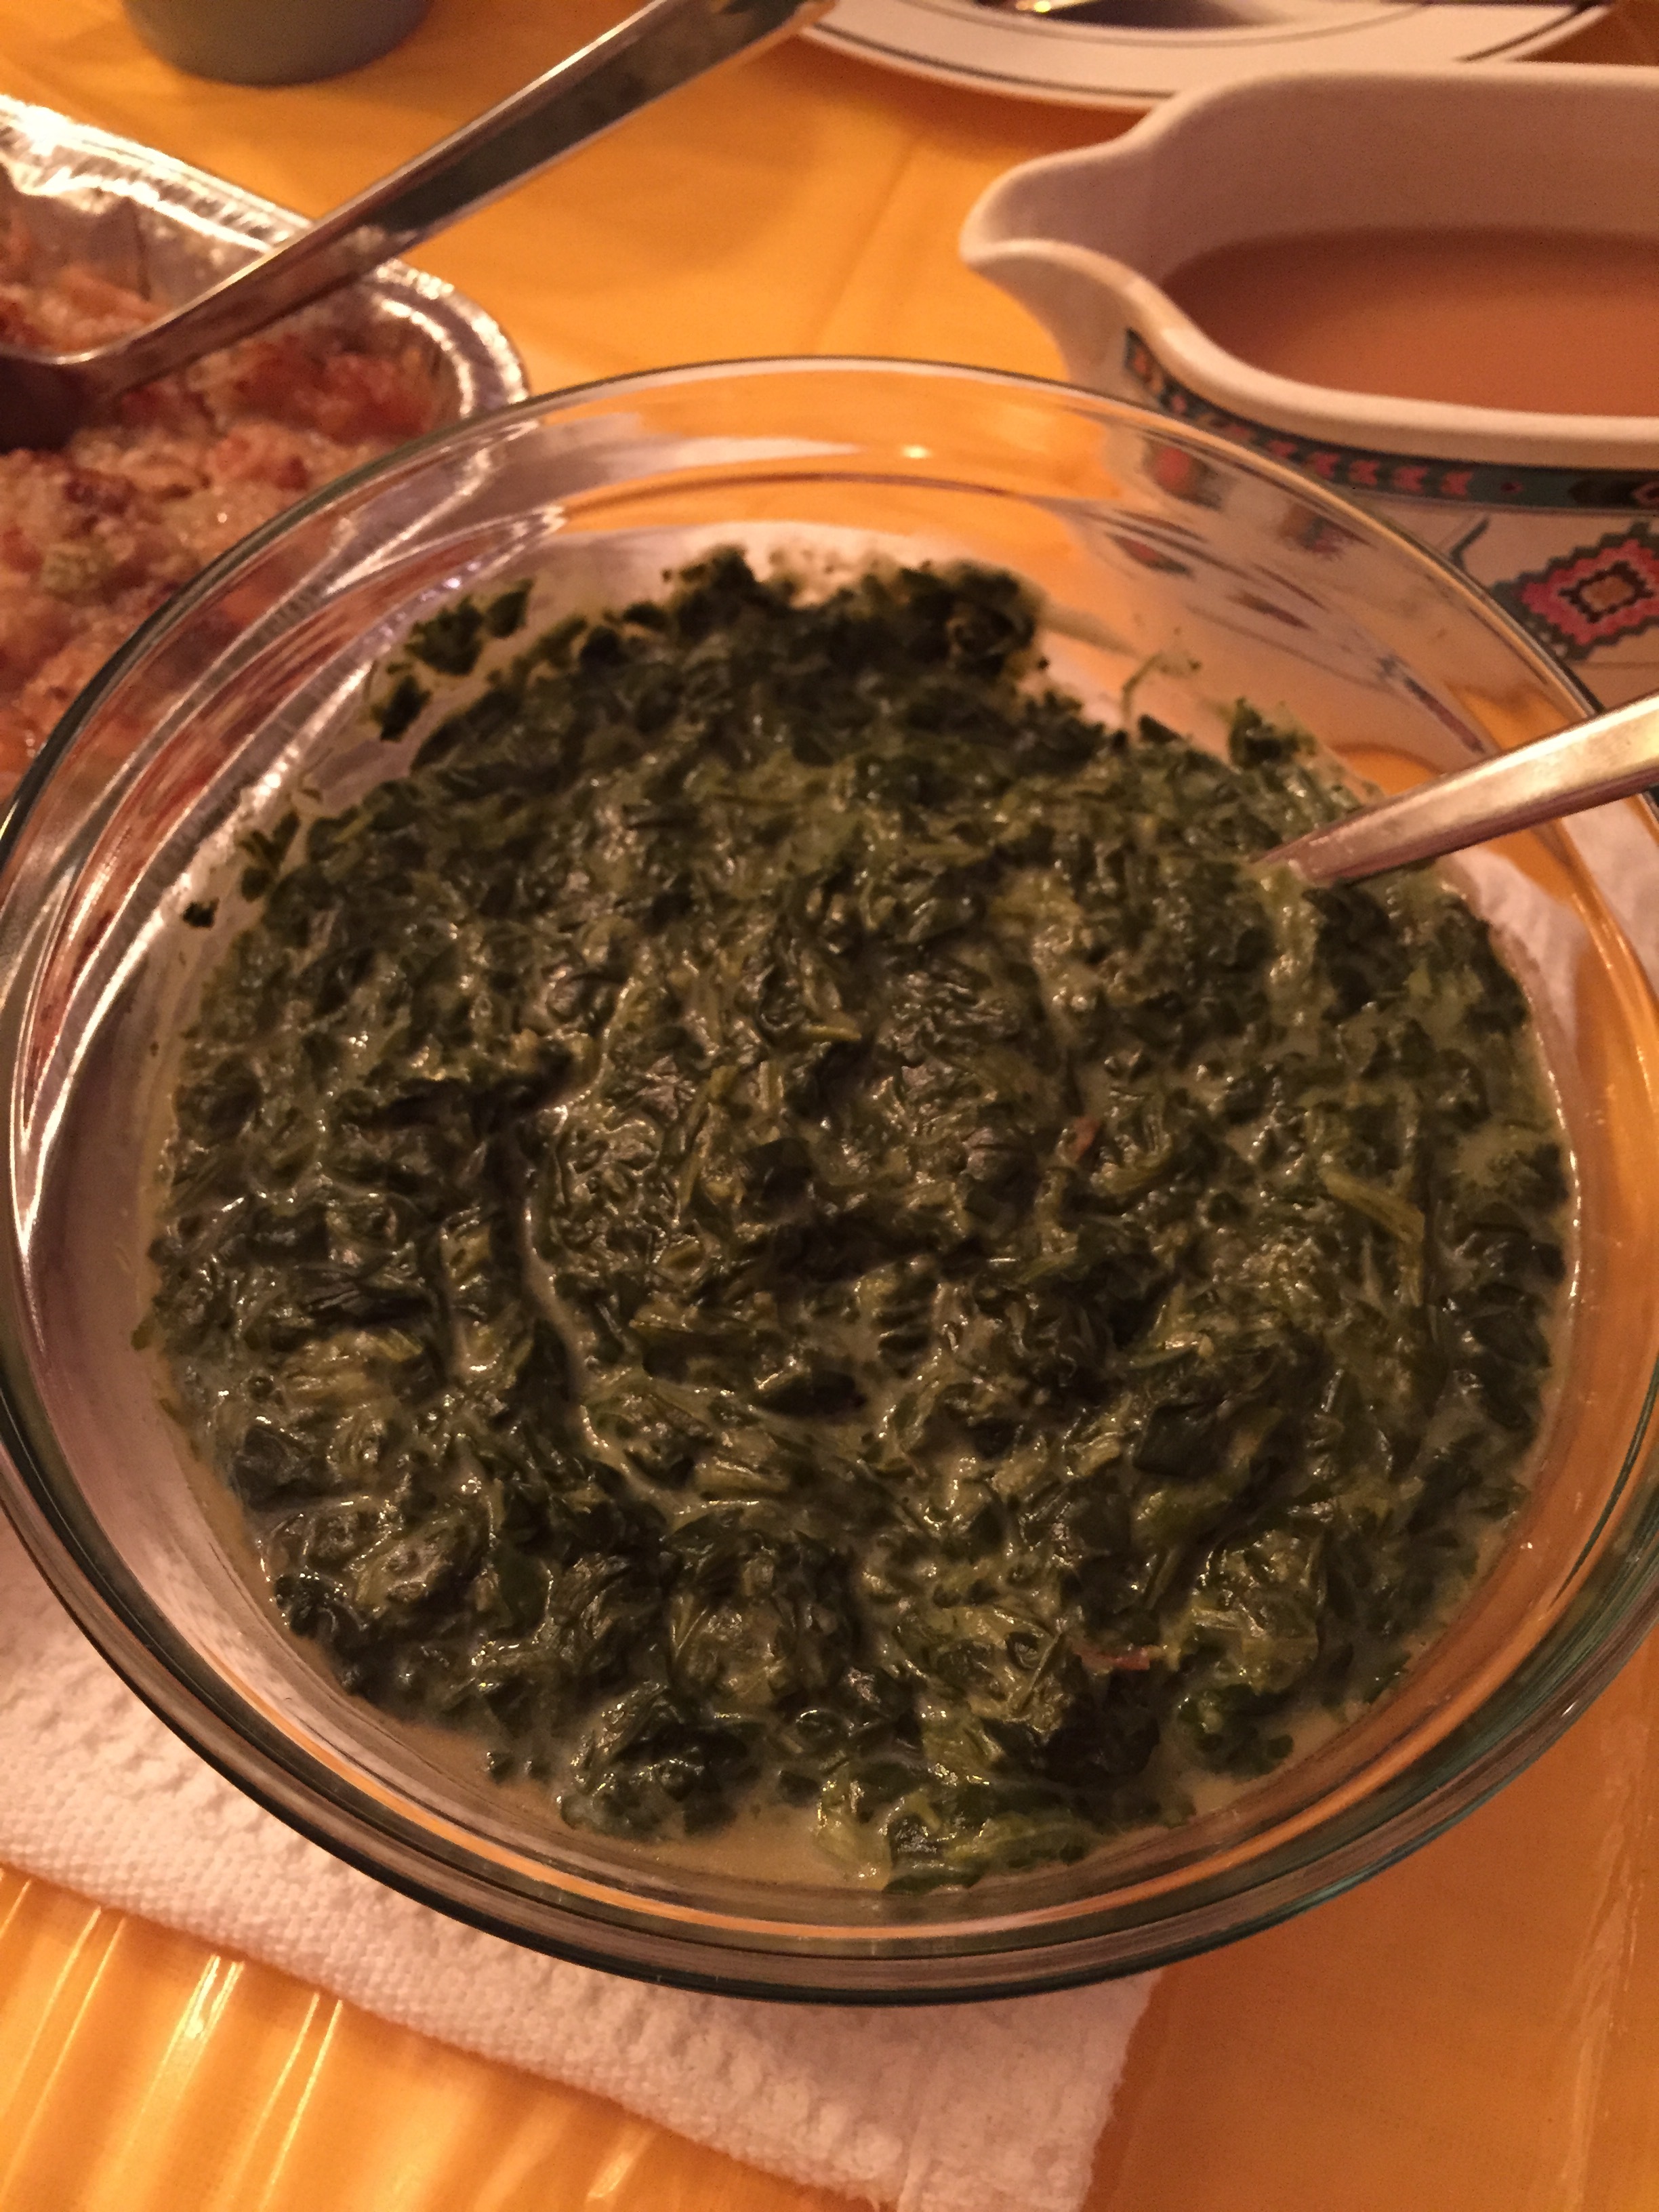
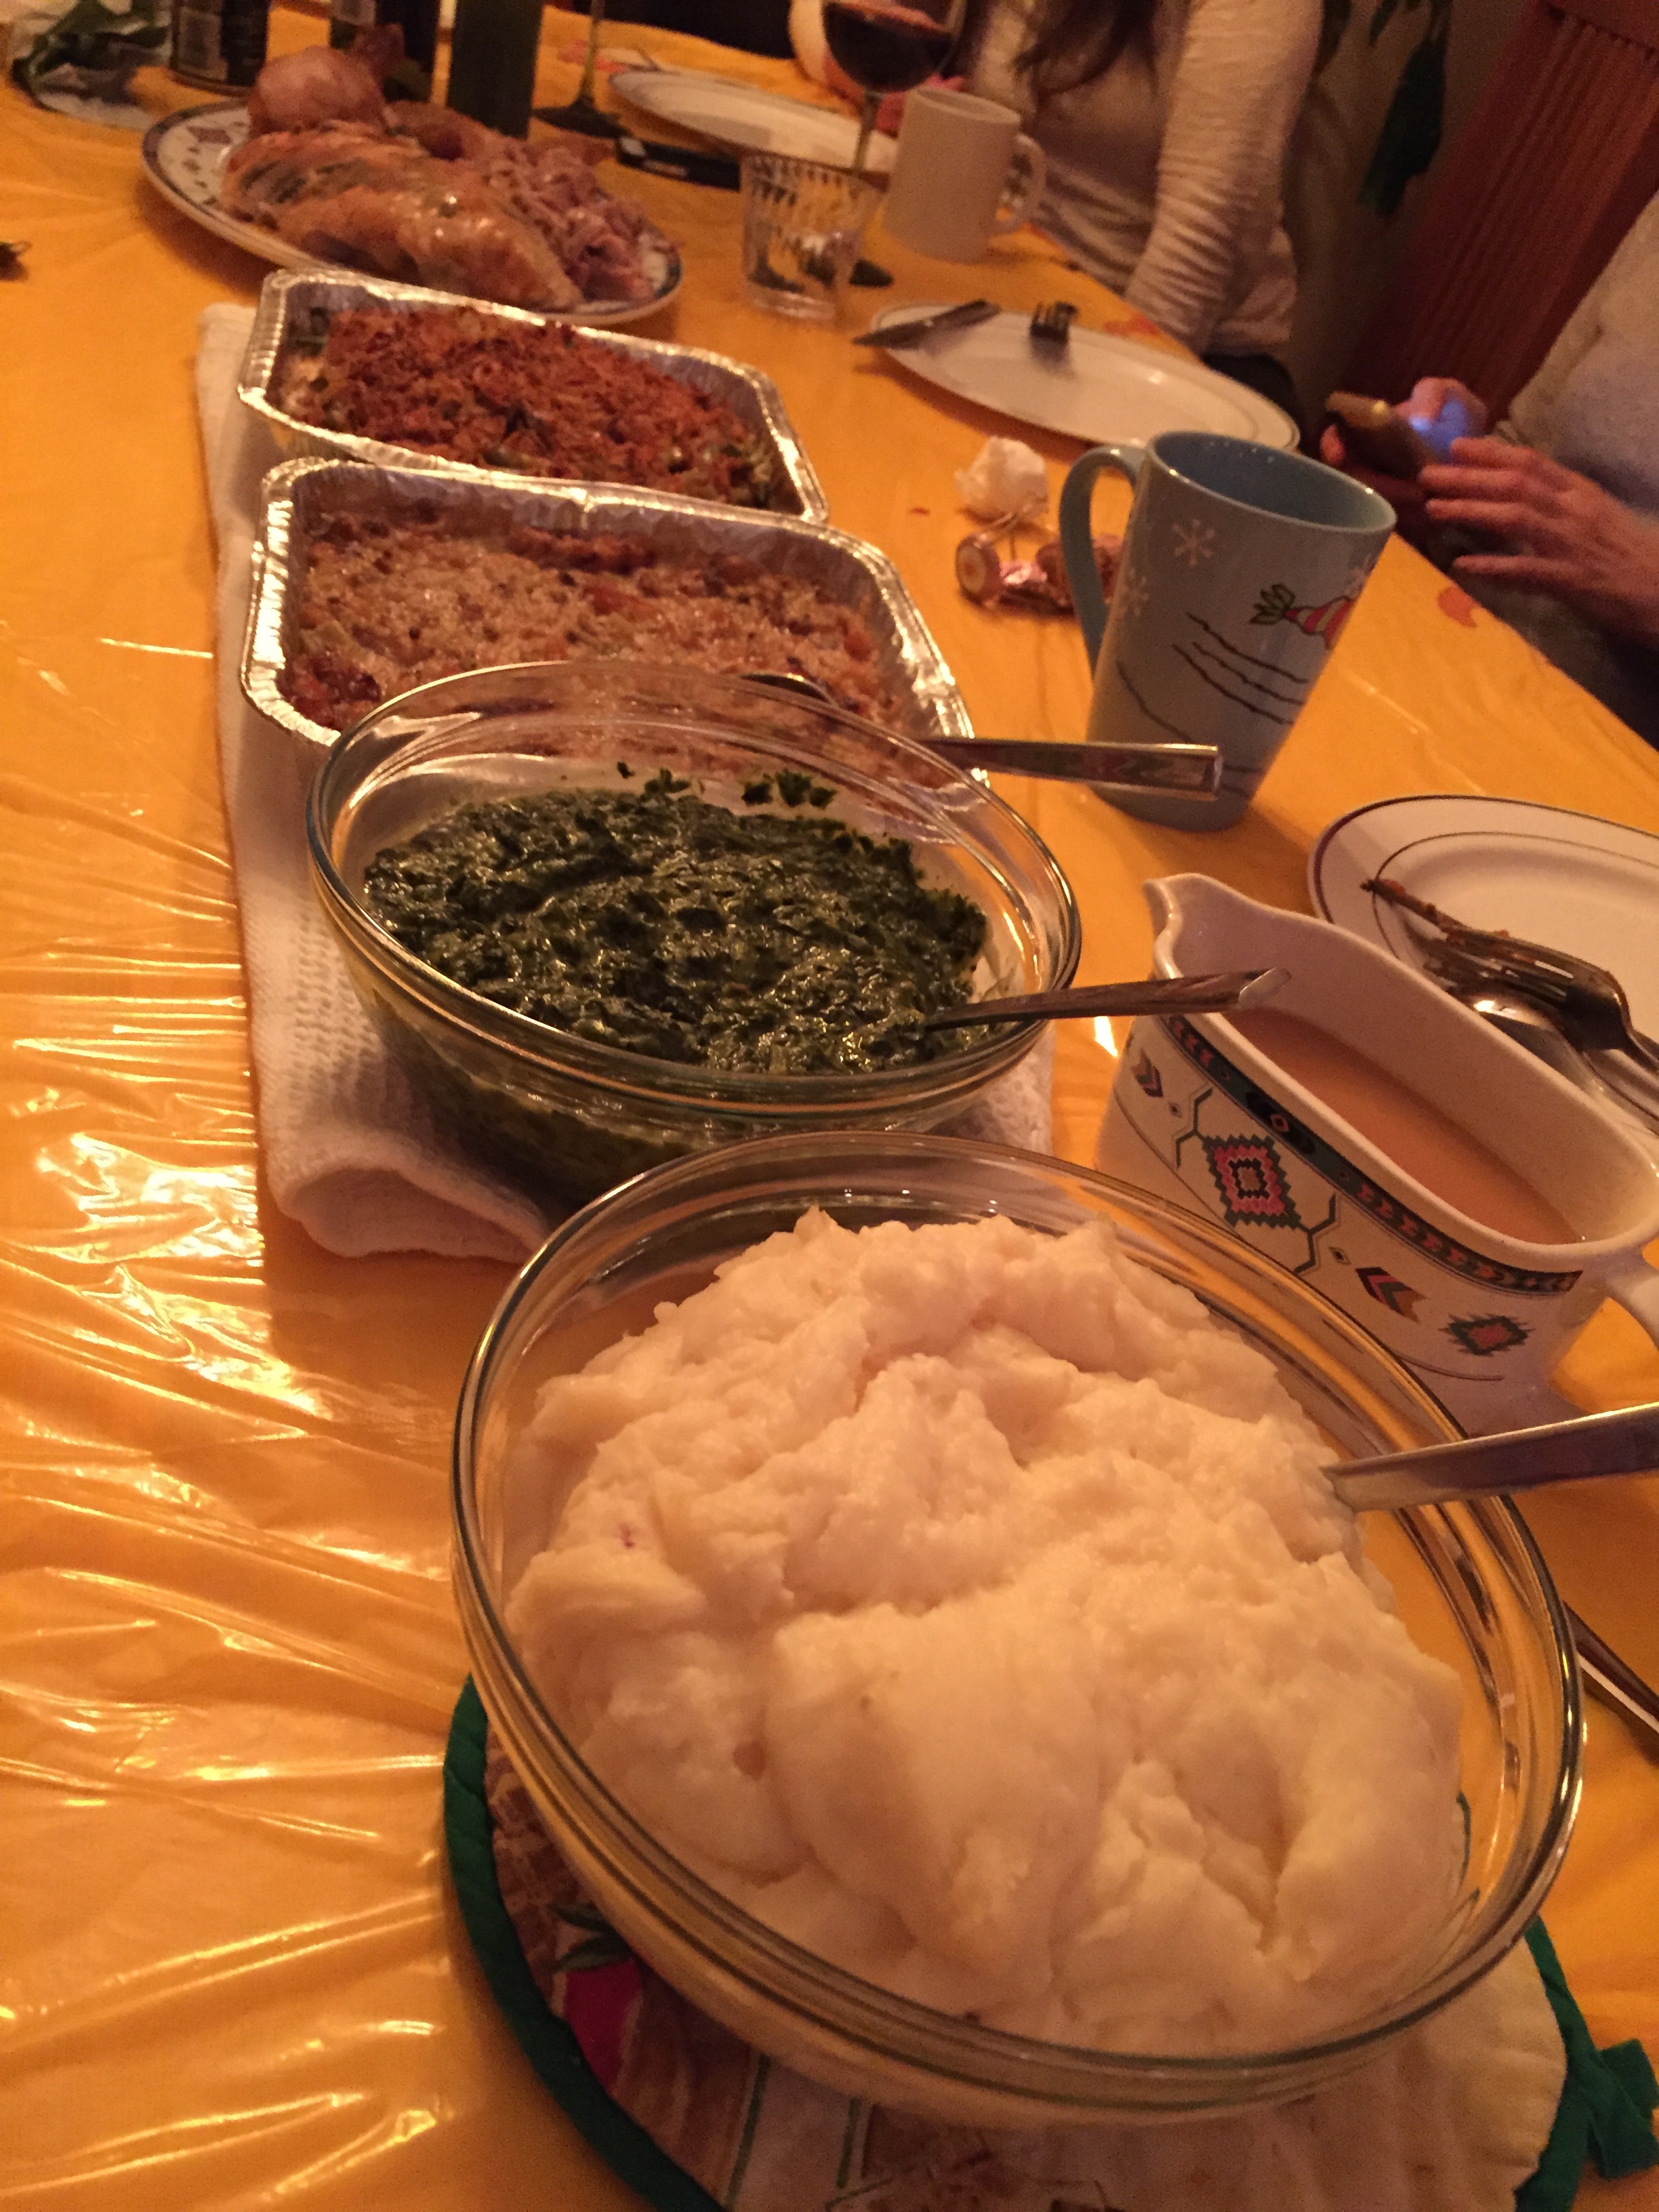
Creamed spinach.
Mashed potatoes.
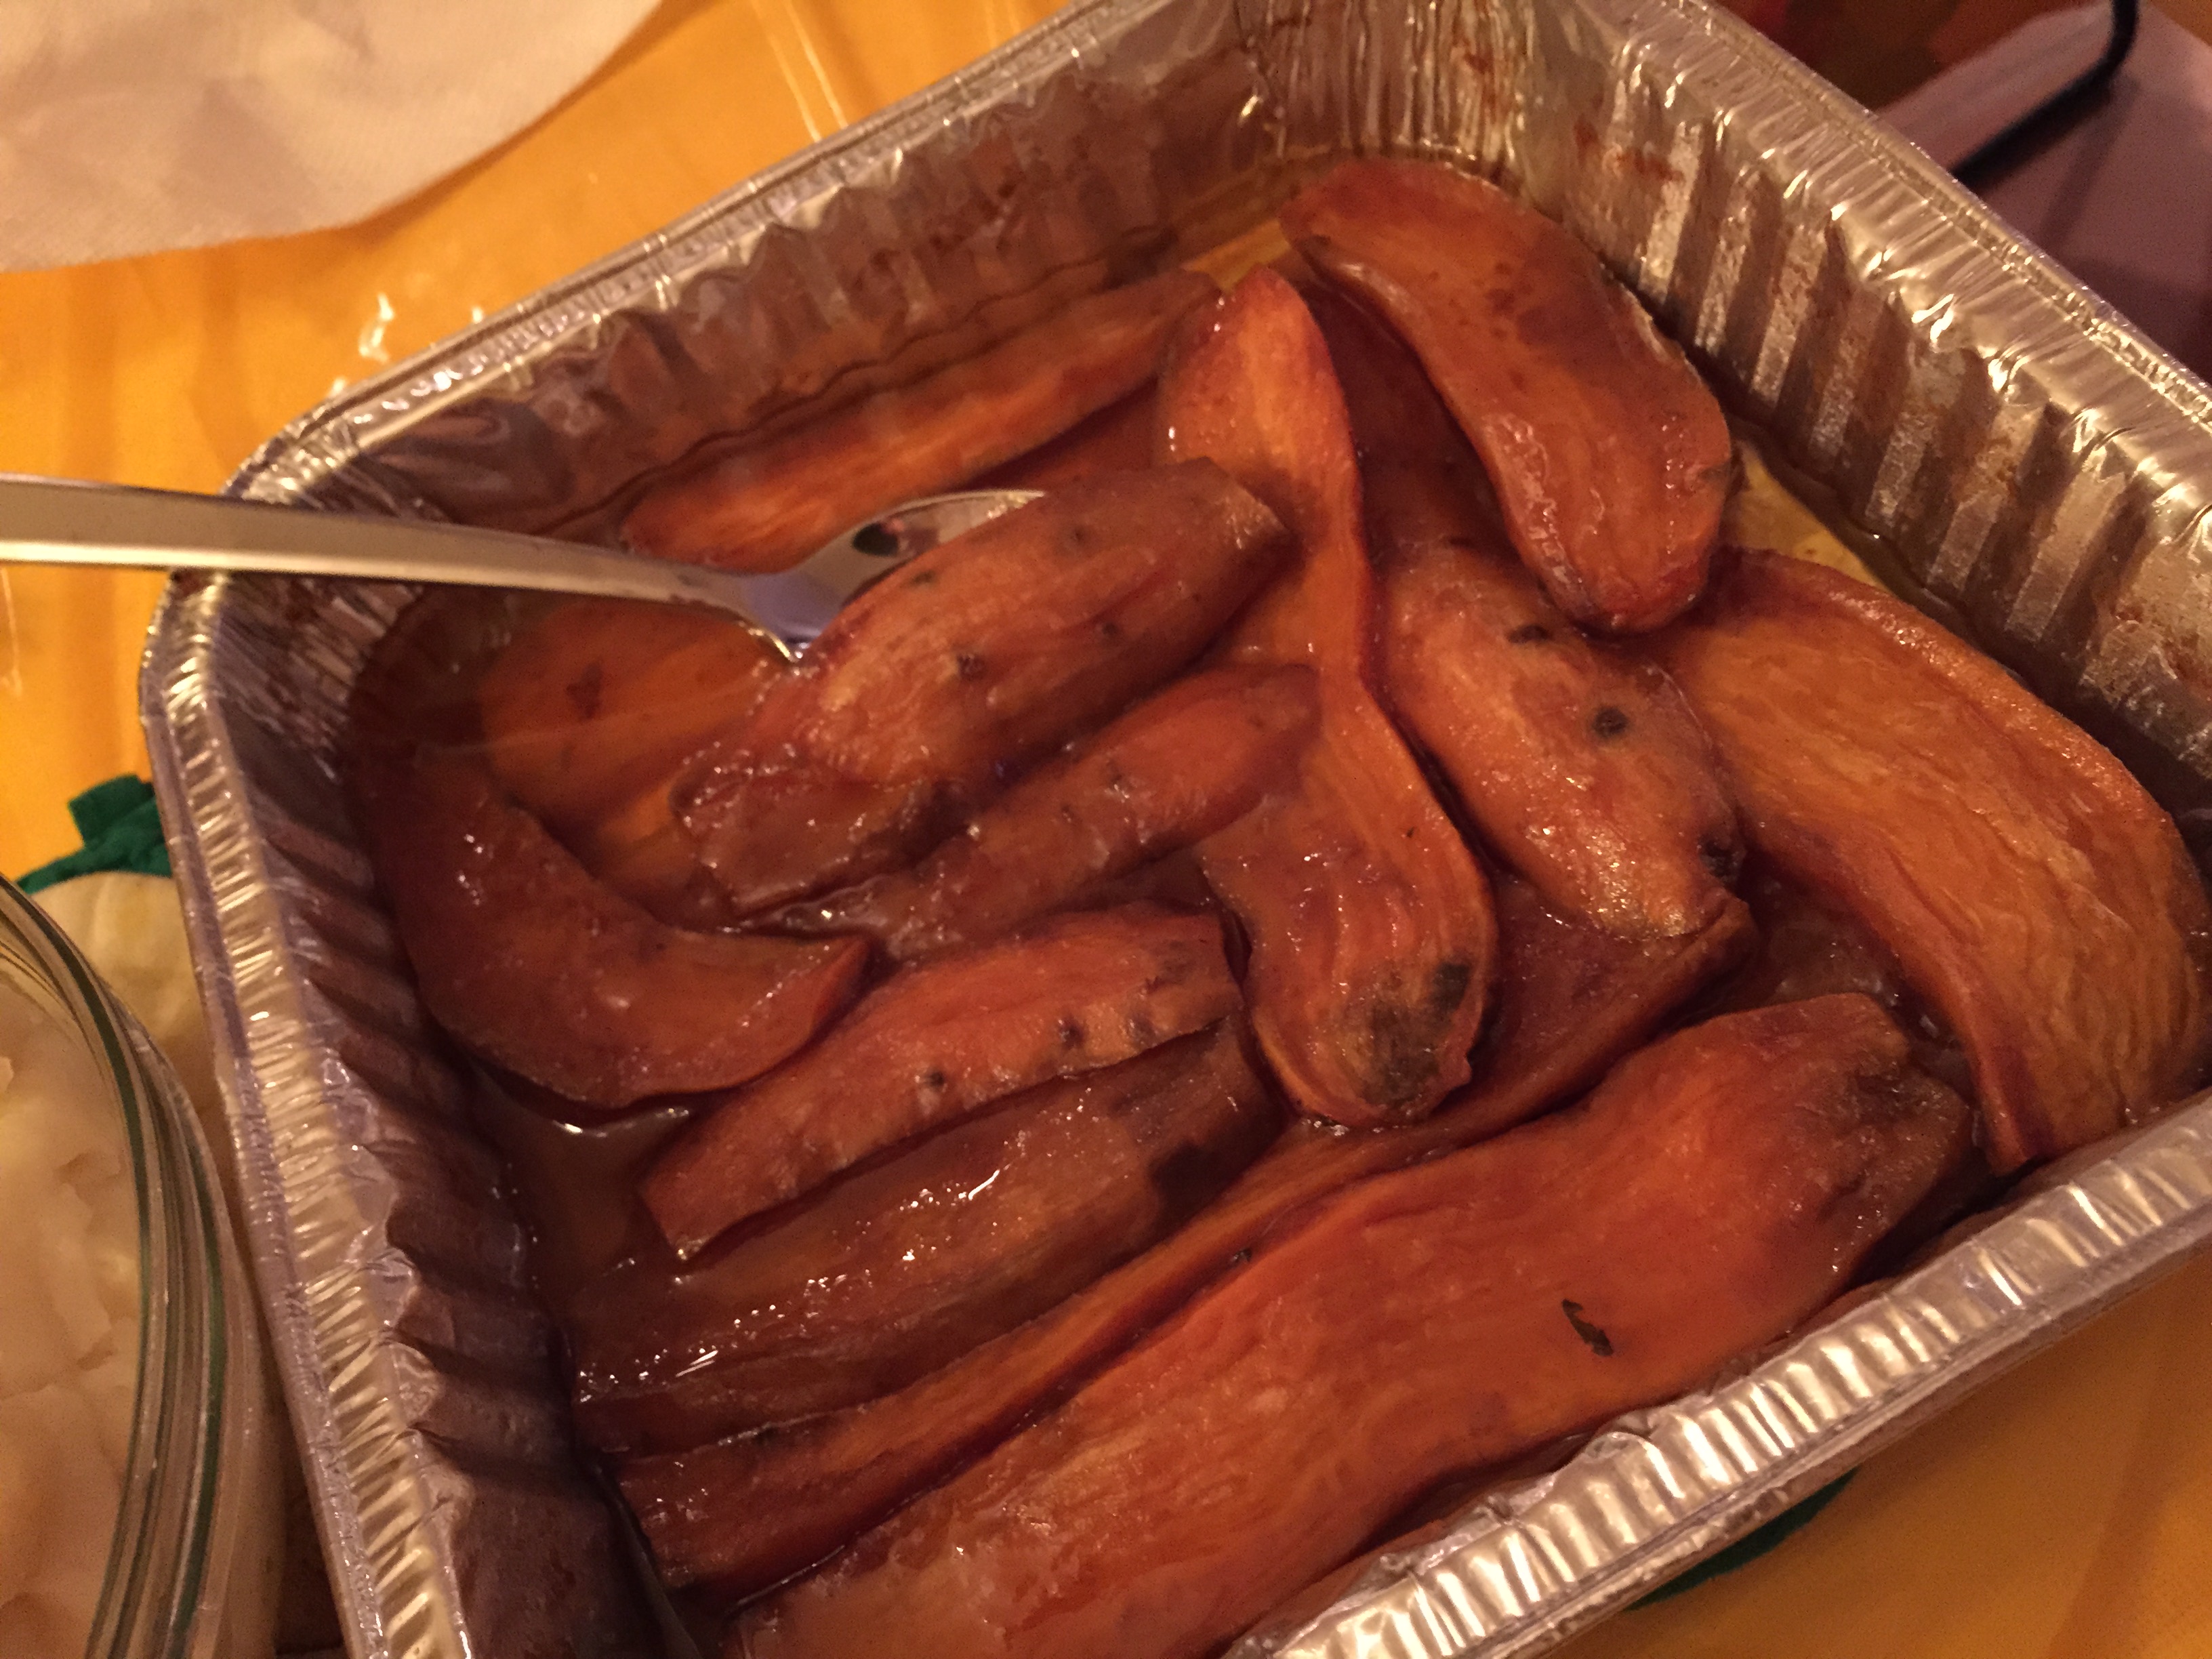
Brown sugar and butter roasted sweet potatoes (so good!)
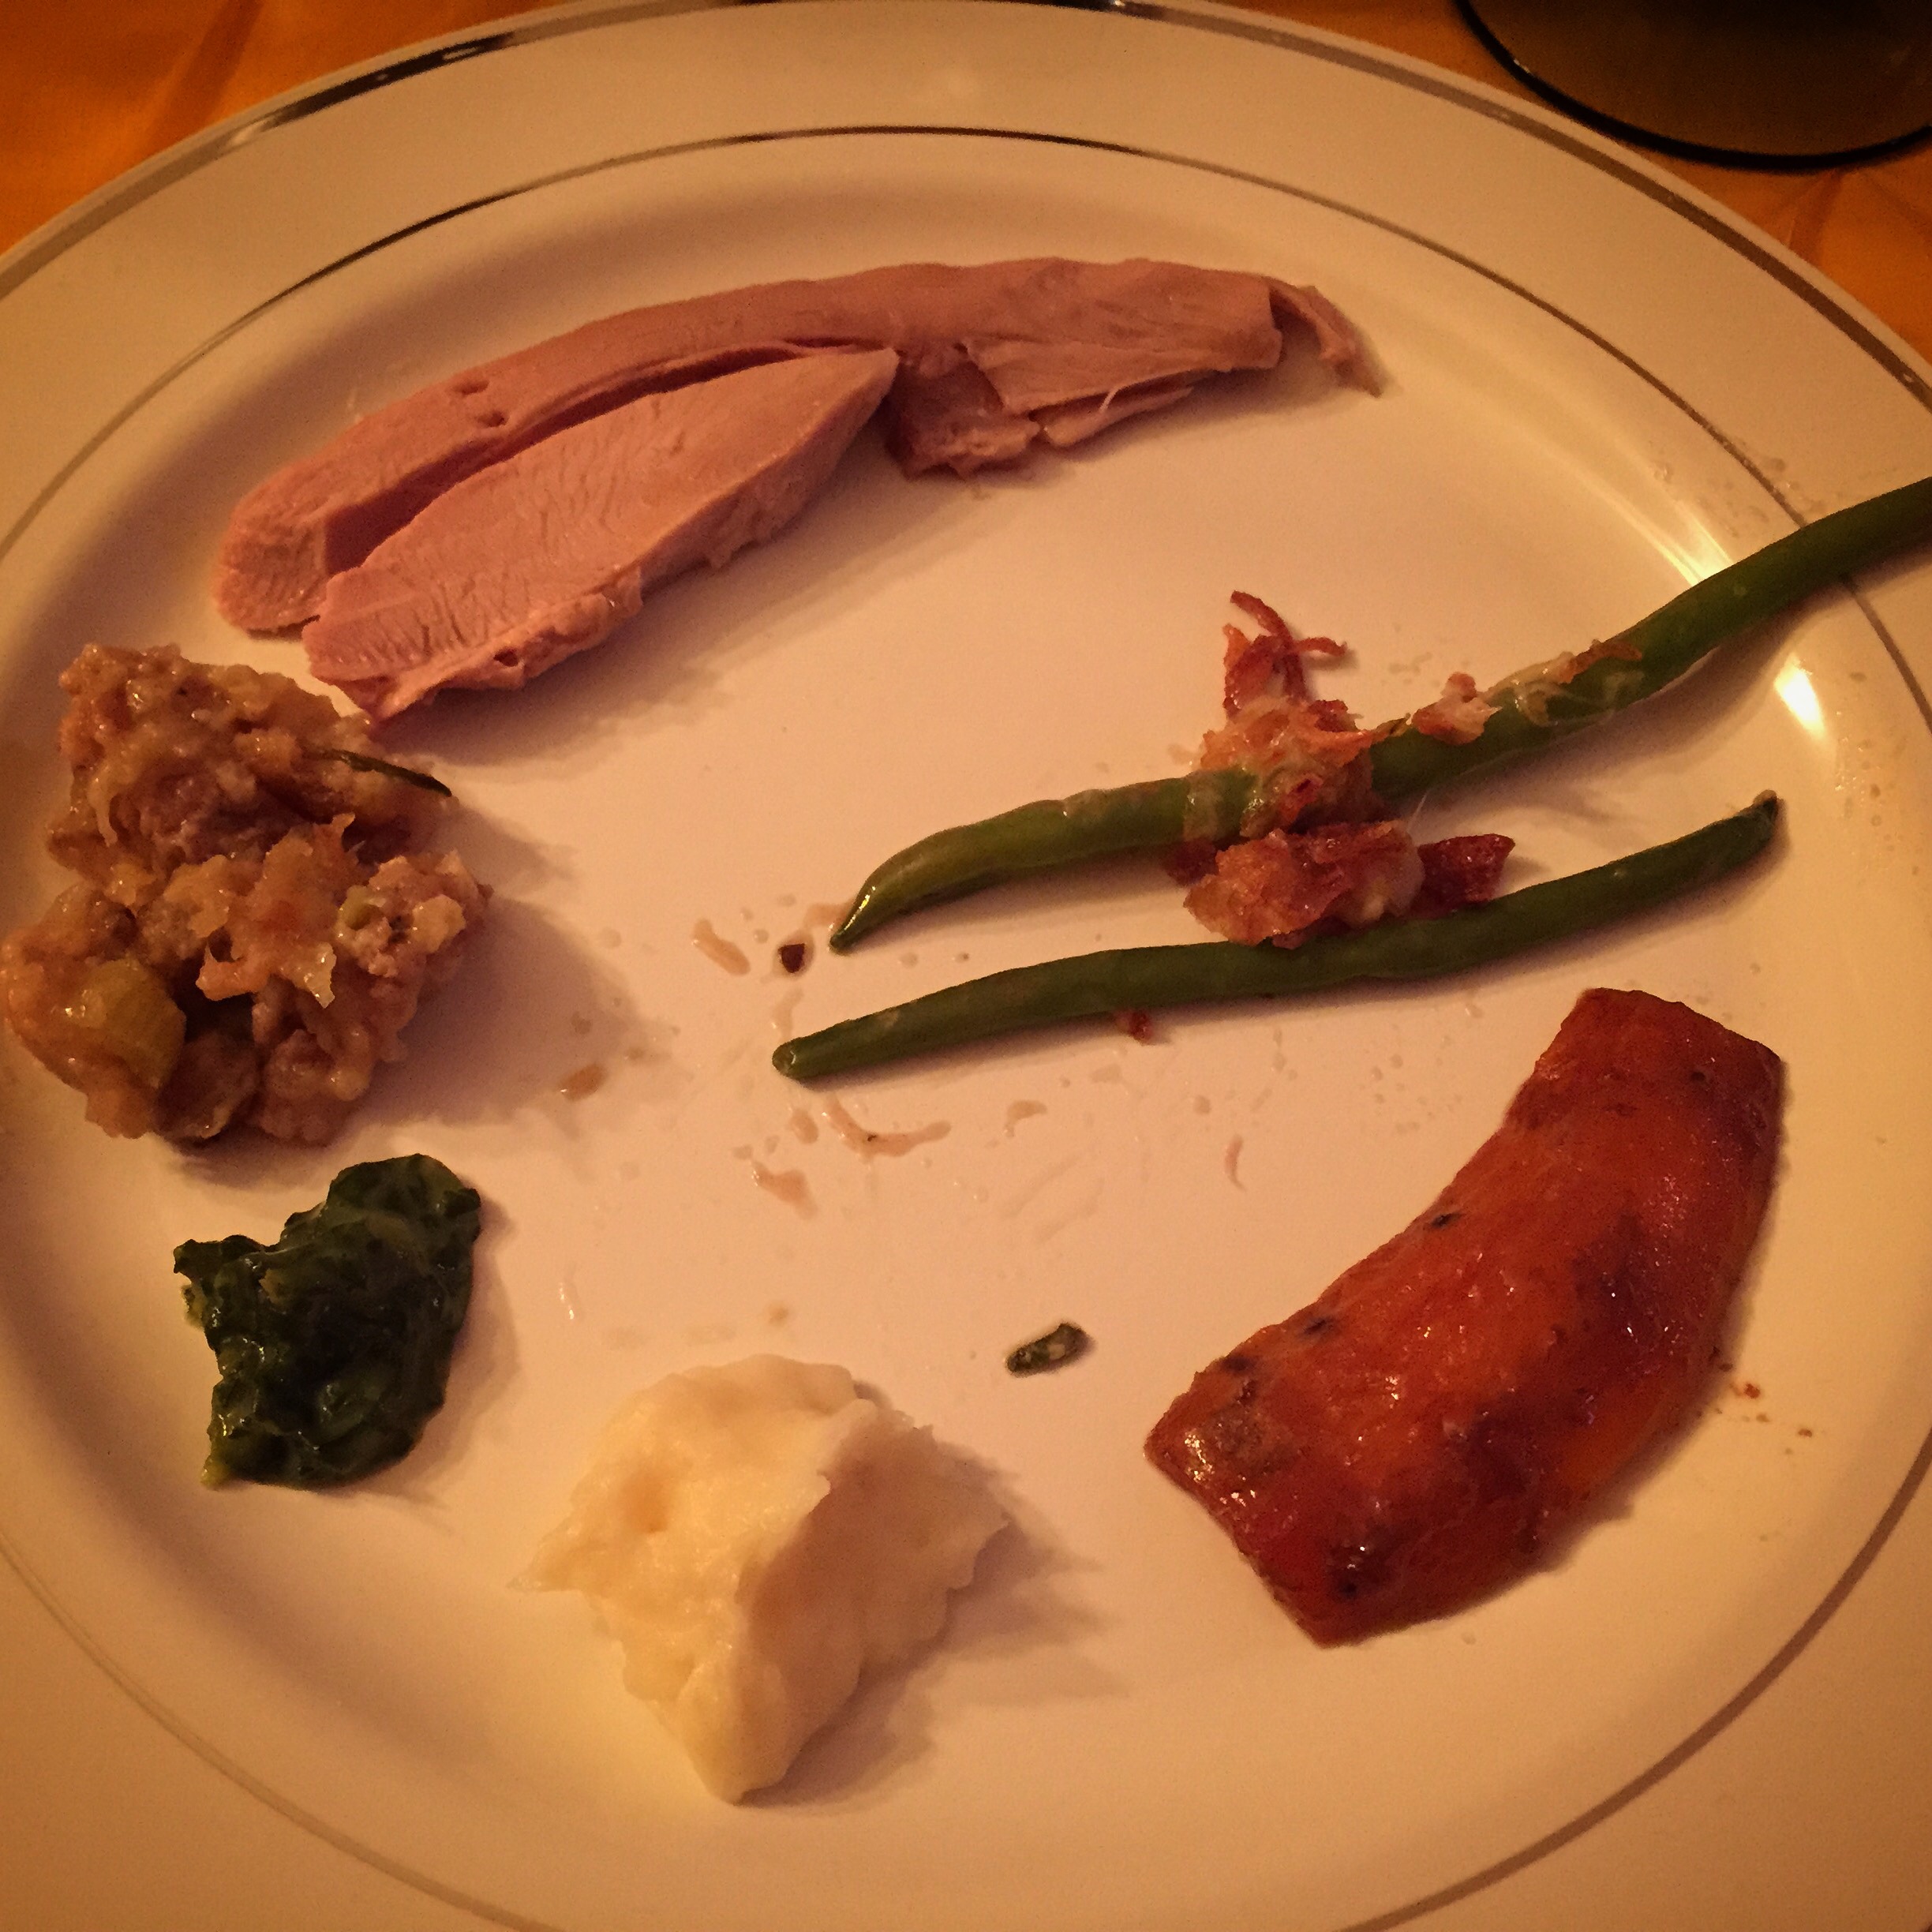
But by this time, my stomach had no more room. So I literally had one single bite of everything. This was the most pitiful plate, but it was the best I could do.
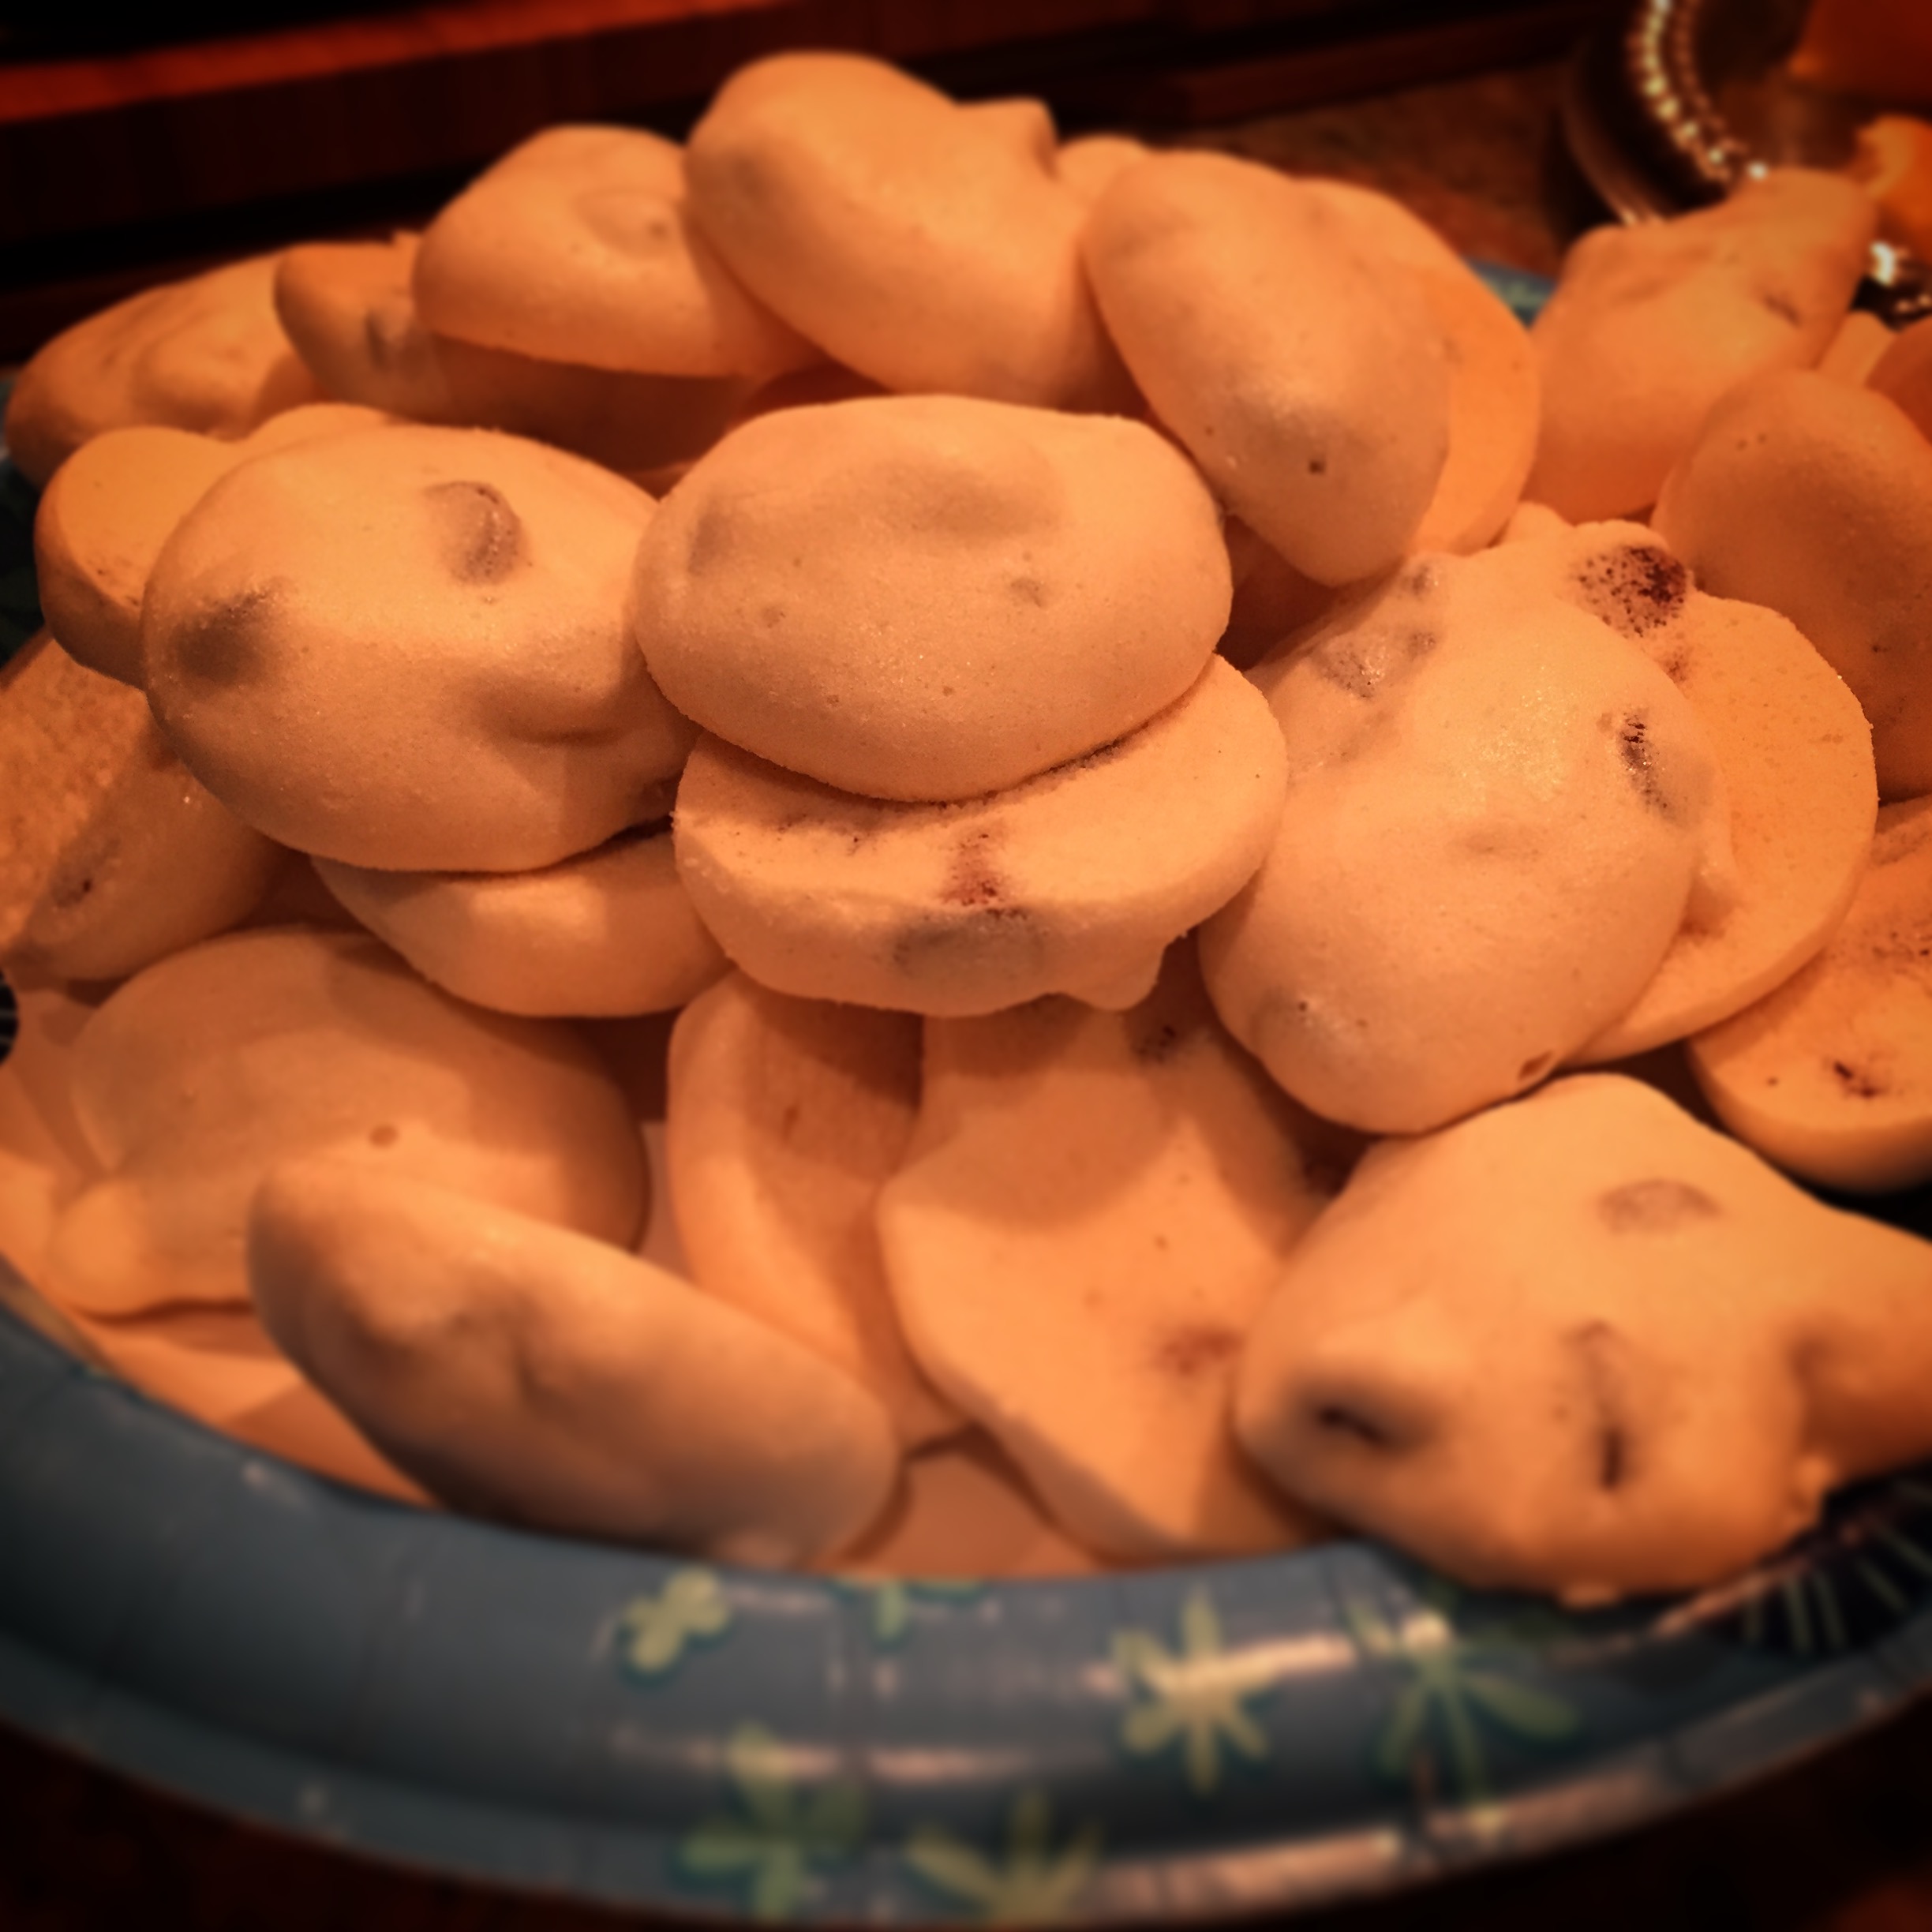
We had to leave before dessert, sadly, due to a family obligation, but we did get a homemade panna cotta with berry coulis (which was awesome) and I stole some of my contribution to the party: Grandma’s Meringue Chocolate Chip Kisses. (still one of my all-time favorites)
I am still blown away that Mike prepares such a huge, extensive, and delicious meal for all of his friends. We had a great time, with great food, and met some new great friends. What an awesome day. Can’t wait for next year!
Mike has graciously offered to share his recipes for his awesome turkey (which is based on his Grandmother’s recipe but with a twist) and the meatballs. Turkey in this post. Meatballs in the post tomorrow.
Ingredients
- 24 lb Turkey
- salt / pepper
- 2 sprig rosemary,
- 2 stems of sage,
- 2 tbsp chopped parsley
- 1 tbsp thyme leaves
- 3 carrots
- 3 celery stalks
- 2 onions
- 2 potatoes
- 2 leek stalks
- 1 large seedless orange
- 6 tbsp butter separated
- 1/2 cup white wine
- 1/2 cup stock
- 1 pack of bacon
Instructions
- Take the turkey the night before roasting and with 4 tbsp of butter and the parsley and thyme salt and pepper and stuff in between the skin and flesh of the breast meat
- Lather the rest of the mixture on top of the bird and cover it all with the bacon (layer strips, intersecting and woven if possible)
- Cover and let sit in fridge over night
- Preheat oven to 350 degrees
- Salt and Pepper the inside of the bird and stuff with some of each of the vegetables and the rosemary and sage... whatever doesn't fit throw into the roasting pan along with your liquids
- Cover with aluminum foil and cook bird for an hour
- Then uncover and baste then cook for another hour until bacon cooks
- Baste every half hour
- After an hour (hour 2 of cooking) take the bacon off and leave it in the pan and try and stuff some into the cavity of the bird.
- Cook for another 2 hours and keep basting every half hour
- When 4 hours is up, take the juices out of the pan with your baster and remove the turkey from the oven
- Quickly cover with aluminum foil and place on the counter on top of a towel and cover with heavy towels so the turkey slowly cooks for the rest of the day until you are ready to carve it (do all of this swiftly as to not let too much heat escape)
- I like to put the bird in the oven at 730 so it's out by 1130 then carve by 5... it gives you the whole day to have the oven on for your sides or lasagna or whatever dessert you may want!
- When you uncover to carve take the juices and throw them into your stock pot so you have a flavorful broth to make your gravy
- After bird is carved throw some of your gravy onto the bird and serve!
Happy Thanksgiving Week!